Permanent Marker Marble Nail Art
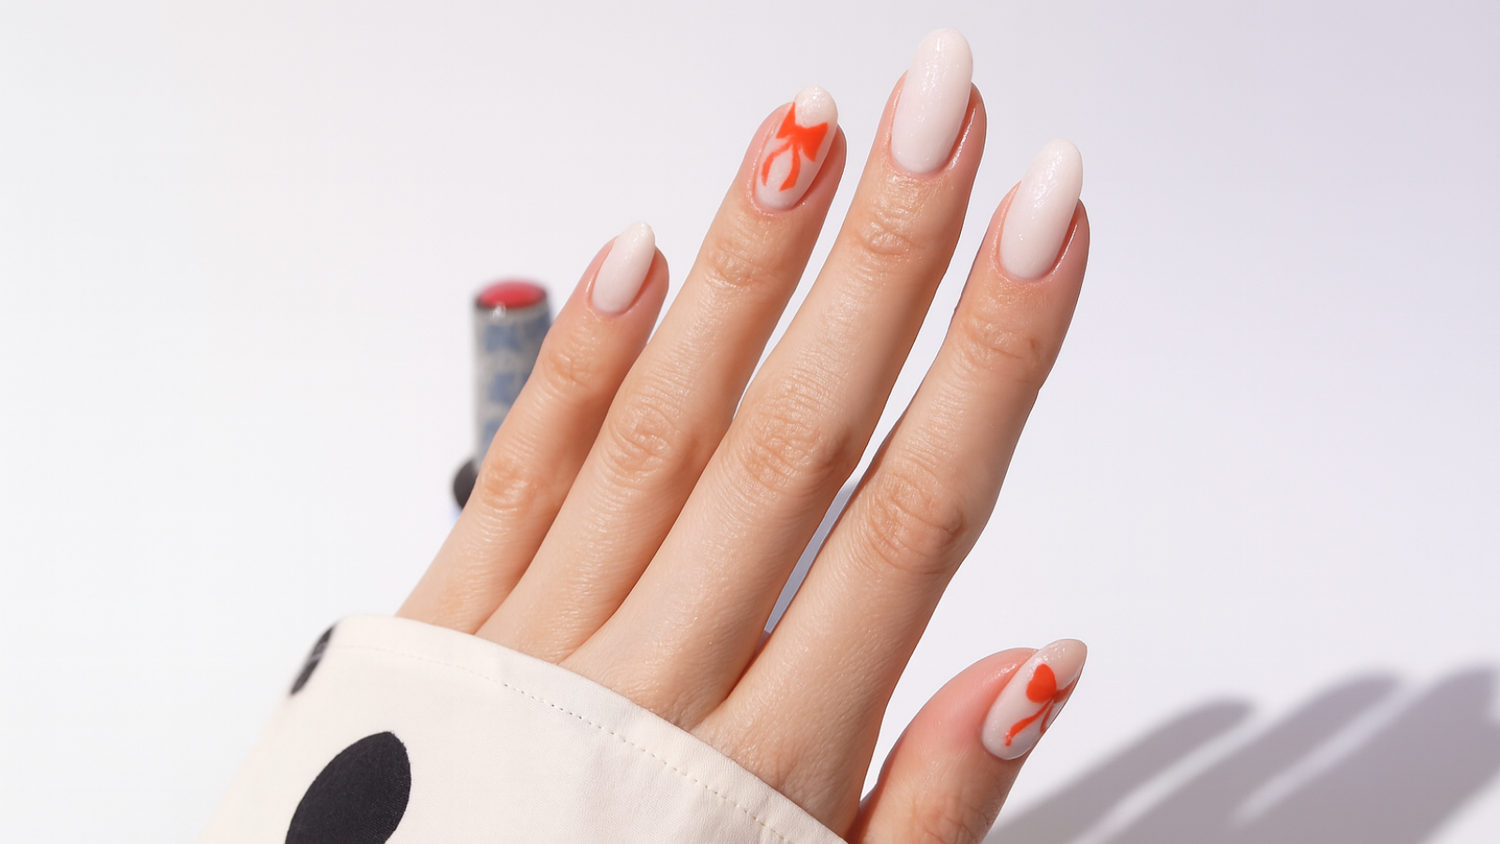
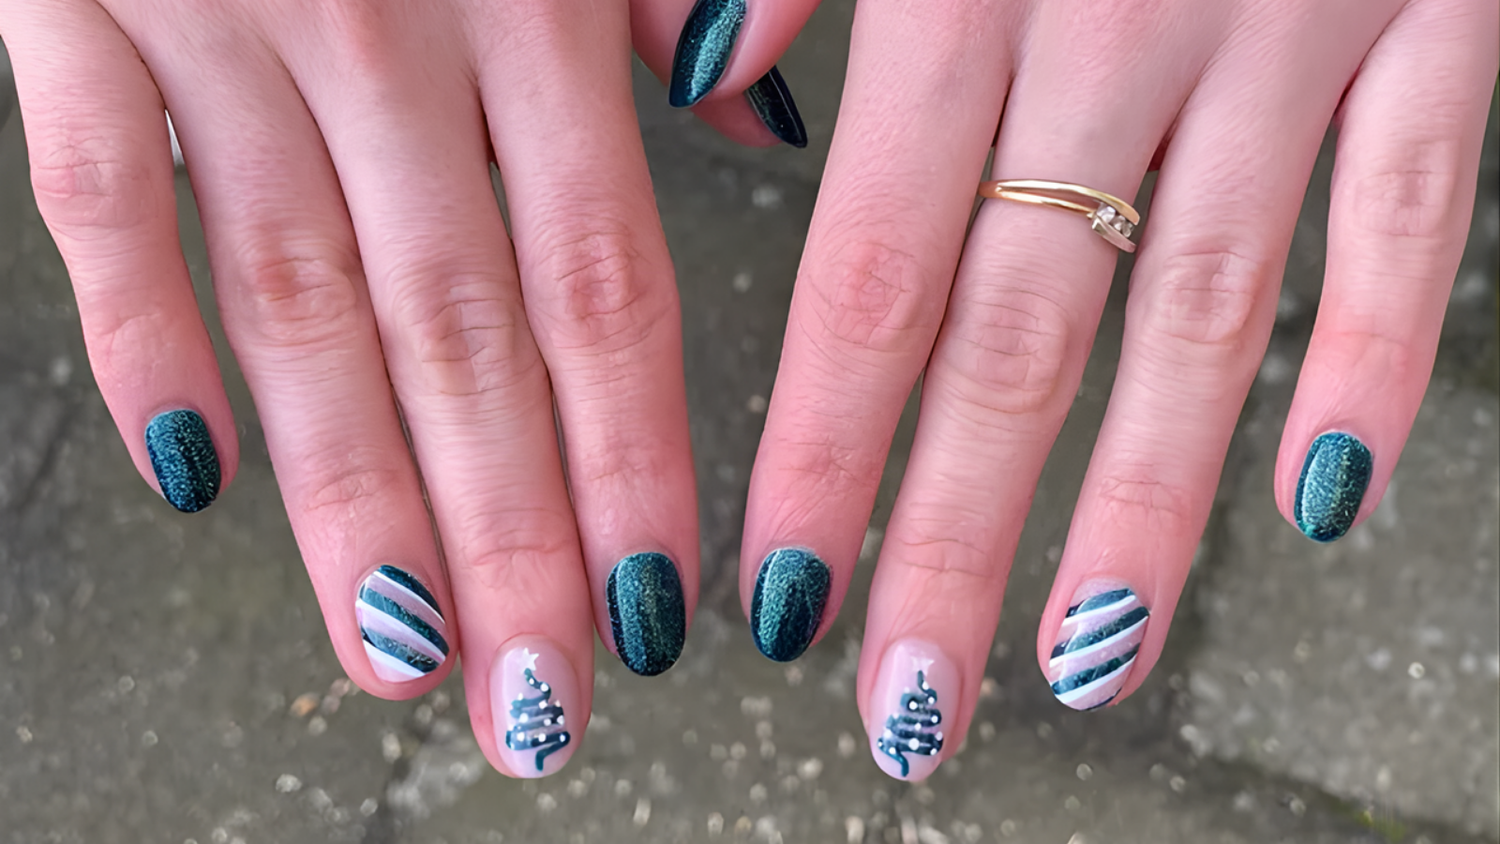
Create some impressive marble effect nails with our coloured Permanent Markers! Whether you are a complete beginner or have been doing nail art for quite some time already, you will definitely make a lasting impression with this simple but awe-inspiring creation.
In this blog we will explain to you how to do Marble Effect Nail Art with Permanent Markers and which products you need for it.
What do you need?
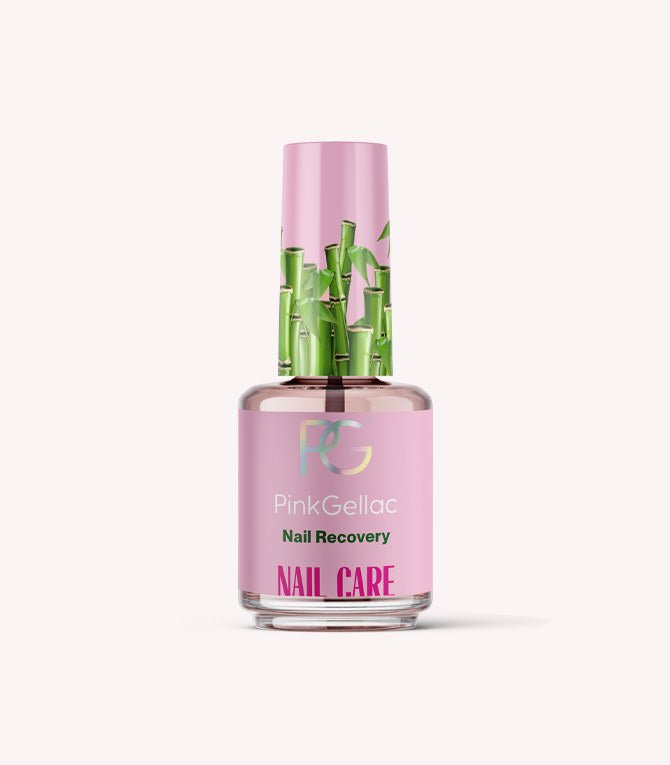
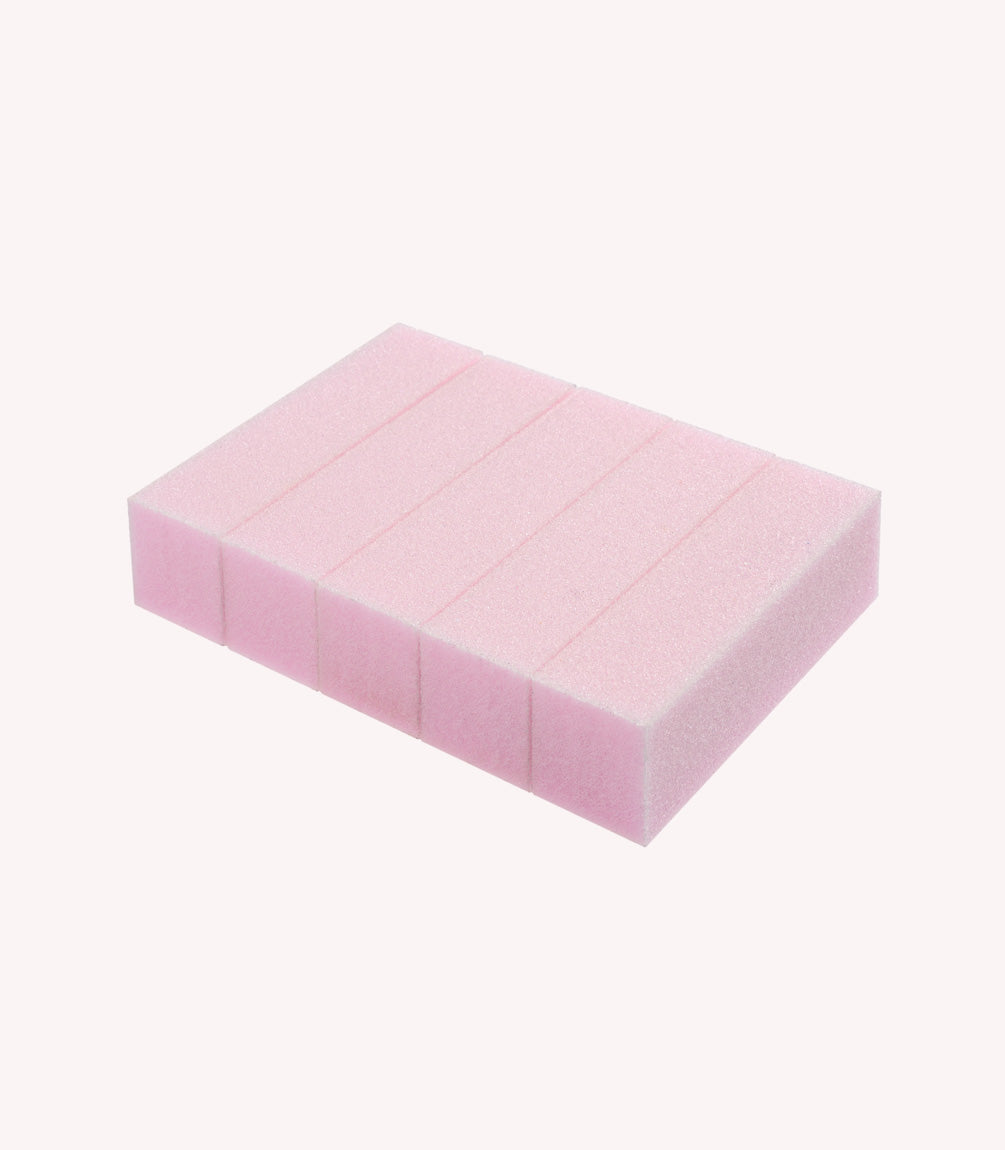
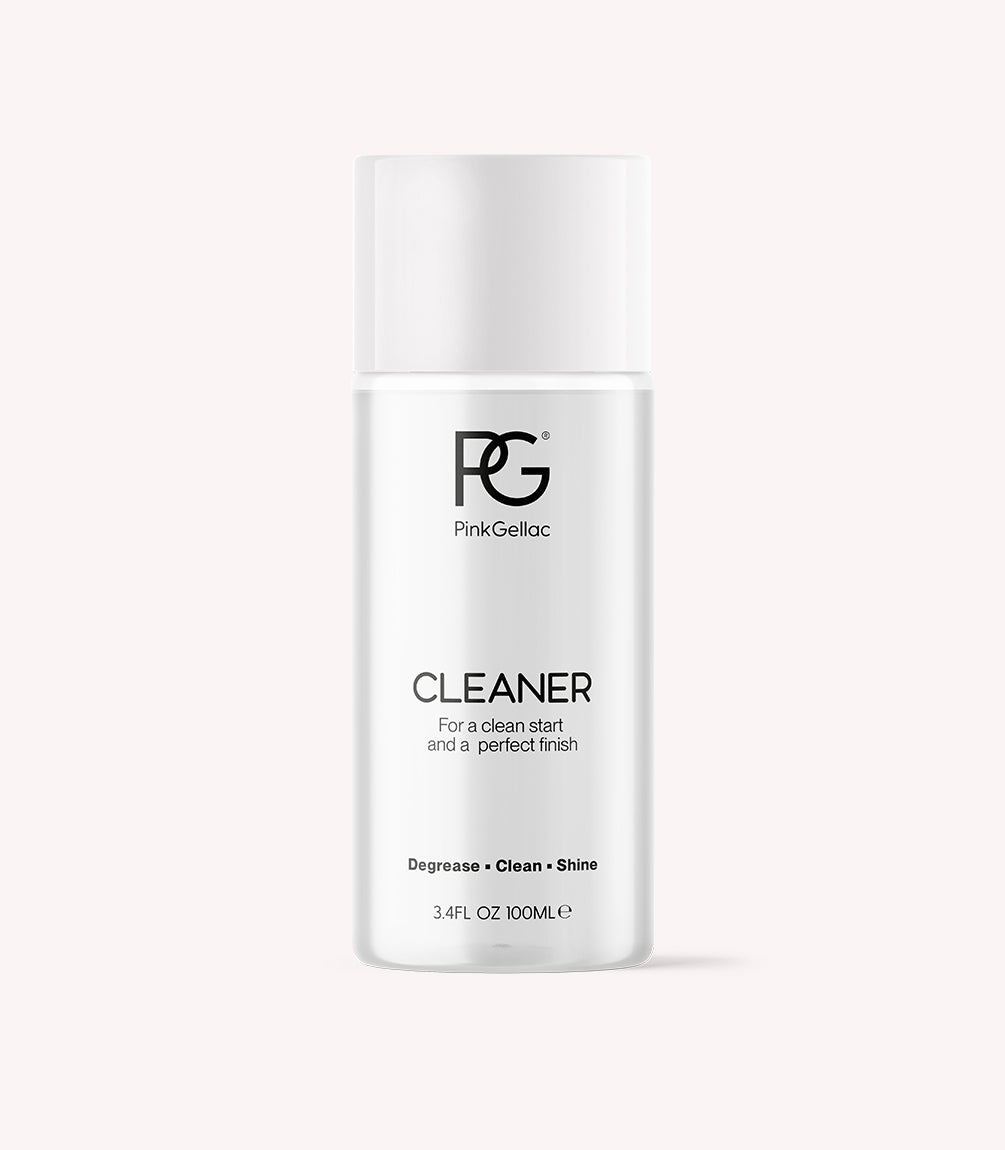
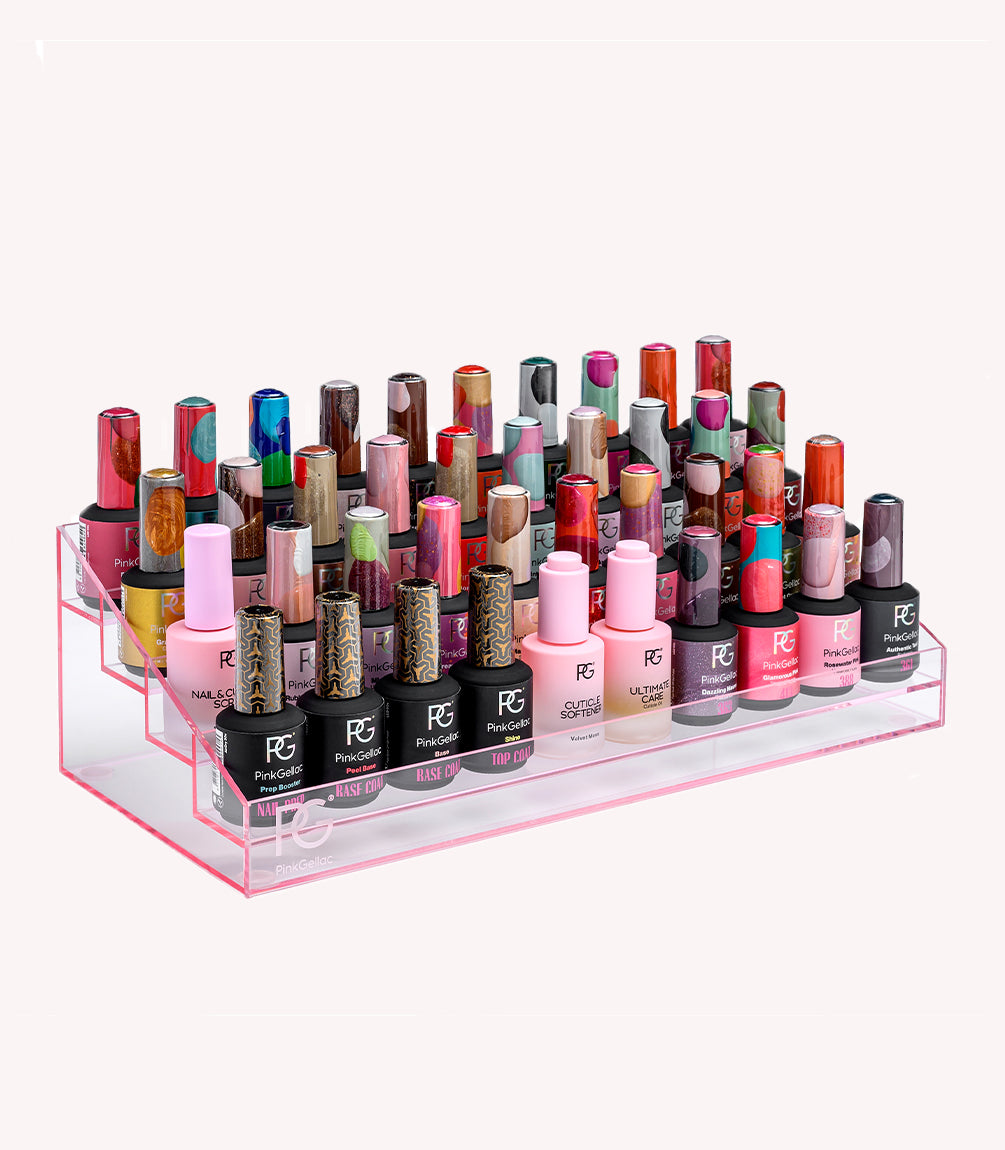
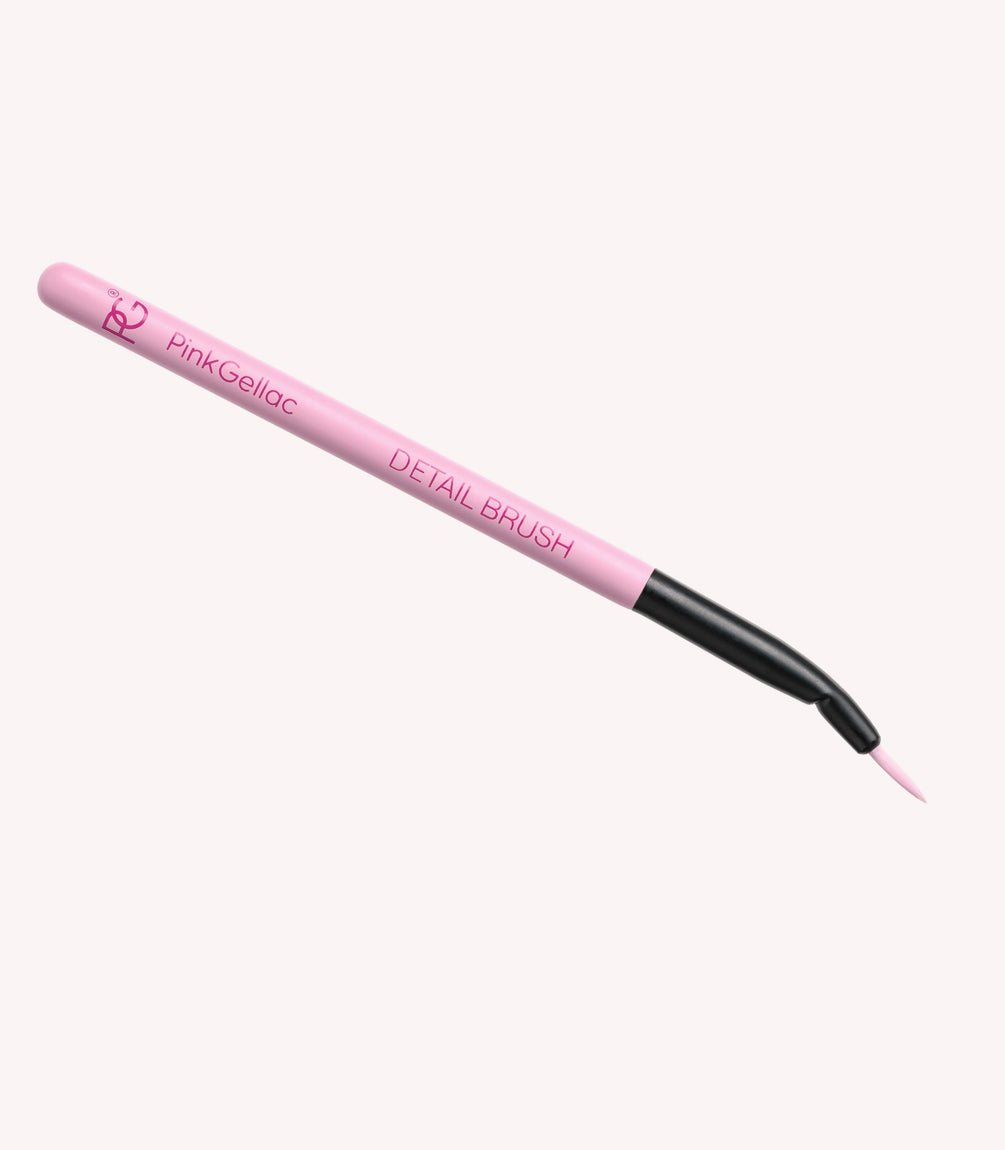
The basics such as the Prep Booster, polishing block, a LED lamp, a Base Coat and a Top CoatPermanent Markers (set of colours)Pastel colour or another soft toned gel nail polishCleanerDetail Brush
Prep your nails
Prepare your nails by filing them into the desired shape. Remove the natural shine from your nails with a polishing block. Use the Cleaner to degrease and clean the nails. Apply the Prep Booster and allow it to air dry for 30 seconds.
Step 1 – Apply Base Coat
Apply your favourite base coat and let it cure for 60 seconds under the LED lamp.
Step 2 – Base Colour
Apply two layers of the gel polish colour of your choice on your nail. Let each layer cure under the LED lamp for 60 seconds.
Step 3 – Use the Permanent Markers
Pick the colours you want to use for the marble effect on your nails. Scratch some lines on several places of your nail with your coloured markers.
Step 4 – Let the Colours Flow Out
Dip your Detail Brush in a bit of Cleaner and apply over the coloured parts of your nail. Be sure to not use too much Cleaner right away. Let the colours flow out until you have achieved the desired marble effect.
Step 5 - Apply Top Coat
Final step: Apply one of our Top Coats over the entire nail and let it cure for 60 seconds under the LED lamp. Did you use the Shine Top Coat? Then remove the adhesive layer with the Cleaner.
You can create endless combinations with different colours of gel nail polish and markers! Prefer a more minimalistic nail art? We also have a black Permanent Marker available in our Pink Gellac assortment!
Looking for more nail art ideas? Check out our other blog posts with gel polish nail art.
