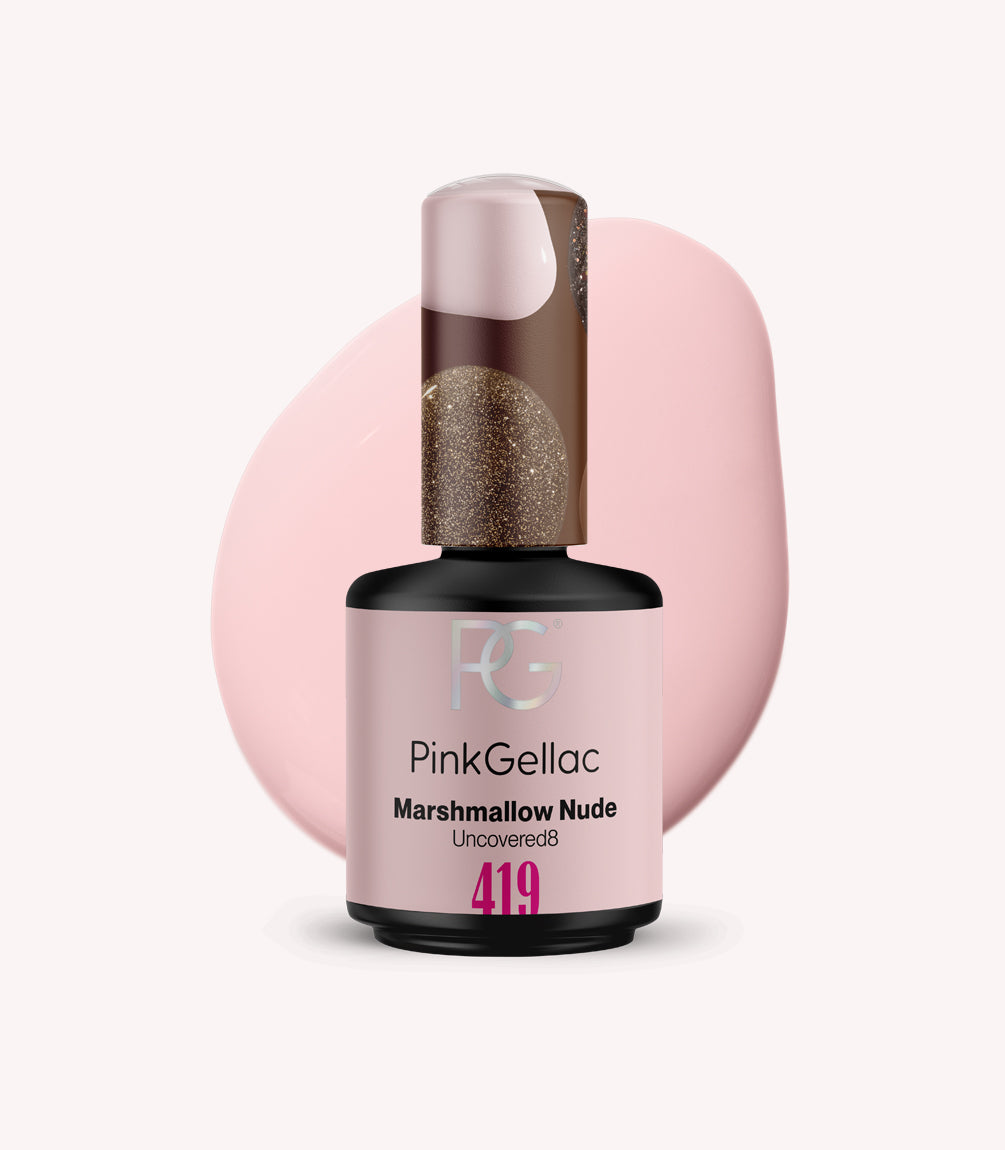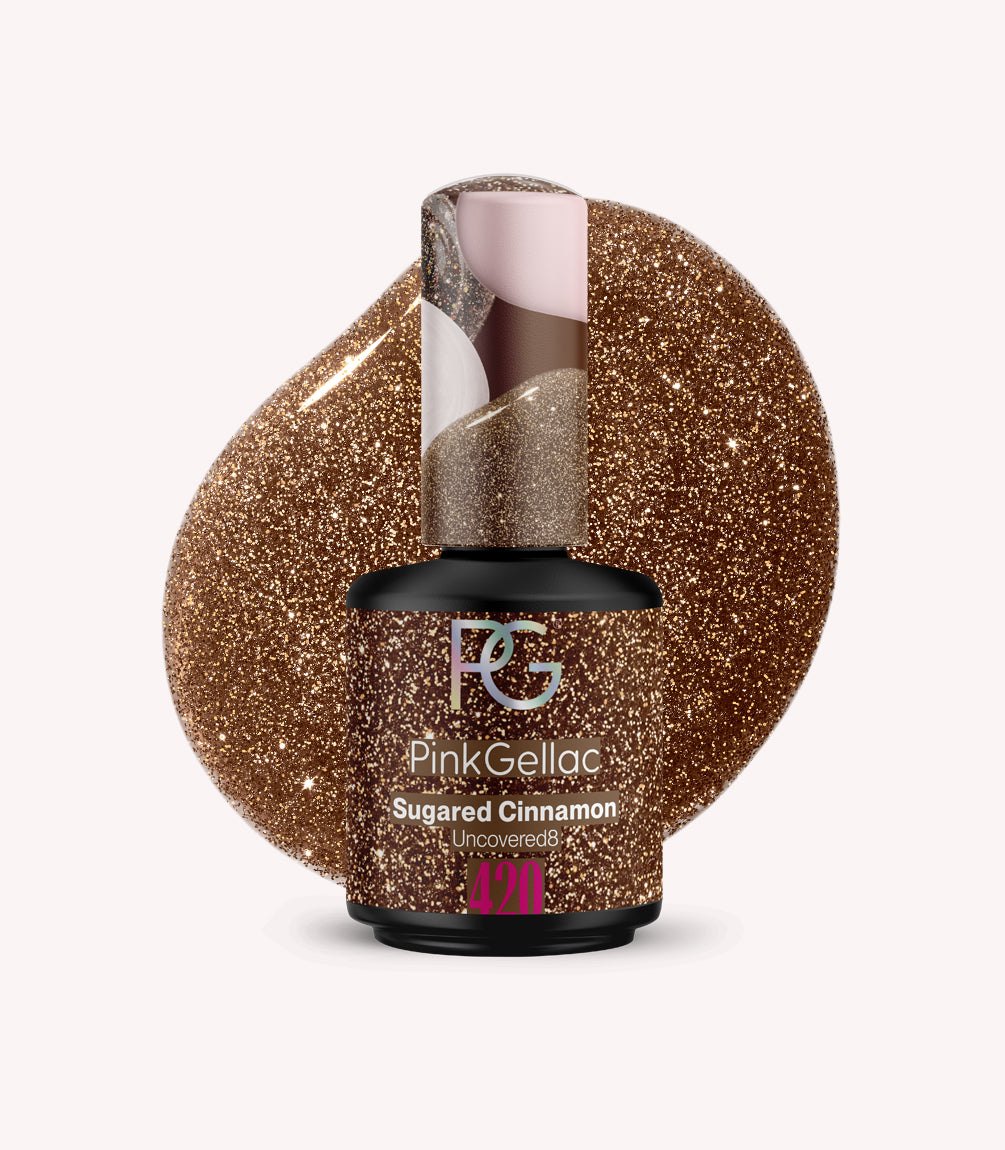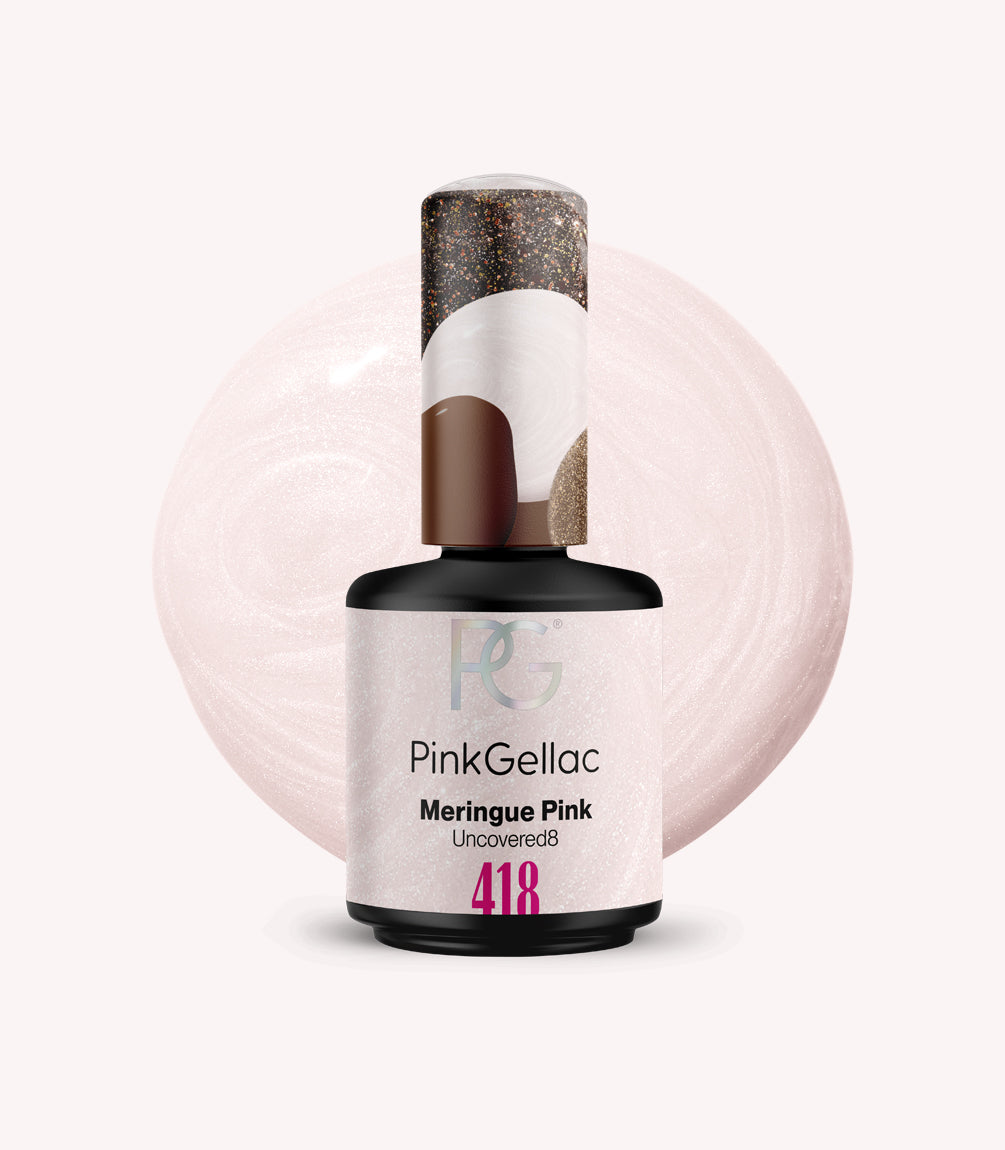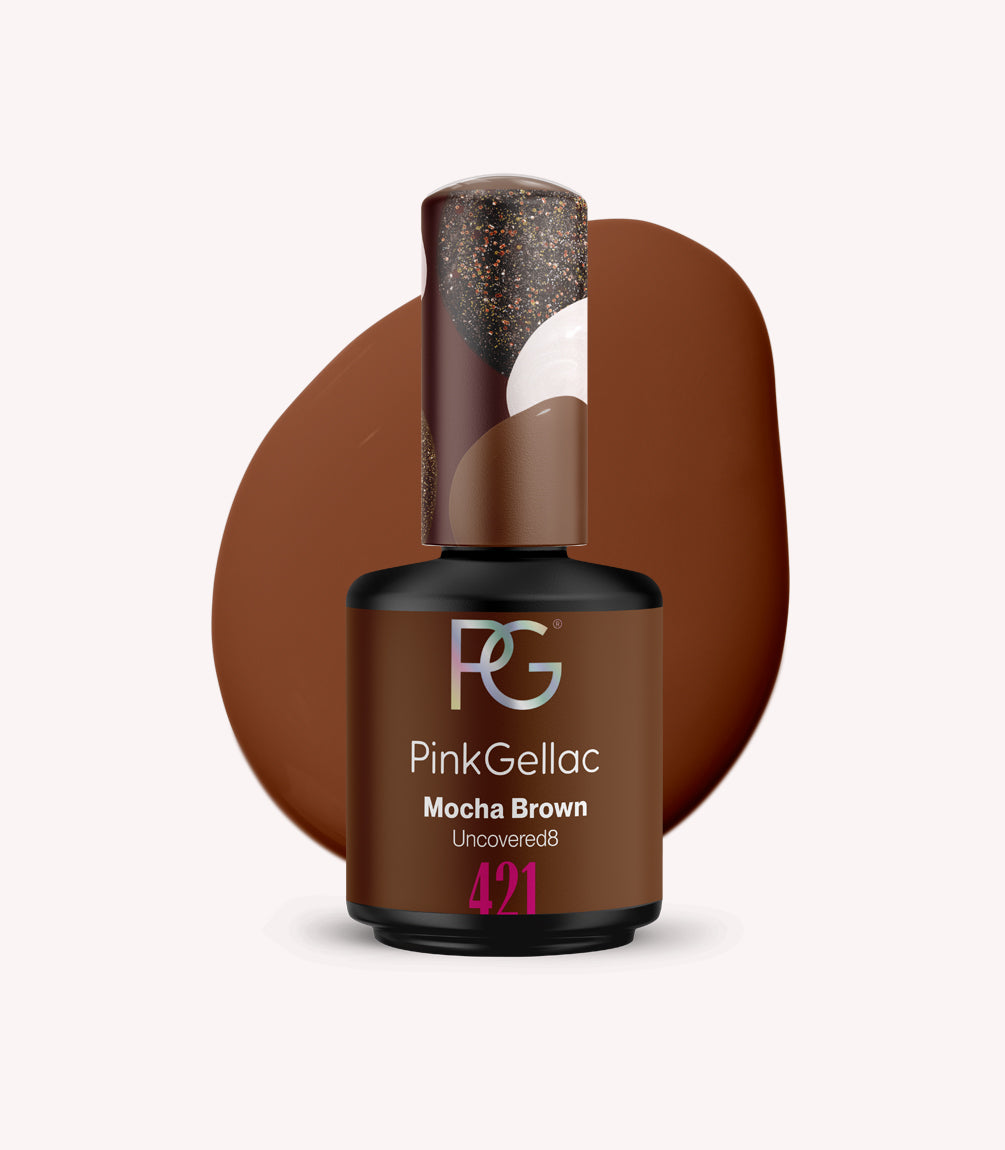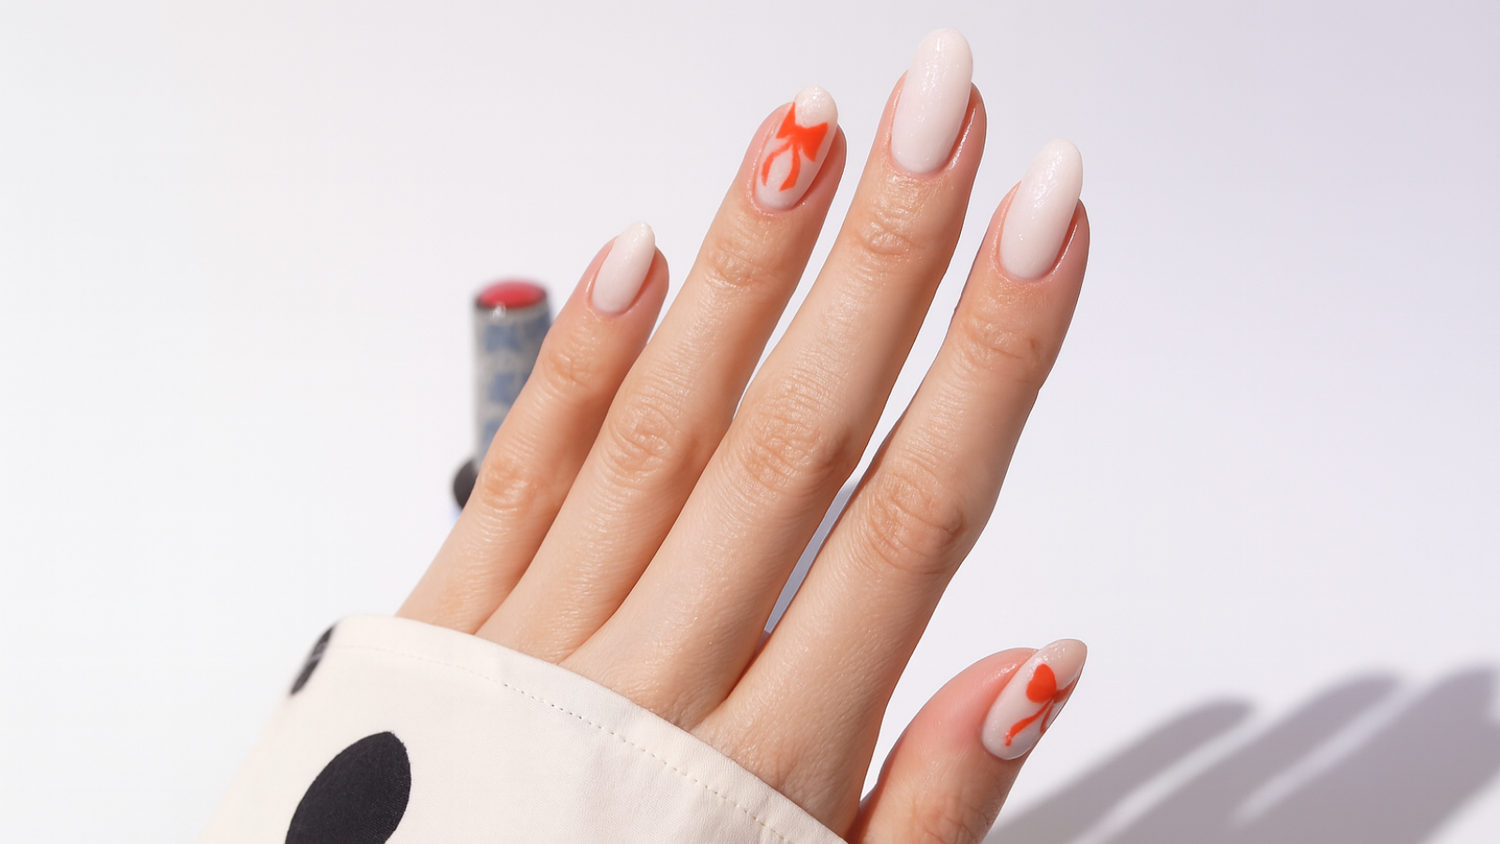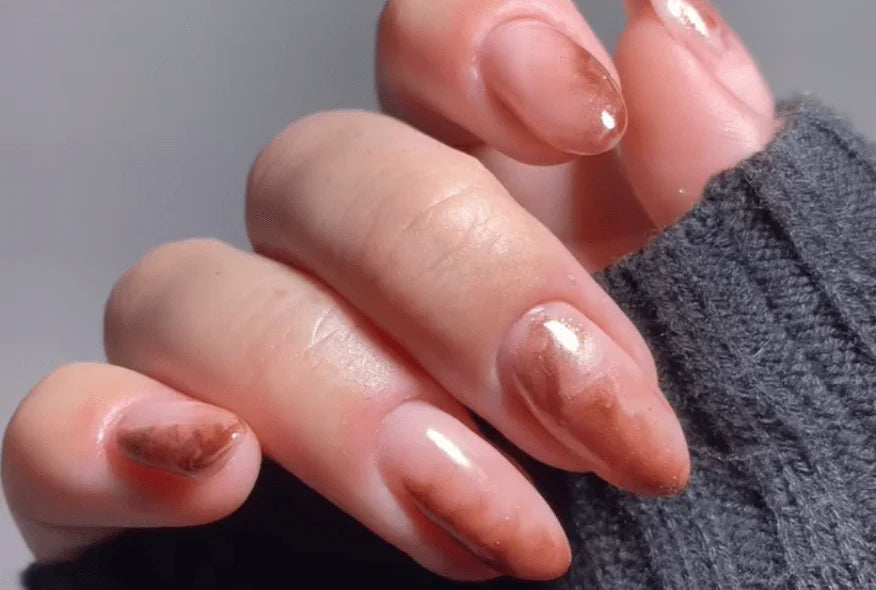
Achieve the perfect Glitter Marble Nail Look with the versatile shades of the Uncovered8 Collection. This blog guides you through recreating this stunning design, blending rich tones with a subtle glitter finish for a luxurious, marble-inspired effect. Whether you're heading out for a relaxed evening or aiming for a chic daytime style, these nails add a touch of timeless elegance to any look. Let’s dive into the magic of marble with Uncovered8!
What you need
Marble Nails Tutorial
Watch the video to see marble nails in action. Then follow along step by step in the text below.
How to make marble nail art
- Start with your usual nail prep routine and apply your favourite base coat.
- Apply two layers of 419 Marshmallow Nude on the entire nail and cure it for 60 seconds.
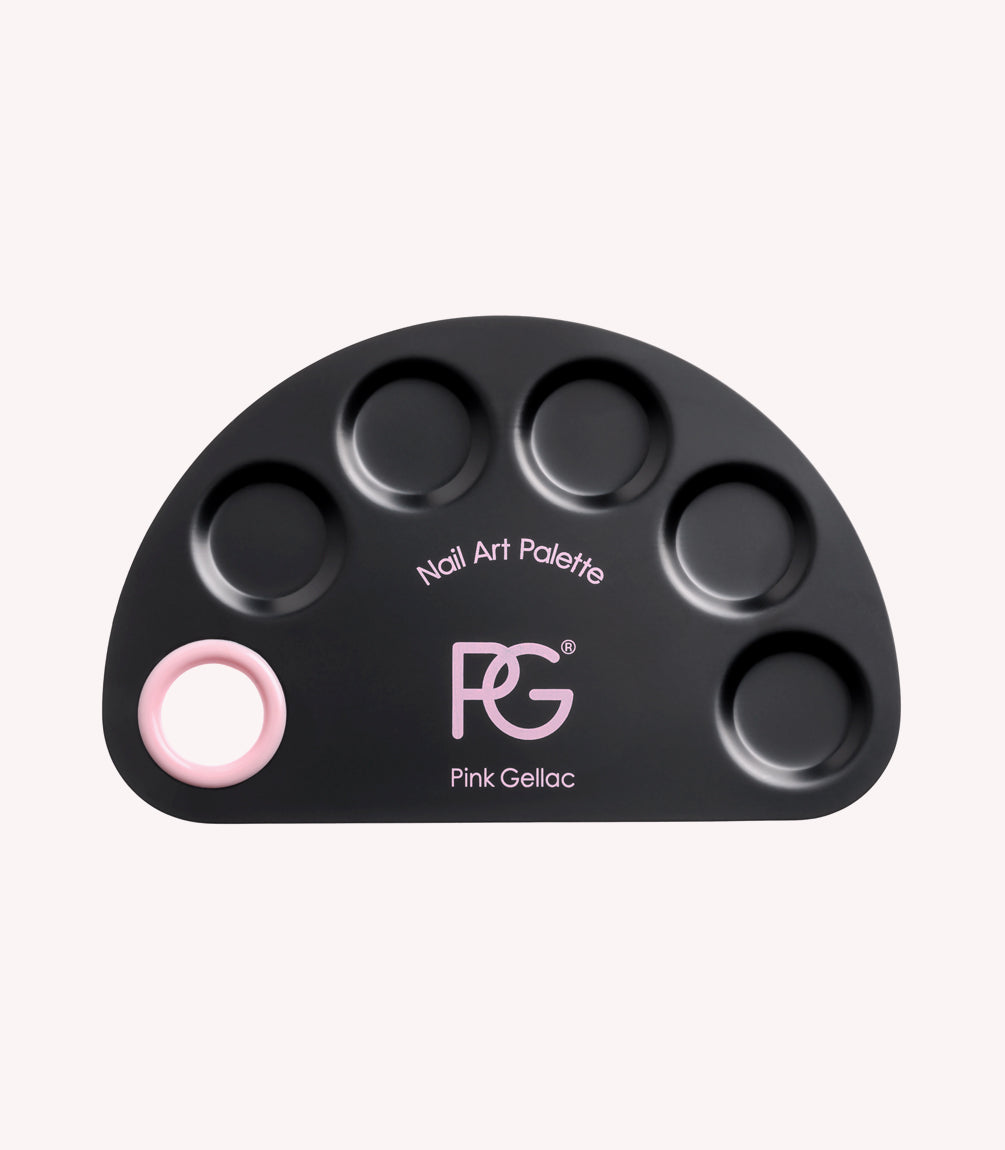
- Next, apply 420 Sugared Cinnamon, 418 Meringue Pink, 419 Marshmallow Nude and 421 Mocha Brown side by side in stripes on the Nail Art Palette. Make circular movements through the colours so that they will blend nicely.
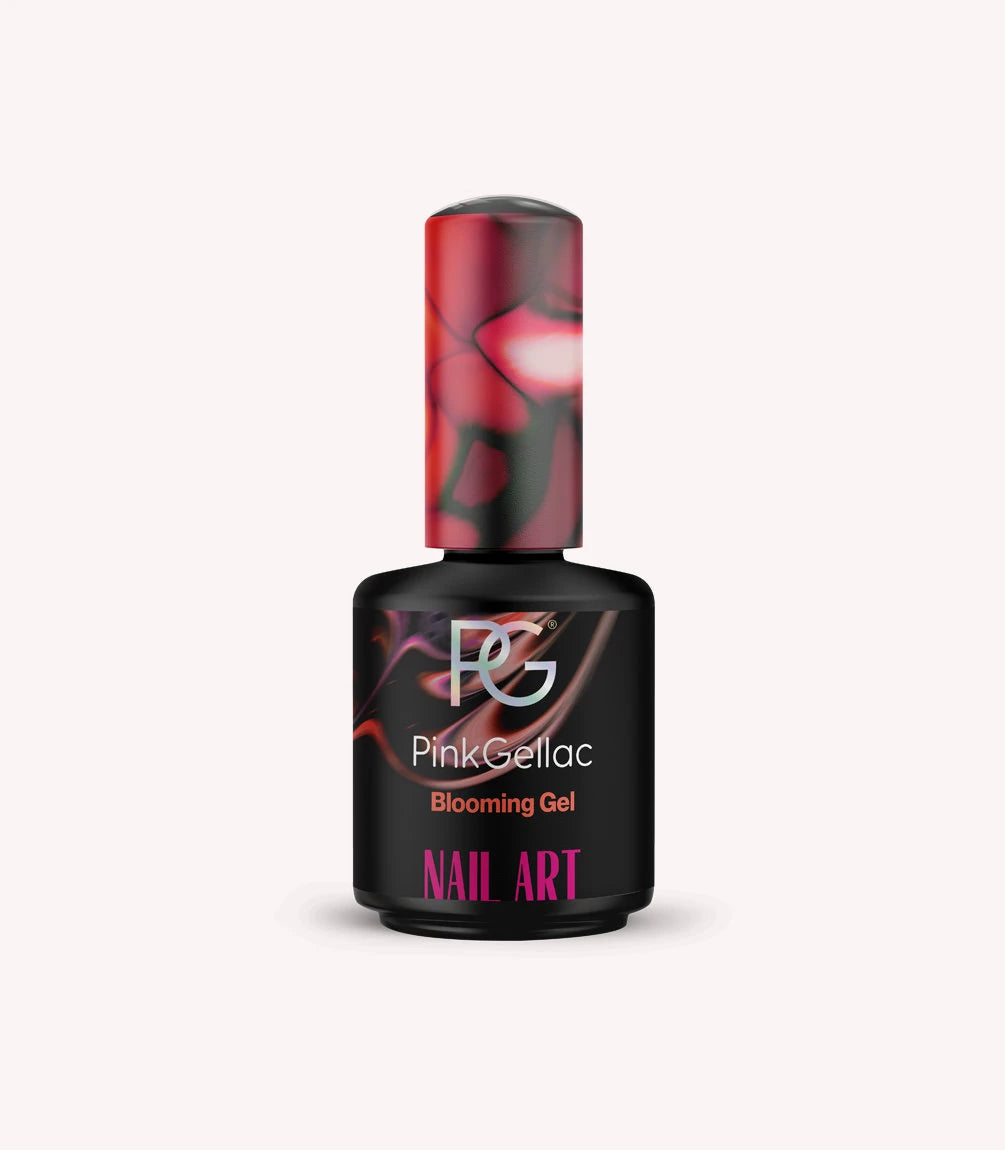
- Then apply a layer of Blooming Gel, but don't cure it yet.
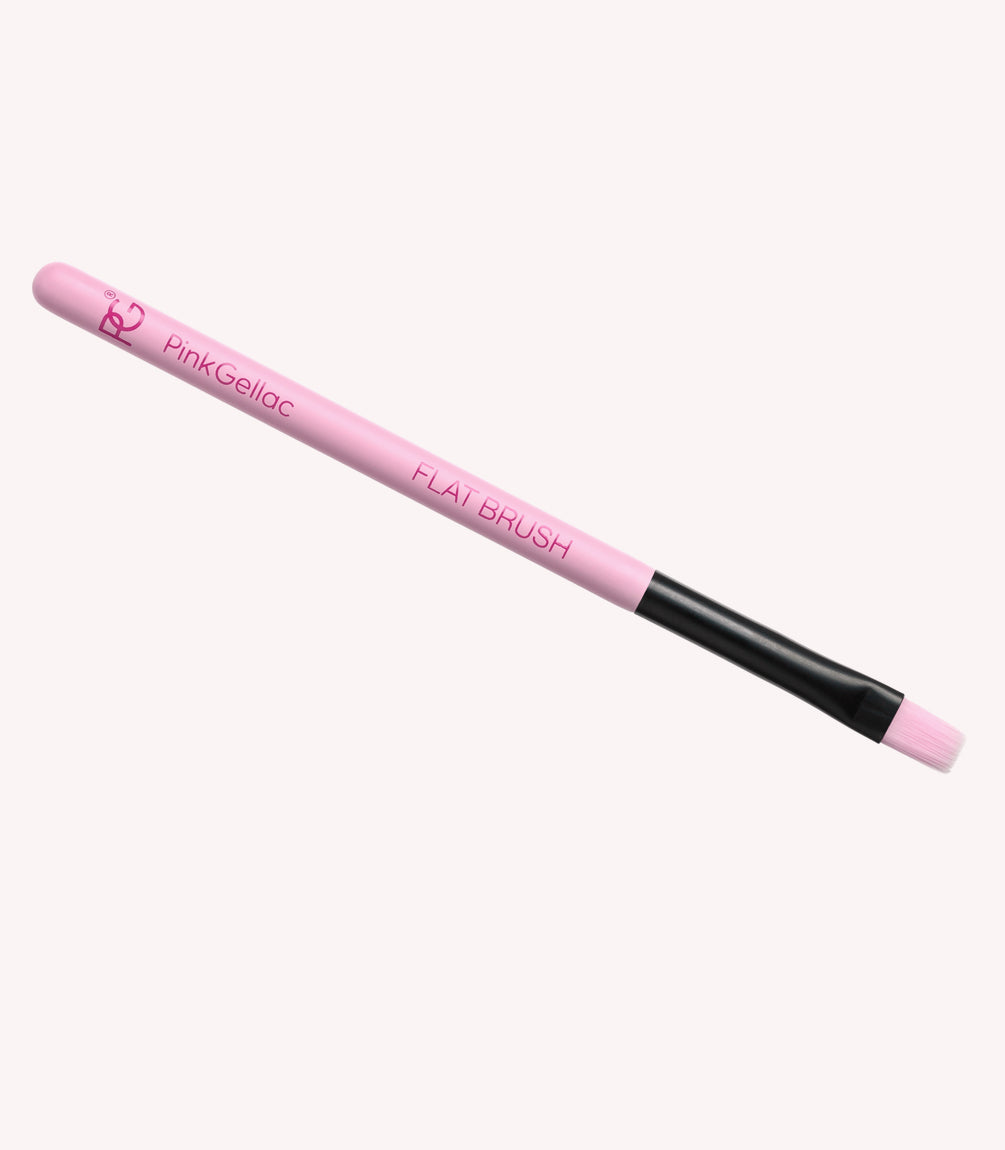
- ‘’Scoop’’ the mixed colours with the Flat Brush onto the pencil and apply in the wet Blooming Gel. Let this flow out until the desired result is achieved. Cure for 60 seconds under the LED lamp.
- Apply a top coat of your choice and let it cure for 60 seconds under the LED lamp. Did you use Shine? Remove it with the Cleaner after 2 minutes of cooling.
