Step 1: Prep your nails
After you have applied your gel polish and cured it under a UV lamp, you’ll notice a sticky residue. This is normal but must be dealt with before applying nail art. Gently wipe this tacky layer off each nail using a nail wipe dampened with a bit of cleaner. This will leave a clean, smooth surface that’s perfect for stickers.
Step 2: Use the Right Tools
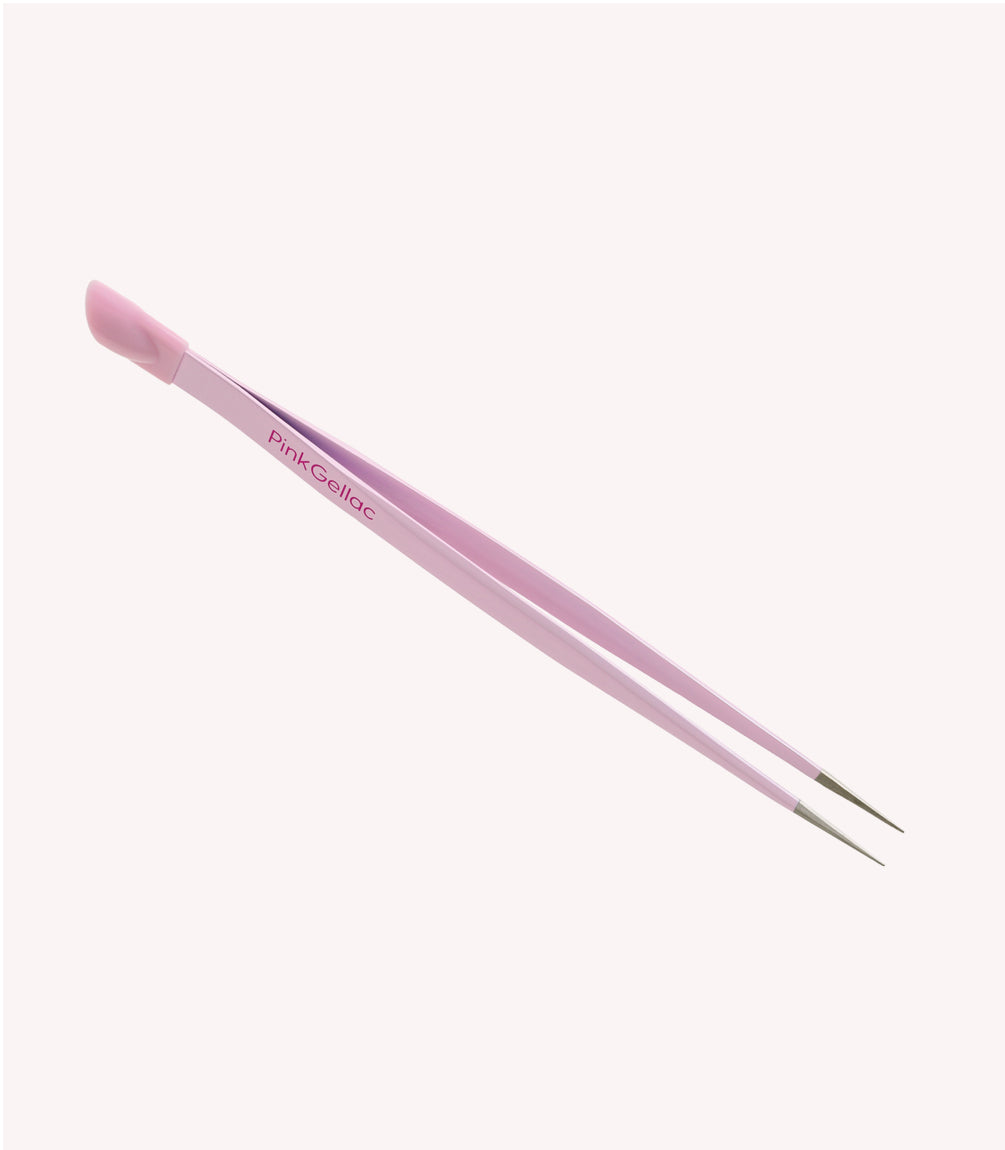
To achieve precision without damaging the delicate stickers, use our nail art tweezer. This tool is specifically designed for easy handling of nail stickers. It features a silicone end, which is perfect for picking up and placing the sticker without leaving any oily residue or creating air bubbles. The silicone tip can also be used to smooth out the sticker once it's on the nail.
Step 3: Position With Care
Before you commit to sticking it down, plan exactly where you want each sticker to go. Positioning is key, and once satisfied with the placement, firmly press down with the silicone tool. This will ensure that the sticker adheres well without any creases or bubbles. Once the sticker is in place, take a moment to press it down thoroughly, starting from the center and moving outwards. This helps to flatten any remaining bubbles and ensures that every edge is tightly sealed to the nail surface.
Step 4: Trim the Edges
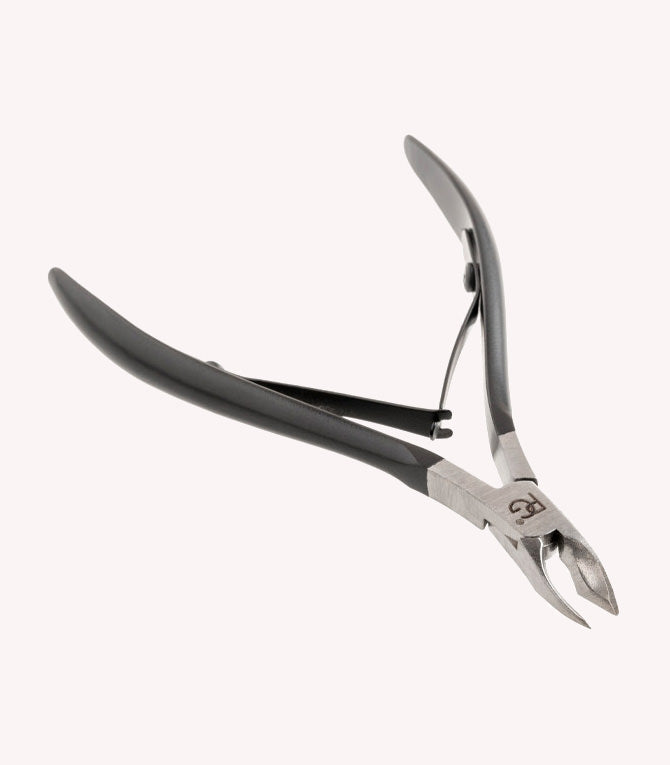
If your sticker extends beyond the edge of your nail or needs a bit of shaping, trim the excess with our cuticle nipper. This allows you to customize the size and fit of your nail stickers, ensuring they look natural and well-groomed. Finally, you can also file the edge of the sticker if necessary.
Step 5: Seal with Top Coat
To lock the sticker in place and ensure its longevity, apply a top coat over your nail. This seals the edges of the sticker and prevents it from peeling. For an extra smooth finish, consider applying a second layer of top coat. This will smooth out any tiny imperfections and give your nails a glossy, professional look.
Step 6: Moisturize and Protect
Apply a nourishing cuticle oil around the base of each nail. This not only hydrates the cuticles but also keeps the skin soft, enhancing the overall appearance of your manicure. To prolong the life of your nail art, avoid using your nails as tools. Wear gloves while doing dishes or cleaning, as chemicals and hot water can weaken the top coat. If you notice any edges lifting, apply a small amount of top coat to the area and cure again.