Pastel French Manicure & Flower Nail Art

Step 1: A fresh start
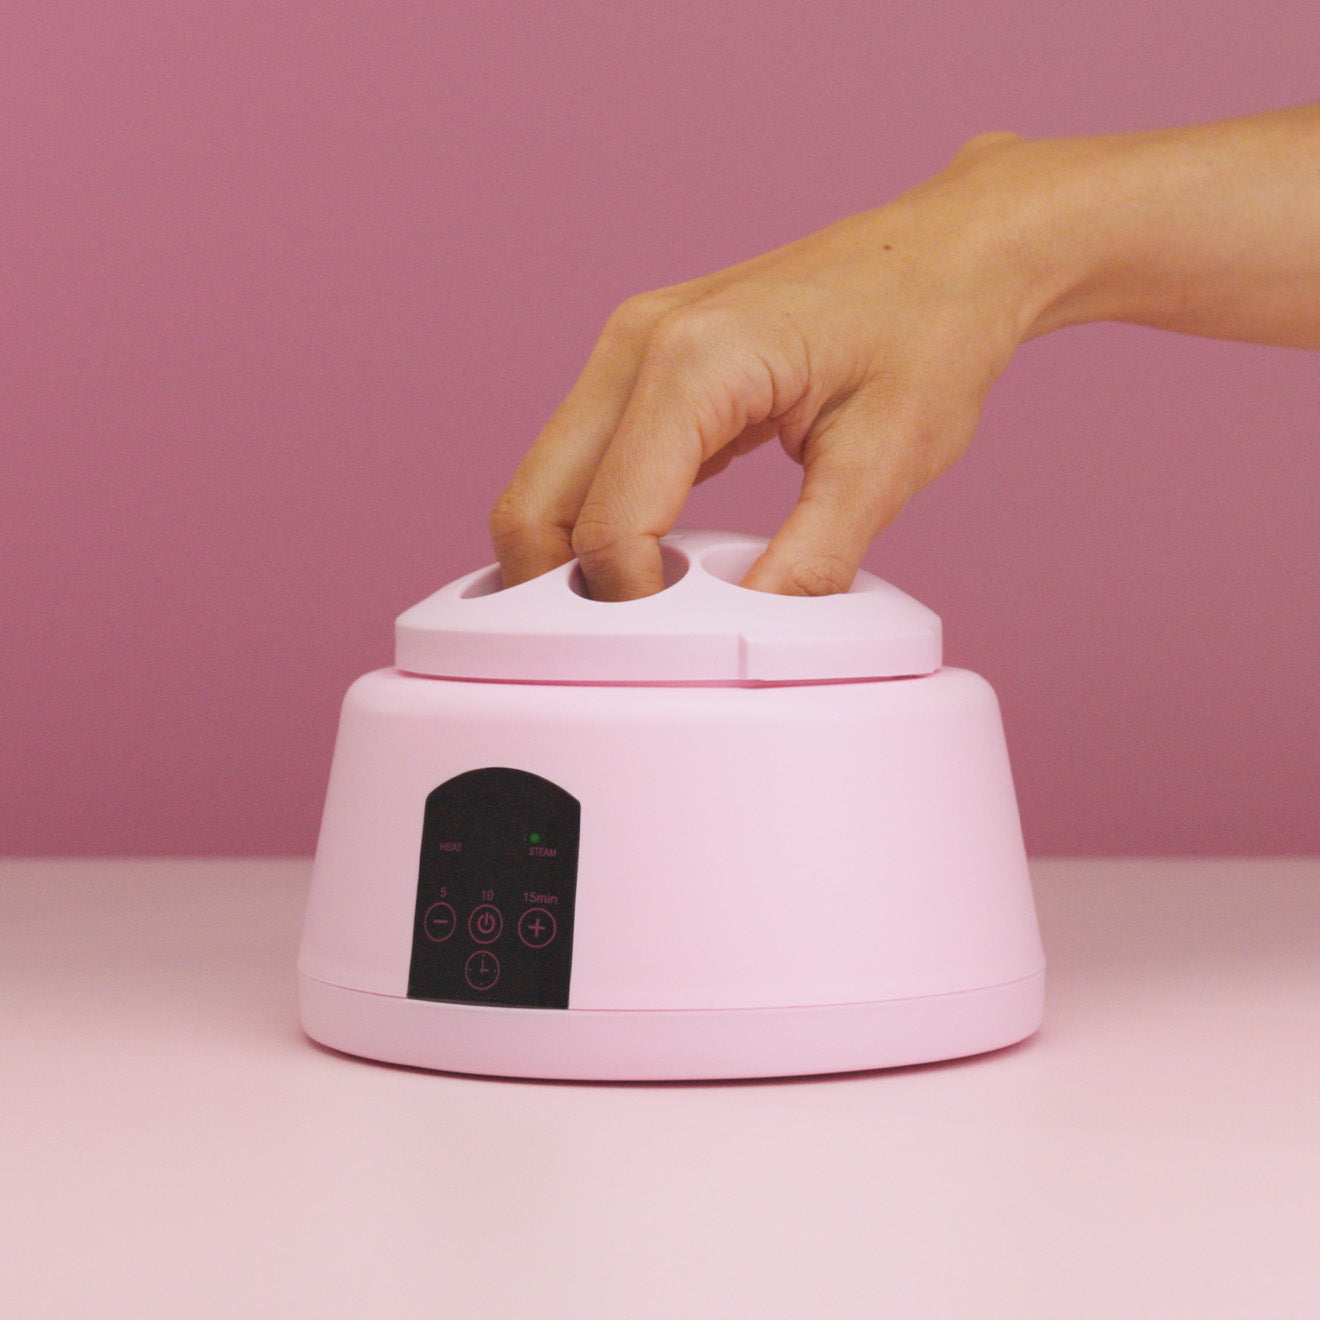
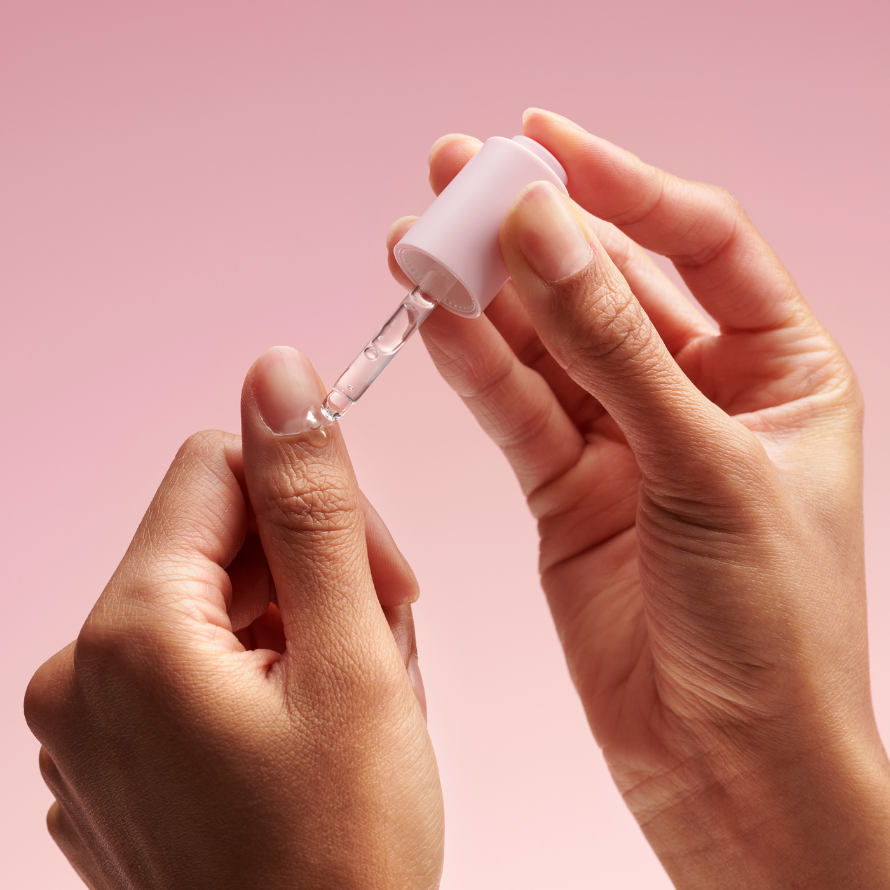
A beautiful nail art look starts with well-groomed nails! Pamper your hands and nails by following the recommended steps from The Ultimate Hand Care Routine before applying polish—this ensures an extra polished result. Wait 30 minutes after care for optimal adhesion. Next, prep your nails according to the steps in The Perfect Gel Polish Prep Routine in 4 Steps and apply your favorite Base Coat.
Tip 1: Base and colour in one
Want a French manicure shade as your base right away? Choose a Rubber Base Cover or Build it Base shade. This way, you’ll have the perfect foundation for your nail art designs! For this look we used Tender Pink
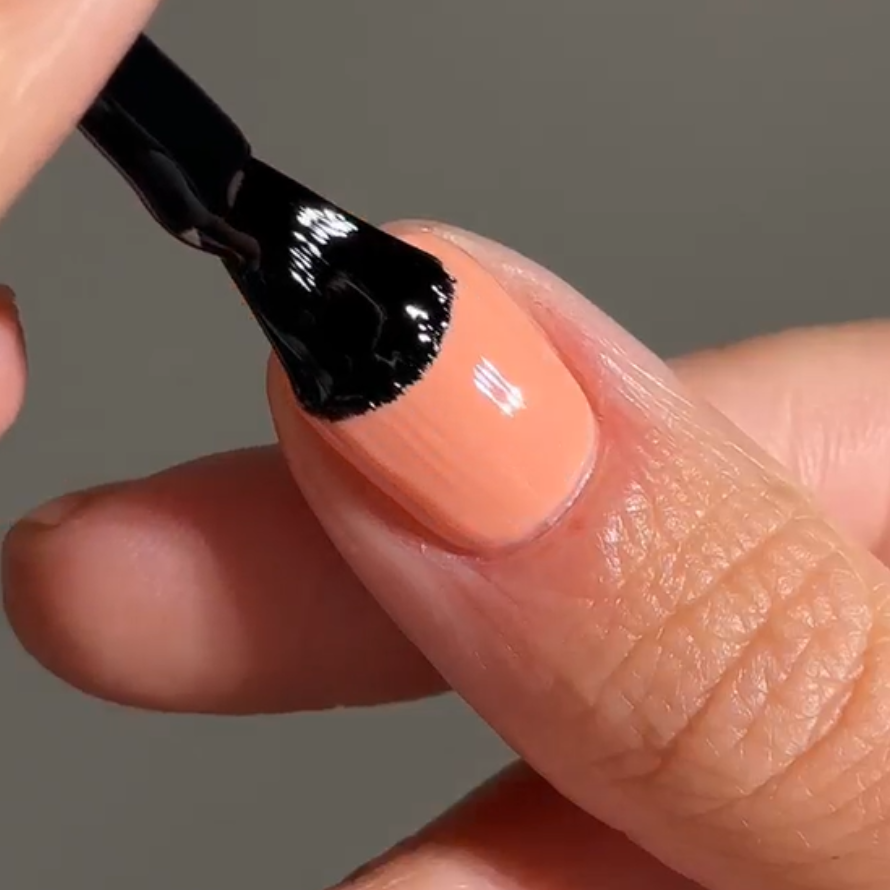
Step 2: Apply a base colour
Now that your nails are perfectly prepped, it's time for the base layer! For this nail art look, apply 446 Blushing Peach on the thumb. Use 442 Aurora Pink on the pinky. For the other nails, choose a nude shade as the base color, such as 121 French Pink, 388 Rosewater Pink, or 419 Marshmallow Nude. Apply 1 to 2 thin layers of your chosen base color, depending on the desired coverage. Cure each layer under the LED lamp for 60 seconds.
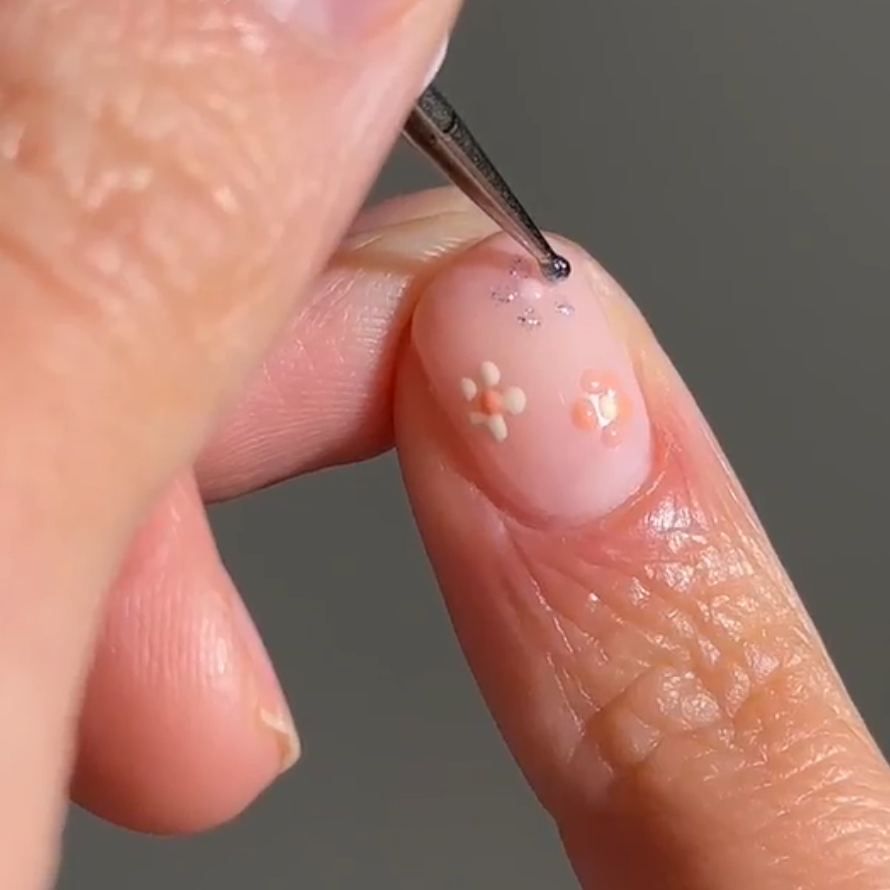
Step 3: Create Flowers
Time to bring your nail art look to life with playful flowers! For this step, use a Dotting Tool to create the flowers on the index finger. Start by placing a dot in the center of the flower. Then, choose another color and add five dots around the first one. Repeat this process with different colors. For this nail look, the colors 442 Aurora Pink, 444 Sparkling Blue, 445 Butter Yellow, and 446 Blushing Peach are used. Finally, cure for 60 seconds under the LED lamp.
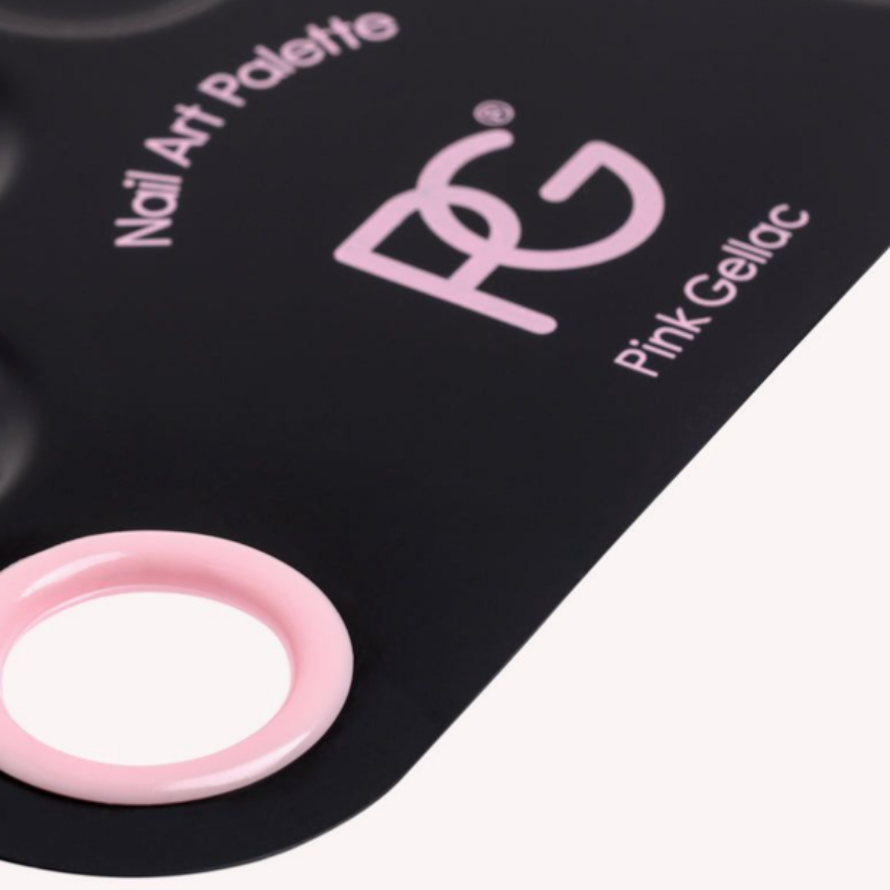
Tip 2: Prepare you pallet
Make sure you're ready to work like a true Picasso! Prepare the Nail Art Palette by applying a small amount of each color before you start. This way, you won’t have to add more polish in between, allowing you to work smoothly on your design.
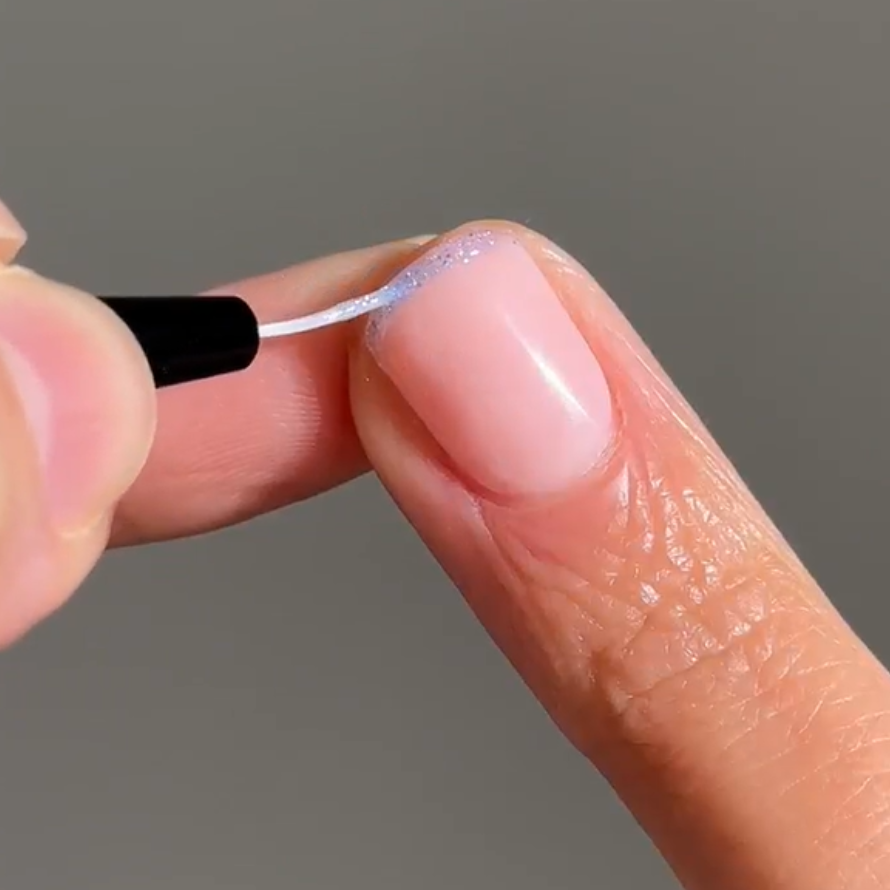
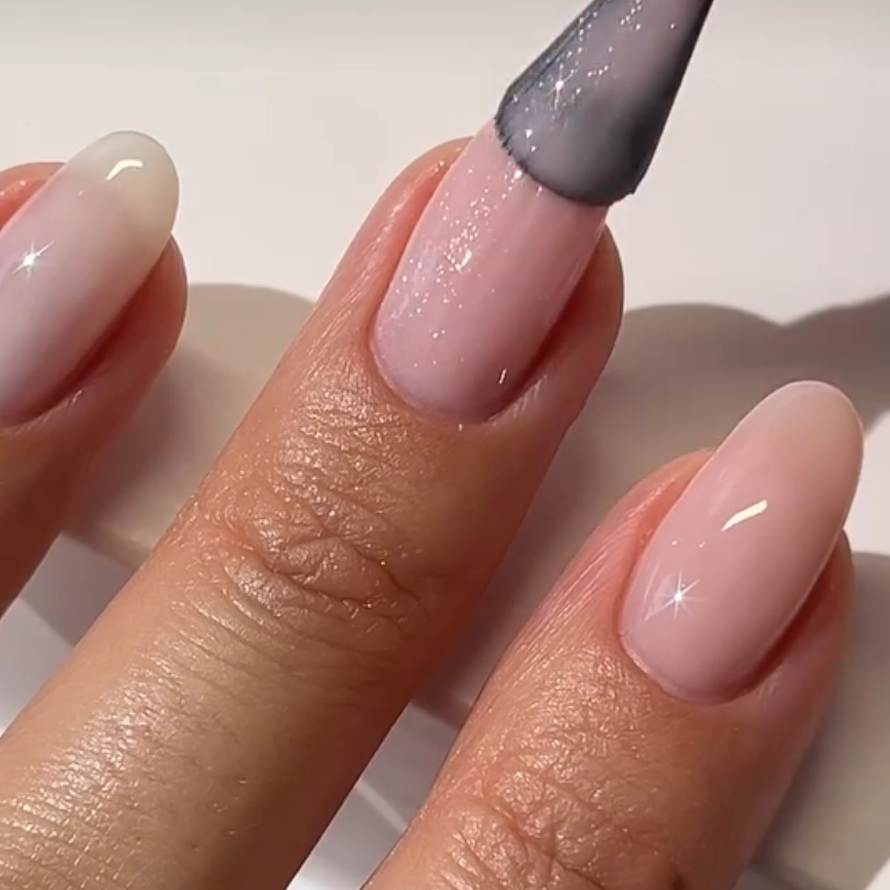
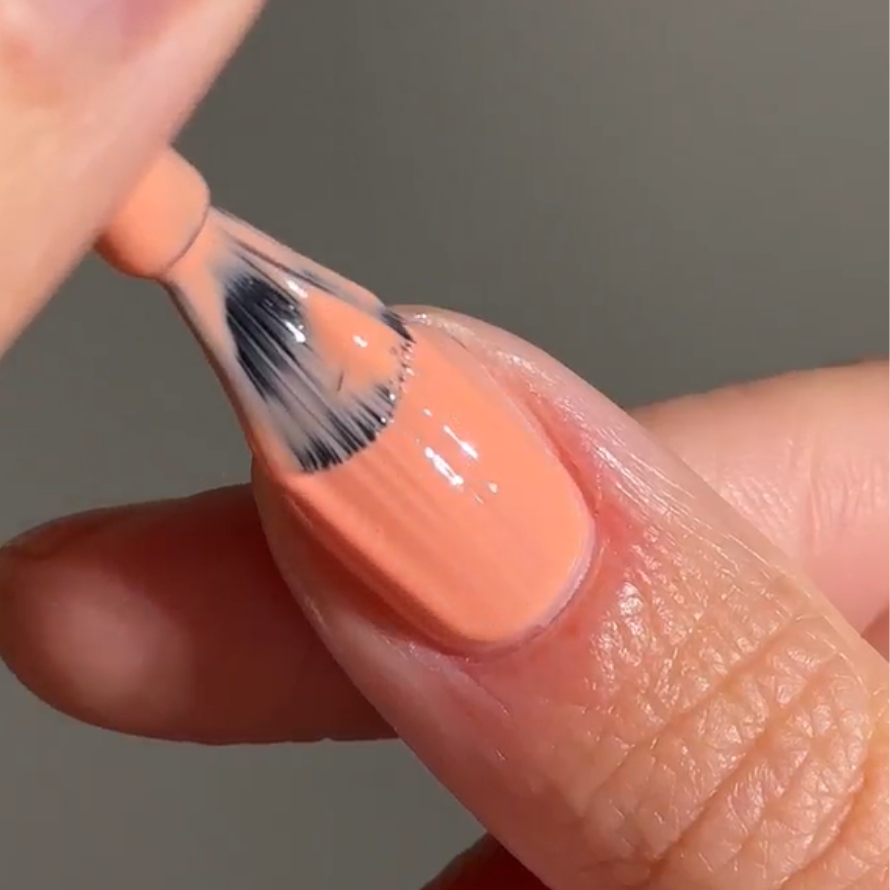
Step 4: Create a French manicure
A French manicure is applied to the middle and ring fingers. For this step, use a Fine Liner Brush or a French Manicure Brush. Draw a thin line along the nail edge, as shown in the image. Take your time—practice makes perfect! Then, cure it under the LED lamp for 60 seconds. For this look, the colors 443 Soft Pistachio and 444 Sparkling Blue are used.
Step 5: Add shine
As the final step, apply a Shine Top Coat. Apply a thin, even layer over all nails. Then, cure it under the LED lamp for 60 seconds. After curing, wait one minute, then wipe the nails with a Nail Wipe and Cleaner to remove the sticky layer. This will give your nails a radiant finish and complete your spring look!
With soft pastel shades, playful floral details and a refined French manicure, this look brings a fresh and elegant touch to your nails. Give it a try yourself: choose your favourite colours, experiment with designs and add your own personal twist. Recreated the look? We’d love to see it! Tag @pinkgellac or use #pinkgellac on your socials for a chance to be featured.