

Emily in Paris Bow Manicure
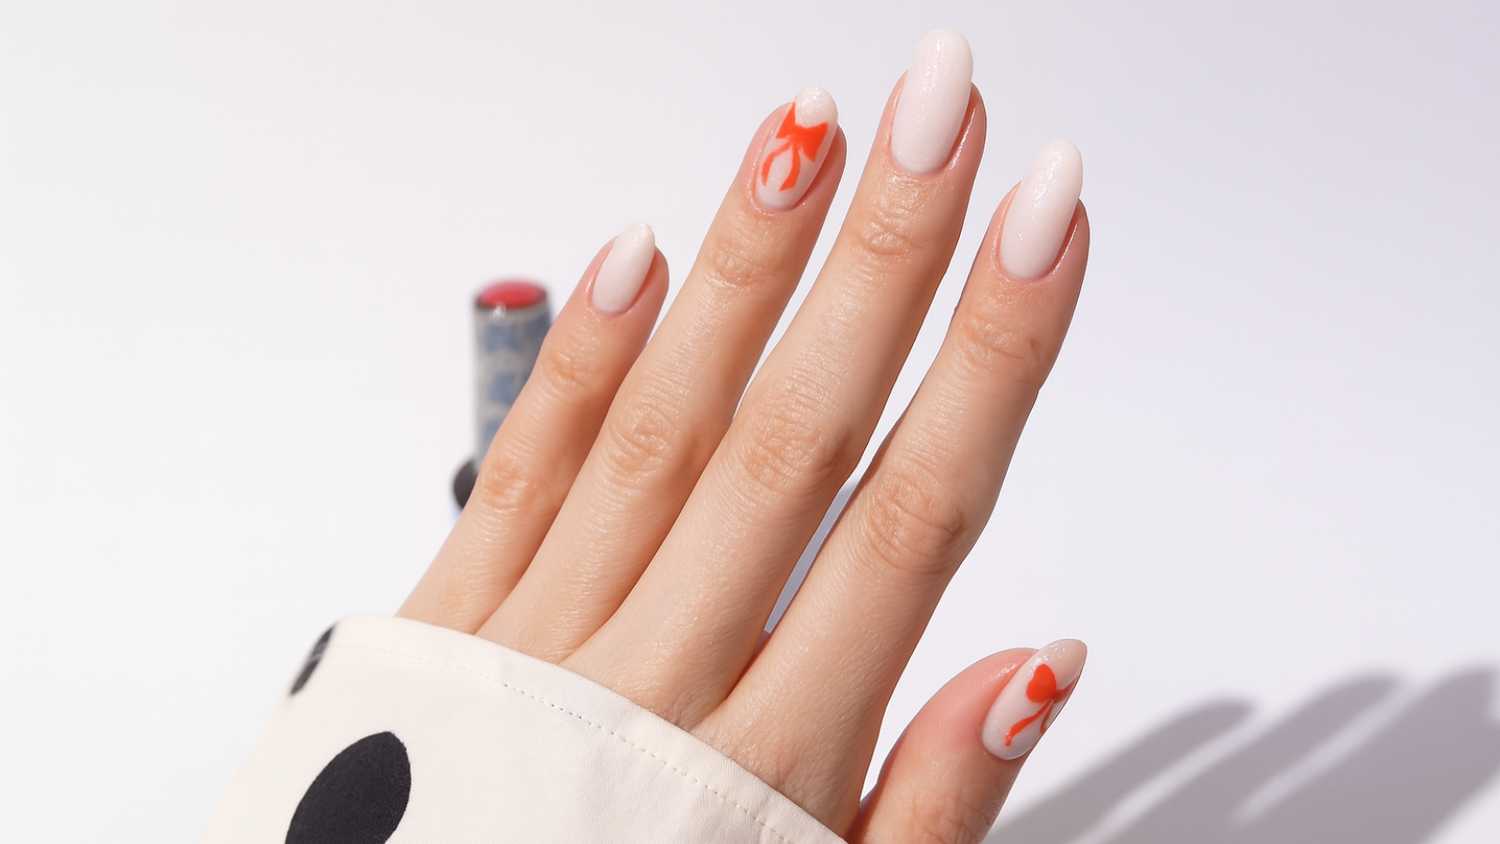
Get ready to step into your very own Parisian daydream with our Emily in Paris Nail Art.
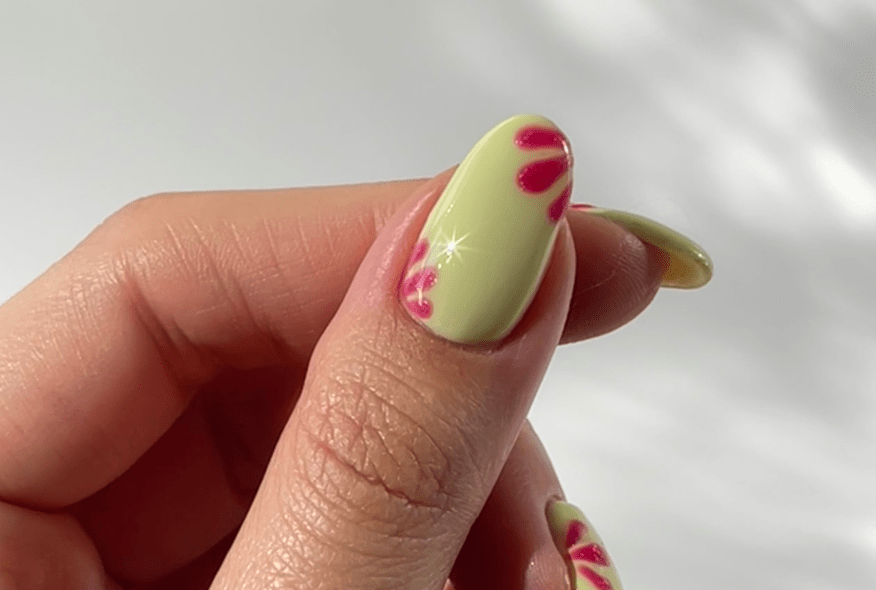
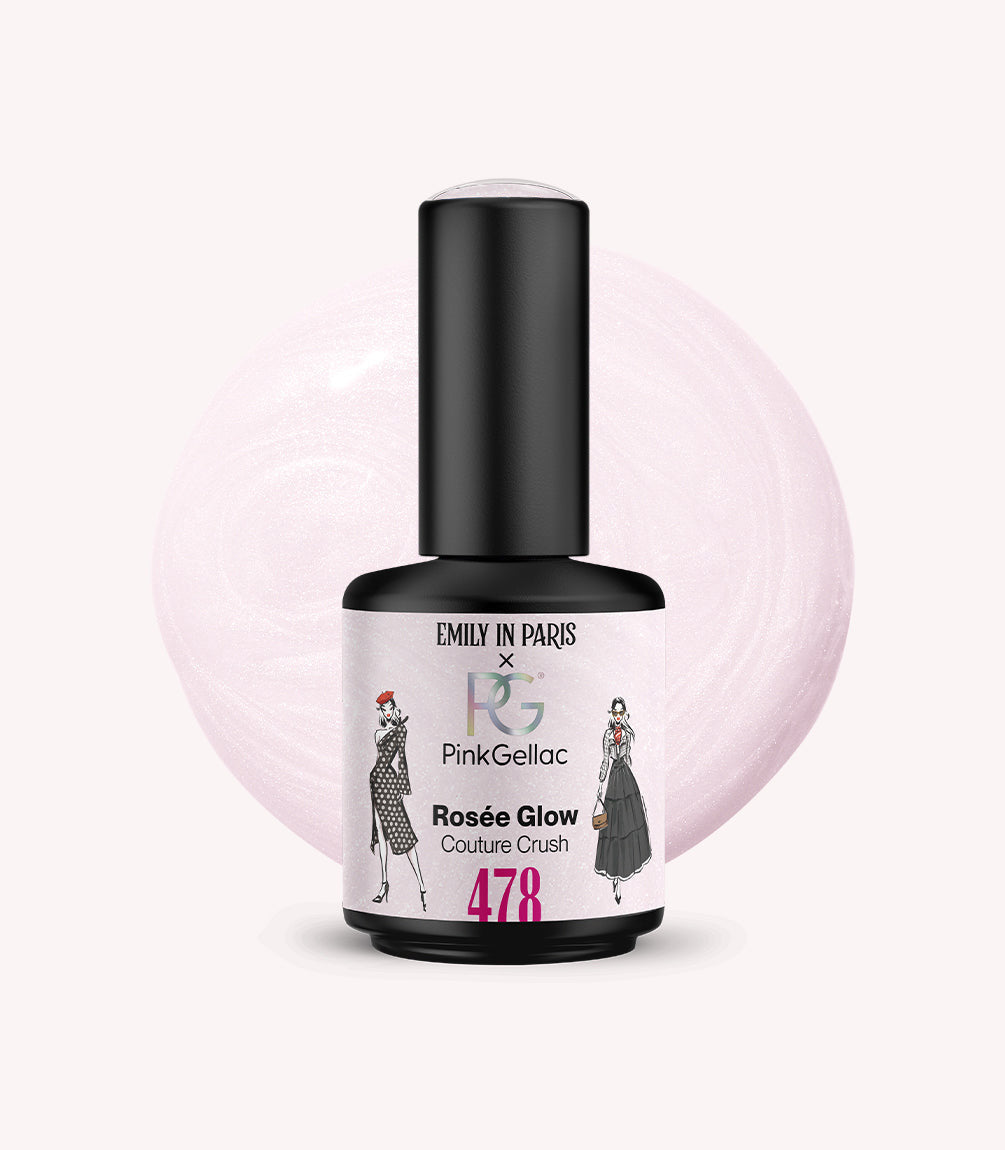
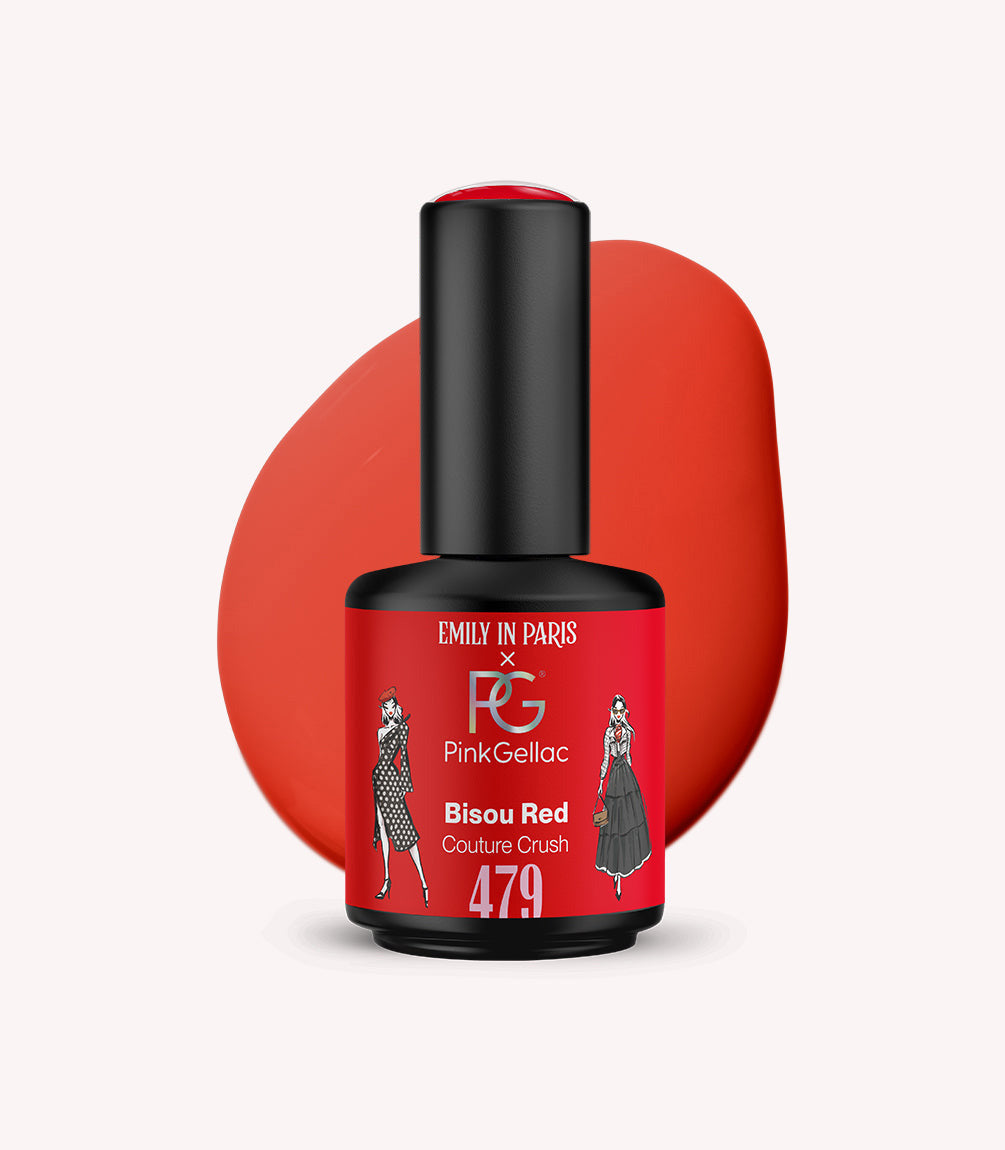
This chic, charismatic look is crafted with the Collection Couture Crush, a set of shades inspired by the bold, romantic world of Emily in Paris. It pairs the soft 478 Rosée Glow with the vibrant 479 Bisou Red to create a style that feels confident, stylish, and classic Paris.
Follow along and let’s bring this très chic manicure to life!
Step-by-step
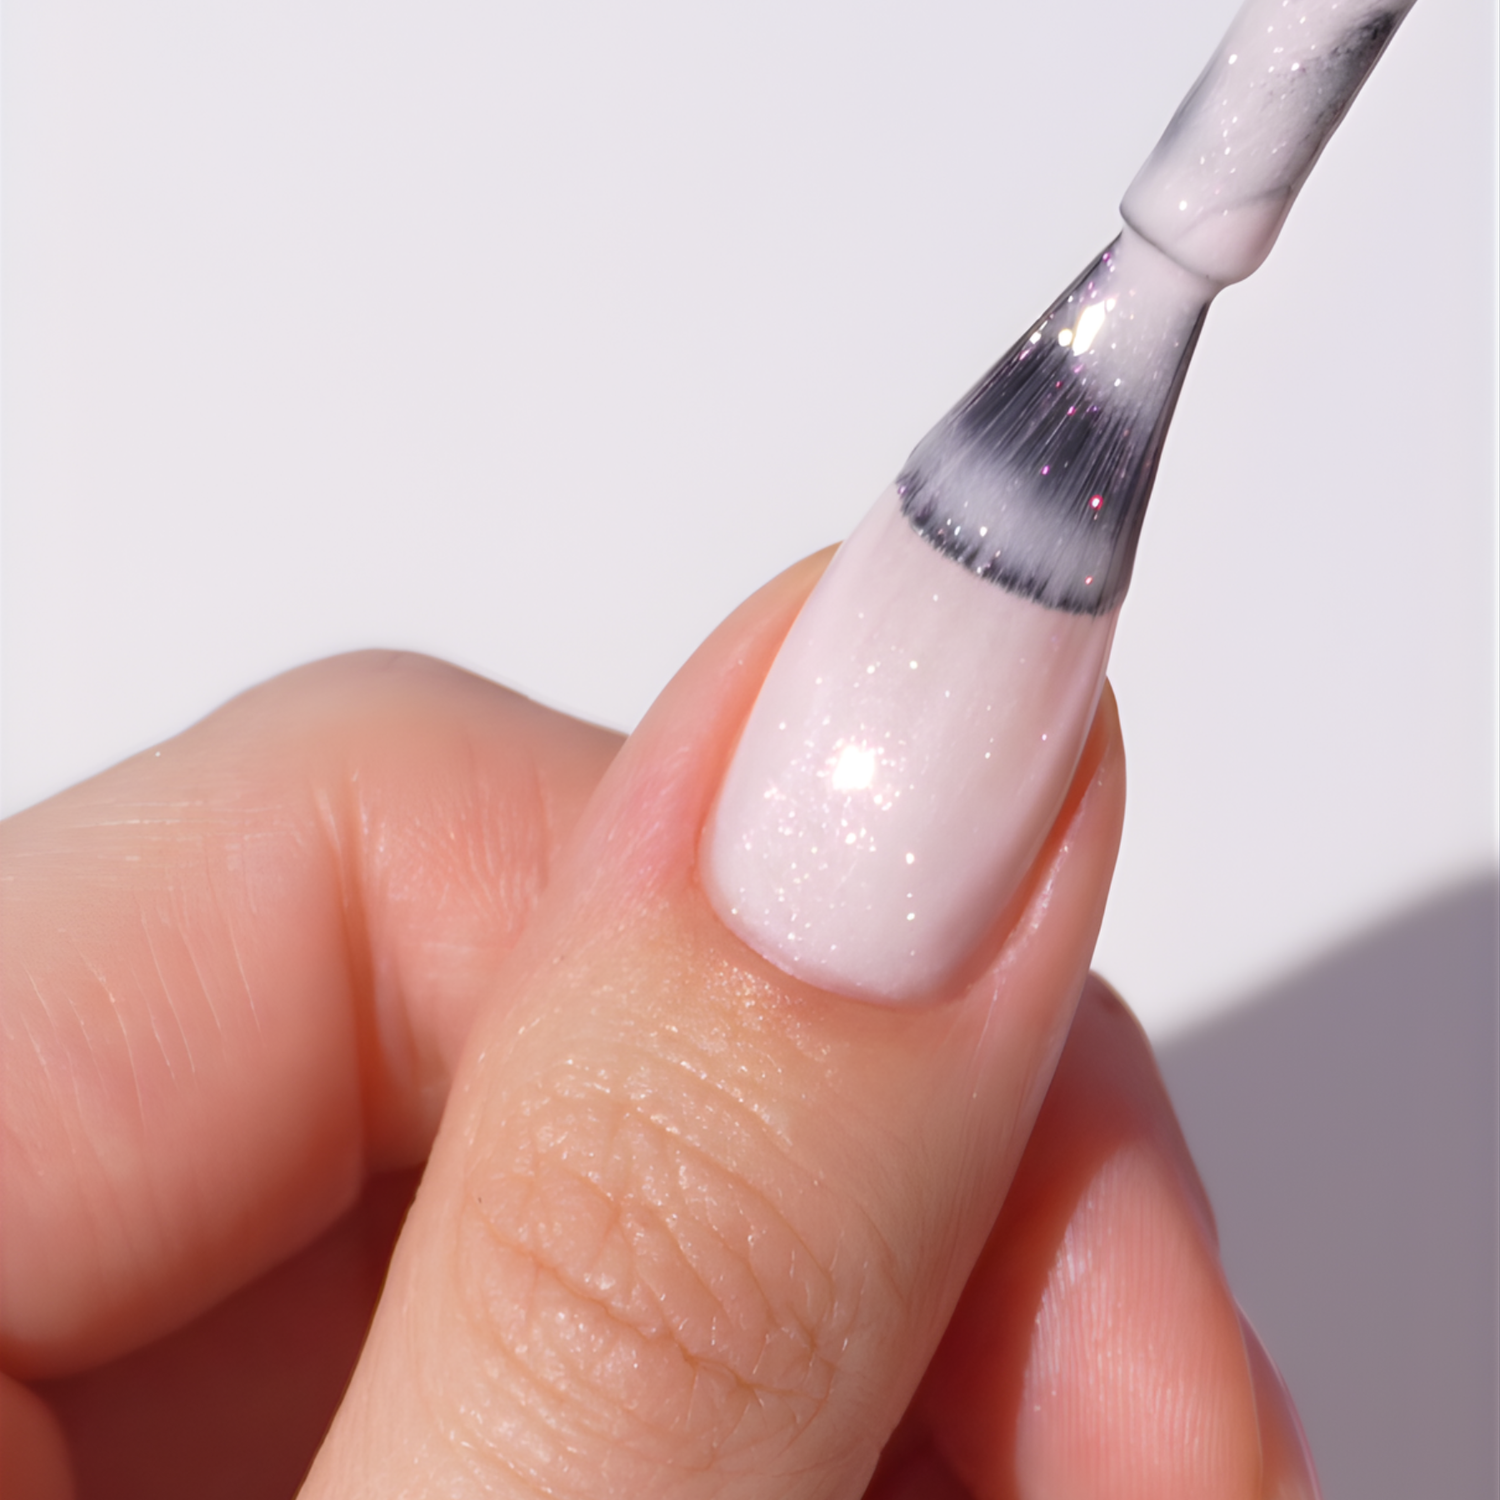
Step 1
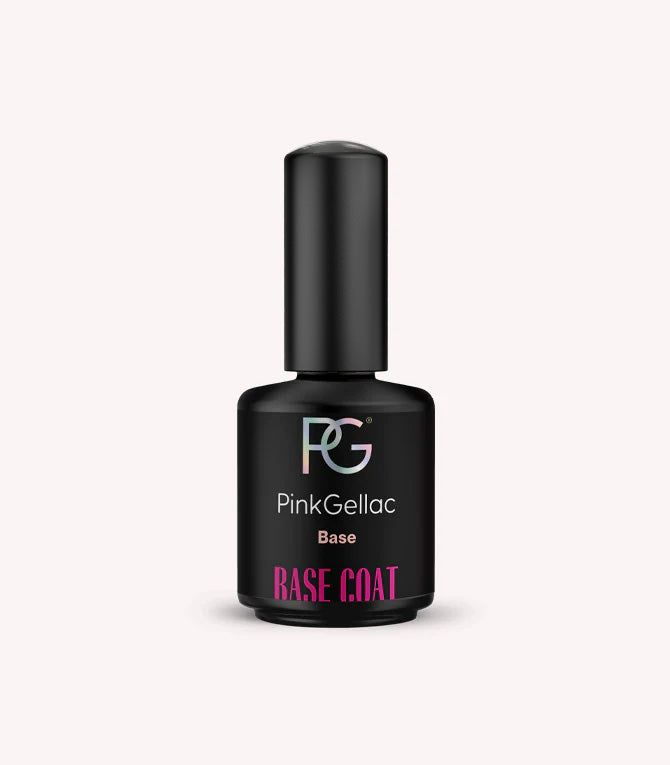
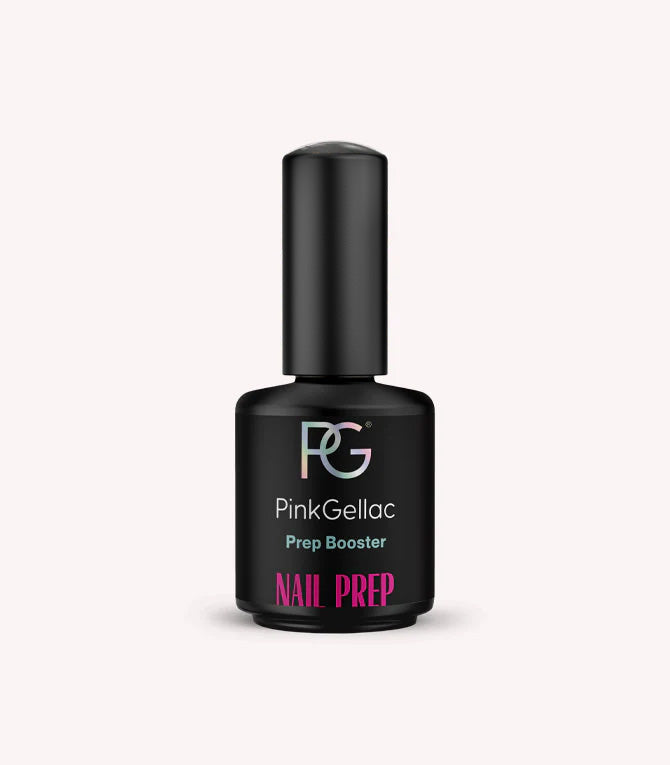
Start with your usual nail prep routine and apply your favourite base coat. Then apply one or two layers of 478 Rosée Glow. Cure each layer for 60 seconds under the LED lamp.
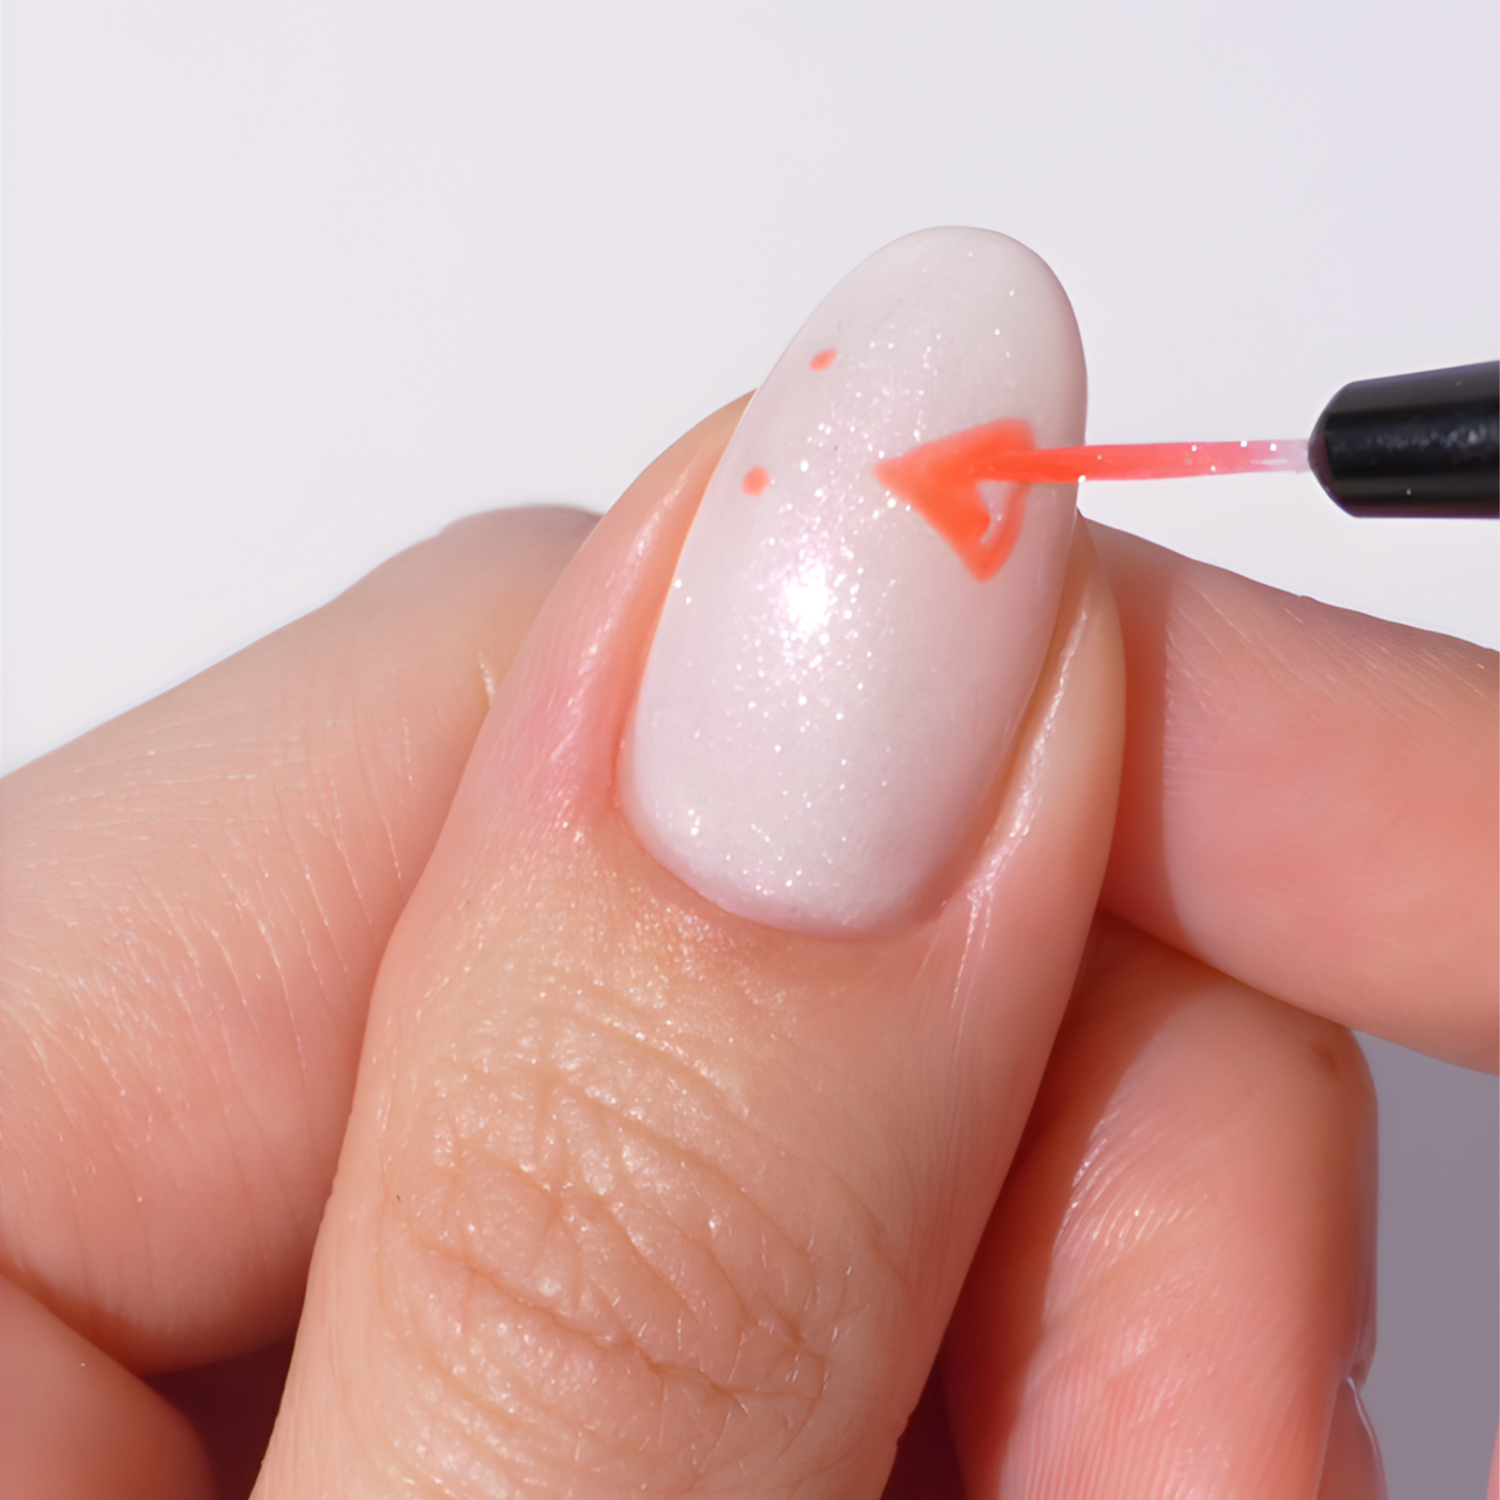
Step 2
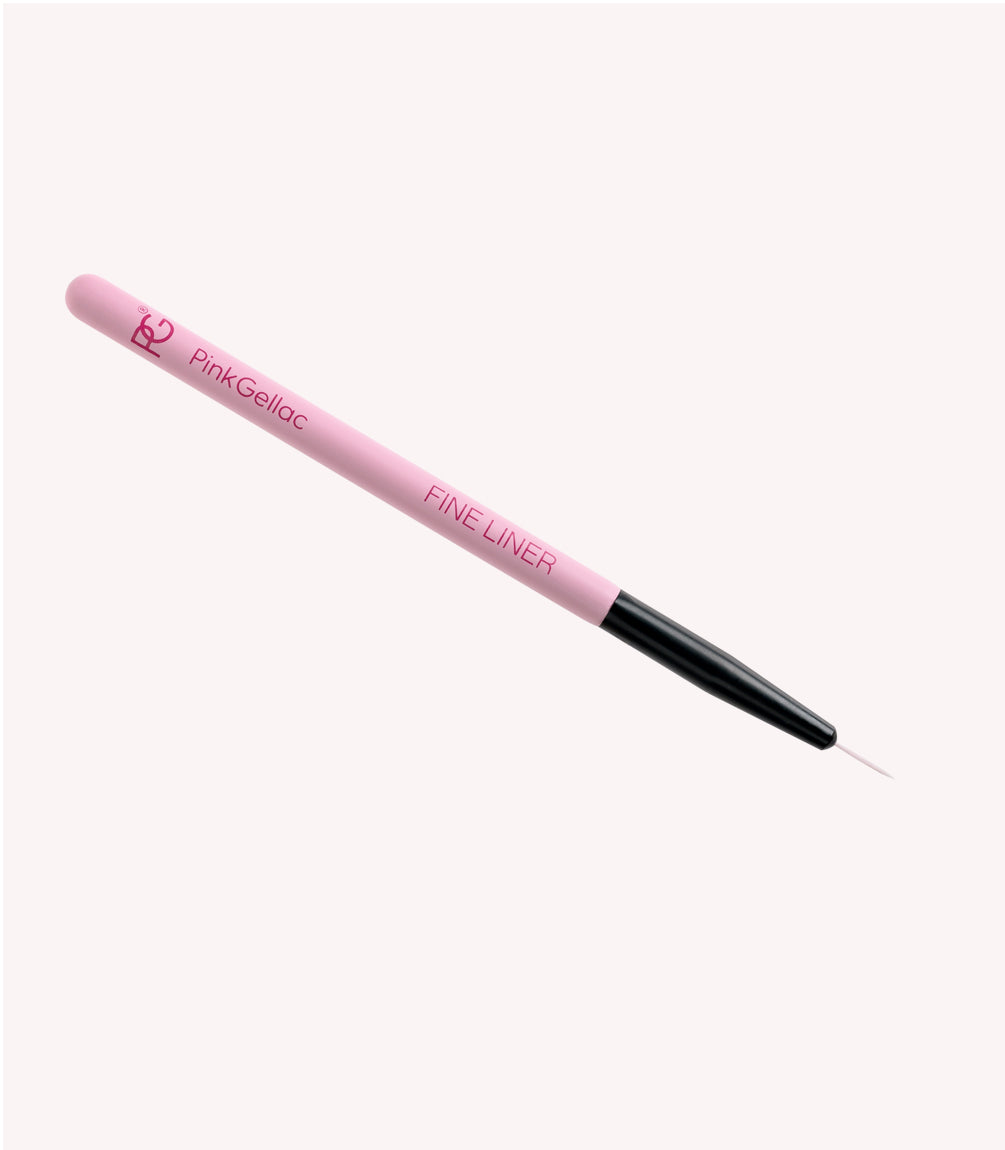
Using 476 Bisou Red and a Fine Liner, place five small dots on the ring finger: one in the centre, two on the left, and two on the right. Connect the two left dots to the centre to form a small triangle, then repeat on the right side to create the other half of your bow.

Step 3
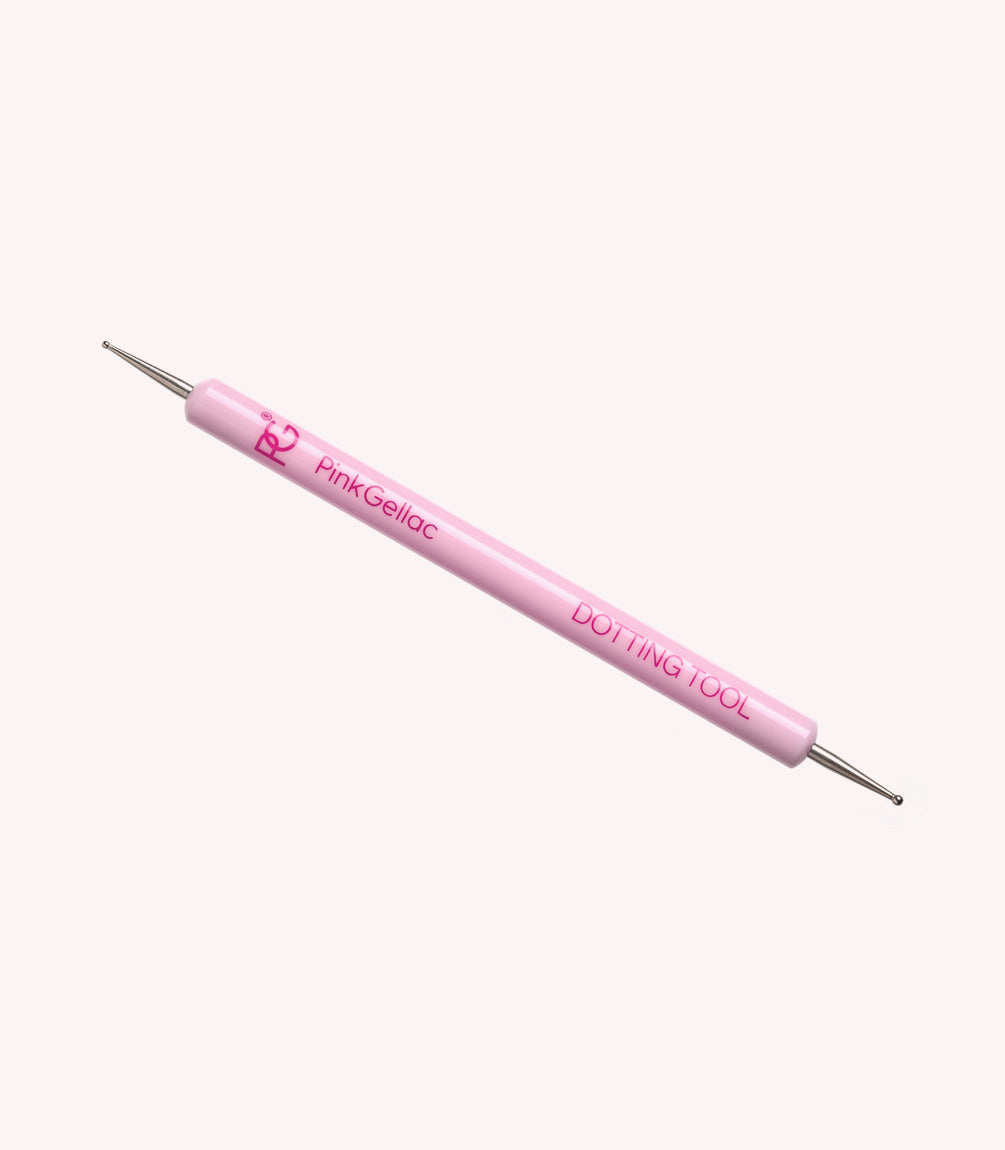
Next, use a dotting tool and 476 Bisou Red to add a tiny dot in the middle of the bow to give it that charming, gift-like finish.
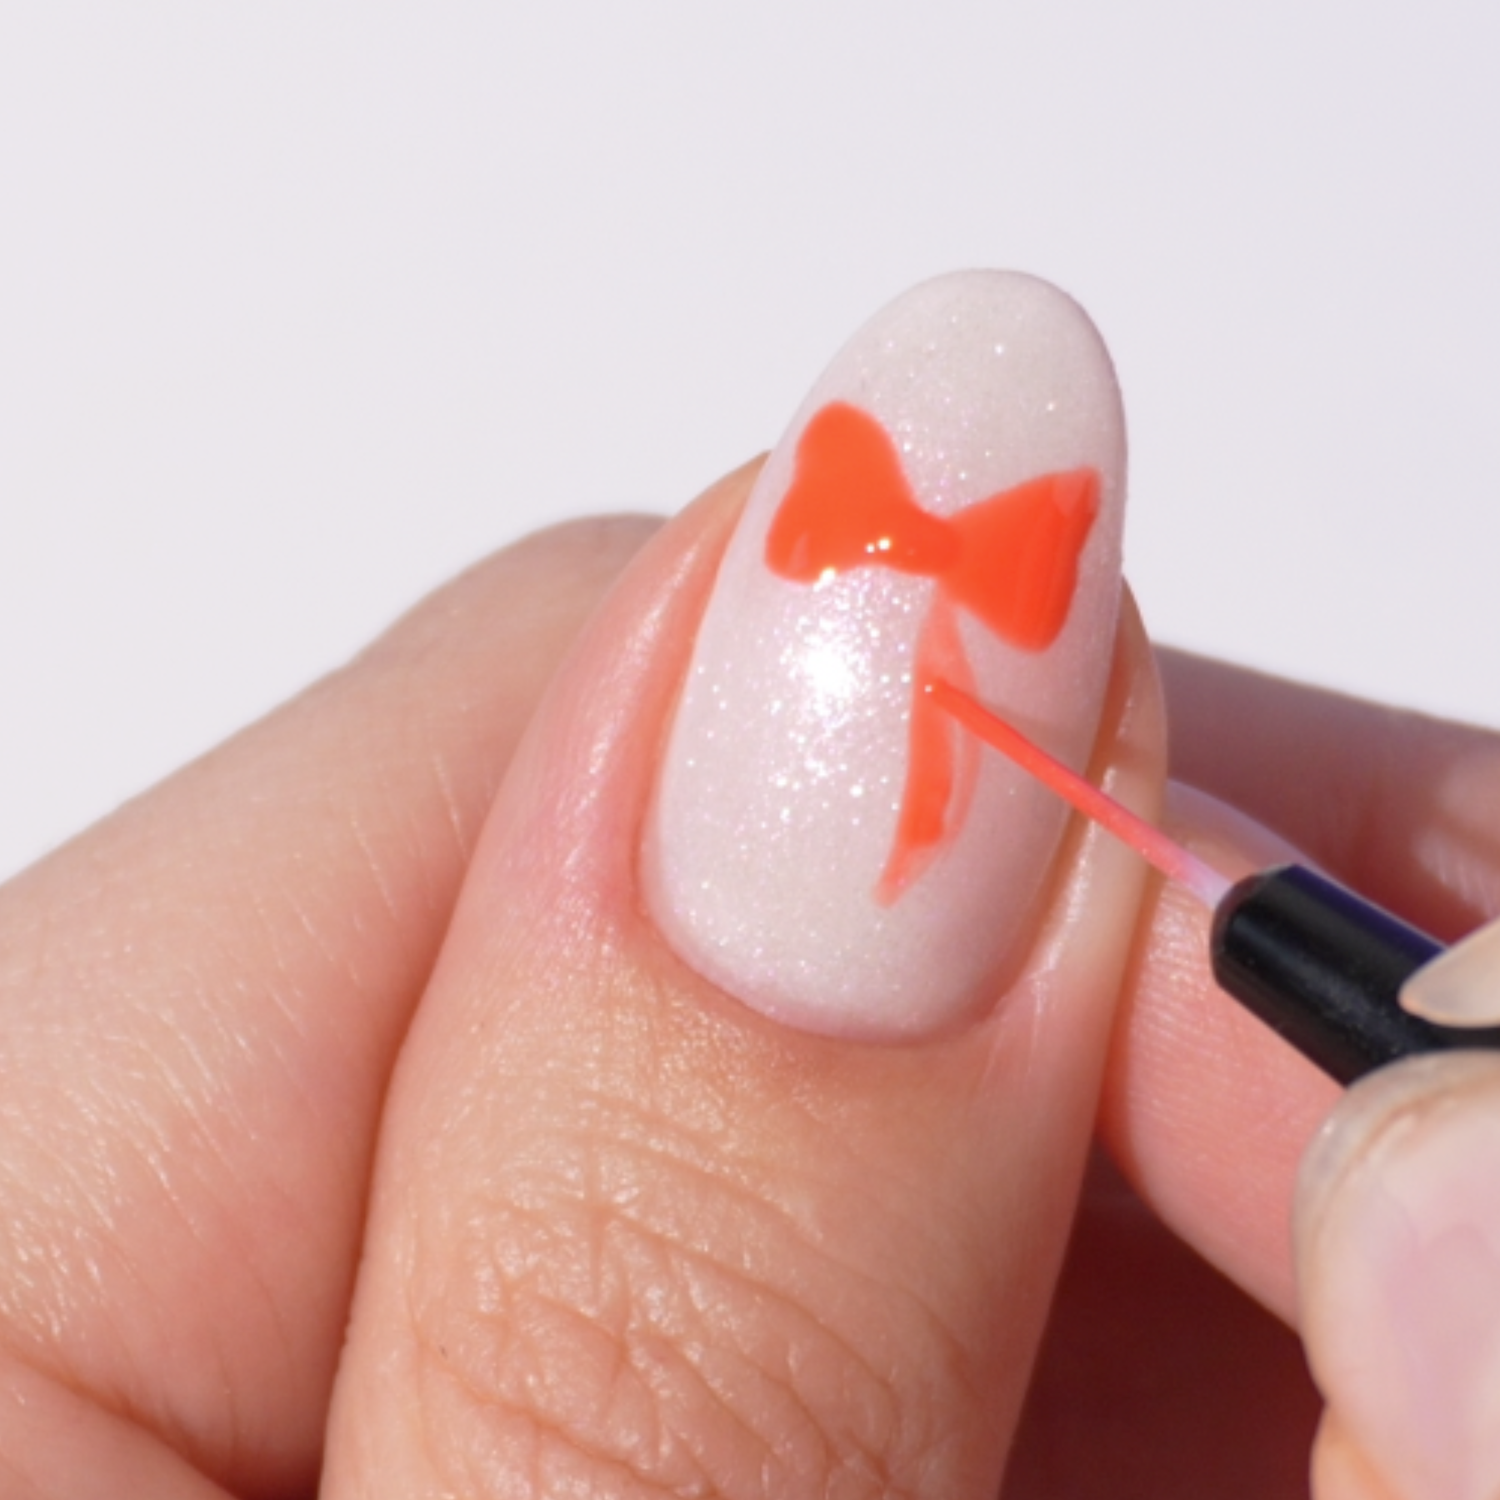
Step 4
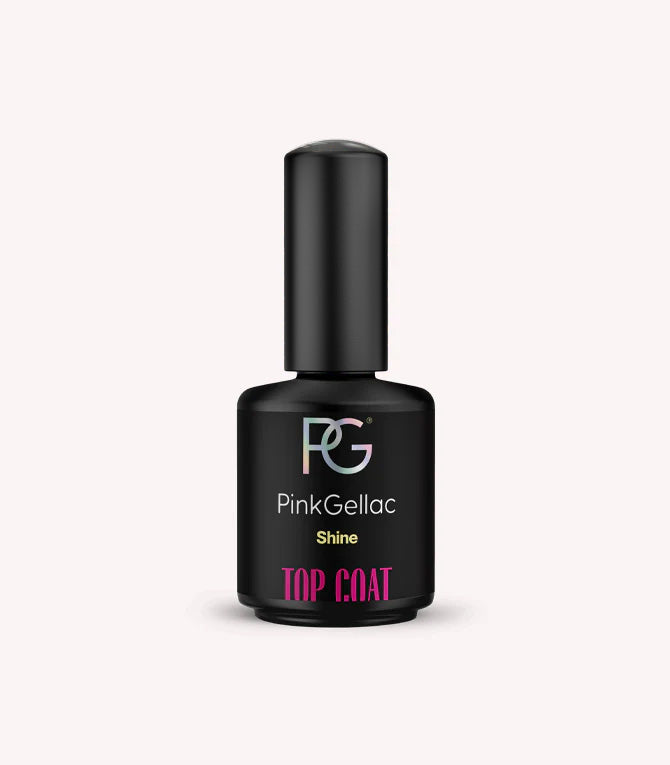
Use the Fine Liner to draw two ribbon ends beneath the bow — one on the left and one on the right. Keep them delicate, like a beautifully tied holiday ribbon. Cure for 60 seconds. Repeat the bow design on the thumb to tie the whole look together. Cure once more. Finish with your favourite top coat and cure again for 60 seconds.


The contrast between the delicate glow and striking red accents makes this design eye-catching in the sweetest way, perfect for anyone wanting to add a little Paris flair to their everyday look.
Are you going to recreate these Emily in Paris bow nails? Share your creation and tag us! Use @pinkgellac or #pinkgellac so we don’t miss out!
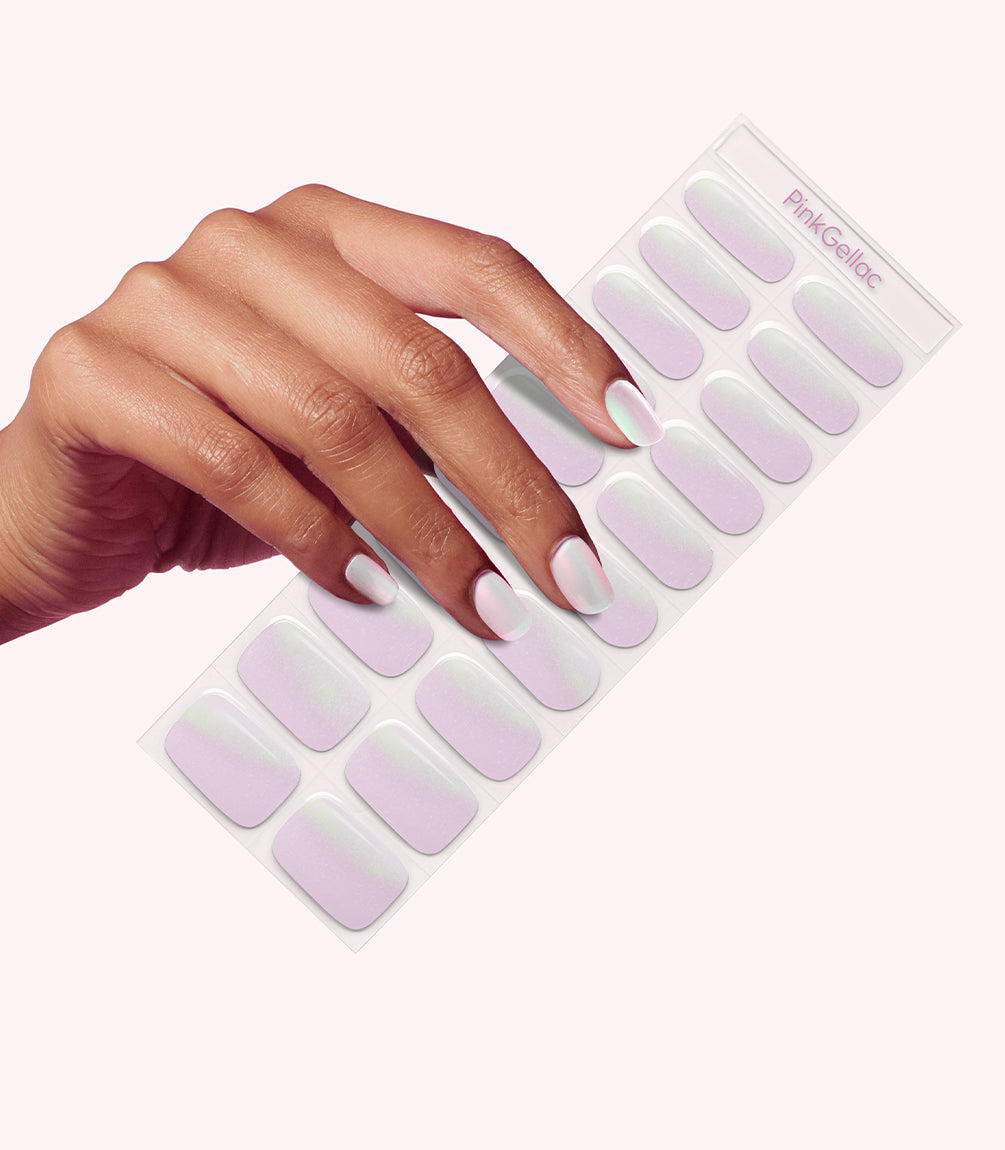
And if you love a ready-made design: discover our Emily in Paris Gel Nail Stickers. These stickers cover the entire nail for an instant, finished look — perfect if you want the Emily in Paris vibe without creating the full nail art yourself.
Shop the look
gel nail polish
gel nail polish
for gel nail polish
for gel nail polish & gel nail stickers
for gel nail polish & gel nail stickers