Blooming Gel Nail Art: Snake Print
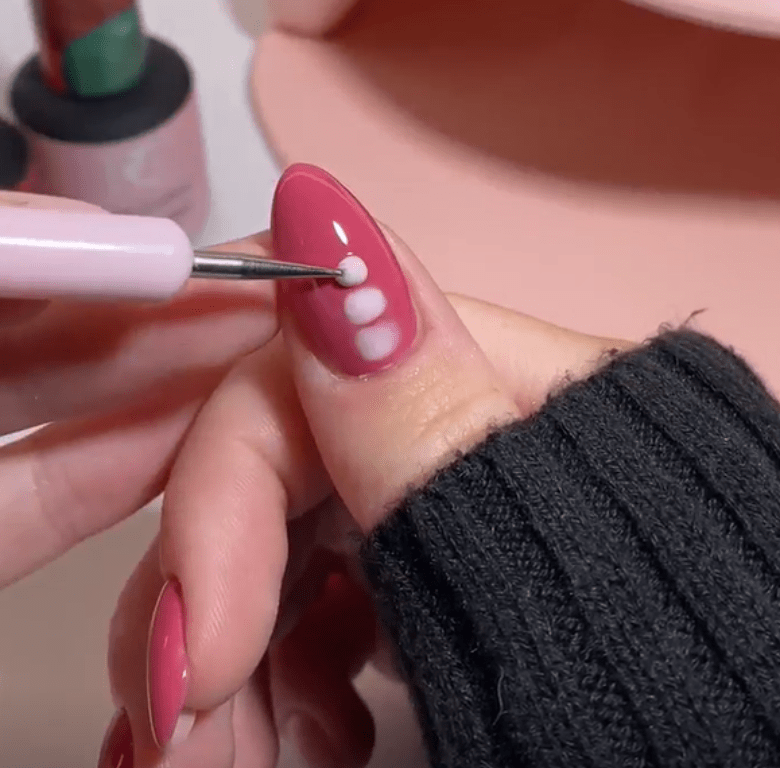
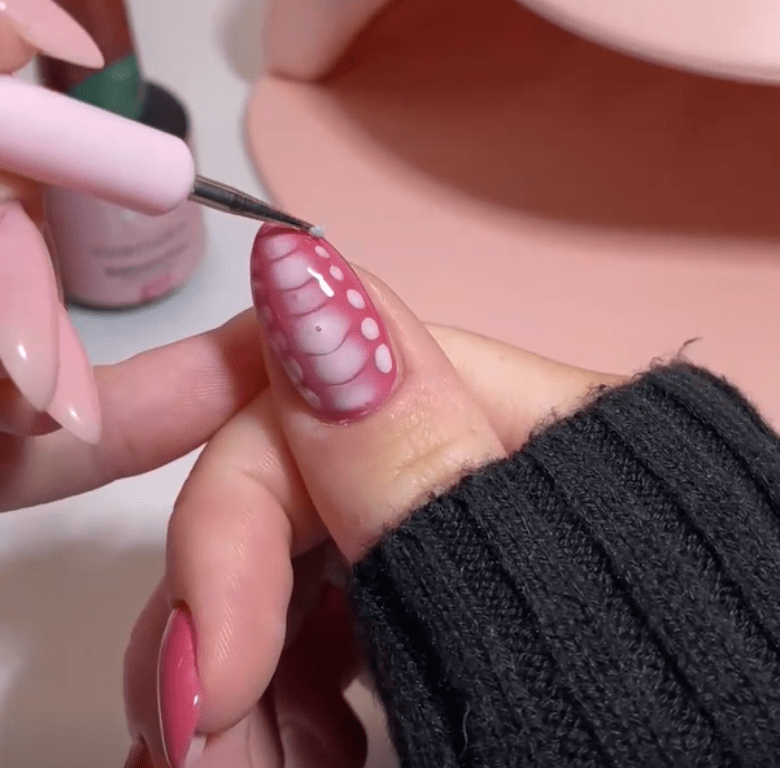
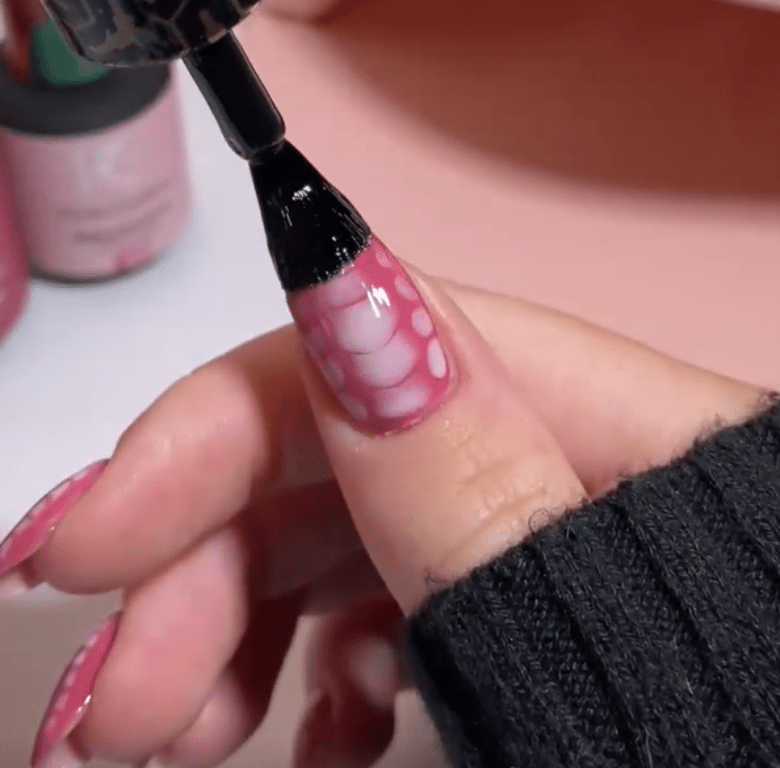
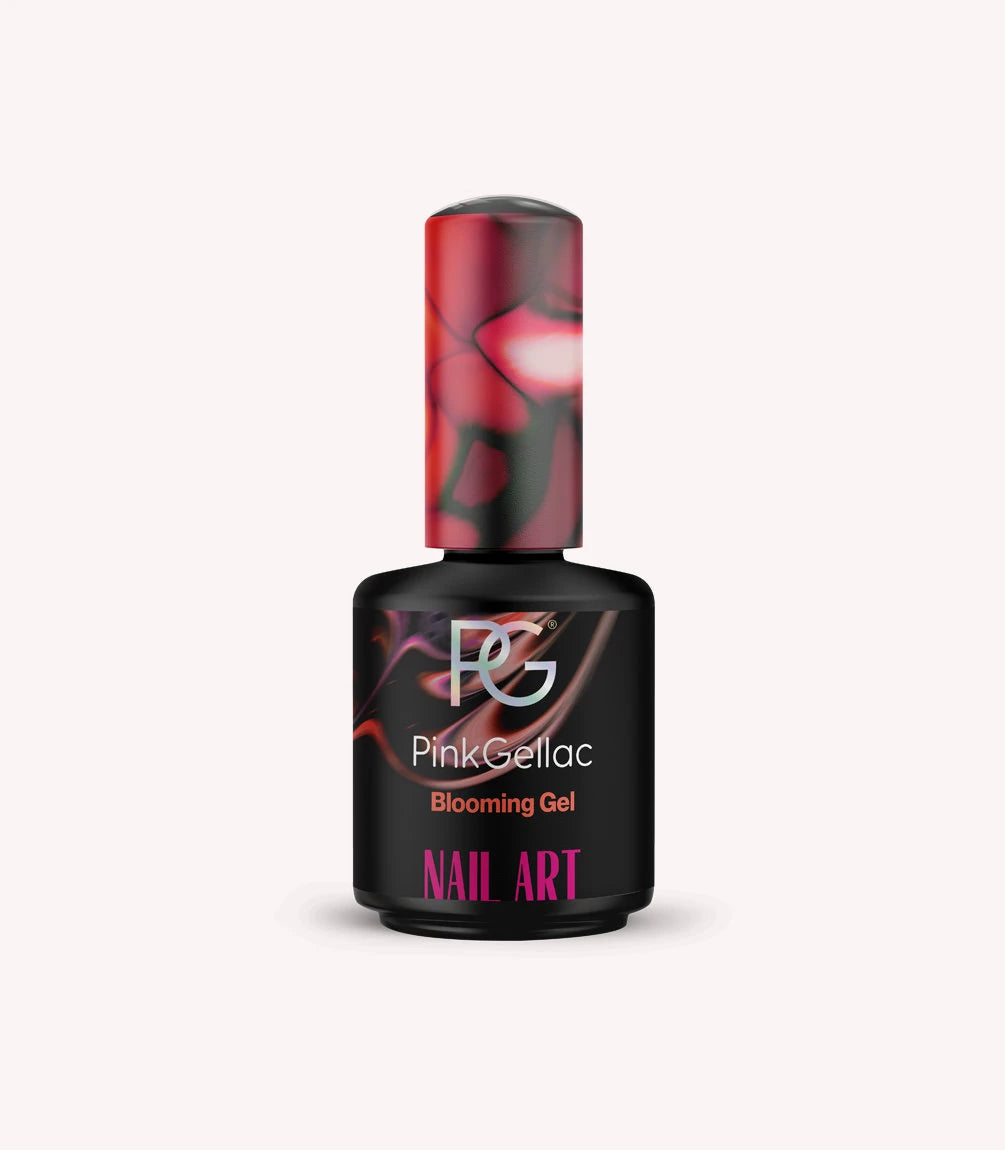
Do you also want the coolest, unique designs on your nails? Then the Blooming Gel is exactly what you are looking for! The Pink Gellac Blooming Gel is an ideal base for making dots, marbles, snake prints or other designs. With this liquid layer you can create endless Nail Art looks. Nail Art is fun and super easy with the Pink Gellac Blooming Gel! Scroll down to see a step-by-step example of nail art with a snake print and blooming gel, which can help guide you through the process.
If you want to know more about Blooming Gel and what you can do with it, read this page about it! This can help you better understand our following steps.
What do you need?
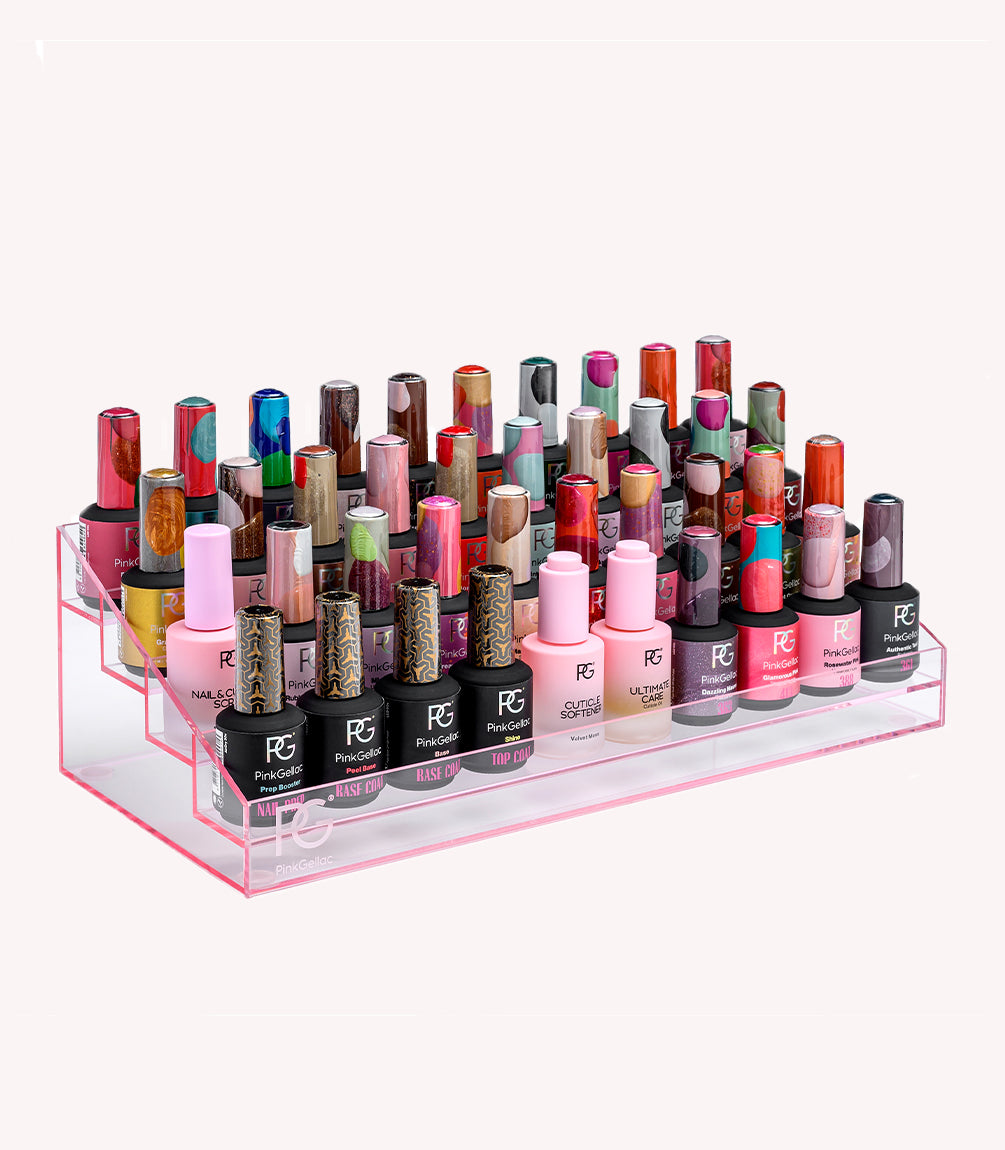
- The basics such as the Prep Booster, polishing block, a LED lamp, a Base Coat and a Top Coat
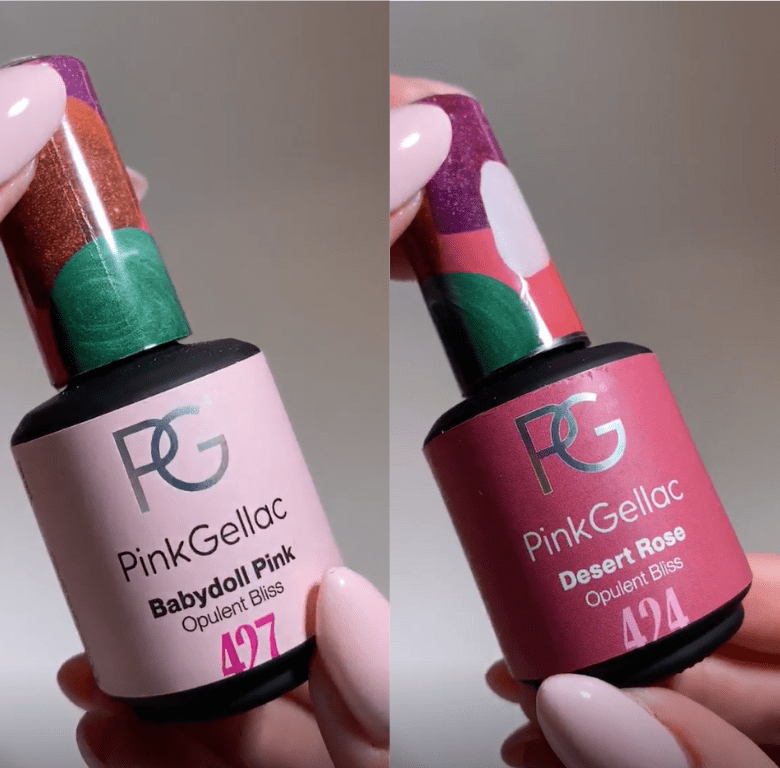
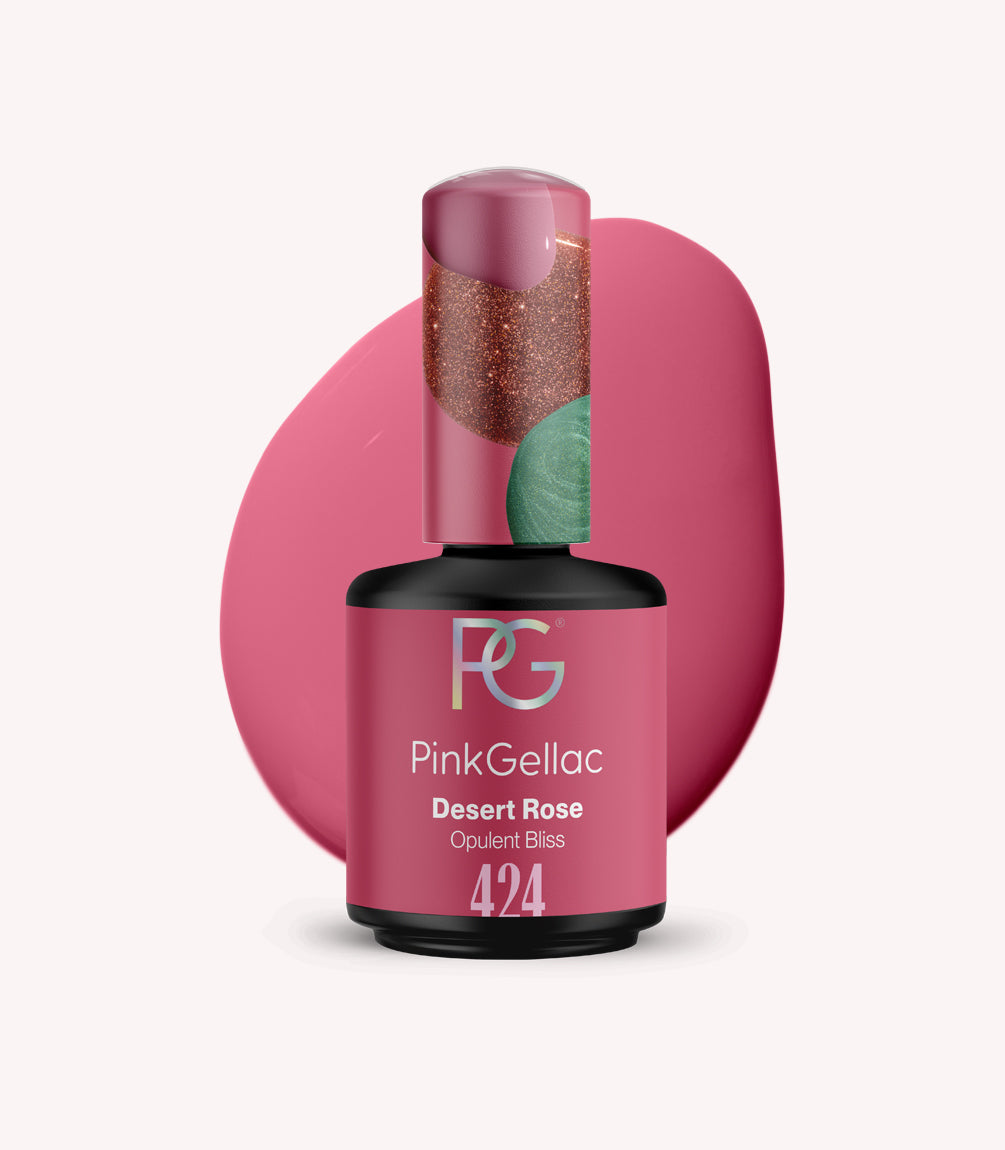
- Pink Gellac colour
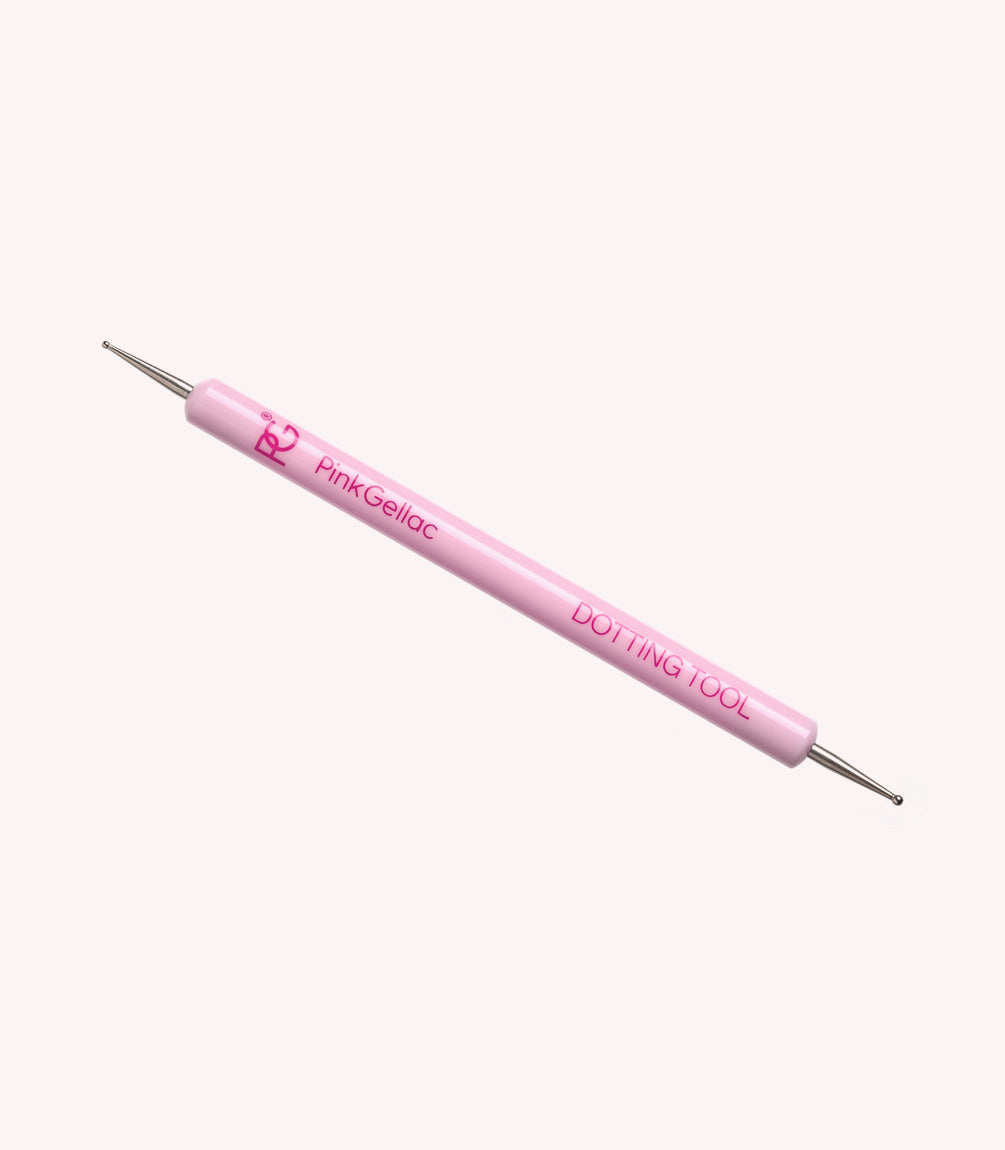
- Nail Art tools
- Ultra Shine Top Coat
We'll explain the steps of the Snake Print down below. The steps for creating this snake design are roughly the same for any other nail art. So, feel free to experiment with these steps for different designs yourself.
