Looking for the perfect Halloween look? Bloody nails are the trend for a terrifying effect! Start with your standard nail prep routine and apply your favourite base coat. Create blood-red drops on your nails for a spooky and stylish finish. Follow this tutorial and make your nails the highlight of your look.
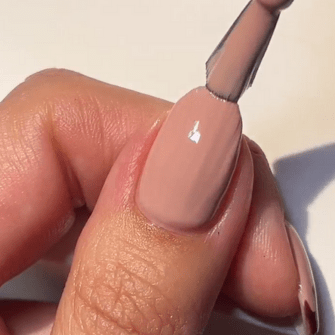
Step 1:
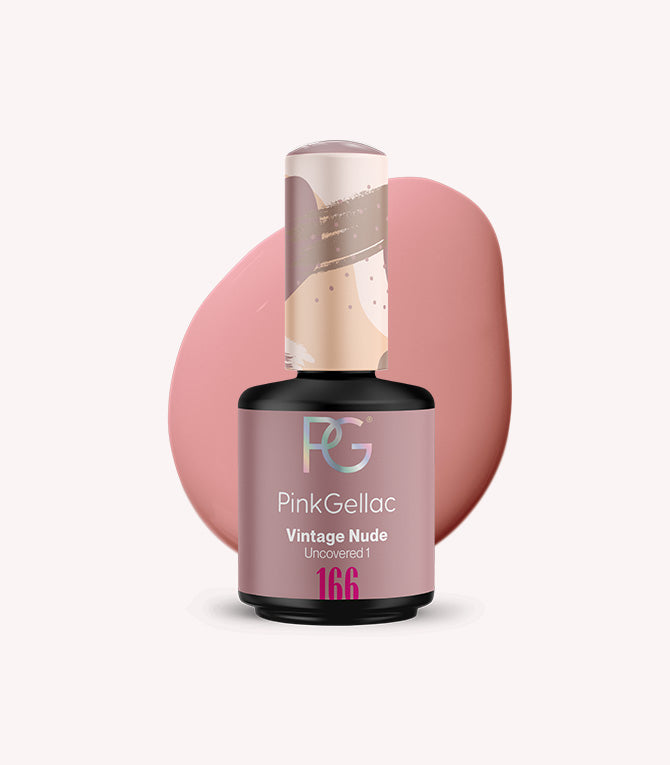
After prepping the nail, apply 1 or 2 layers of your favourite nude colour as a base. For this look, we used 166 Vintage Nude. Cure it for 60 seconds under the LED lamp.

Step 2:
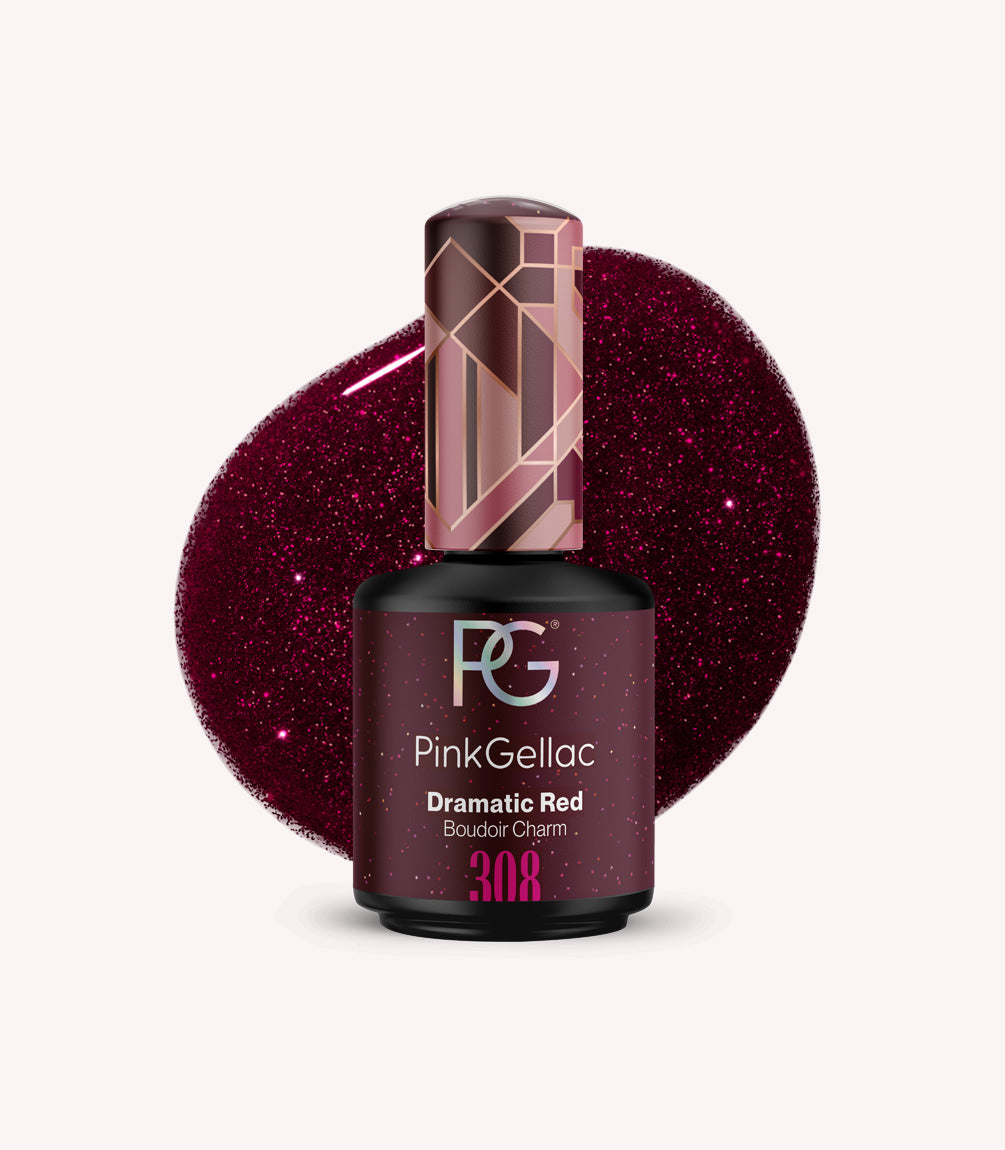
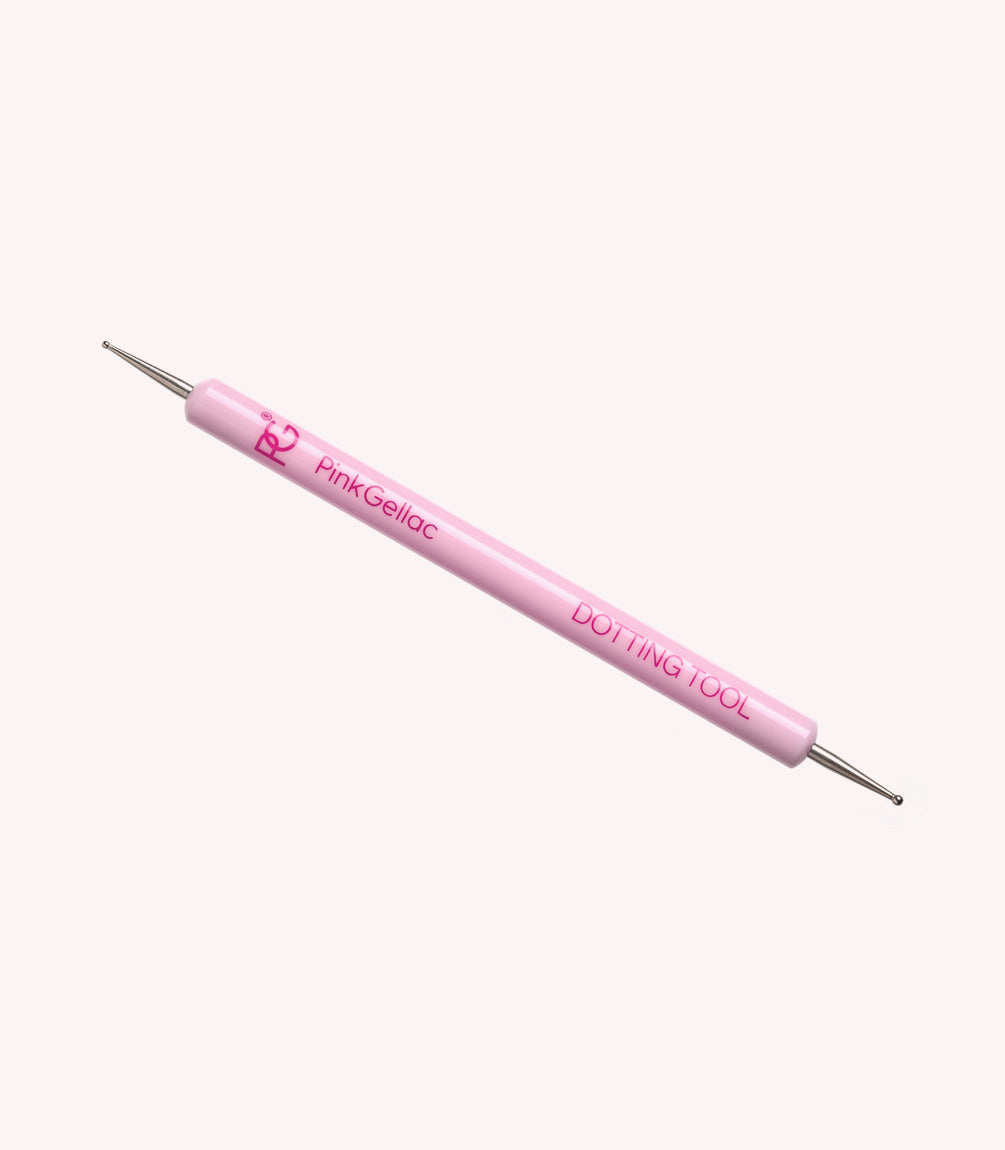
Grab your Dotting Tool and add a bit of 308 Dramatic Red to it. We’ll use this for the blood drops. Create a small bulge where you want the drop to end and pull it upward with a thin line. This will be the first blood drop. Do not cure yet.

Step 3:

Step 4:
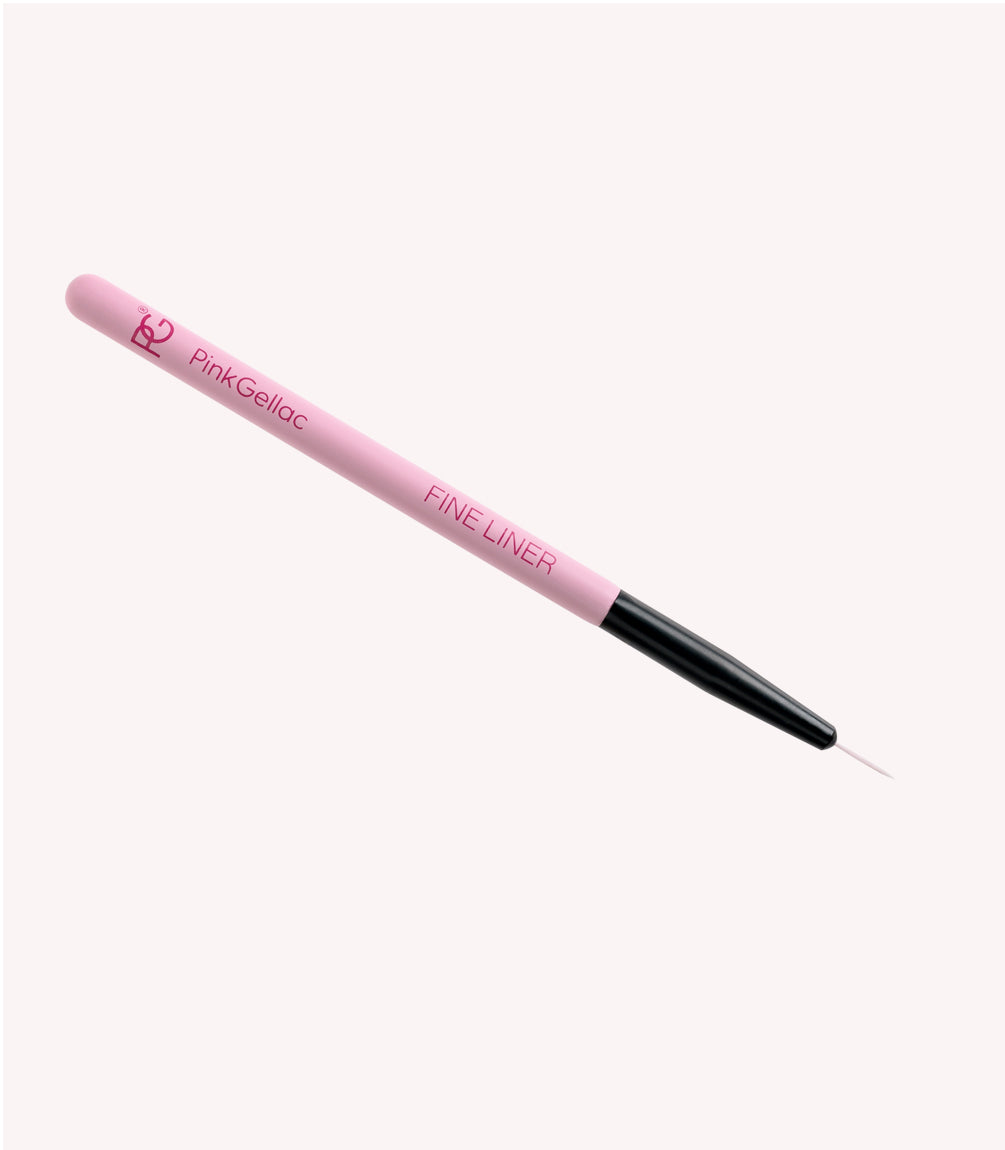
Now grab a Fine Liner and pull the drops toward the top of the nail. The drops are now really starting to come together. Do not cure yet.
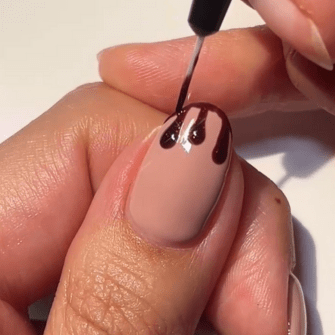
Step 5:
Now connect the drops by following the edge of your nail at the top and drawing a line across the entire width.

Step 6:
Now connect all the corners between the drop and the line from the previous step. This ensures the drops look like a whole. Make sure the bulge of the drop remains thicker than the line above it. This creates a realistic effect. Do not cure yet.

Step 7:
When you are satisfied with the result, with no more corners, and the drops are dripping in a smooth line, cure it for 60 seconds under the LED lamp.

Step 8:
Apply your favorite top coat to seal the look. Cure it for 60 seconds under the LED lamp and enjoy the beautiful bloody result!

The great thing about these bloody nails is that each nail doesn’t need to be exactly the same or symmetrical. In fact, it adds a playful effect if each nail is slightly different.
Are you going to recreate these bloody nails? Share your creation and tag us! Use @pinkgellac or #pinkgellac so we don’t miss out
