

How to apply Press-ons?
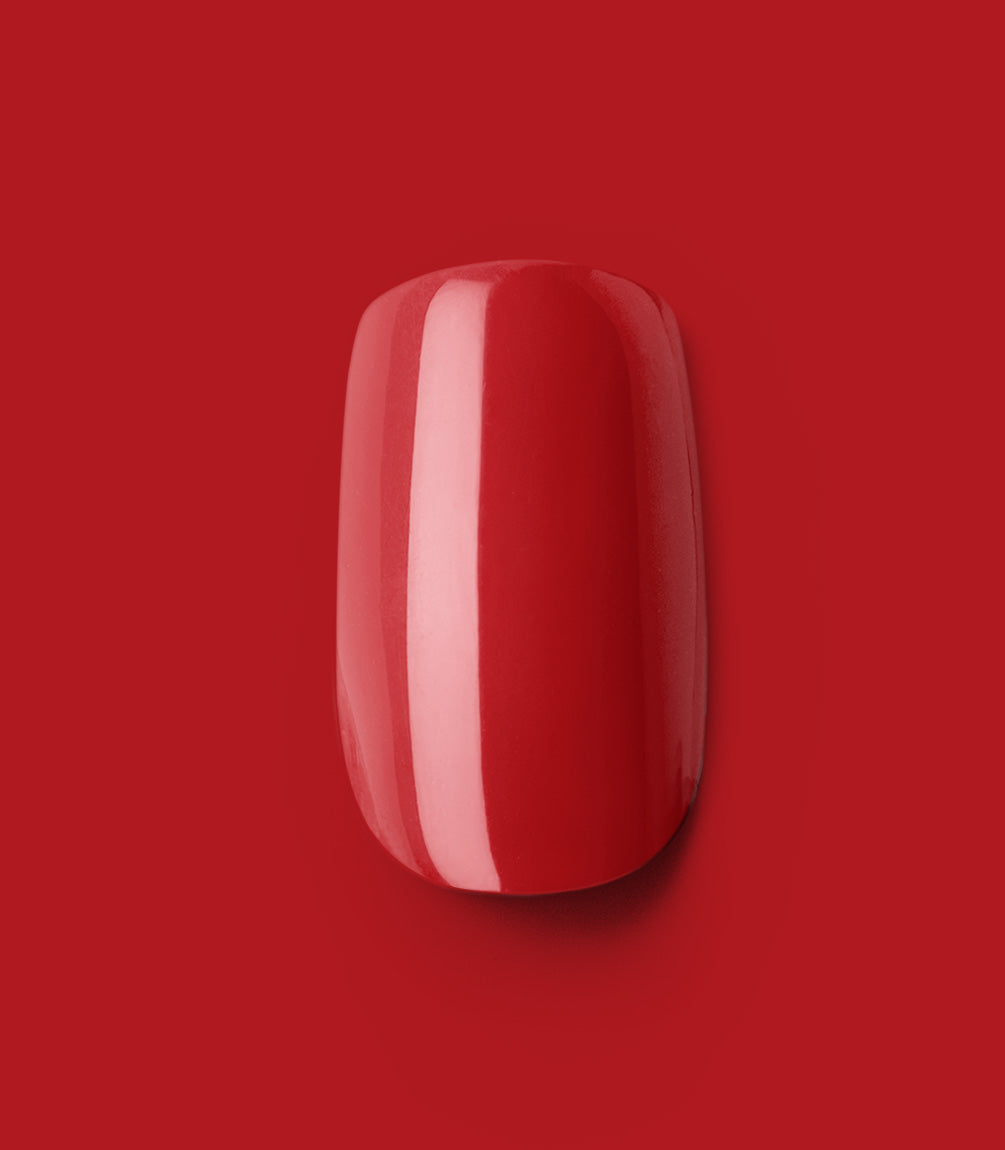
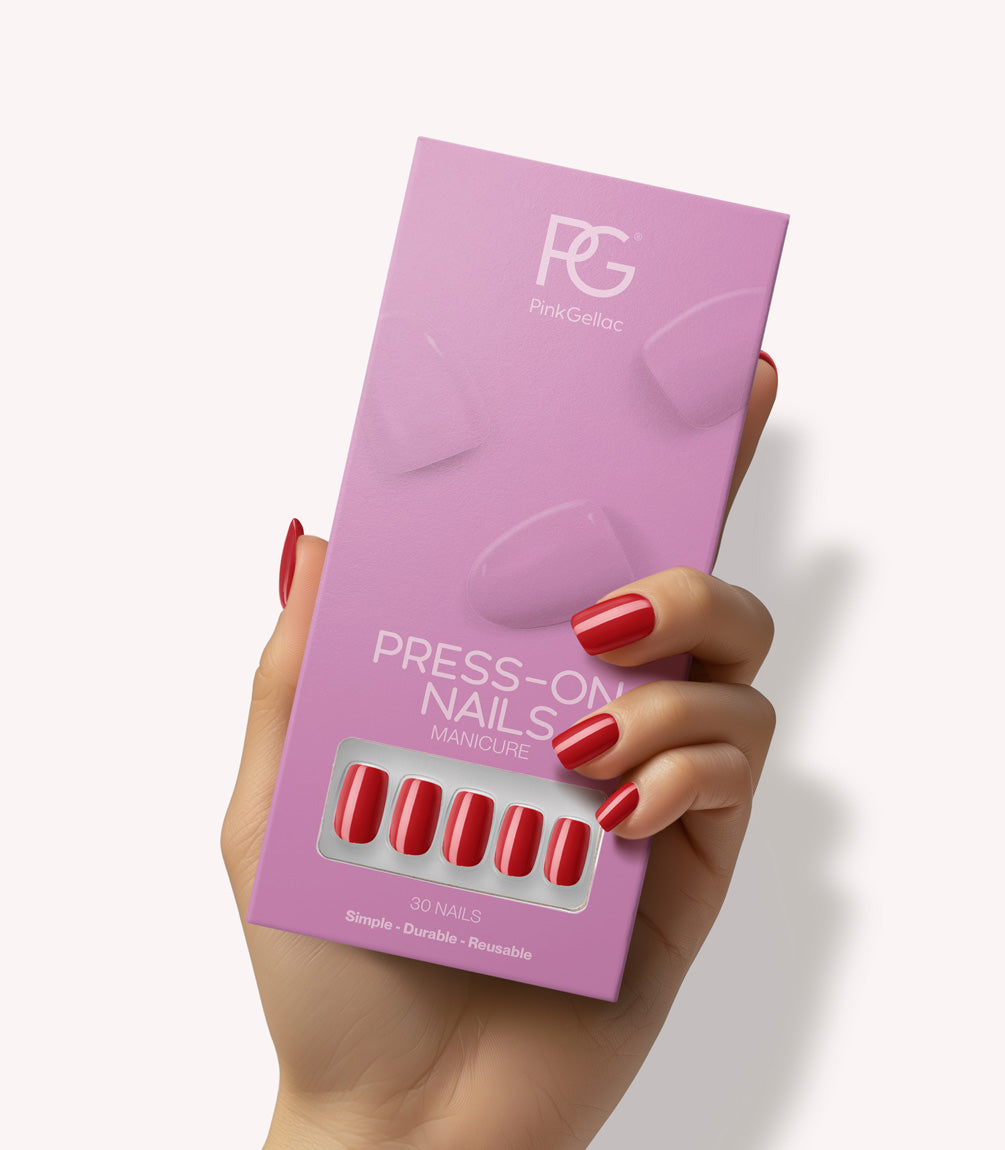
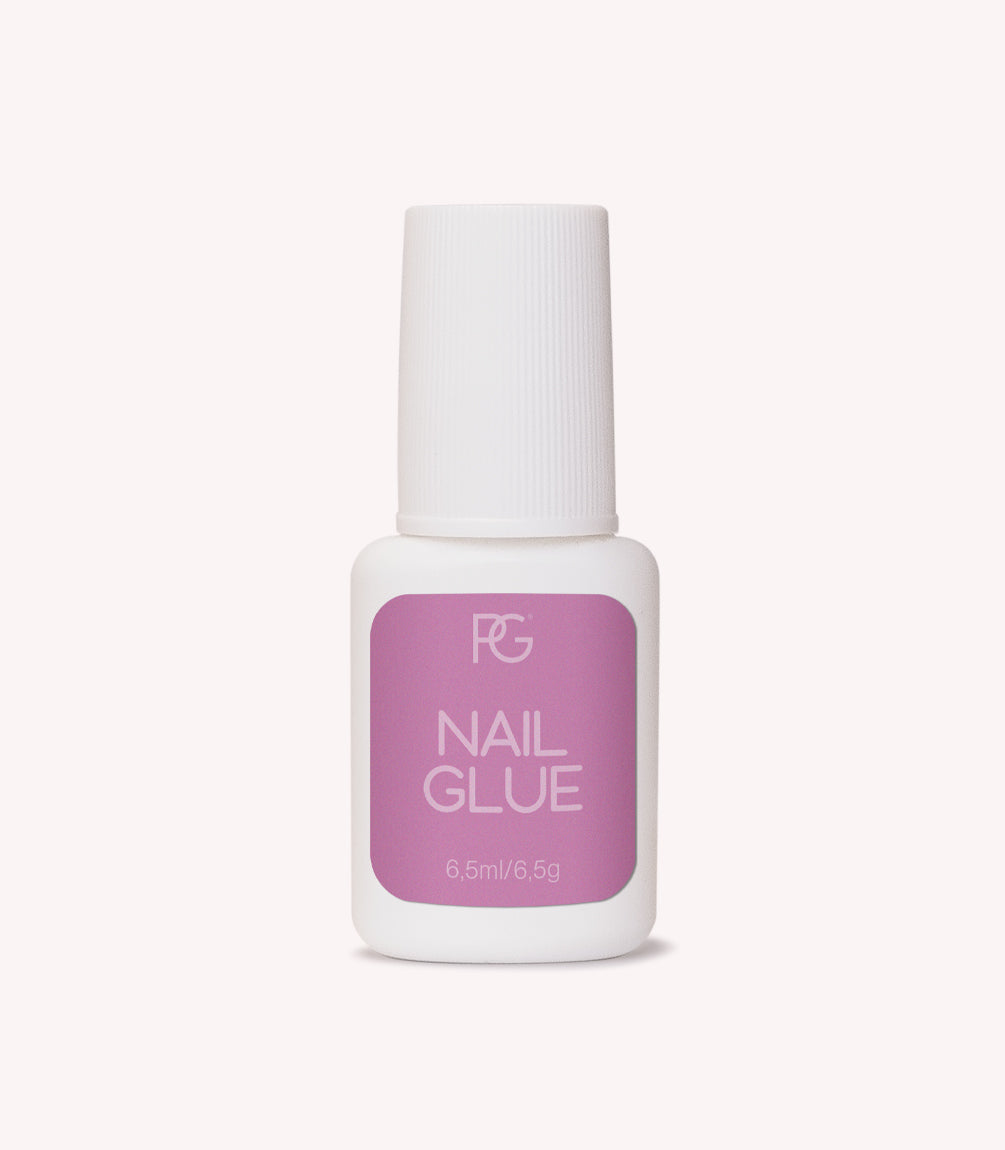
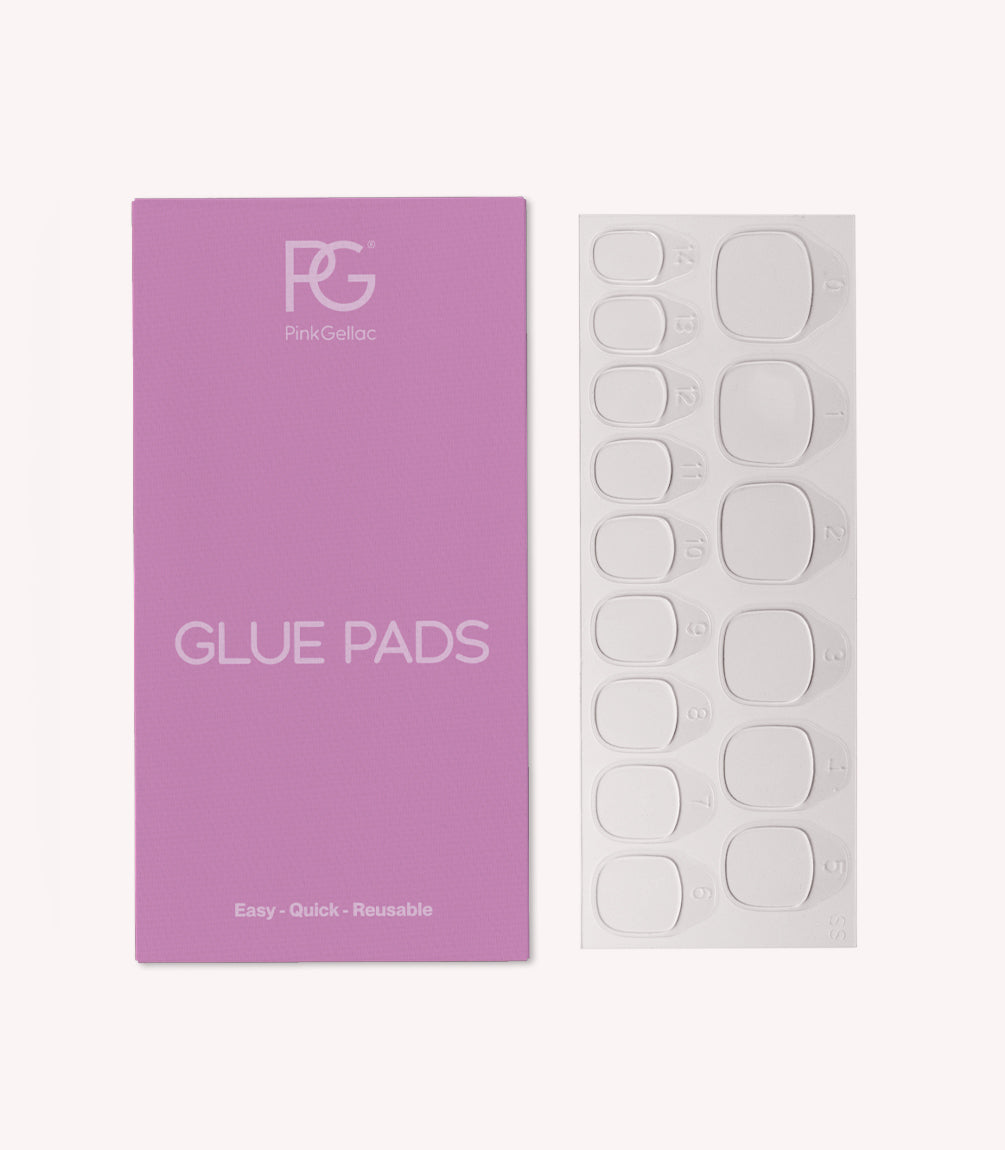
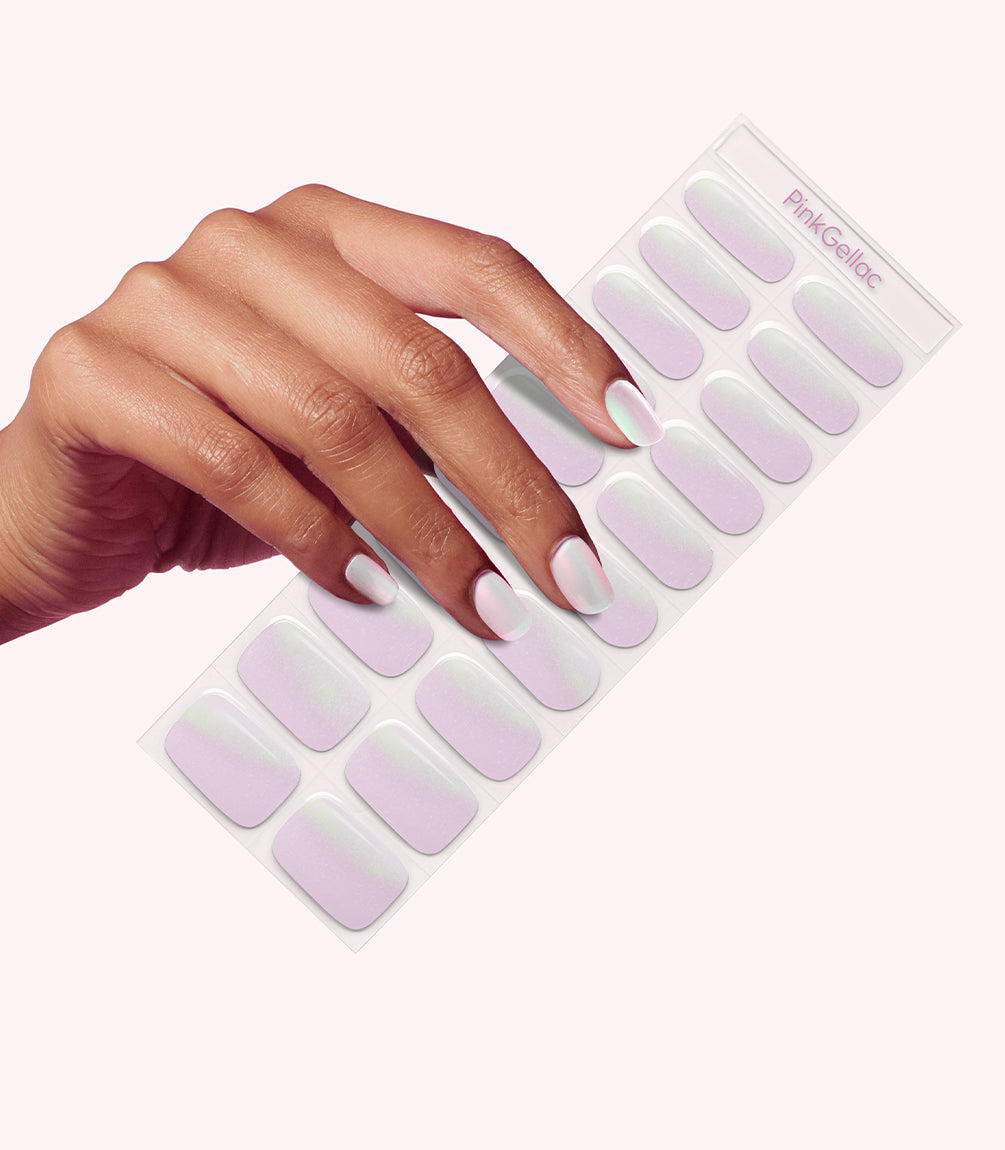
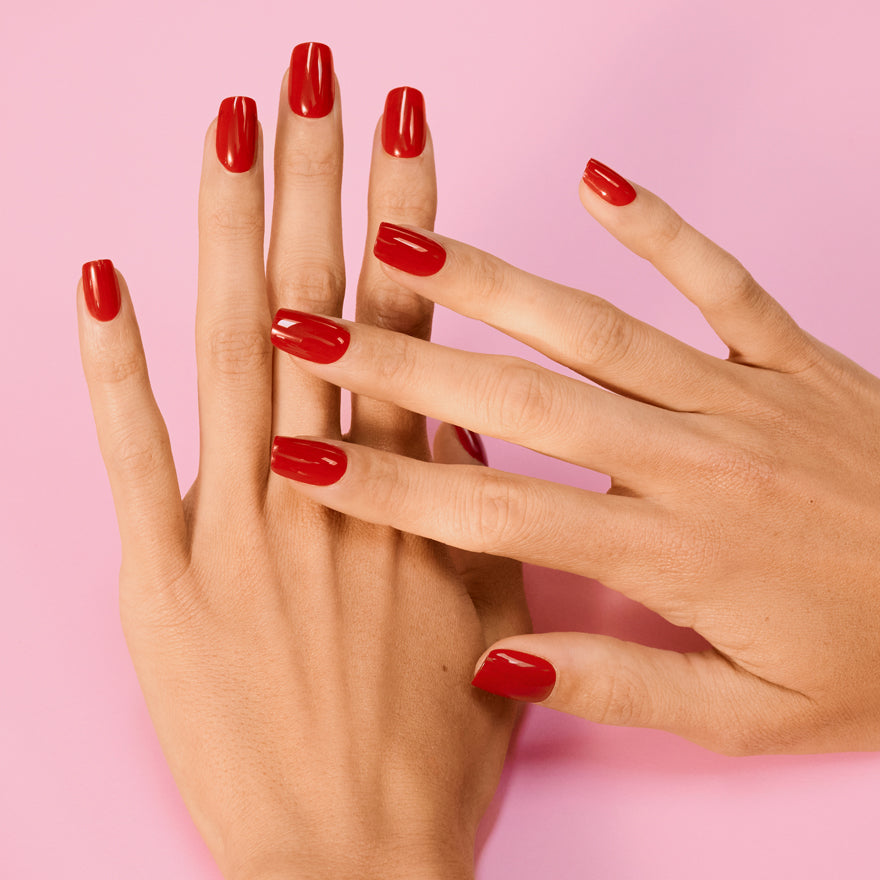
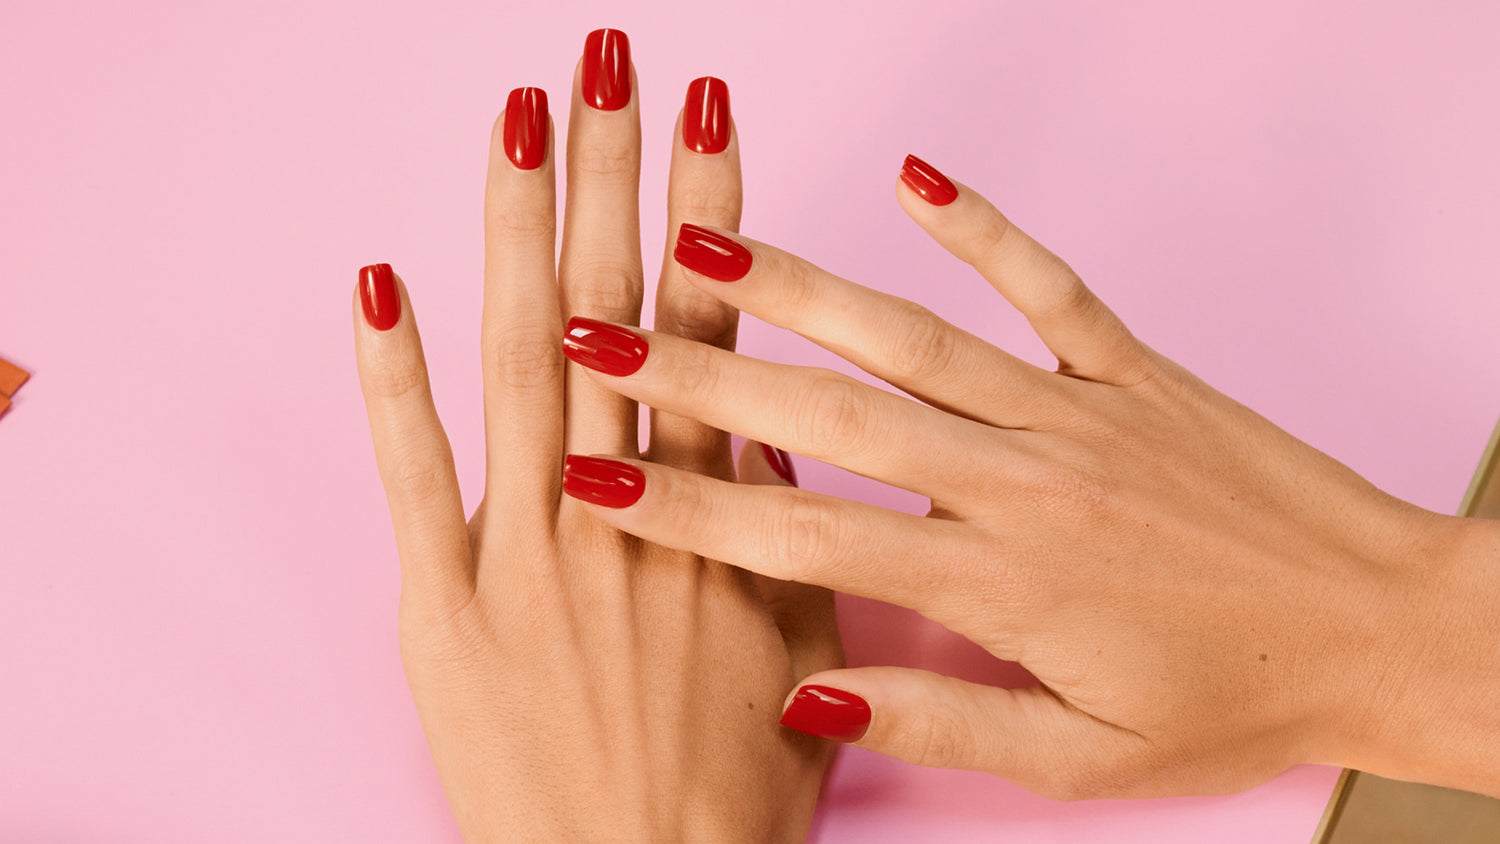
Instant ready-to-shine nails! With the Press-on Nails, you can achieve a perfect manicure in no time that lasts for days. Choose from different shapes, lengths, and designs — from natural and elegant to bold and eye-catching. The solid colours of our Press-on Nails are matched with our iconic gel polish colours. This way, you can wear your favourite shade as Press-on Nails too, and easily mix & match with your mani-pedi. Application is super easy: stick them on with the Glue Pads for a quick switch, or use Nail Glue for a longer-lasting hold. They feel light and comfortable, and you can remove them effortlessly whenever you want.


Watch the video or follow our step-by-step tutorial below.
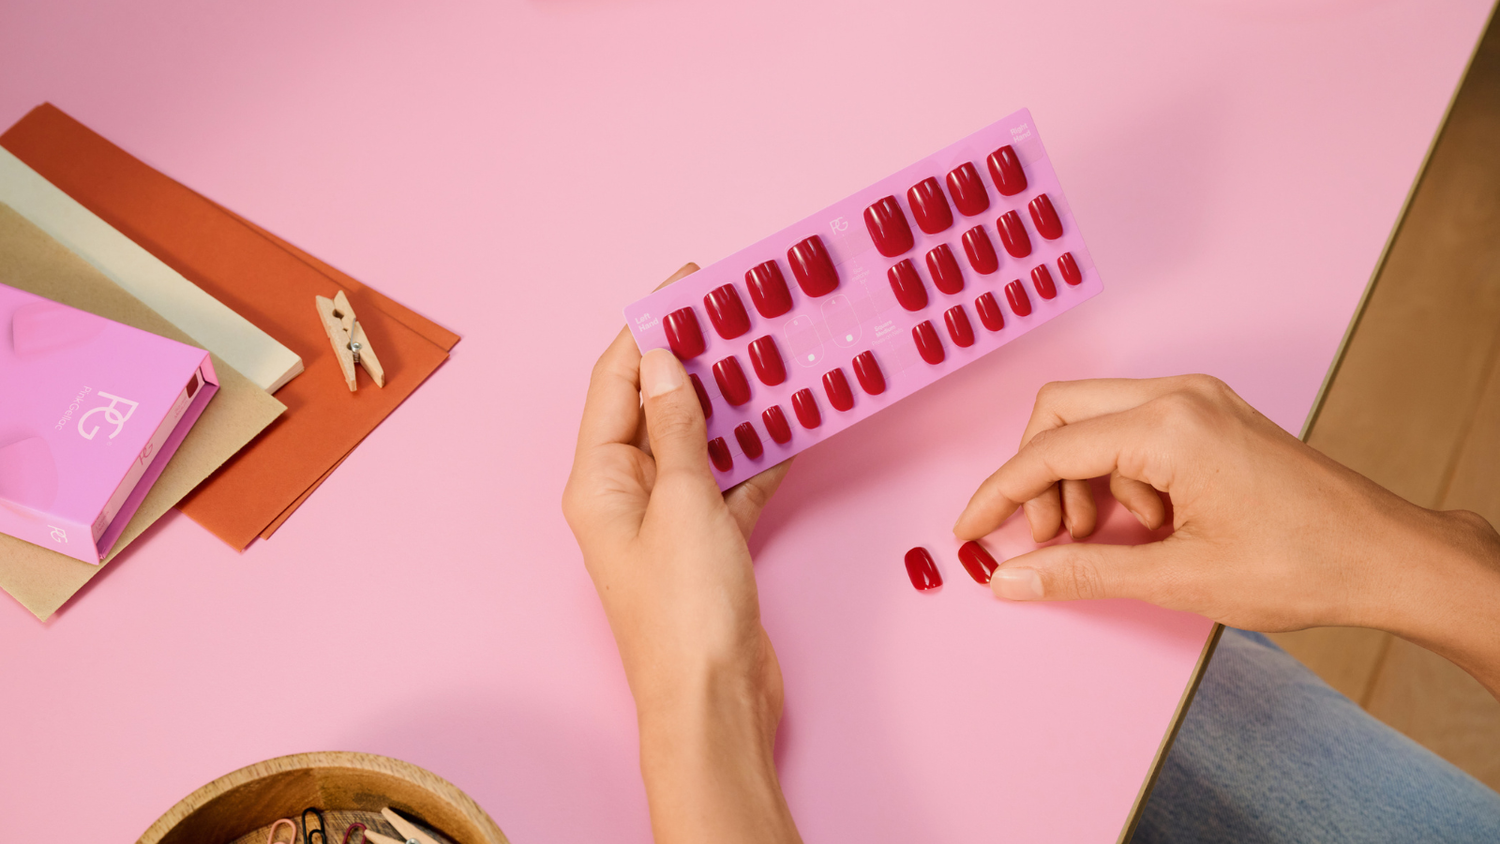
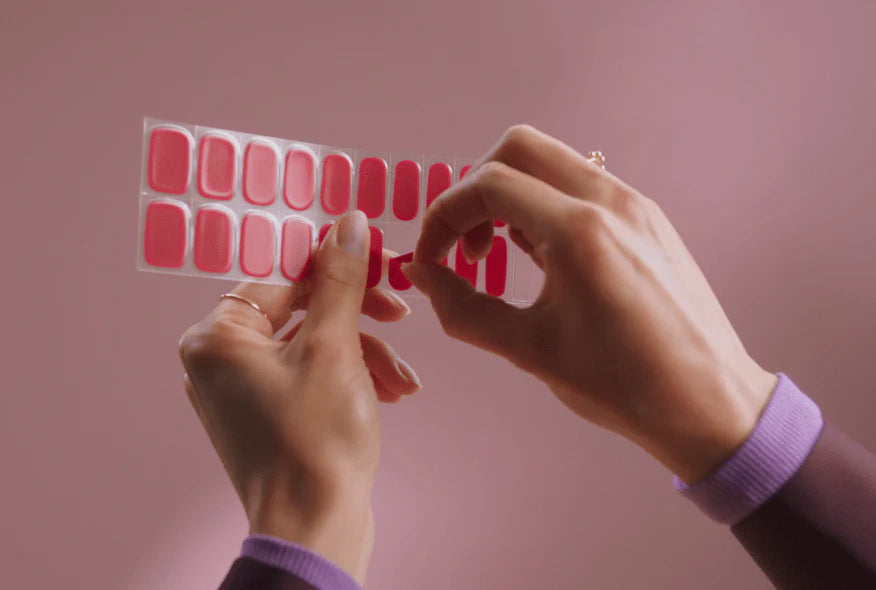
Remove the Press-on Nails from the packaging and use the Size Matcher to find the right sizes. Stick the Press-on Nails in order on the adhesive strip. They are numbered; the higher the number, the smaller the size. Try them on your natural nails to find the correct size, note the size on the Size Matcher, and place them back on the strip. Make sure each Press-on Nail fits perfectly along the edges of your natural nail without overlapping. If you need a better fit, file the sides of the Press-on Nails.
Apply Press-ons with Glue Pads
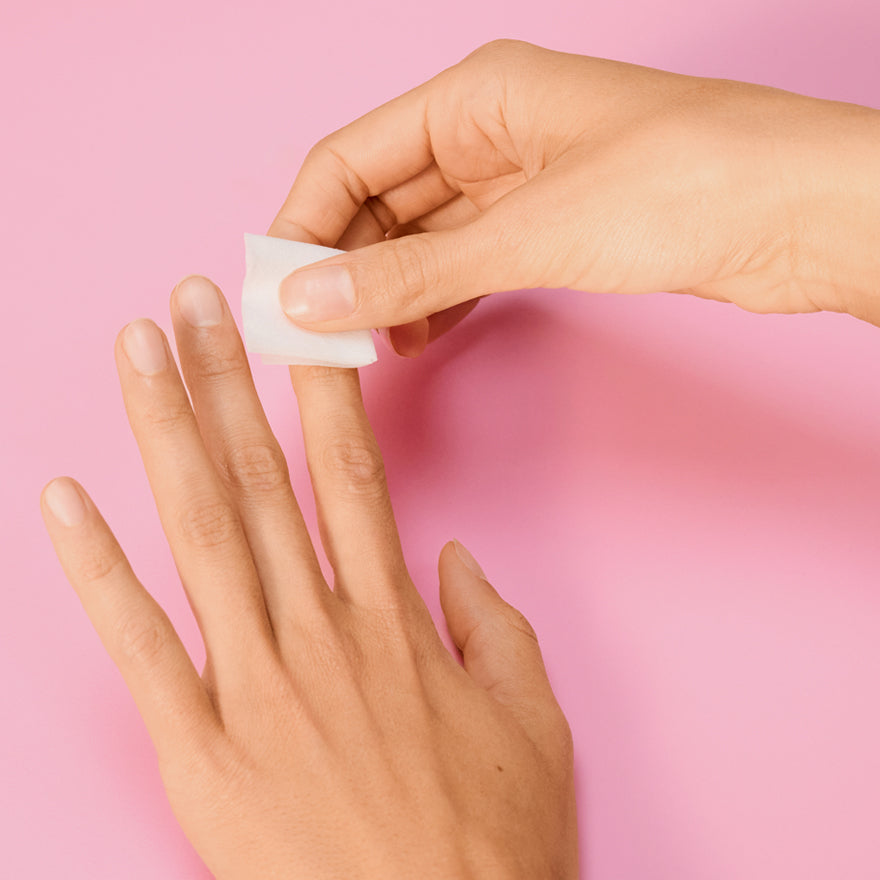
Step 1: Prep your nails
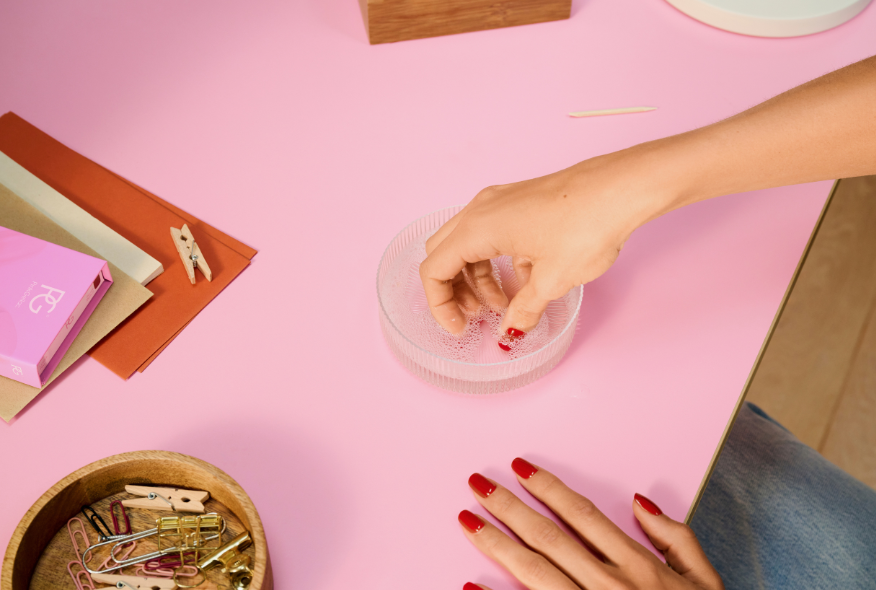
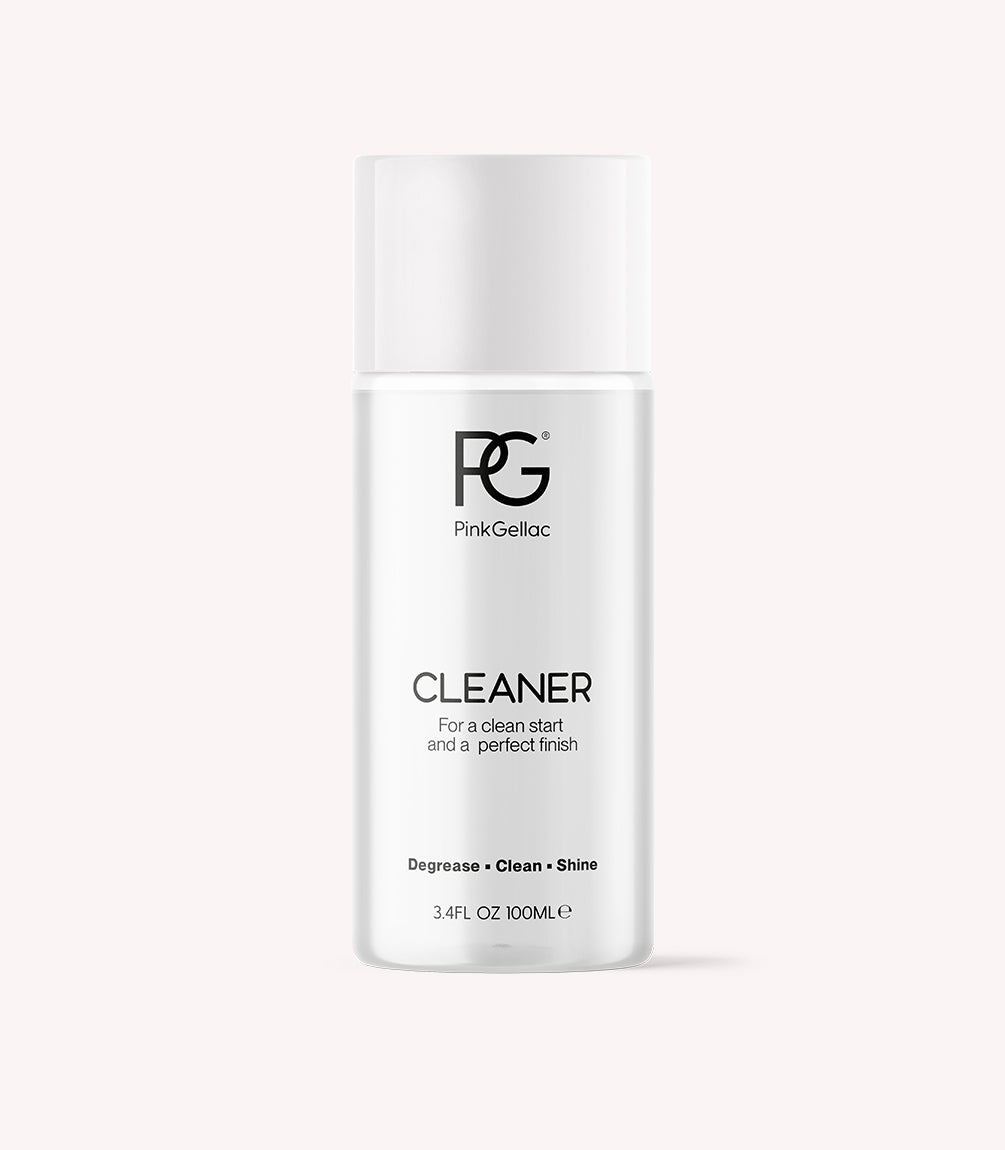
Prep is key for long-lasting results. If your natural nails are longer than the Press-on Nails, file them shorter. Gently remove the shine from your nail plate using a Nail File or a Polishing Block. Clean your nails with a Cleaner Wipe or a Nail Wipe with Cleaner to remove oils.

Step 2: Place the Glue Pad on your nail
Select the right Glue Pad size (they have the same numbers as the nails) and place it on your nail. Trim if it’s too large. Press firmly and smooth out the edges and air bubbles with the flat side of the Woodstick.
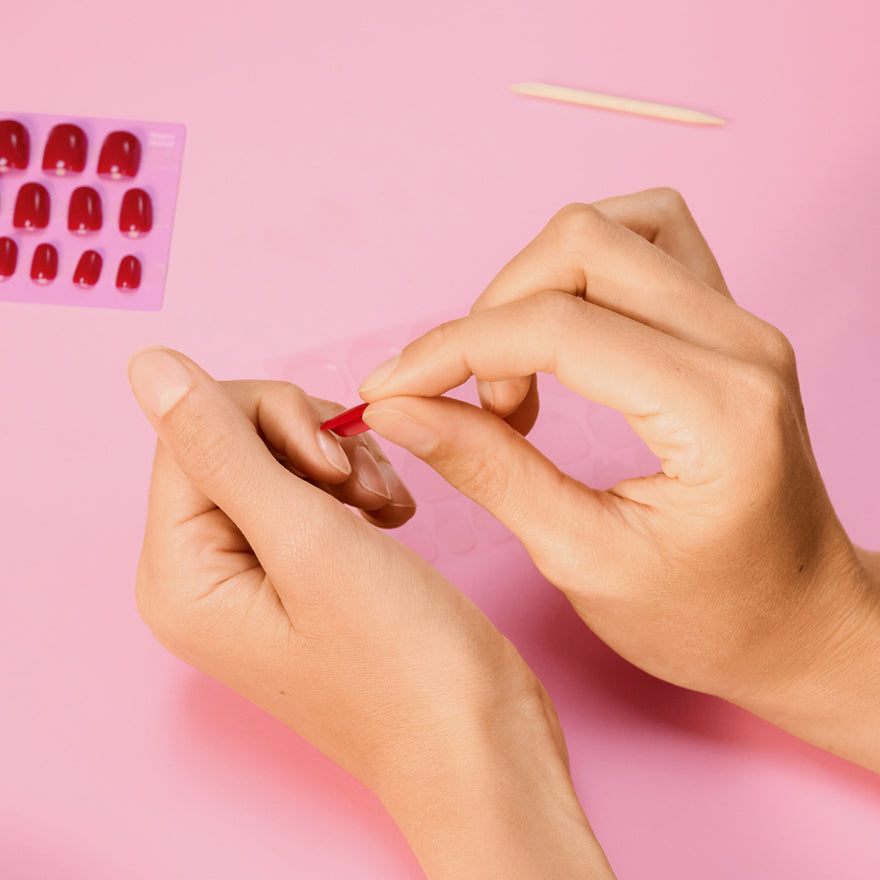
Step 3: Place the Press-on nail
Remove the protective film, place the Press-on Nail at a 45° angle to the cuticle and press down slowly. Hold for 60 seconds.
Step 4: Repeat these steps
Repeat these steps on all your nails.
Note: If glue touches your skin, wait until it’s dry, then gently loosen it with Cuticle Oil and the Woodstick.
Apply Press-ons with Nail Glue
Step 1: Prep your nails
Prep is key for long-lasting results. If your natural nails are longer than the Press-on Nails, file them shorter. Gently remove the shine from your nail plate using a Nail File or a Polishing Block. Clean your nails with a Cleaner Wipe or a Nail Wipe with Cleaner to remove oils.
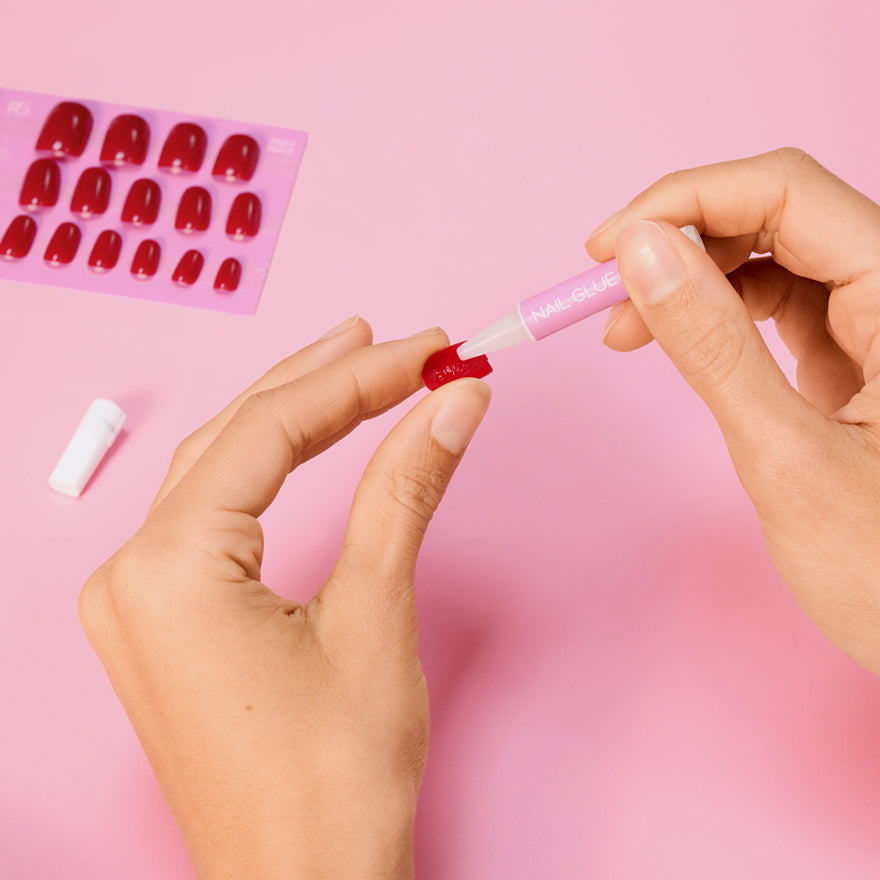
Step 2: Apply Glue on the Press-on nail
Apply glue on the inside of the Press-on nail. If your nails are shorter than the press-on nail, do not apply glue to the tip of the press-on nail.
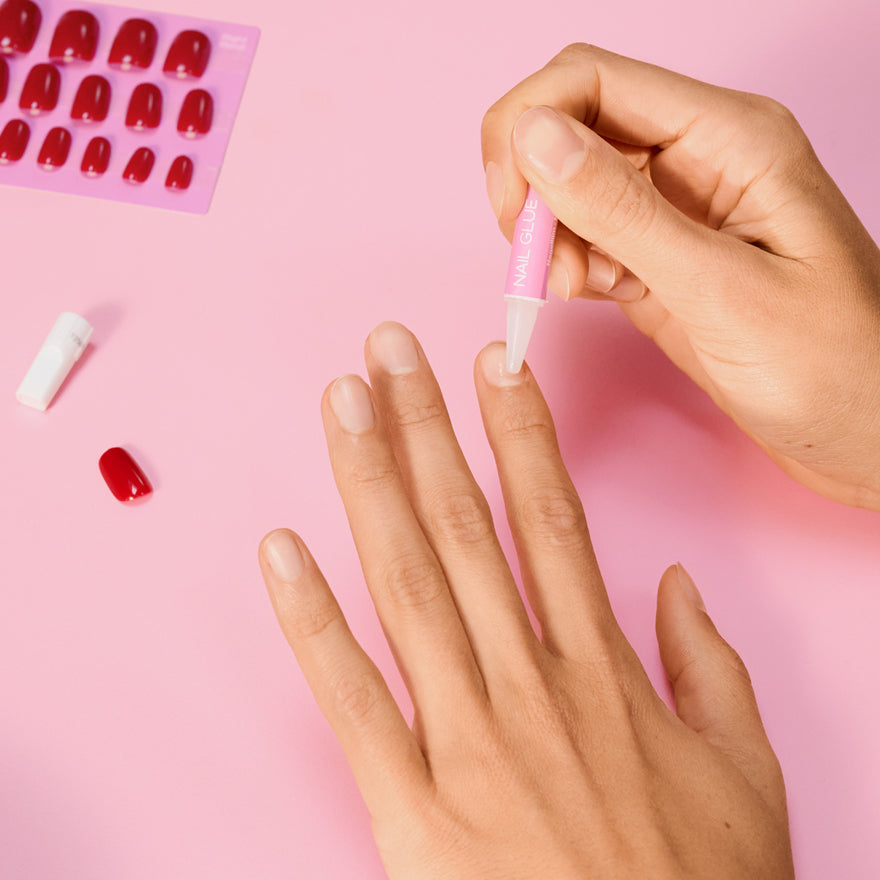
Step 3: Apply glue on your natural nail
Apply the glue in a small circle in the center of your natural nail. Avoid contact with your skin.
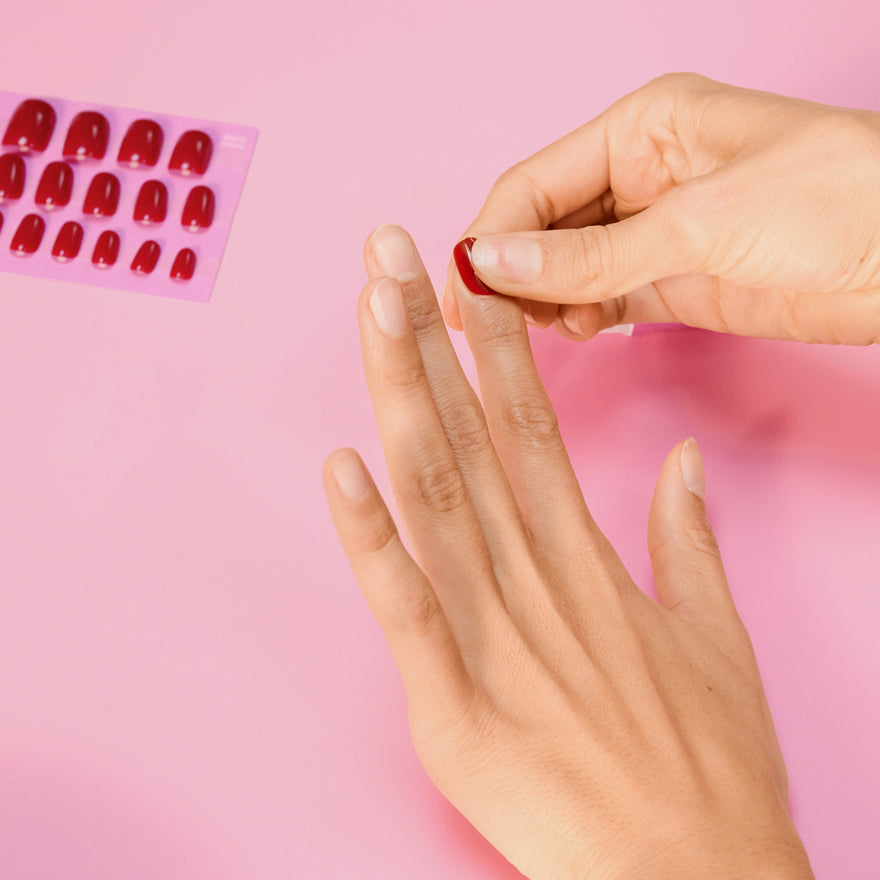
Step 4: Place the Press-on Nail
Place the Press-on Nail at a 45° angle to the cuticle, press down slowly and hold for 60 seconds.
Repeat these steps on all your nails to get beautiful press-ons in a few minutes. This way, you’ll have stunning nails that also extend your natural ones!