
06 October 25
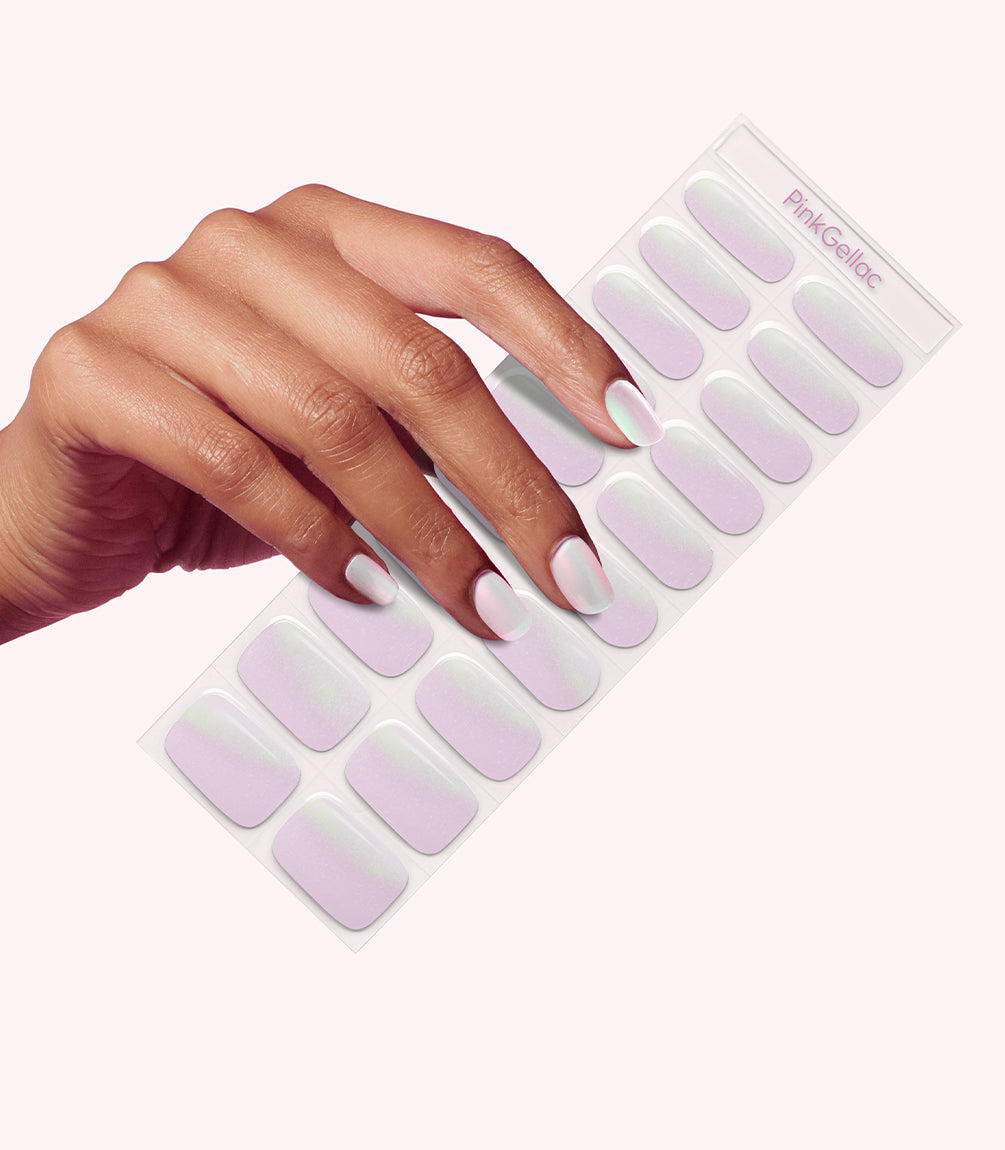
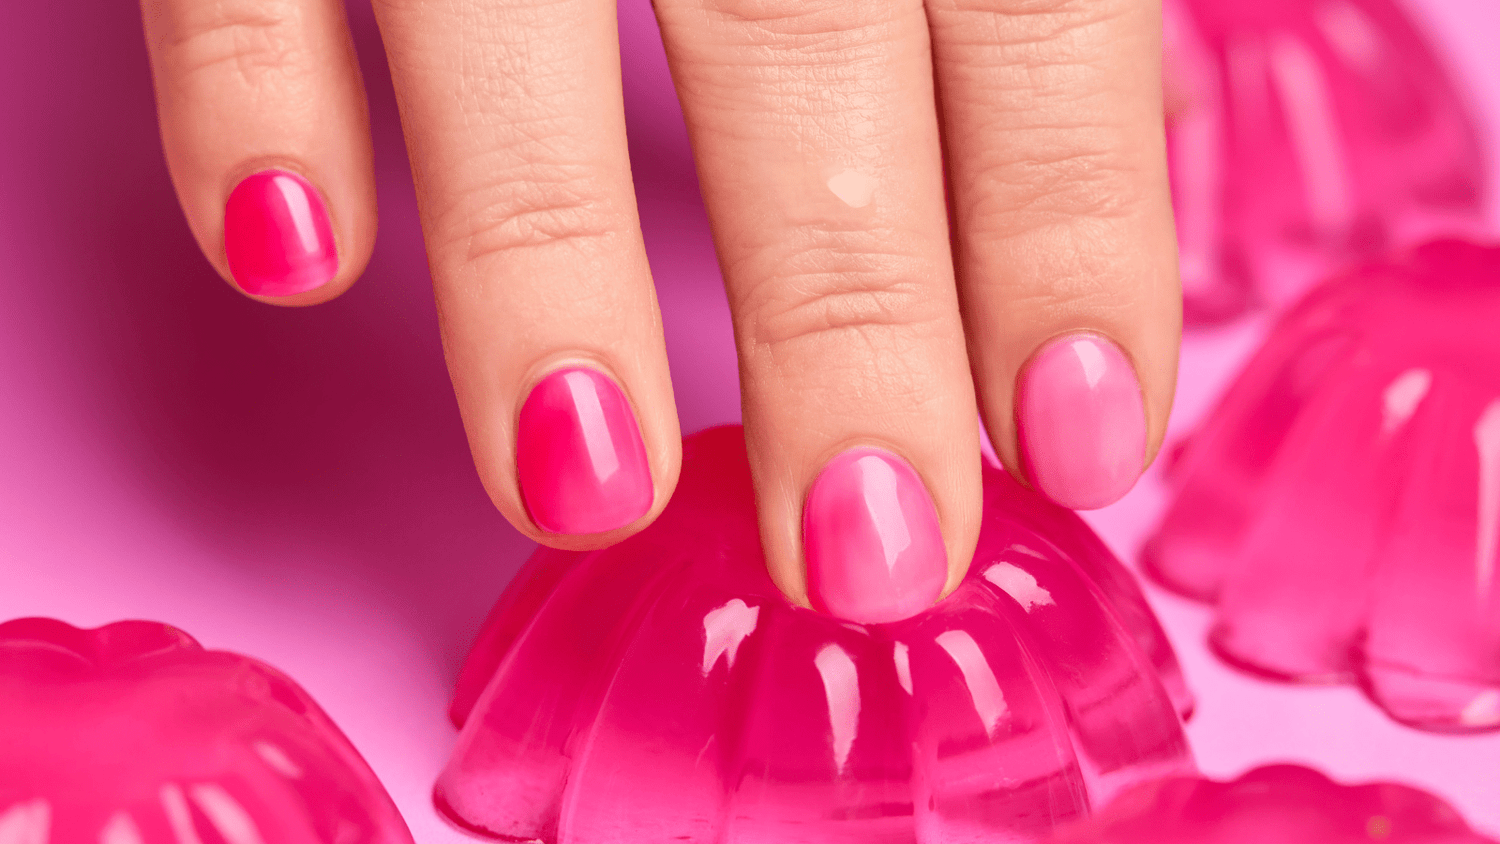
What is a Jelly Coat?
A Jelly Coat is a semi-transparent, syrup-like gel polish designed to give nails a glossy, glass-effect finish. Its sheer, buildable formula makes it highly versatile, allowing you to use it in four different ways:
- Wear it on its own – Use a single coat for a sheer, glassy-effect, or build it up for a richer, more intense colour with added coverage.
- Use it over another gel polish – Apply over a glitter or Cat Eye gel polish to adjust the tint and create a striking effect.
- Layer it over a nail art design – Start with a nail art design, for example the trending polka dot look. Apply the Jelly Coat on top to create the effect of the nail art floating in jelly.
- Layer it under a nail art design – Use a Jelly Coat as a base layer, then add a nail art design on top for a subtle 3D effect.
With Glass Nails being such a big trend, what better way to embrace it than in fresh, bright colours? Explore the Syrup Tones collection and discover endless ways to play with shine, depth and dimension.
1. Wear it on its own
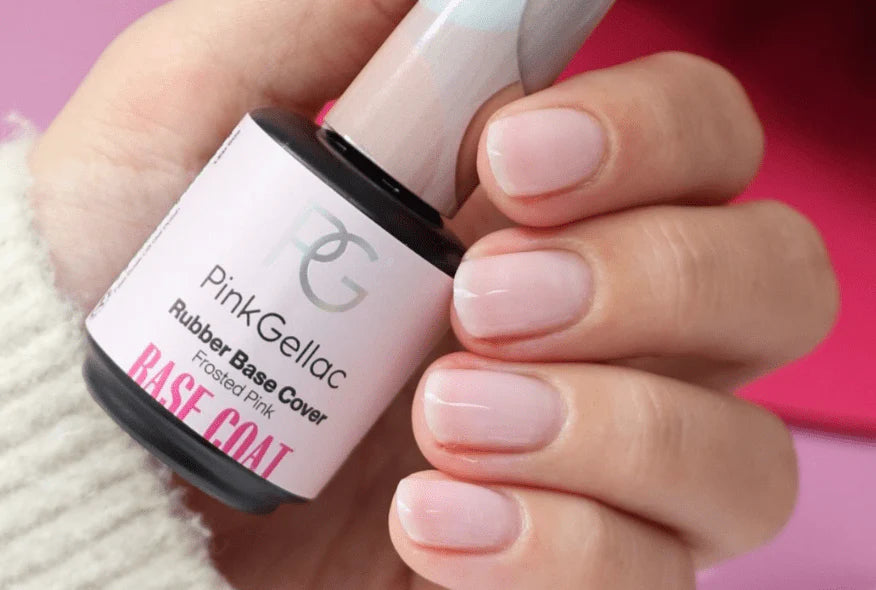
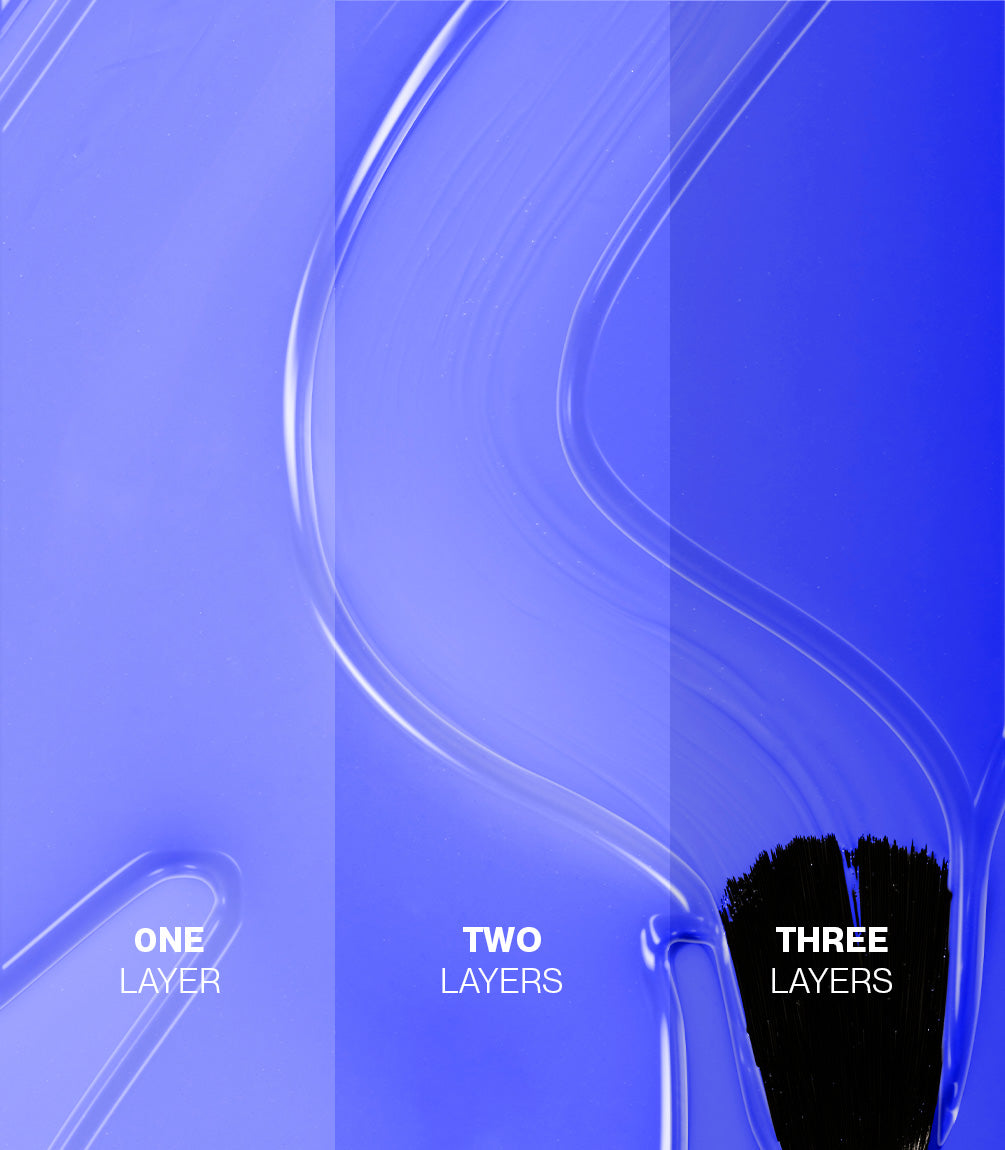
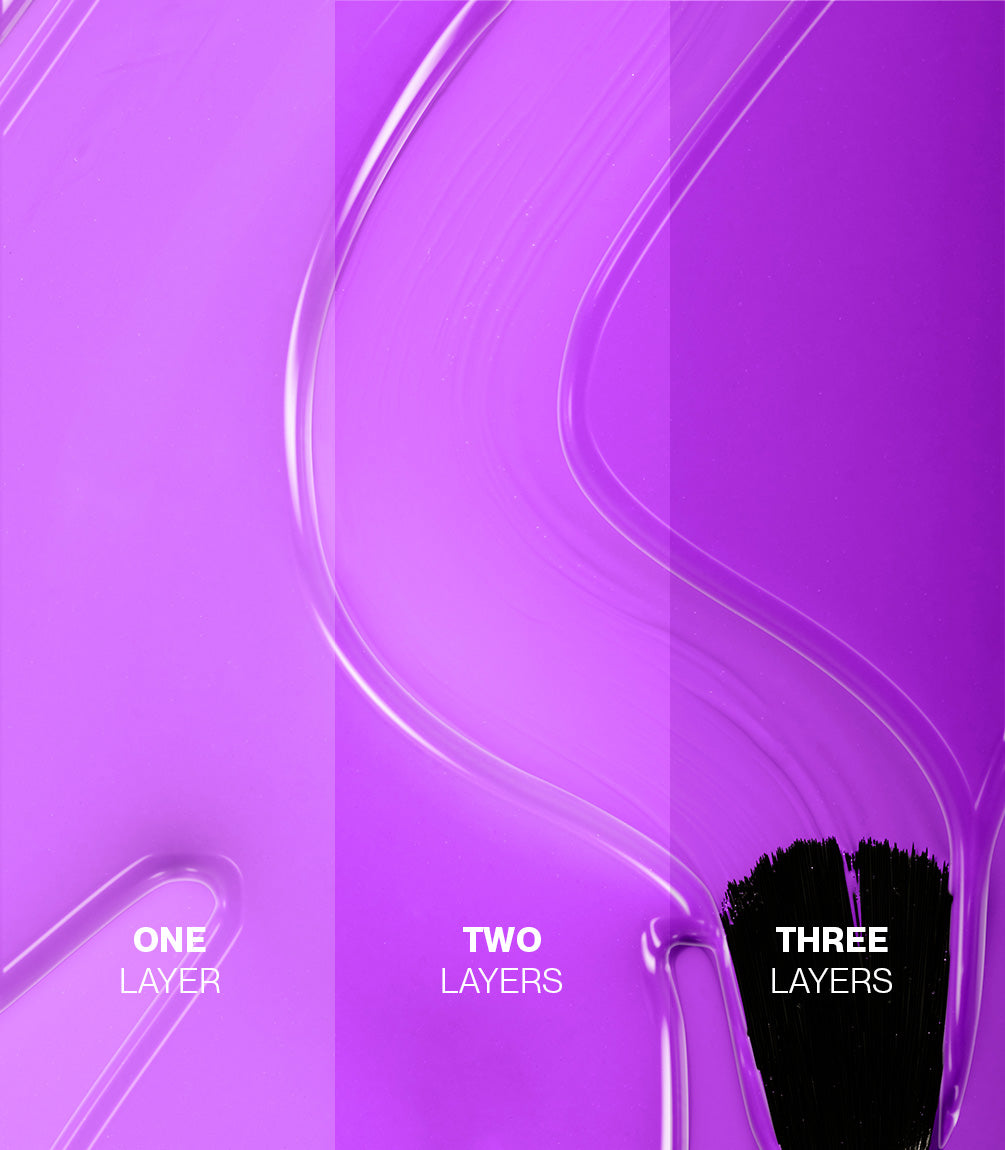
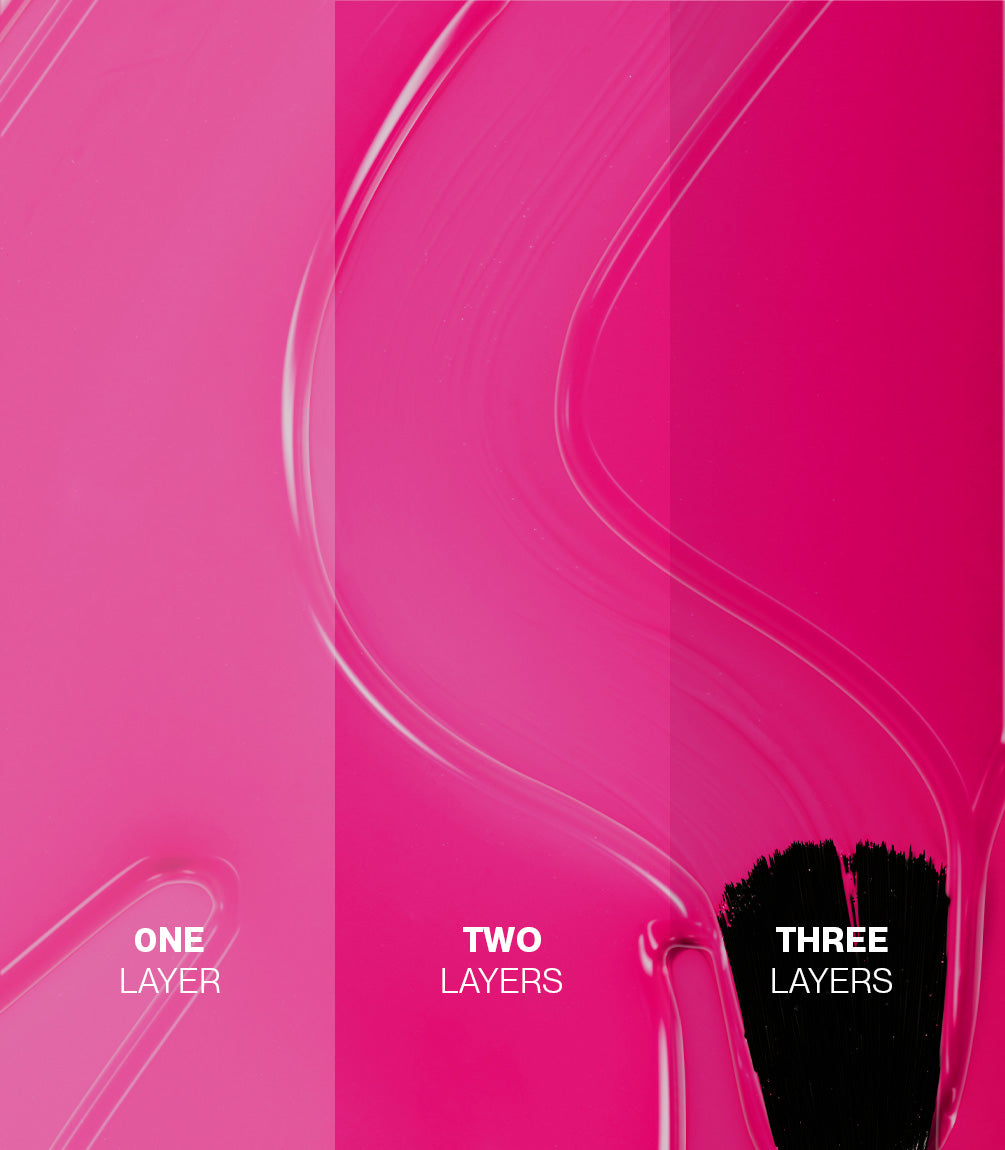
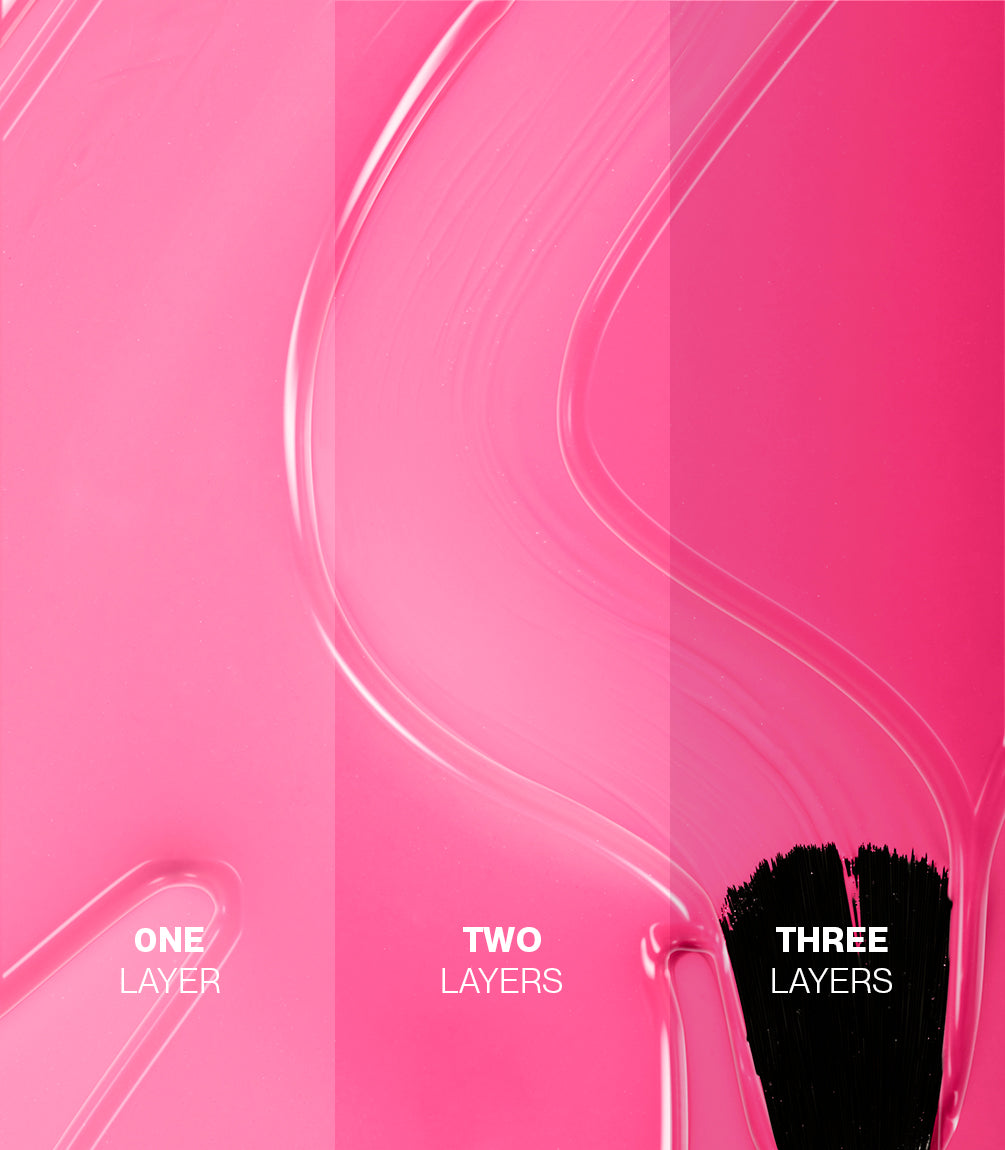
The beauty of a Jelly Coat is that even a single thin layer looks gorgeous – giving your nails the fresh, glassy effect they’re made for. Apply your base coat, then one thin layer of Jelly Coat, finish with a top coat, and you’re done. Prefer a darker, more intense shade or higher coverage? Simply build it up layer by layer. The look transforms beautifully from a delicate wash of colour with one coat, to a richer, more intense finish with multiple coats – as shown in the example from one layer (right) to four layers (left).
2. Over another gel polish
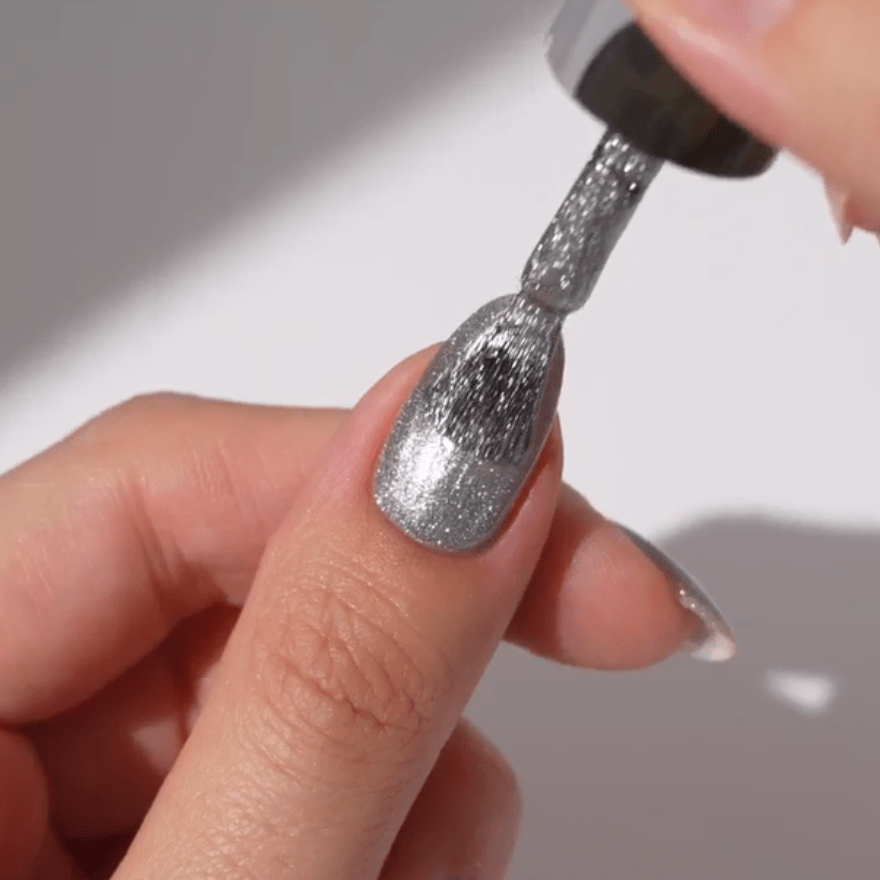
Step 1:
Start with your usual prep routine and apply your favourite base coat. Next, add one or two layers of your chosen base colour. If you’re using a standard gel polish, cure each layer for 60 seconds under the LED lamp and continue to step 3. If you’re working with a Cat Eye gel polish, wait to cure and follow step 2.
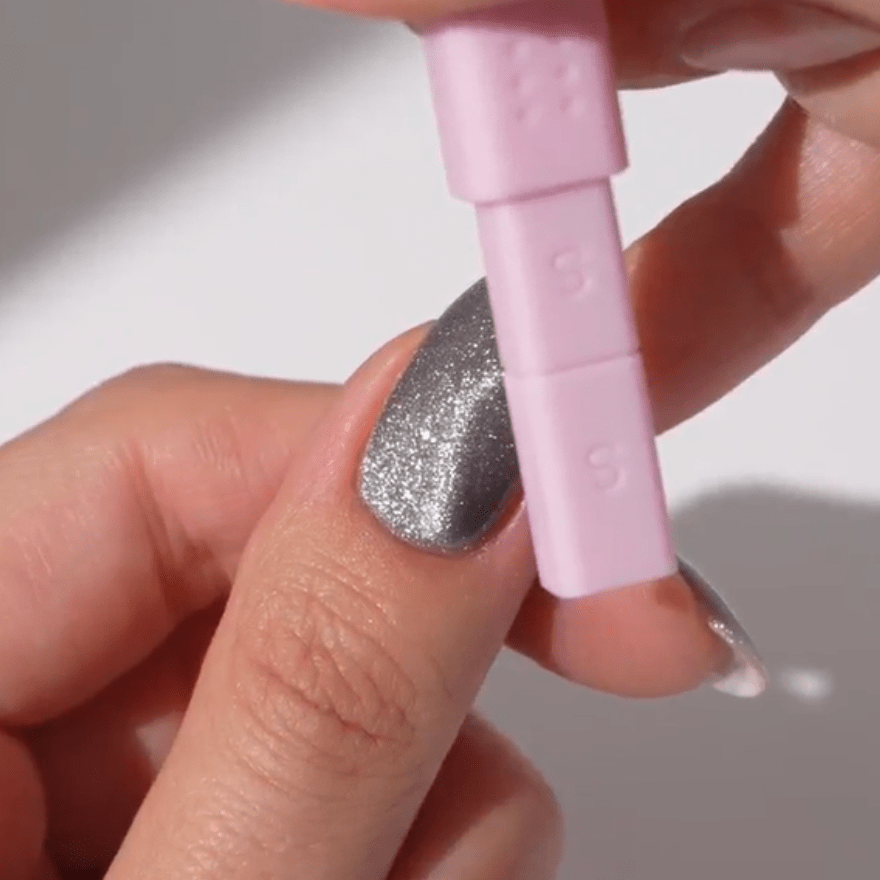
Step 2:
Use the Cat Eye magnet over the Cat Eye gel polish to create your desired effect. Work on one nail at a time. After using the magnet, cure each nail for 10 seconds under the LED lamp to lock the effect in place. Once all nails are done, cure the entire hand for 60 seconds to fully set the gel polish.
Step 3:
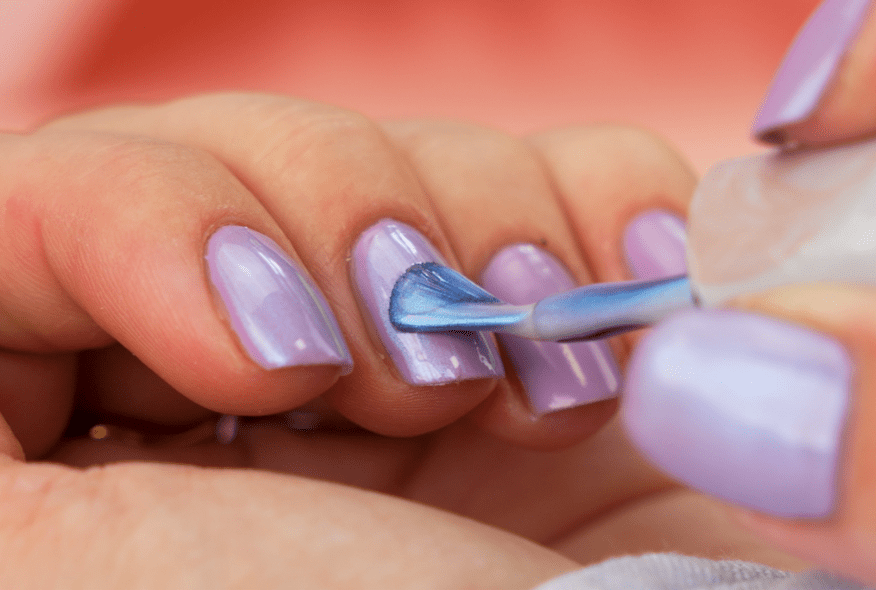
Apply a thin layer of your Jelly Coat over the base colour and cure for 60 seconds under the LED lamp.
Step 4:
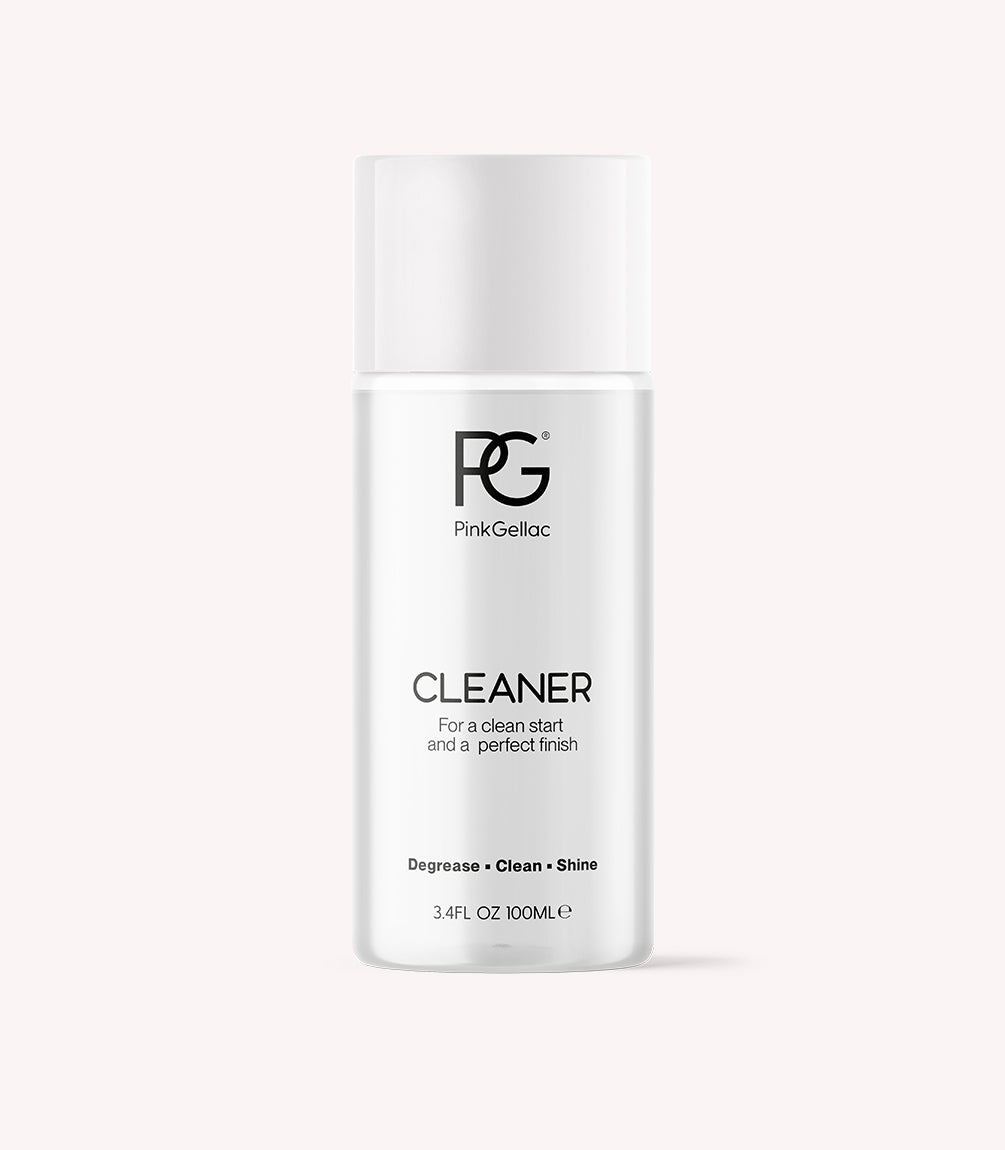
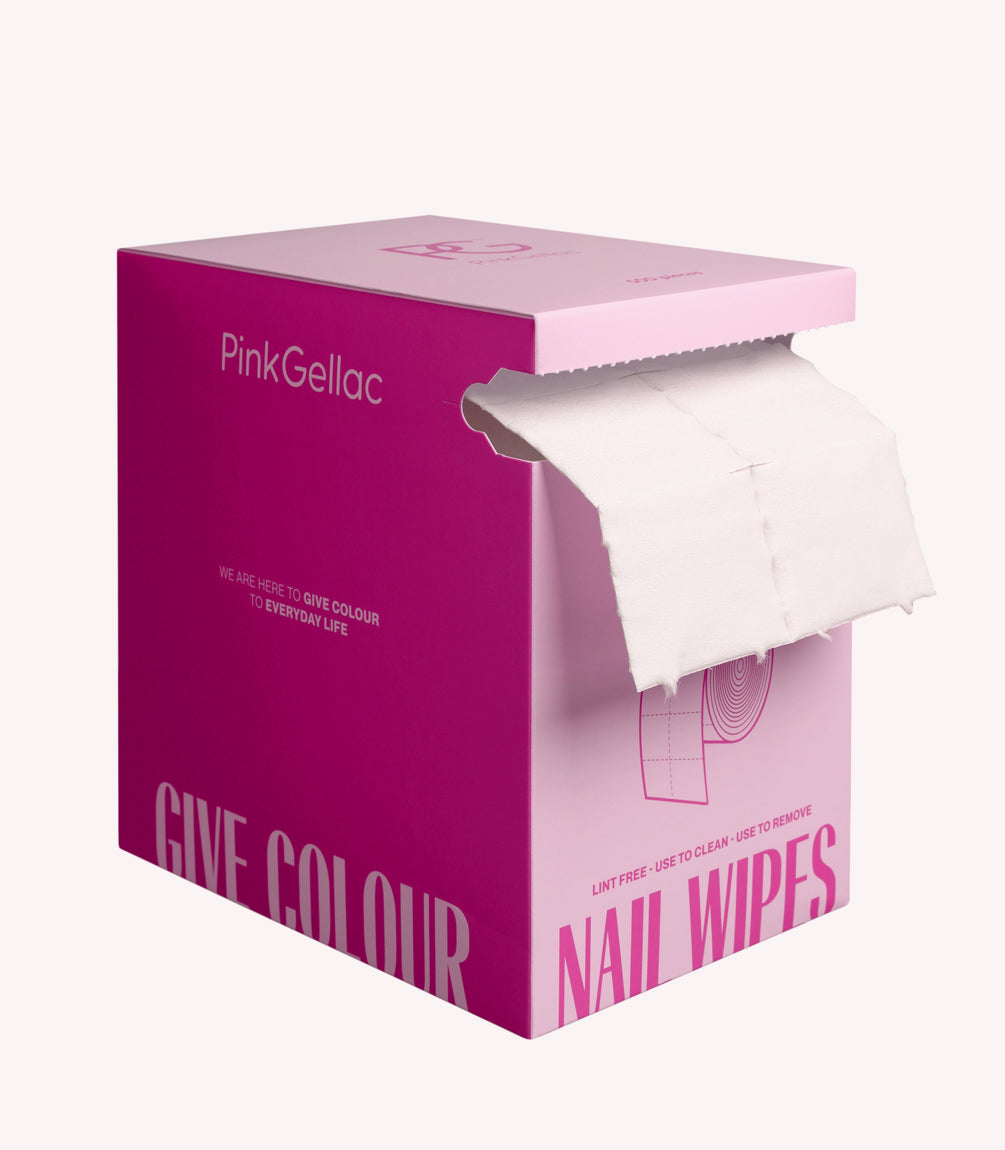
Finish with a thin layer of top coat and cure for 60 seconds under the LED lamp. Wait 2 minutes, then remove the sticky layer with a nail wipe and cleaner.
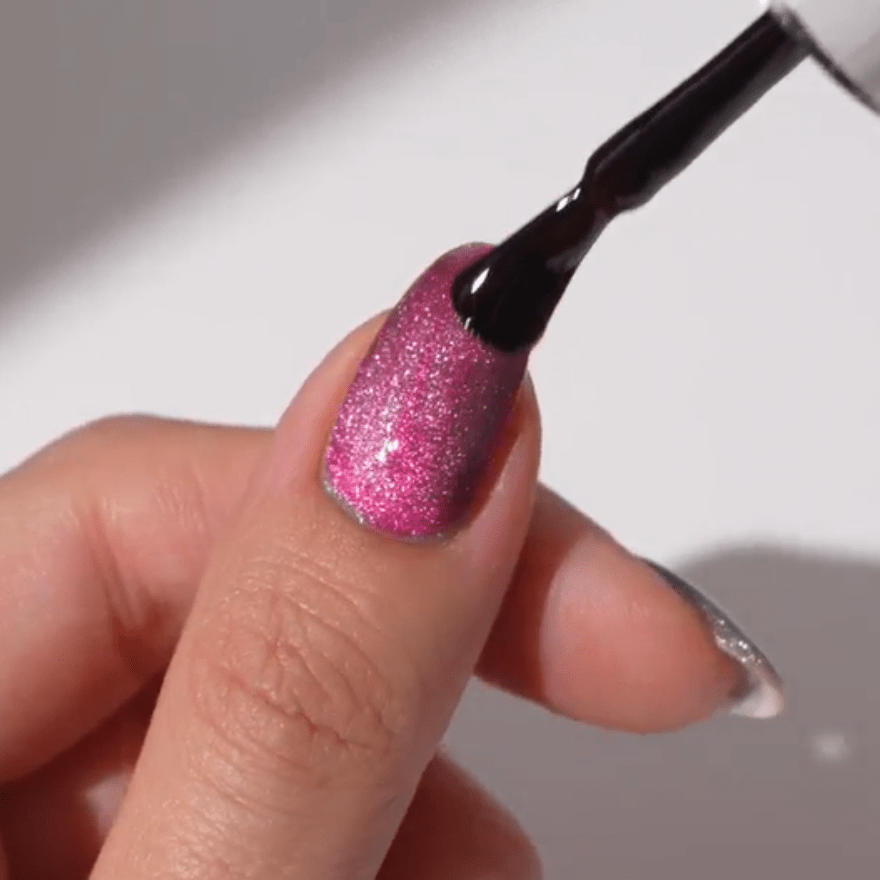
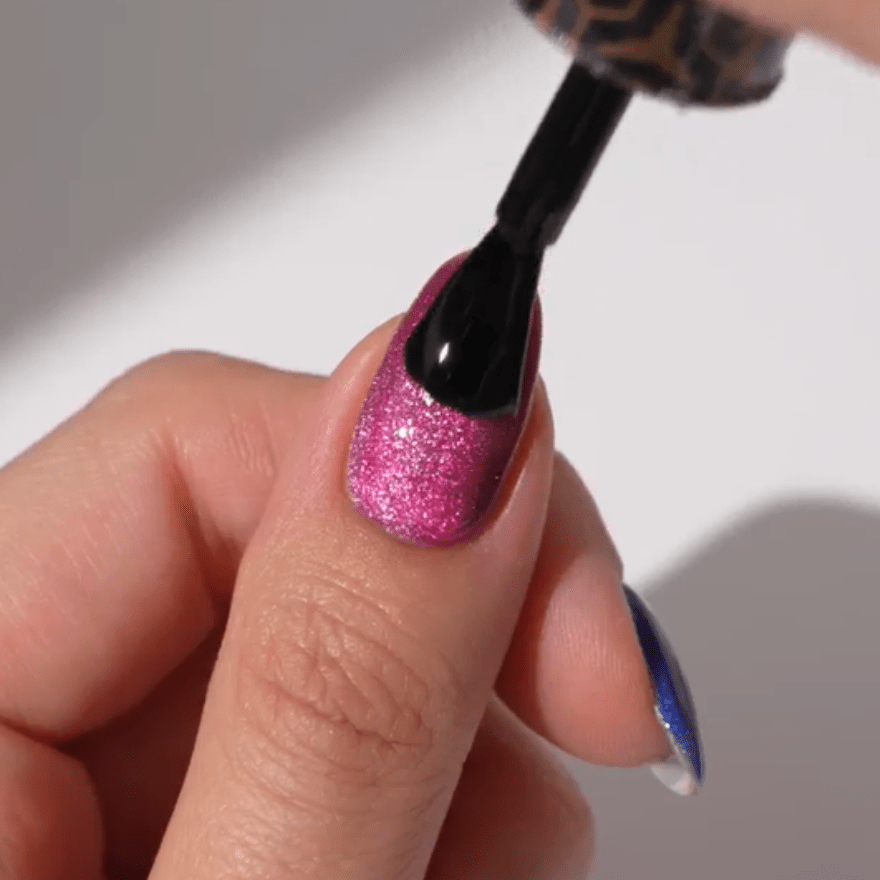
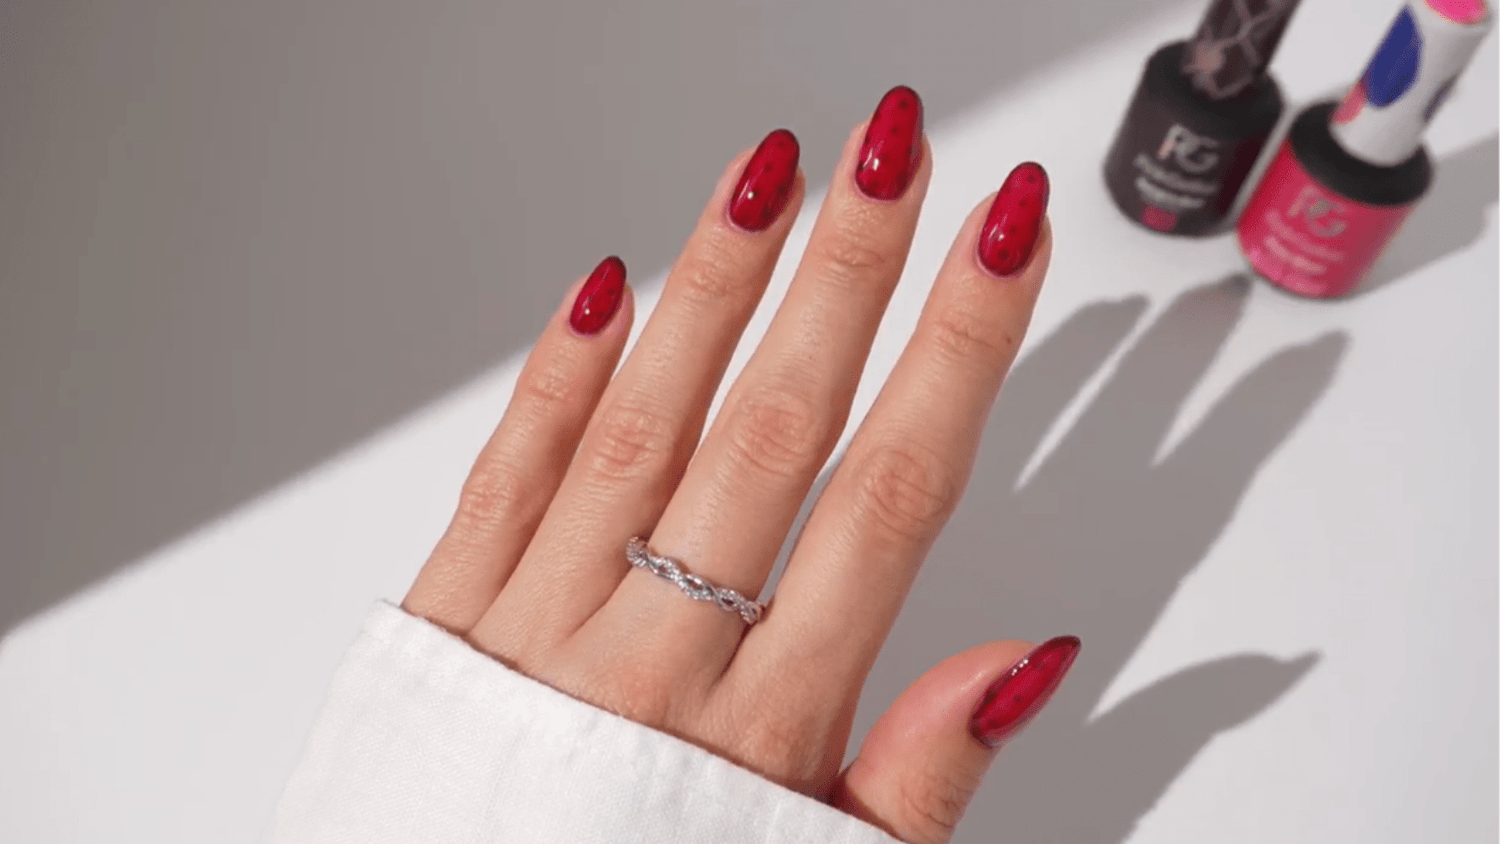
3. Over a nail art design
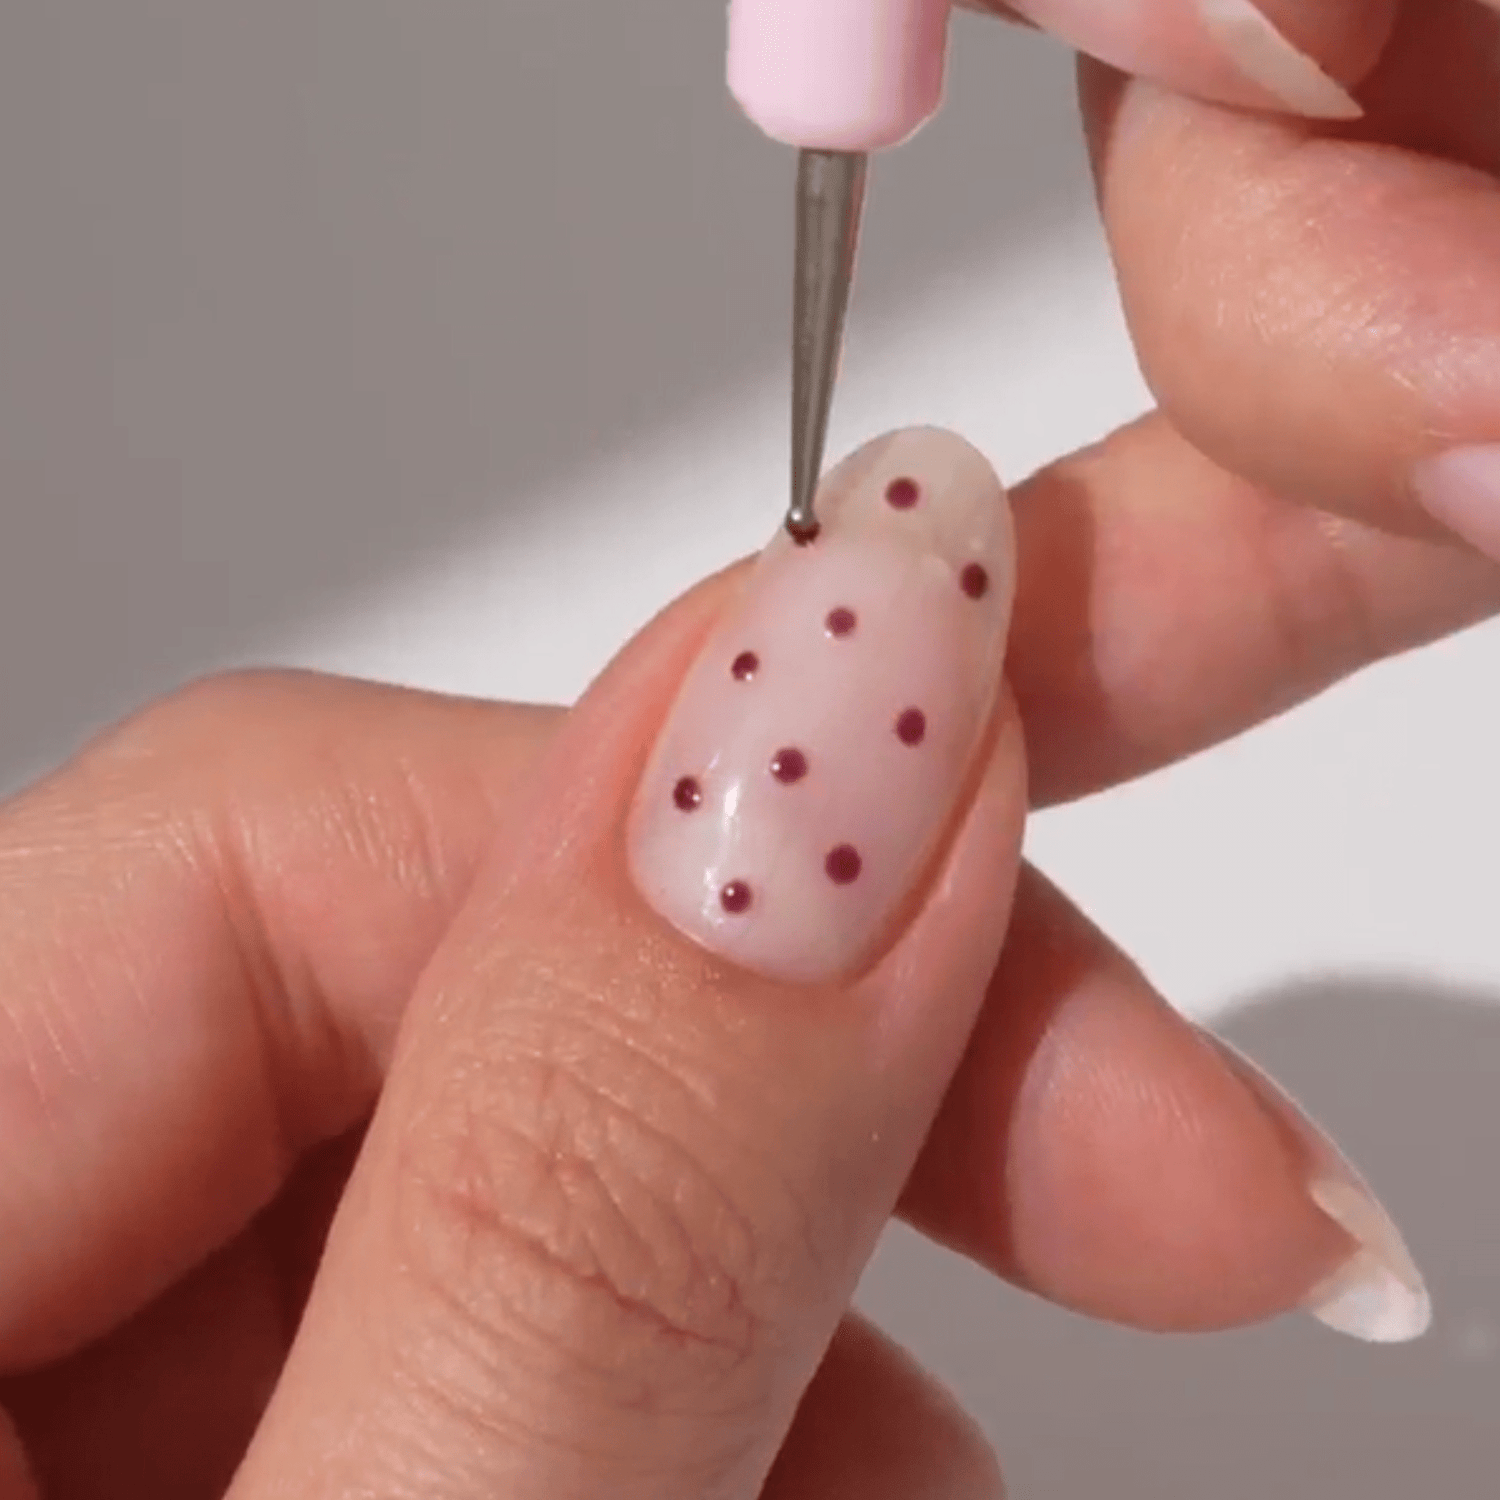
Step 1:
Start with your usual prep routine and apply your favourite base coat. Then start making polka dots all over the nail with a Dotting Tool. These dots were made with 332 Sangria Red.
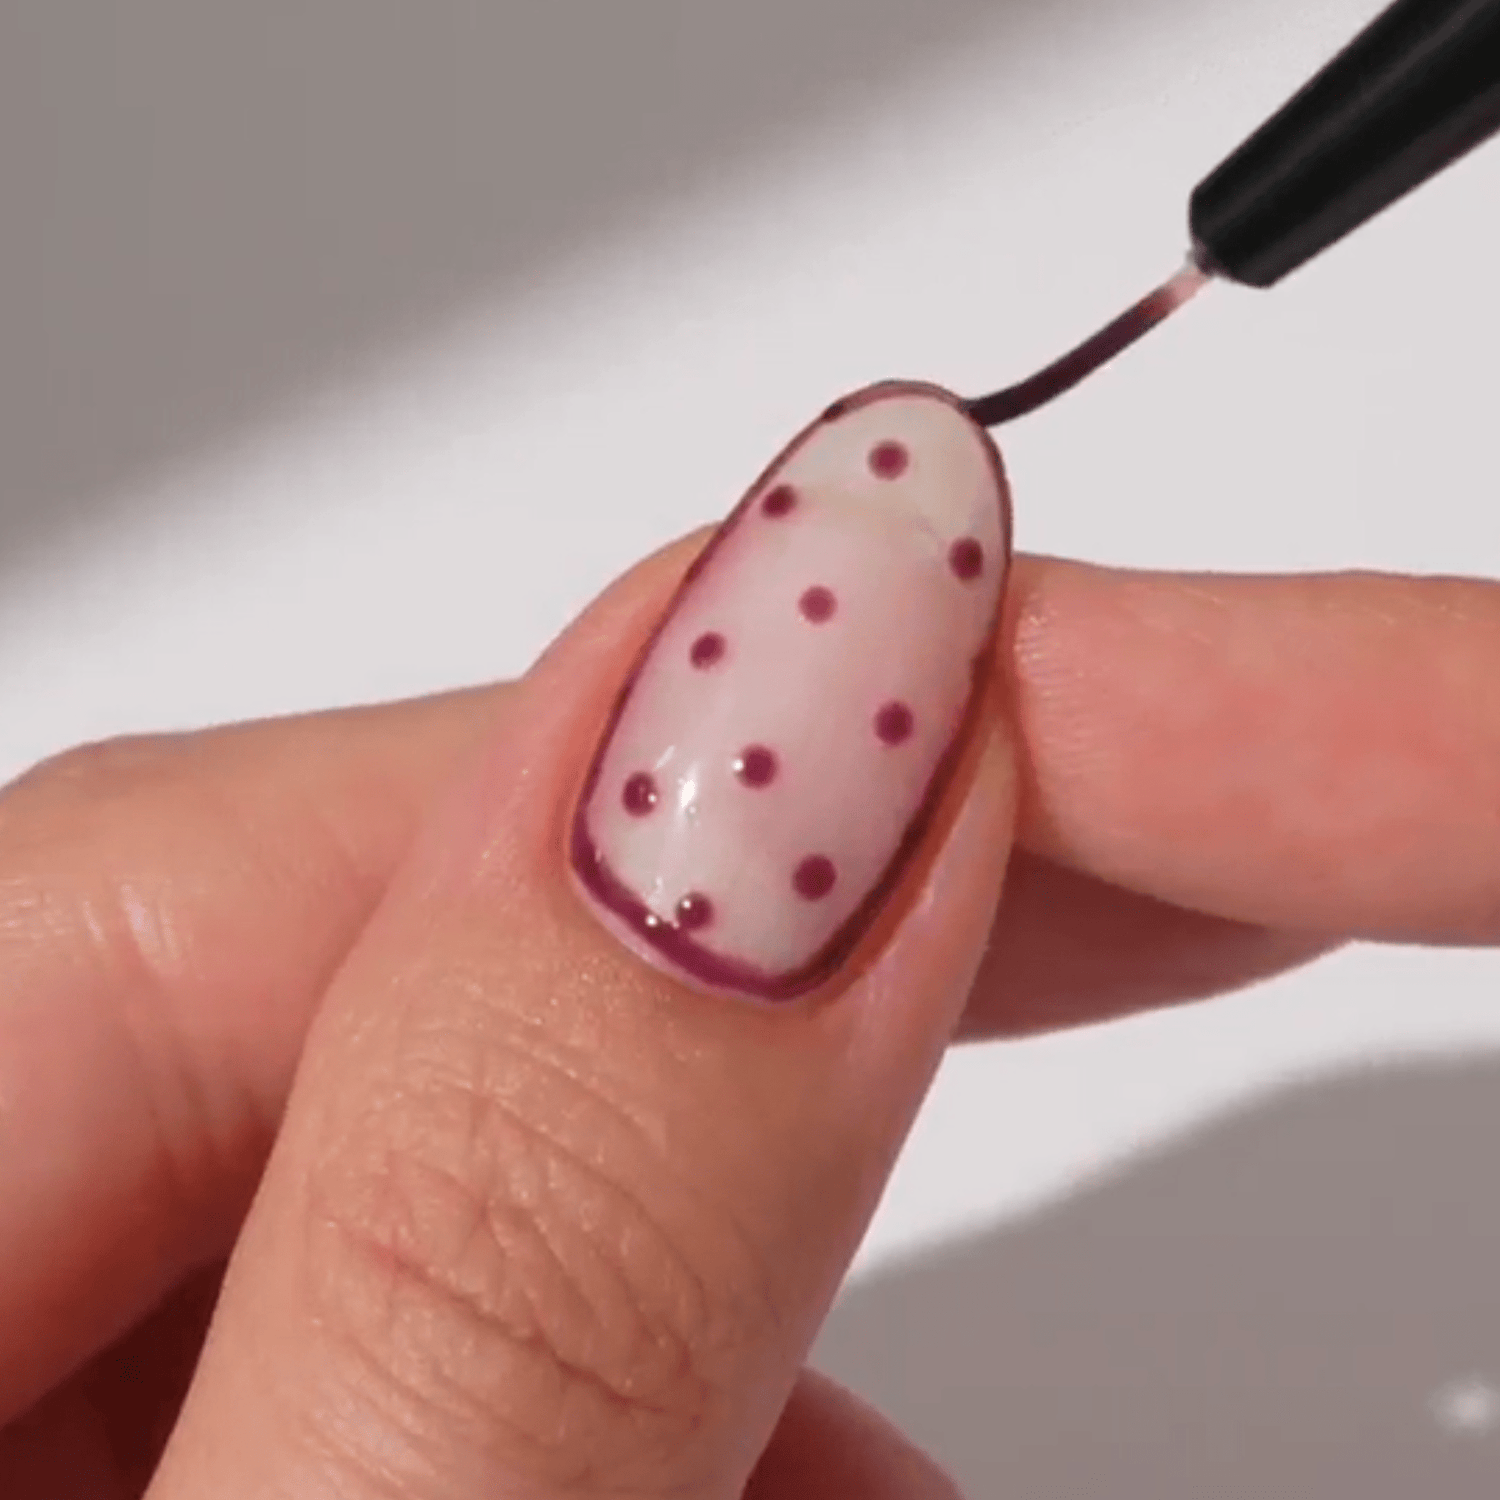
Step 2:
For the next step, outline the nail using the Fine Liner brush and 332 Sangria Red. Once your happy with your nail art design, cure for 60 seconds under the LED lamp.
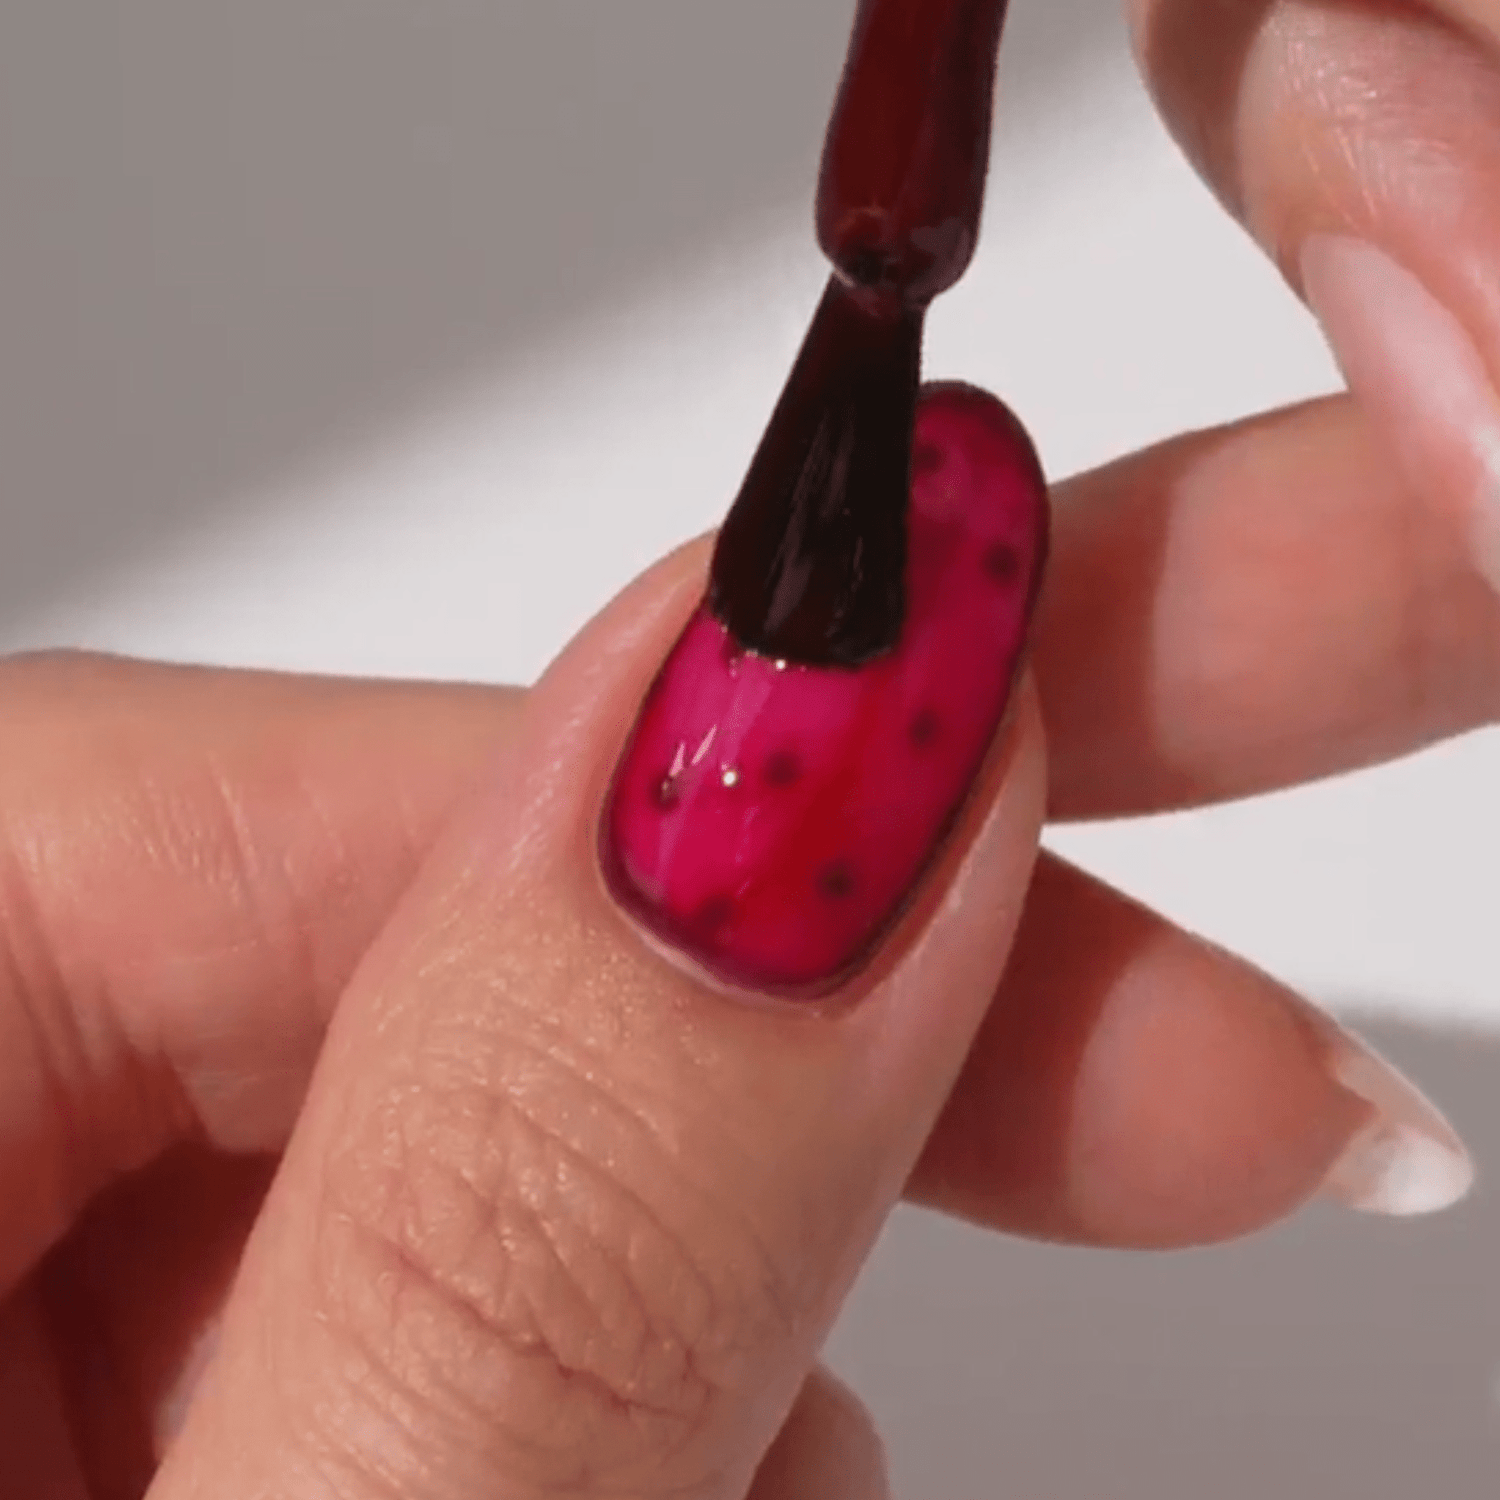
Step 3:
Then, add one thin layer of your favourite Jelly Coat and cure each layer for 60 seconds under the LED lamp. In this look Jelly Coat Ruby Gloss was used.
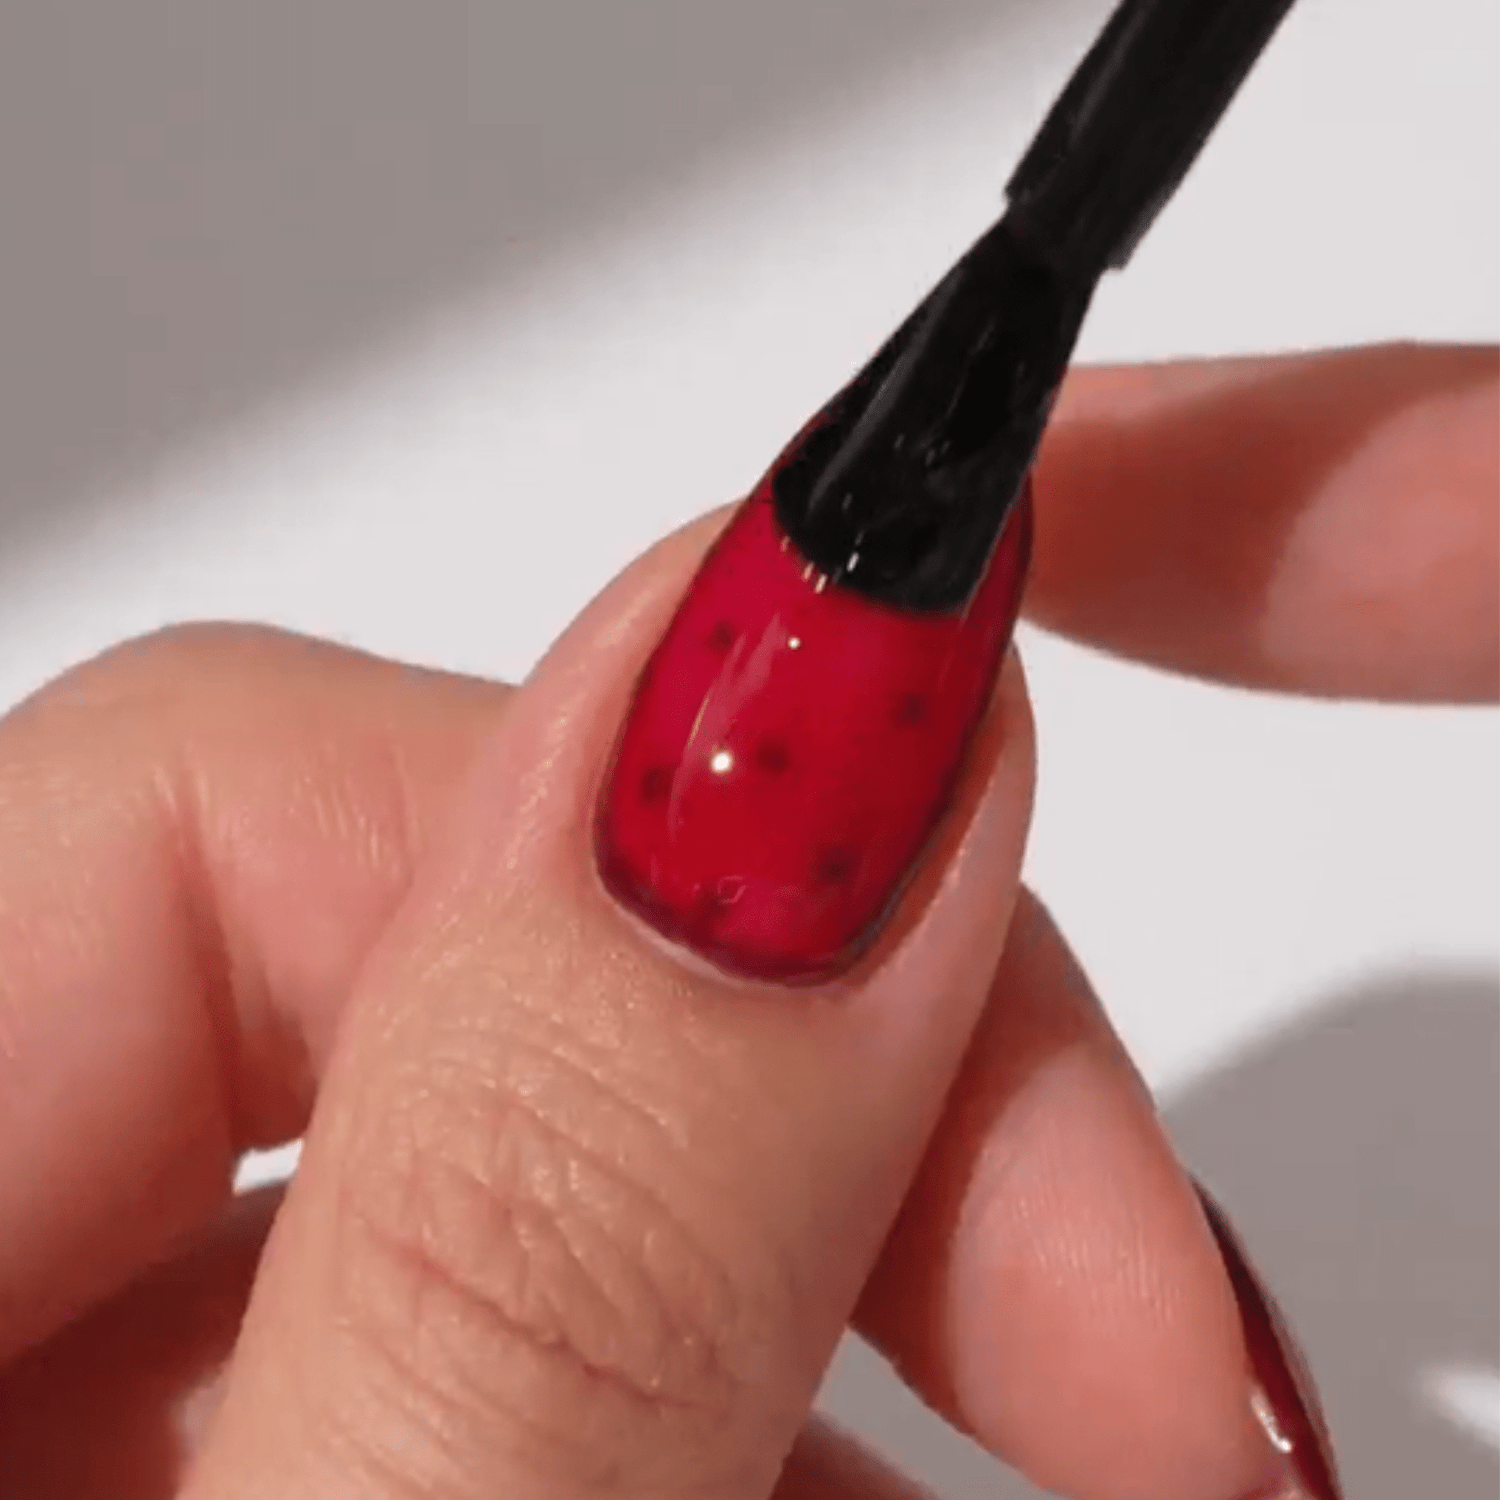
Step 4:
Finish with a thin layer of Top Coat and cure for 60 seconds under the LED lamp. Wait 2 minutes, then remove the sticky layer with a nail wipe and cleaner.
4. Layer under a nail art design
Use a Jelly Coat as your base layer and add your favourite nail art on top for a cool, almost 3D effect. For example, try out the look with polka dots on top of the Jelly Coat!
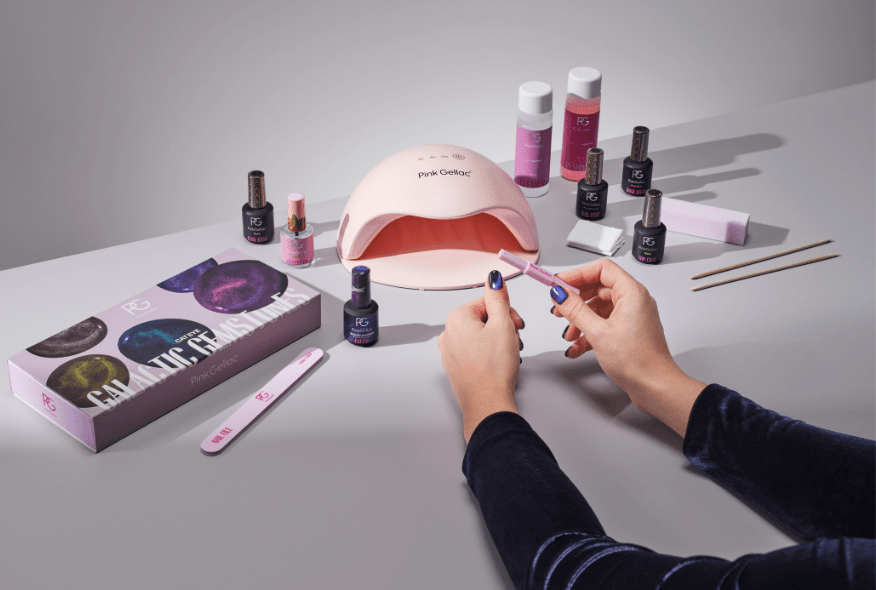
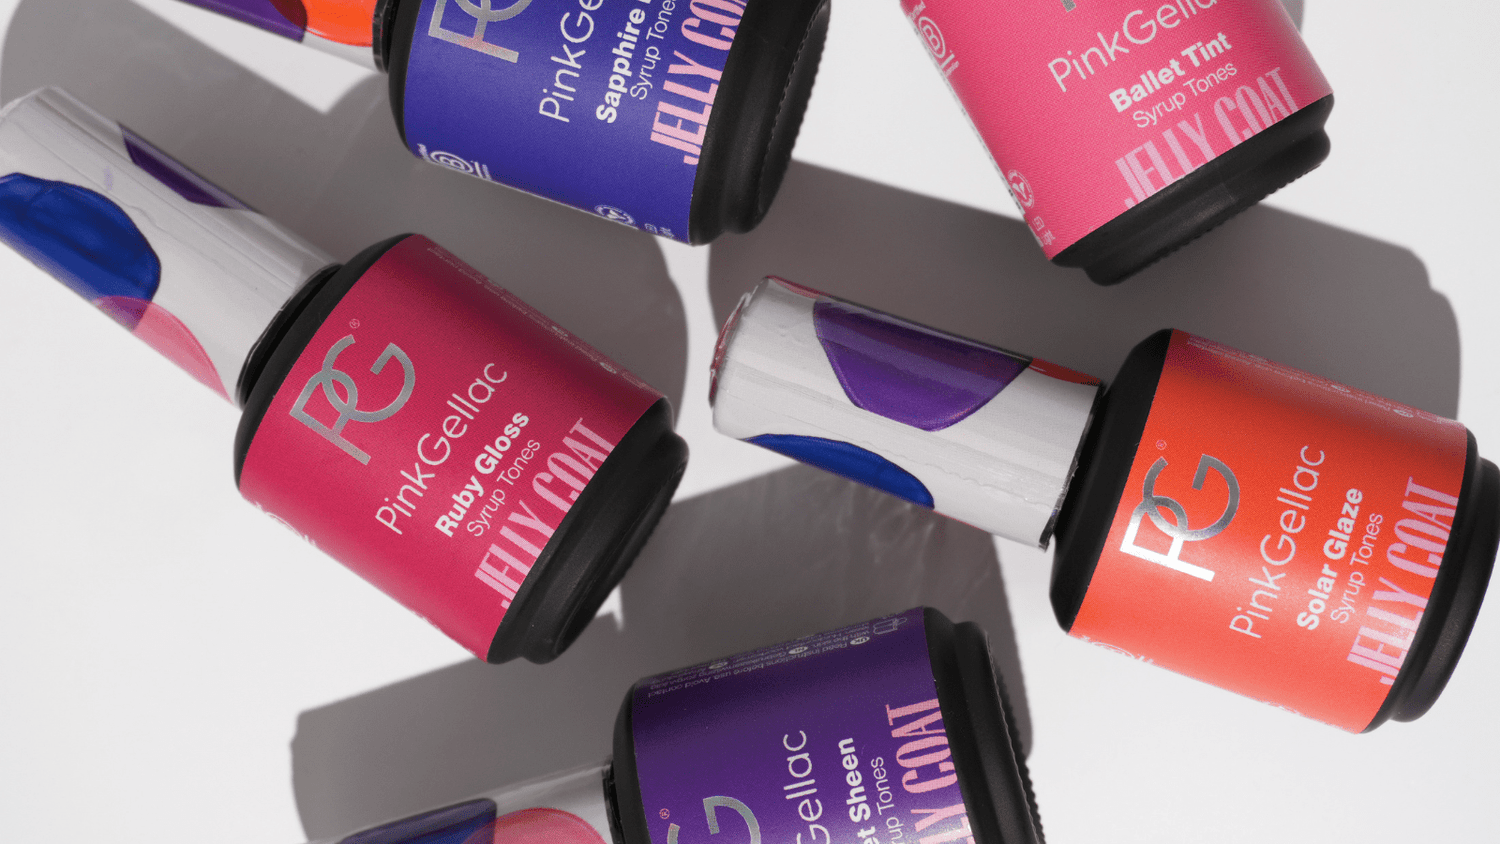
Shop your Jelly Coat
View All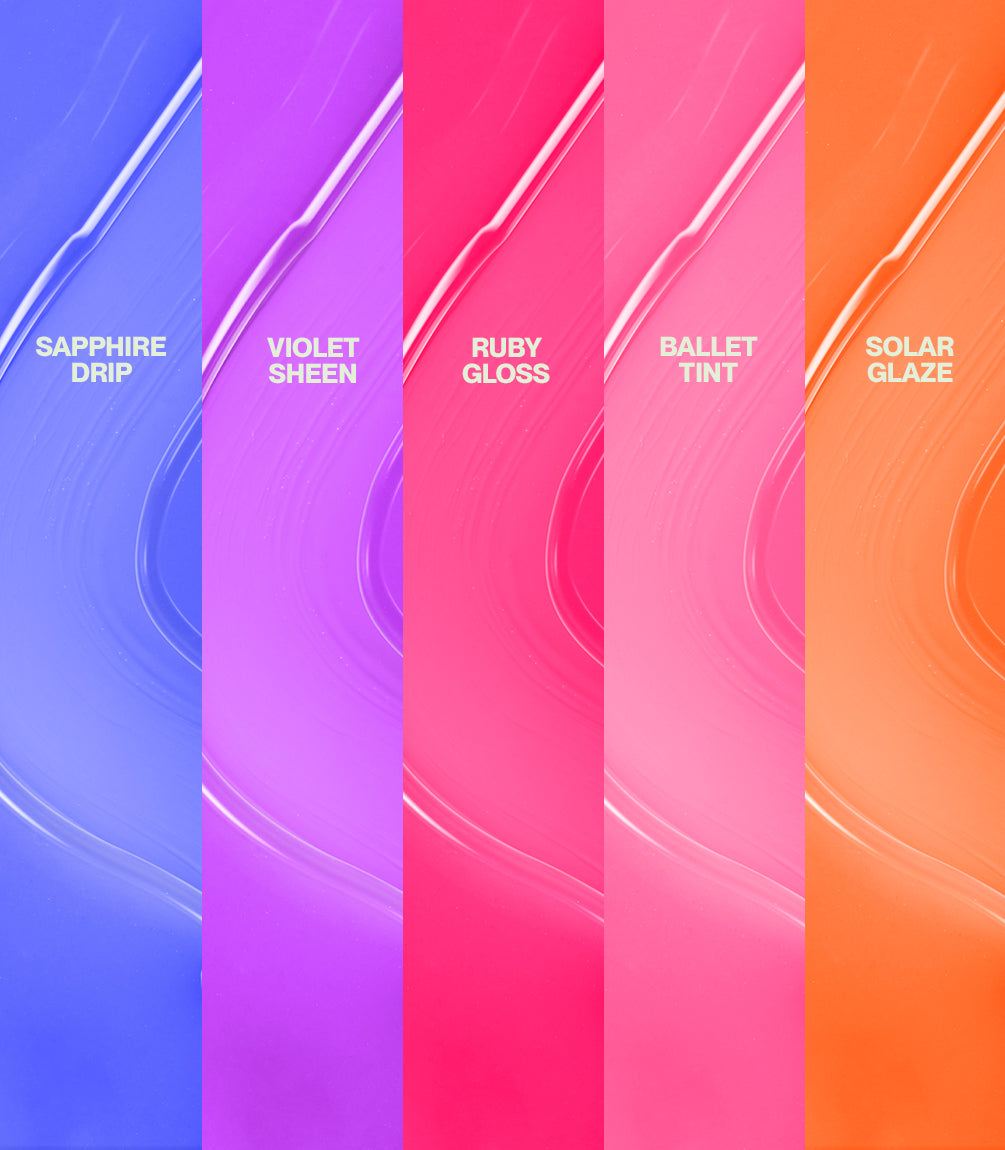
Summer Sale: - 26%
gel nail polish
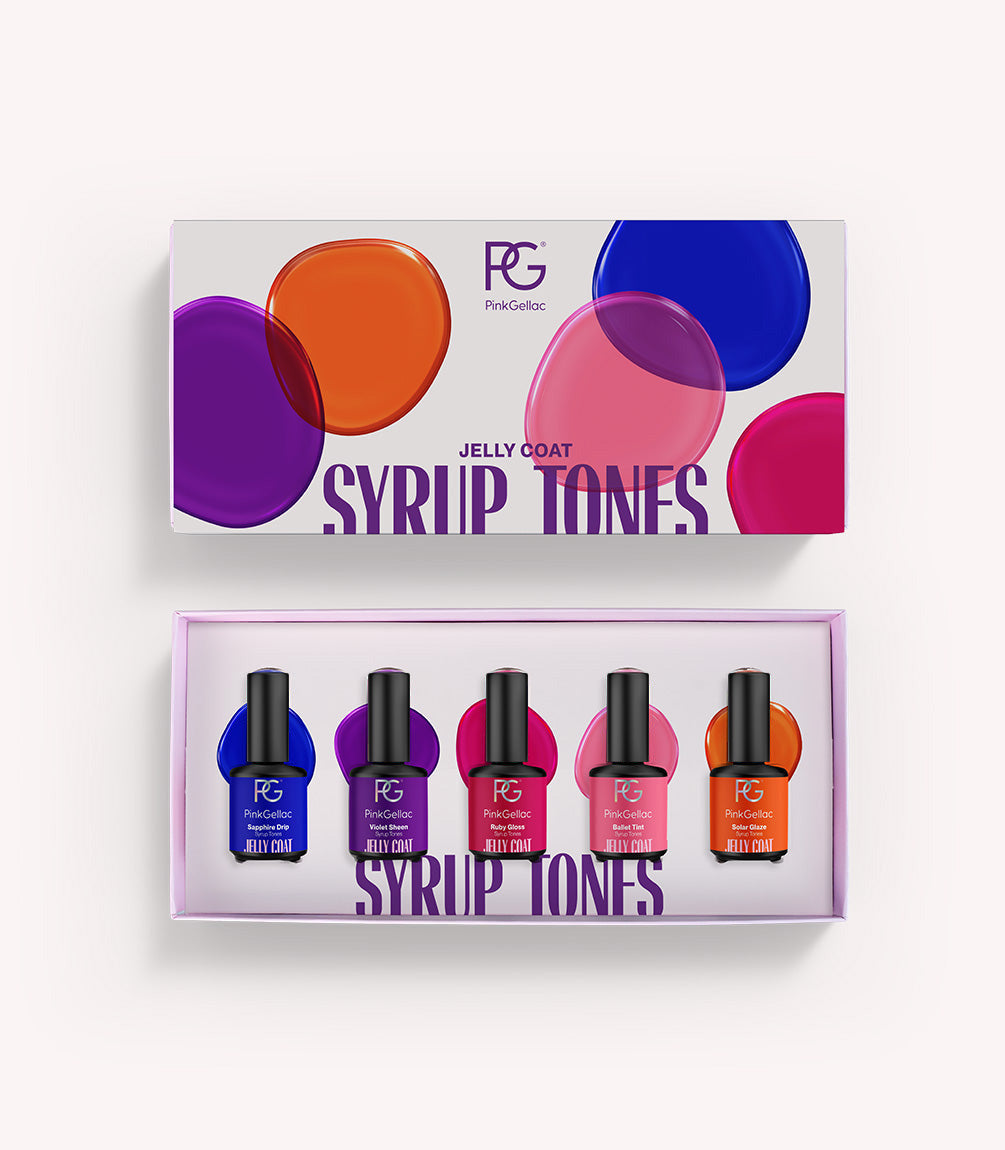
Jelly Coat Set Syrup Tones
€ 75,00
€ 55,00
Set value € 85,00

Summer Sale: - 41%
gel nail polish
Jelly Coat Sapphire Drip
€ 17,00
€ 9,99
Summer Sale: - 41%
gel nail polish
Jelly Coat Violet Sheen
€ 17,00
€ 9,99

gel nail polish
Jelly Coat Ruby Gloss
€ 17,00

gel nail polish
Jelly Coat Ballet Tint
€ 17,00


Summer Sale: - 41%Redeem with Pink Points
gel nail polish
Jelly Coat Solar Glaze
€ 17,00
€ 9,99