Tortoise Nail Art with a Jelly Coat

Tortoise Nail Art with a Jelly Coat
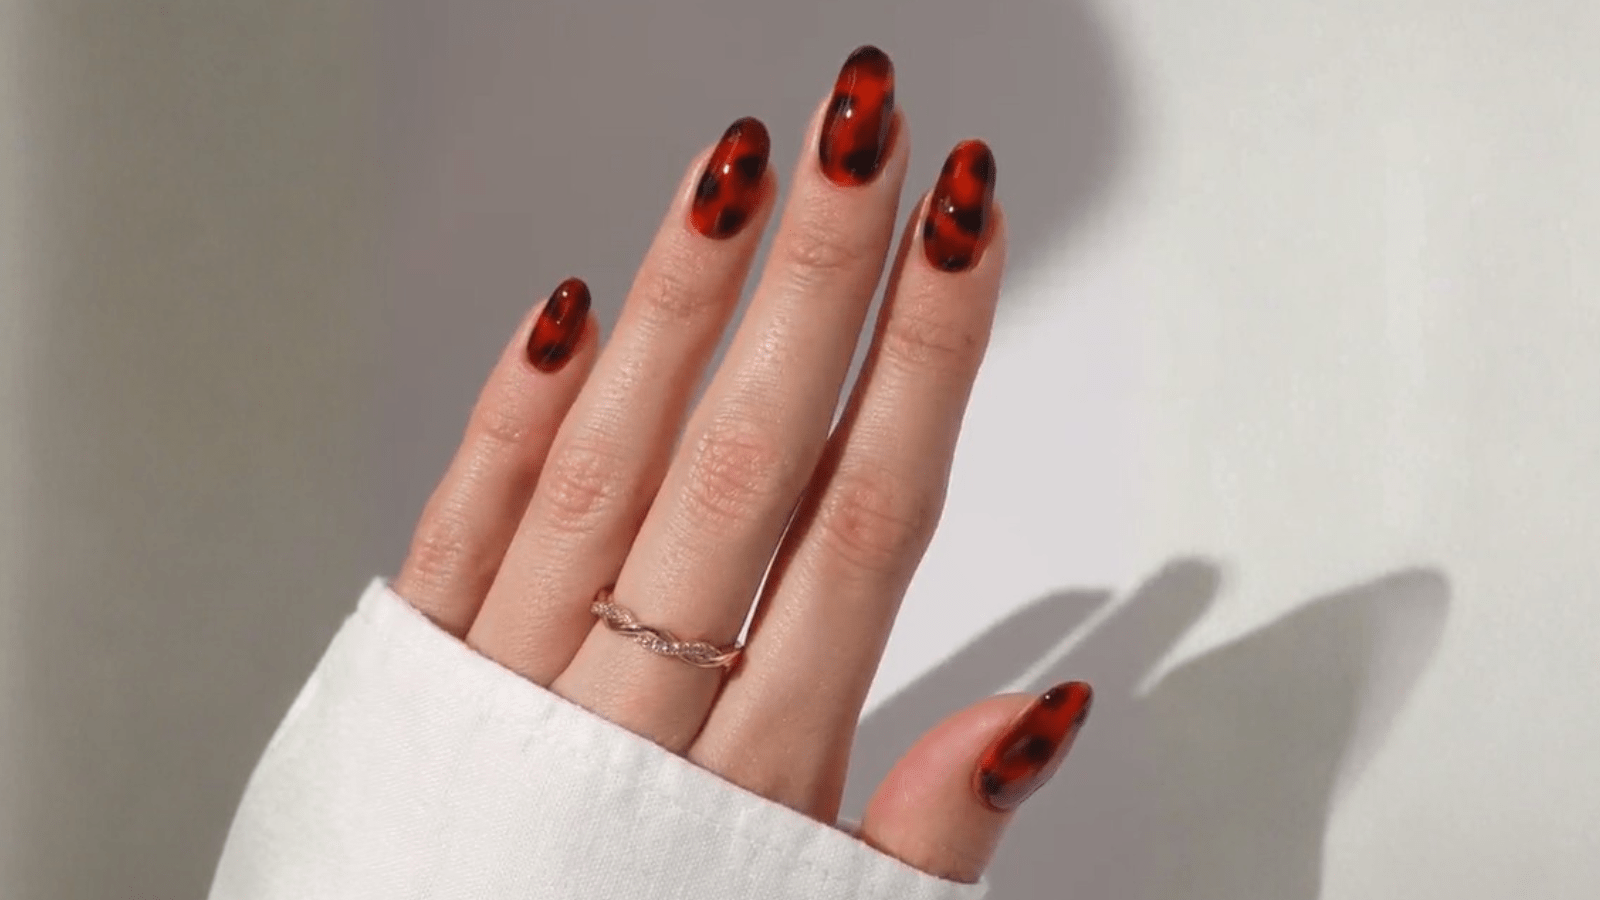
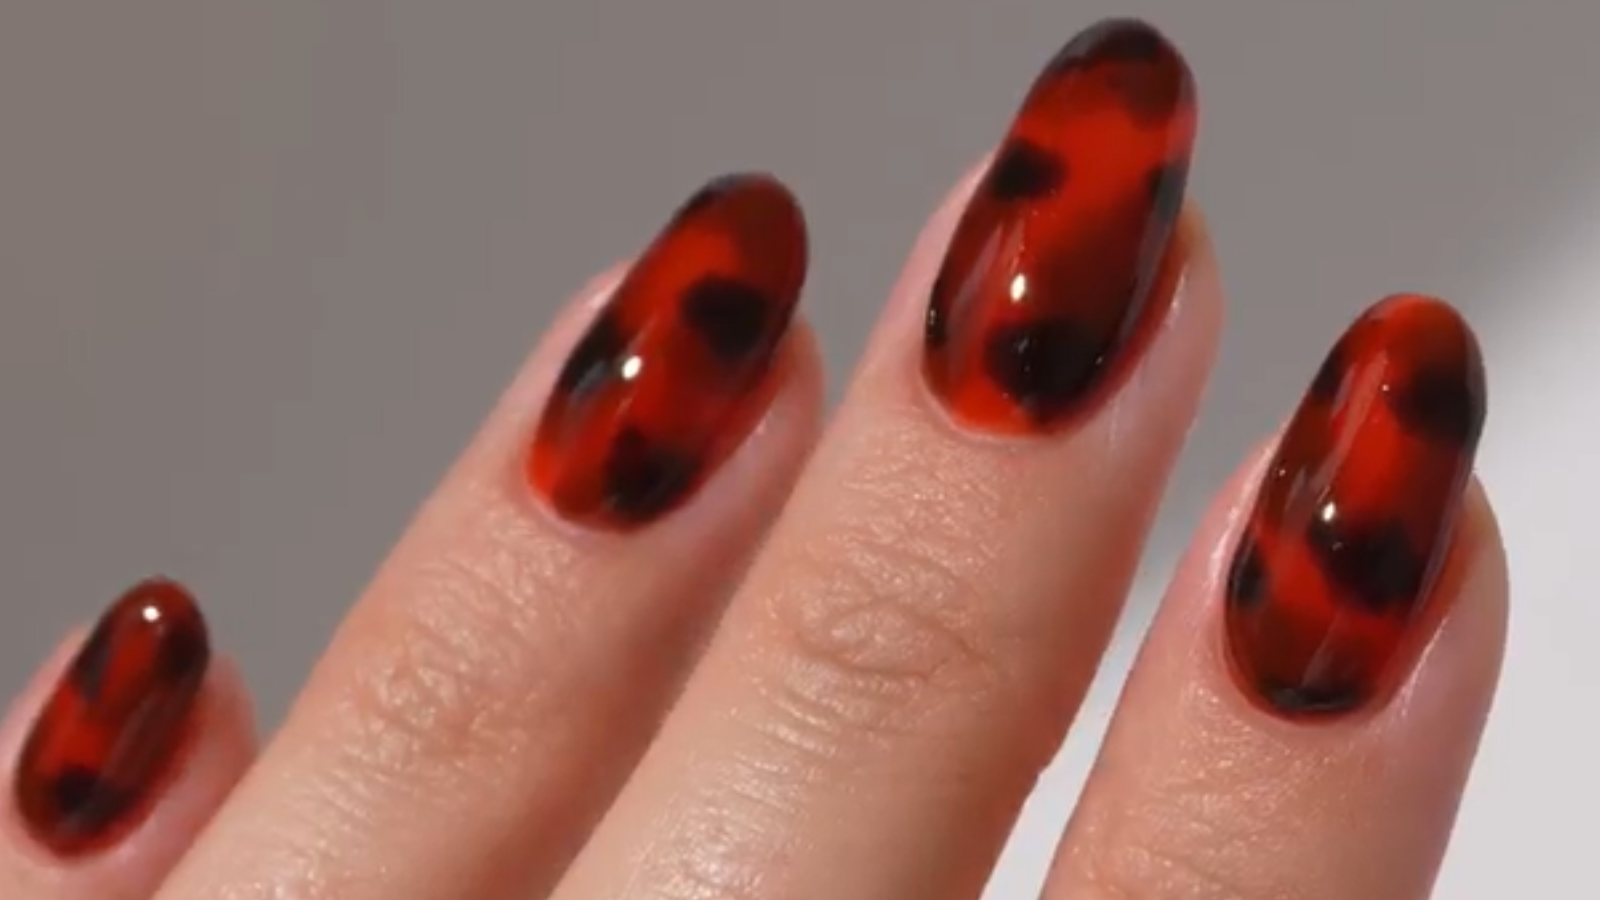
We just can’t get enough of the timeless tortoise nails. They add an effortlessly chic touch and are perfect to wear towards the end of the year. You probably already know about the versatility of our Jelly Coats and the four different ways to use them—but this look is simply unmissable! Below, we’ll guide you step by step to create stunning tortoise nail art with our gorgeous Jelly Coat Solar Glaze—no blooming gel needed, like the original version of tortoise nail art. Want to explore the full Jelly Coat collection? Take a look and get inspired.
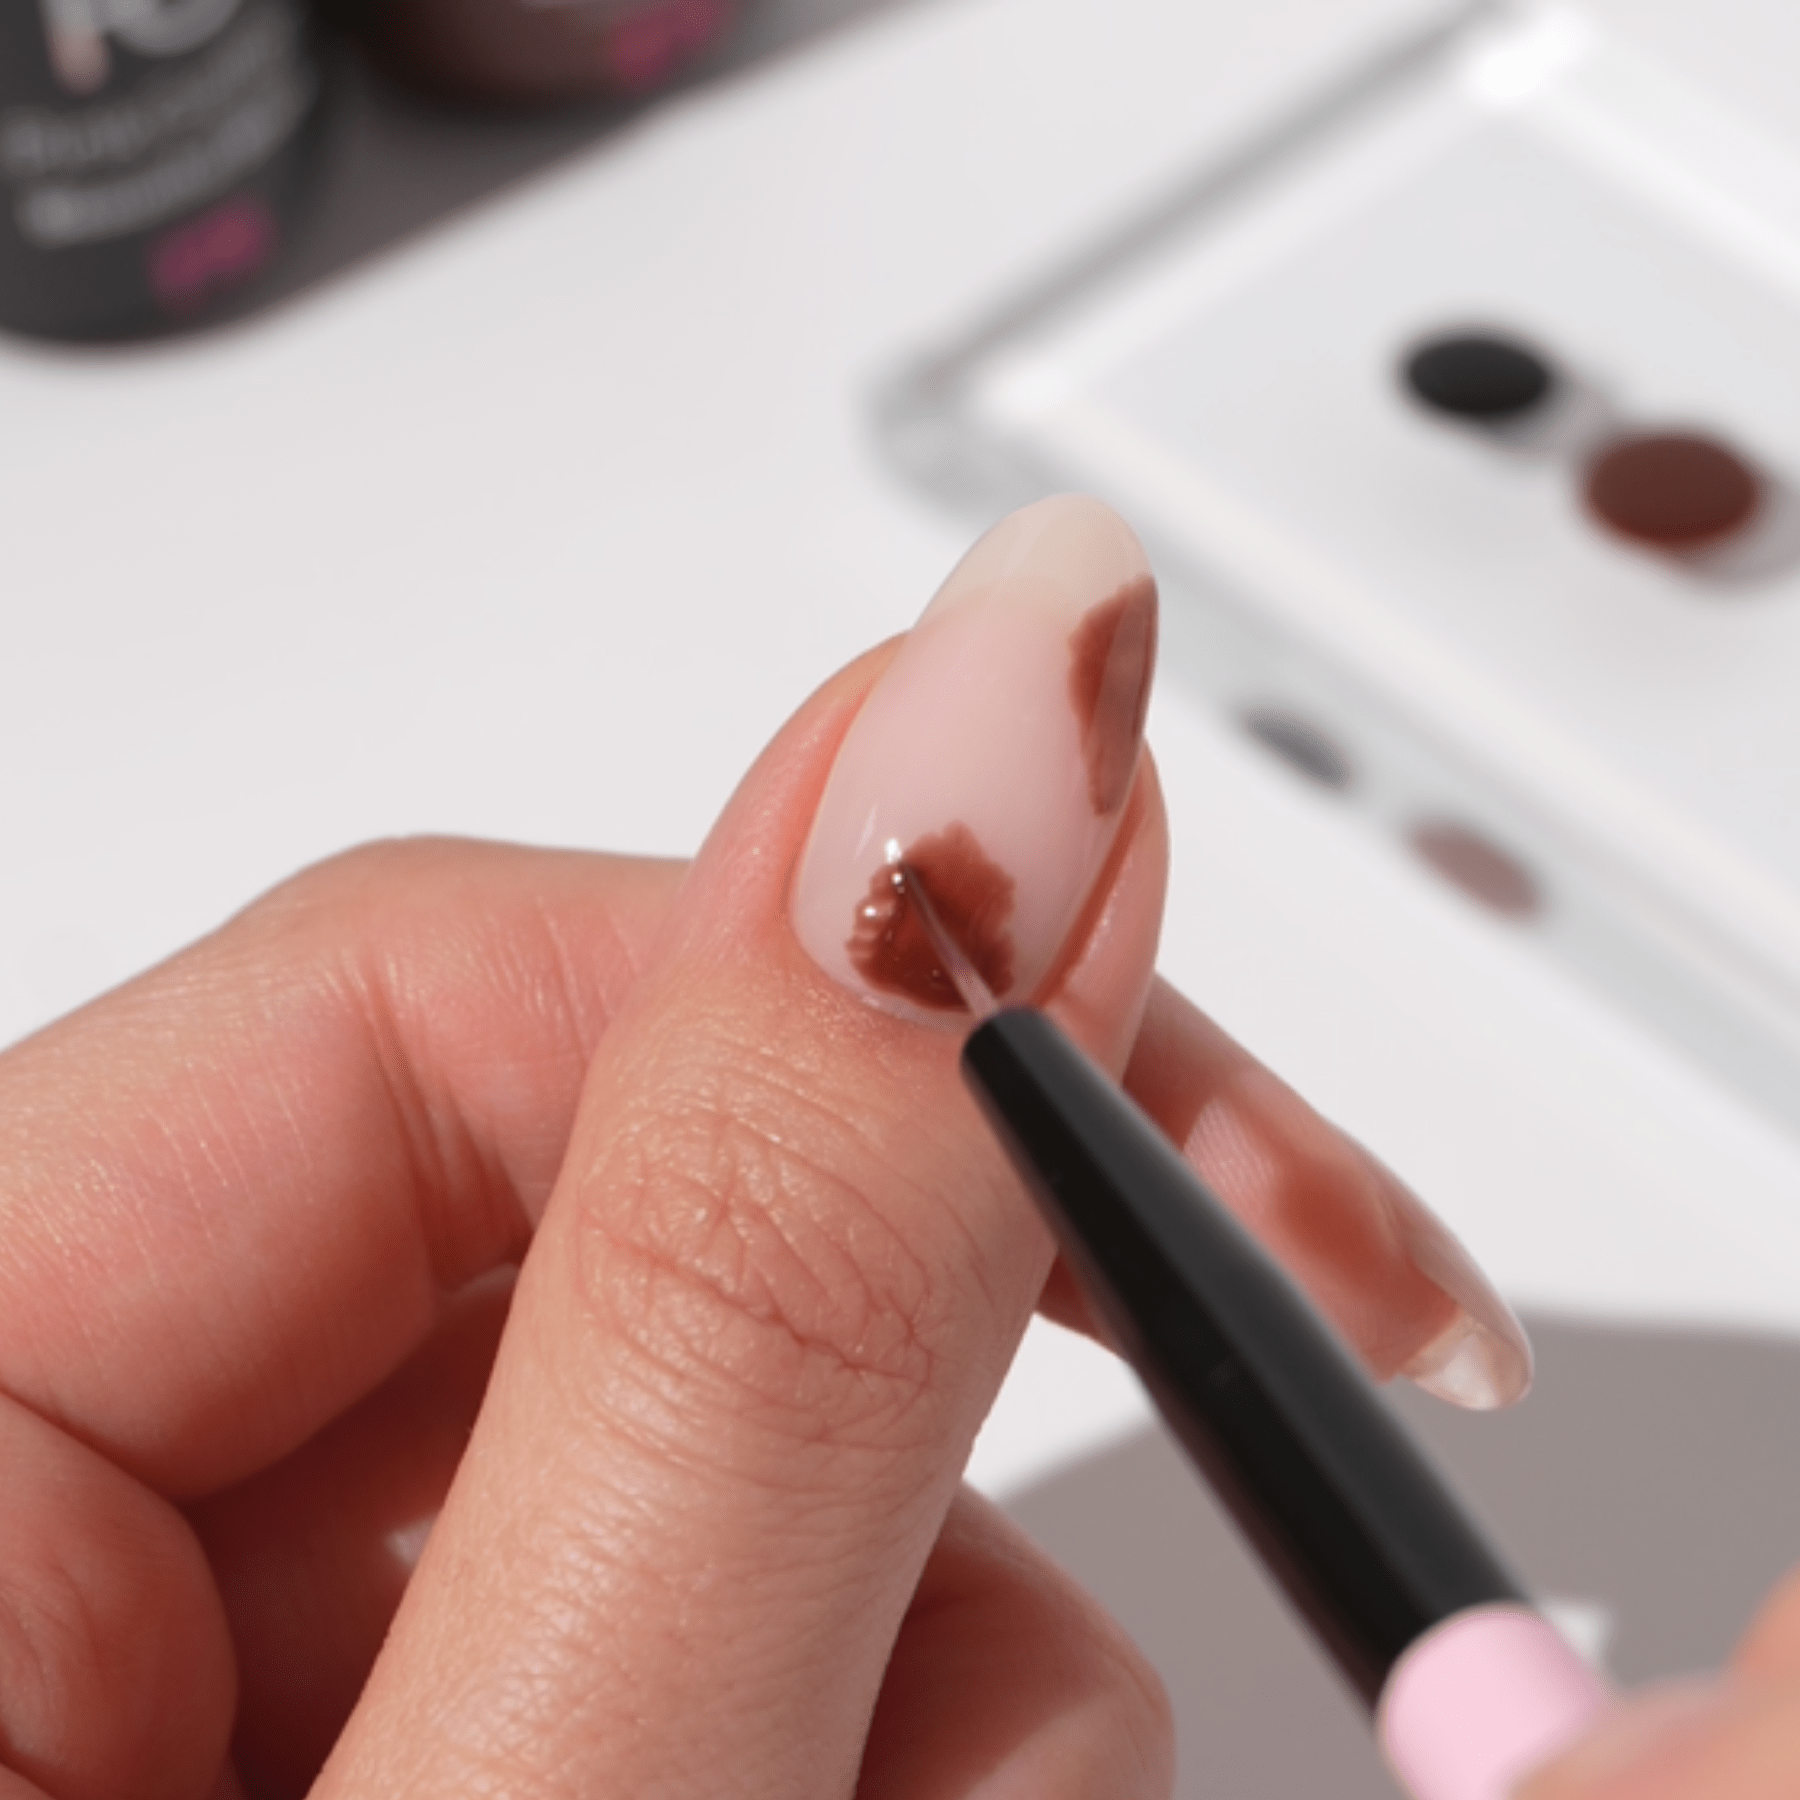
Step 1: Brown Spots
After your usual prep routine and your favourite base coat, start to apply three spots of 421 Mocha Brown on your nails with the Fine Liner. Once ready, cure for 60 seconds under the LED lamp.
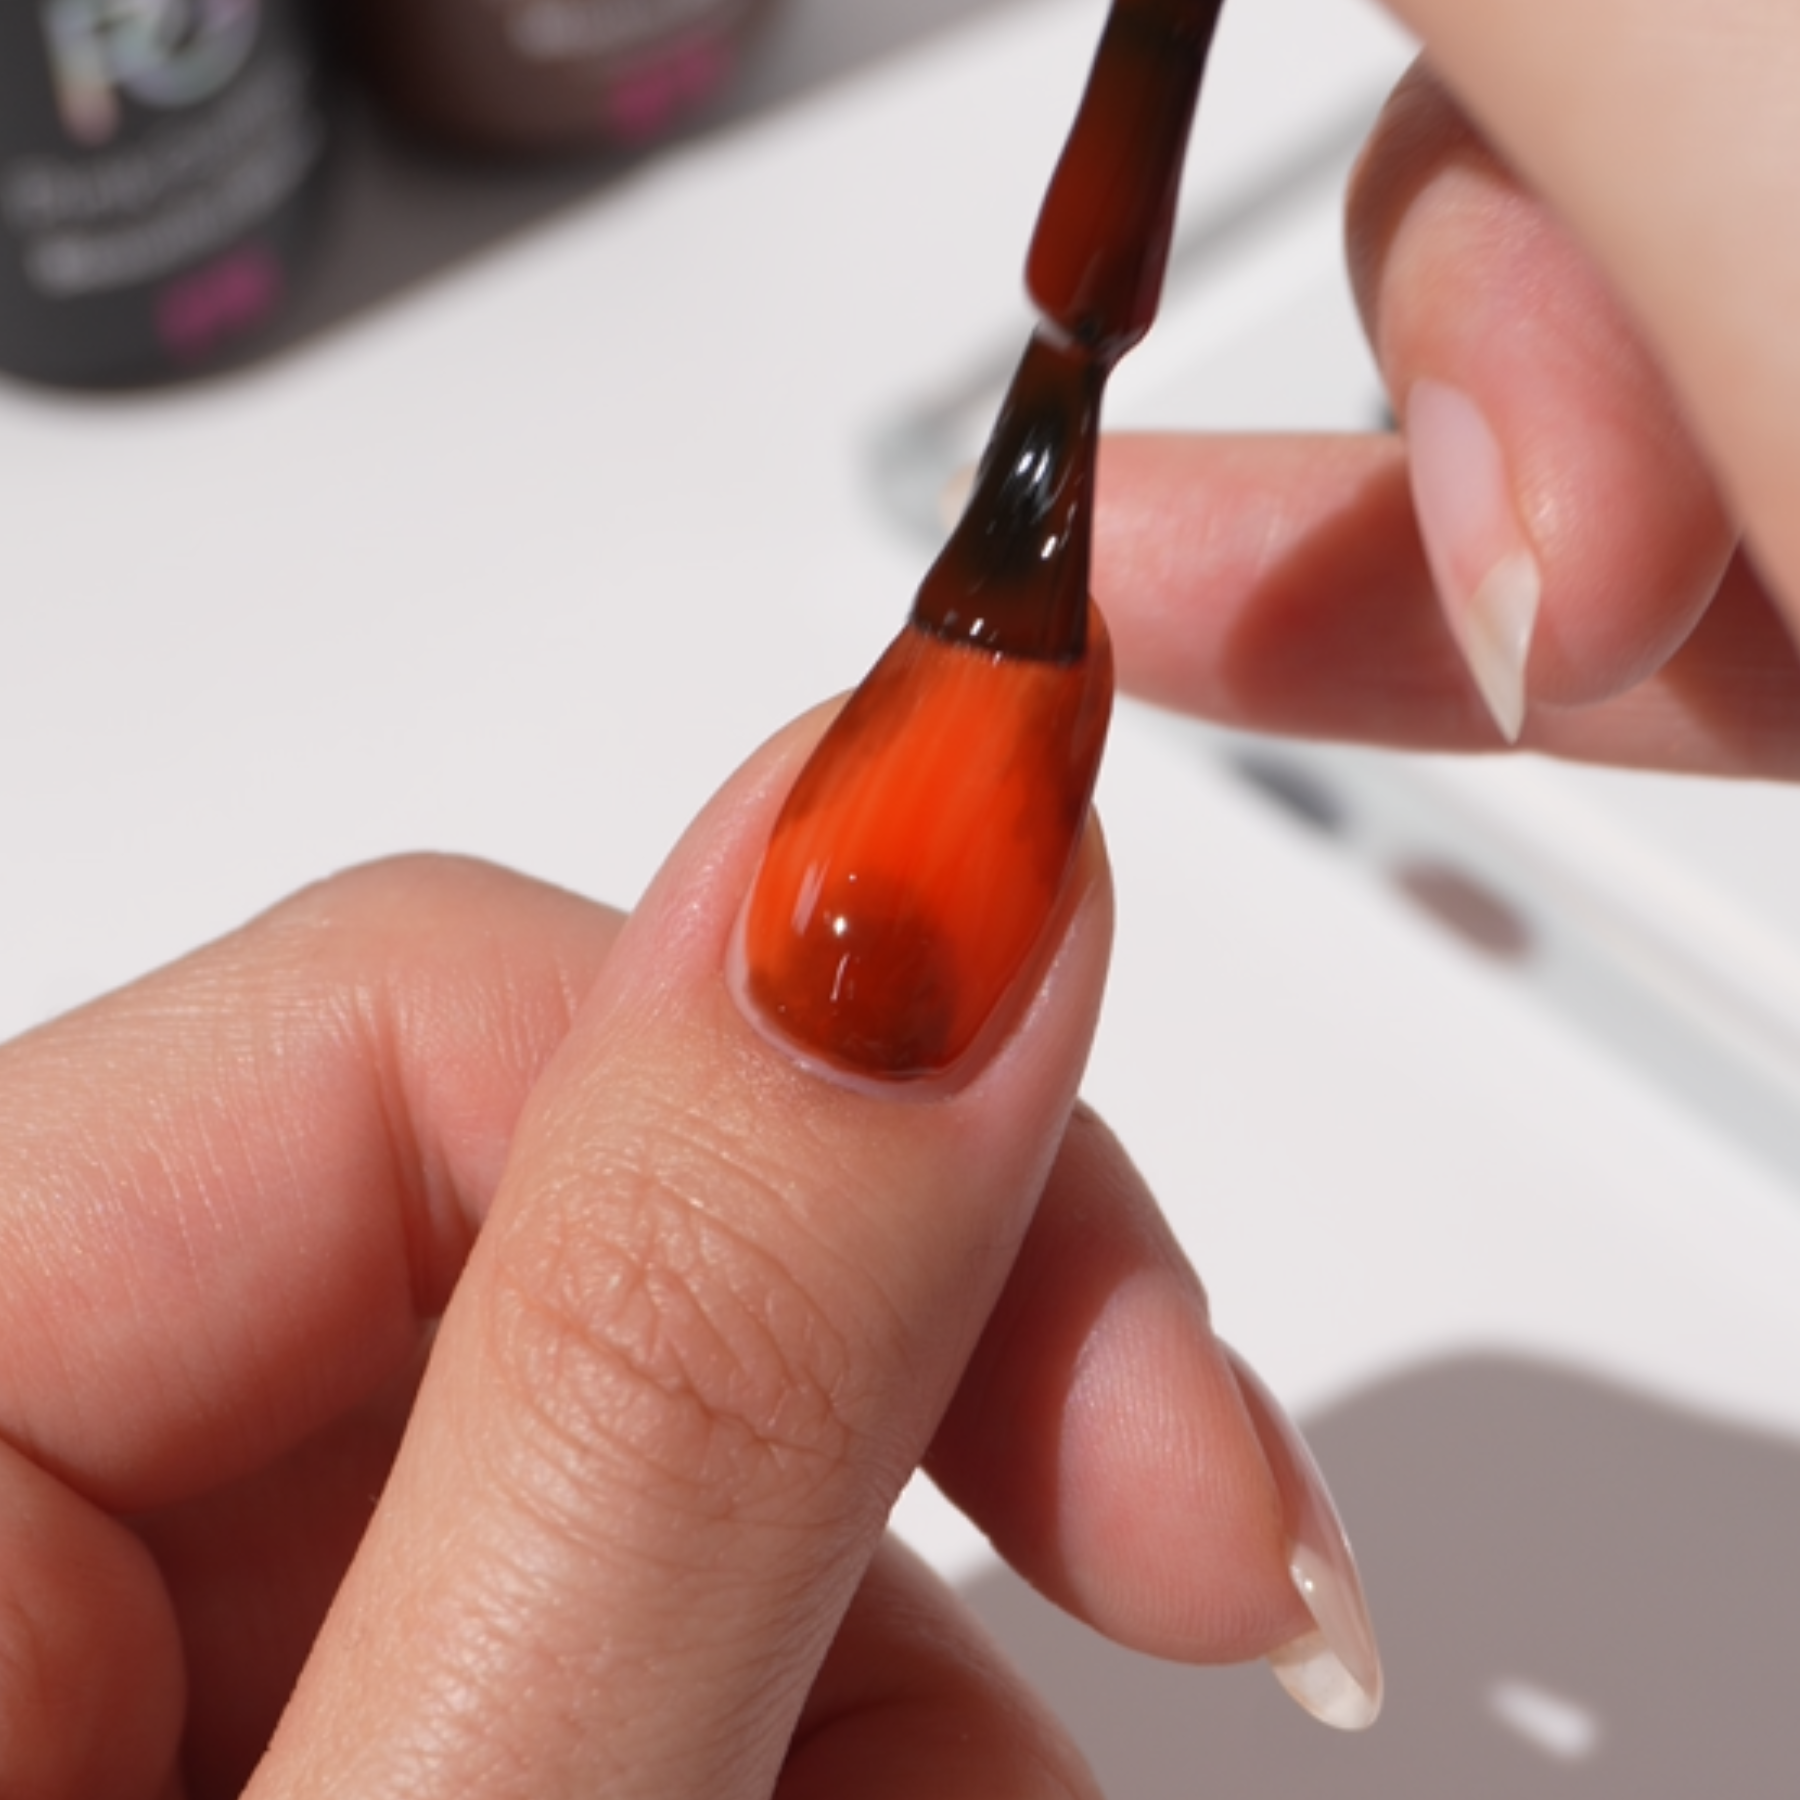
Step 2: Apply Jelly Coat Solar Glaze
Apply a thin layer of Jelly Coat Solar Glaze on top of the brown spots and cure again for 60 seconds.
Step 3: Repeat Steps
Repeat step 1 and 2, to create for depth. First, apply another layer of 421 Mocha Brown using the Fine Liner. This time, extend it slightly outside the spot you already created and overlap it a little. Cure, then apply another layer of the Jelly Coat Solar Glaze. Cure that layer as well.
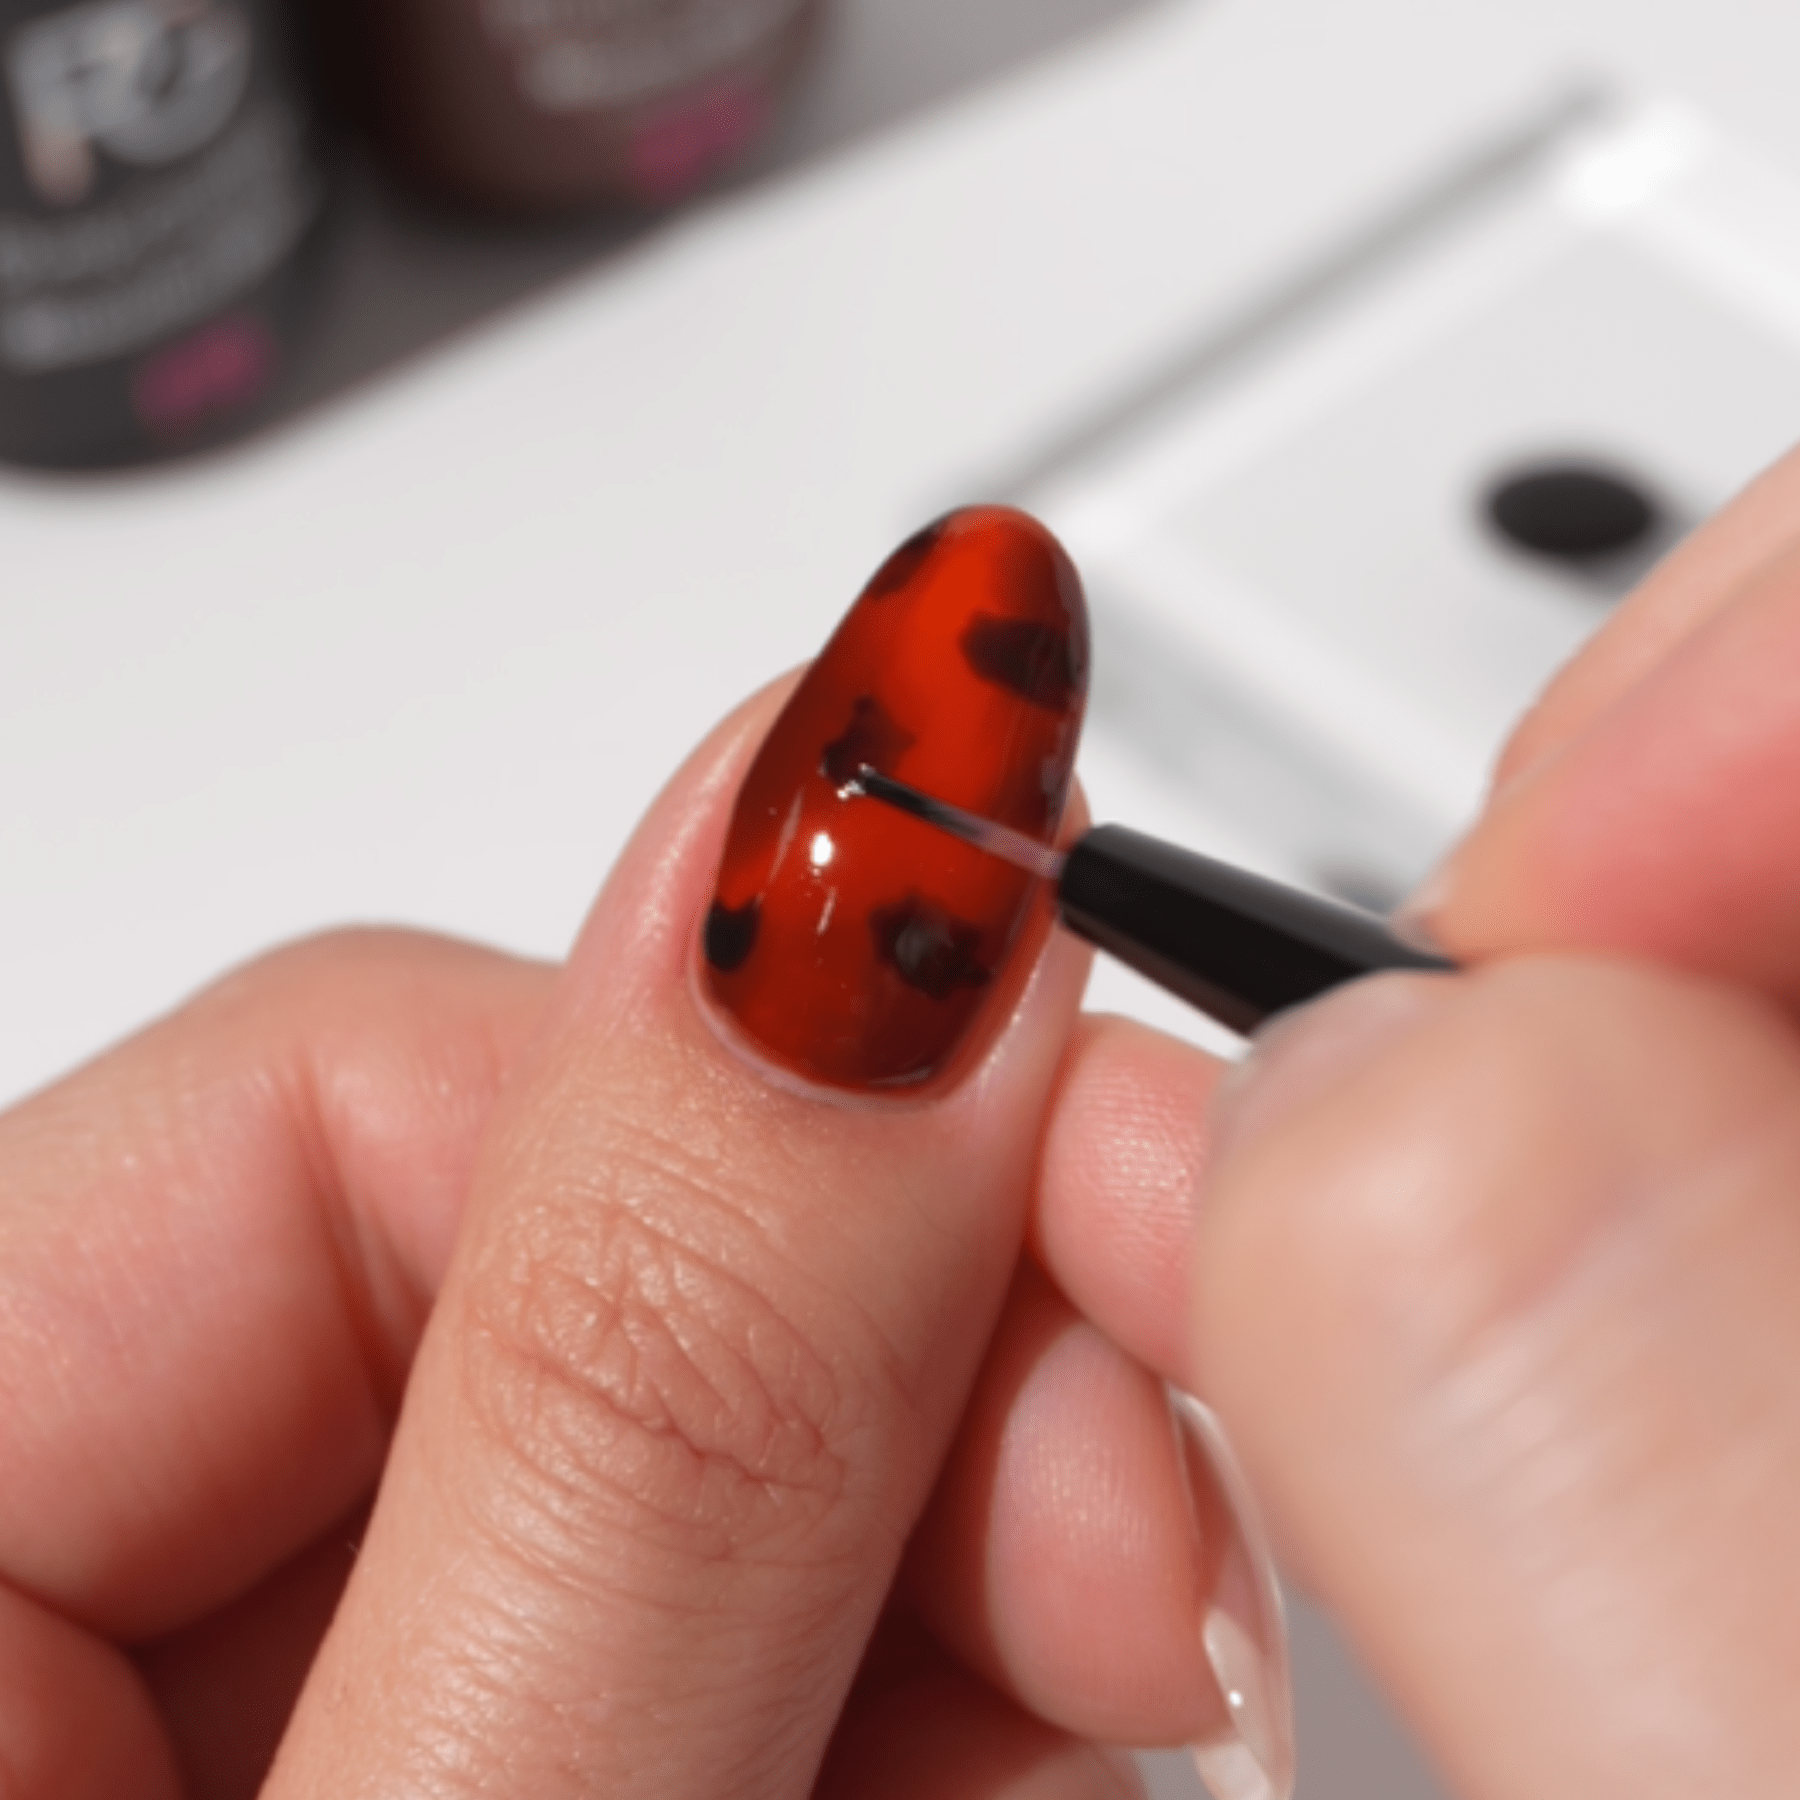
Step 4: Add Black Spots
Finish your nail art by adding small black spots using 120 Beautiful Black and a Fine Liner. This will tie the design together. Cure for 60 seconds, then seal the look with a Top Coat and cure again for 60 seconds.
Are you recreating these Tortoise Nails? Share your creation and tag us! Use @pinkgellac or #pinkgellac so we don’t miss out!