September 17, 2024
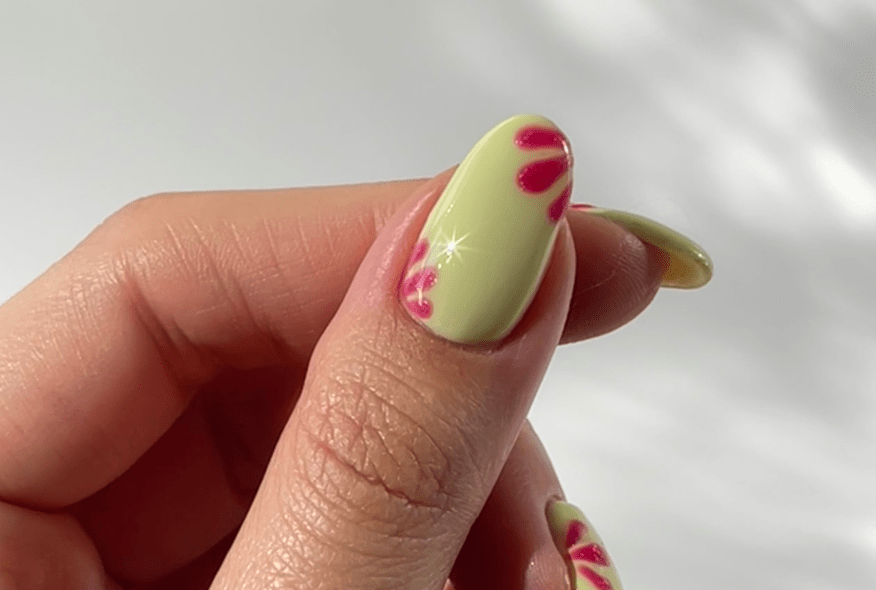
Flower

Step 1
Take a little of 299 Coco White on your Dotting Tool and make small dots around the centre to form the petals. Let this cure for 60 seconds under the LED lamp. Meanwhile, clean your Dotting Tool with a clean dry Nail Wipe.

Step 2
Take a bit of 287 Joyous Yellow on your Dotting Tool and gently push it onto the nail to make a small round dot. This will be the centre of your flower. Let this cure in the LED lamp for 60 seconds.

Step 3
Apply a layer of Shine Top Coat and let it cure for 60 seconds under the LED lamp. After this, take off the sticky residue with a Nail Wipe with Cleaner.
Hearts

Step 1
Create two dots close to each other with 109 Lipstick Red and the Dotting Tool. But keep in mind: the bigger the dots the bigger the hearts.

Step 2
Create the bottom of the heart by gently blending the dots in a downward direction. Use the Fine Liner for this step.

Step 3
Fill in the inside of the heart and create the shape you want. Finish off with a clear Top Coat to seal in your design and add shine.
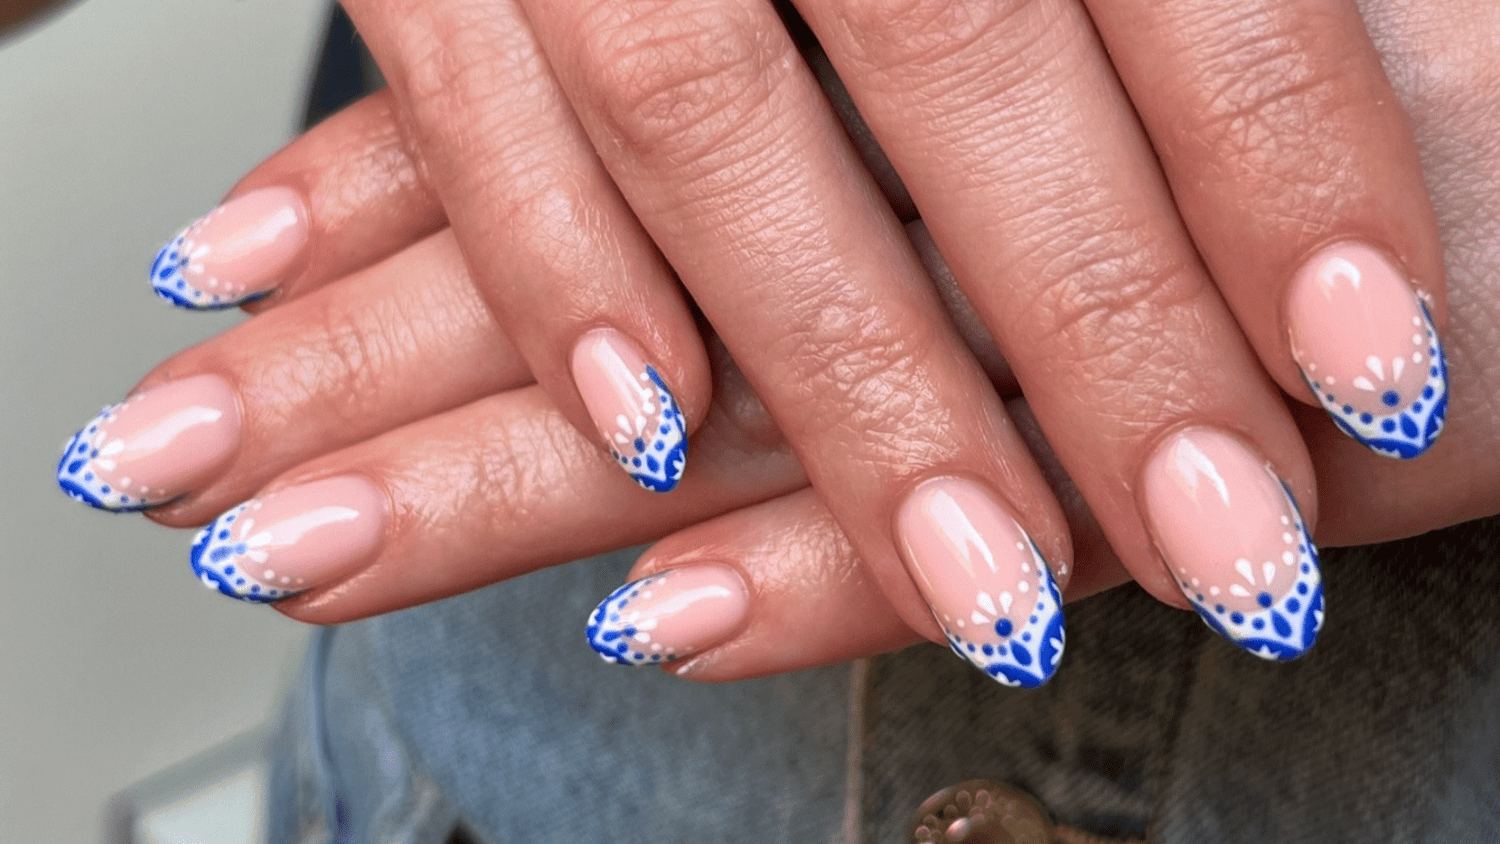
French Manicure

Step 1
Apply 388 Rosewater Pink to 'blur' the nail plate. Apply the colour to all nails and let it cure for 60 seconds under the LED lamp.

Step 2
Take a bit of 266 Baby Blue on your Fine Liner Brush and draw a diagonal line downwards. Do the same from the other side of the nail, making sure the free edge of the natural nail is completely covered.

Step 3
Now take the brush from the bottle and stroke it off at the neck. Fill in the empty part of your French tip with this and let it cure for 60 seconds under the LED lamp.
Finally, let your nails shine with the Shine Top Coat and let it cure for 60 seconds under the LED lamp.
Nail Art Tattoos


Step 2
Wet the cotton swab by dipping it in the protective cap with water, and then wet the back of the Nail Art Tattoo sheet.

Step 3
Take the Nail Art Stamp and press it on the Nail Art Tattoo you want to apply. Once the Nail Art Tattoo is on the transparent cushion of the Nail Art Stamp, press it onto the spot on the nail where you want to place the water decals.
Finally, let your nails shine with the Shine Top Coat and let it cure for 60 seconds under the LED lamp.
Daisy

Step 1
Begin by applying two coats of 388 Rosewater Pink as the base layer on your nails. Cure each layer for 60 seconds under the LED lamp.

Step 2
Next, take a small amount of 101 Soft White on your Fine Liner Brush to create the petals of your daisies. Draw the lines radiating from the outside in.

Step 3
Now, take a small amount of 213 Juicy Yellow on your Dotting Tool and apply a small dot in the centre of the flower. Cure this for 60 seconds under the LED lamp.
Finally, let your nails shine with the Shine Top Coat and let it cure for 60 seconds under the LED lamp.
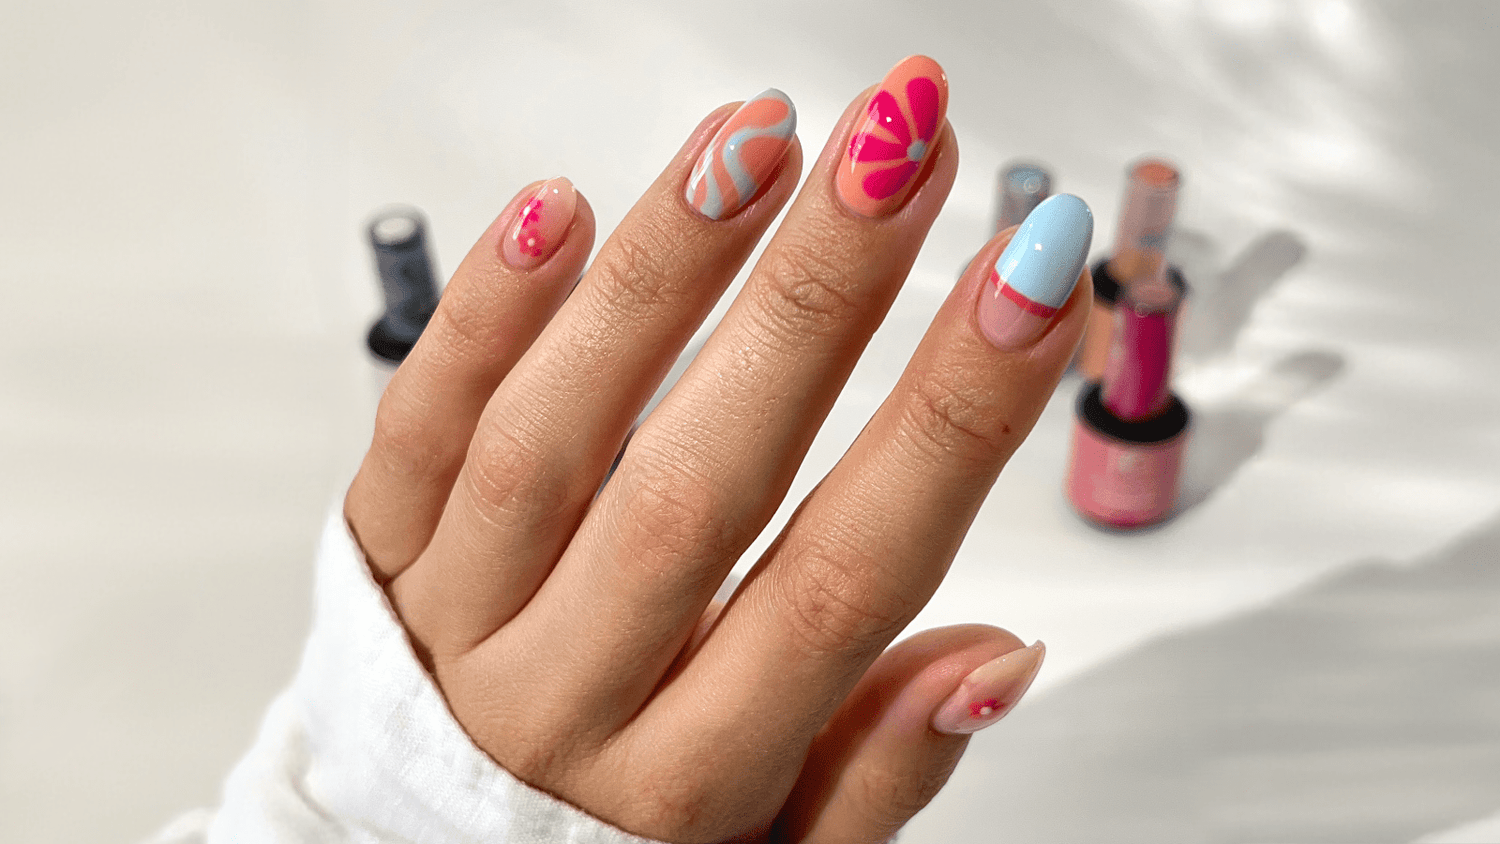
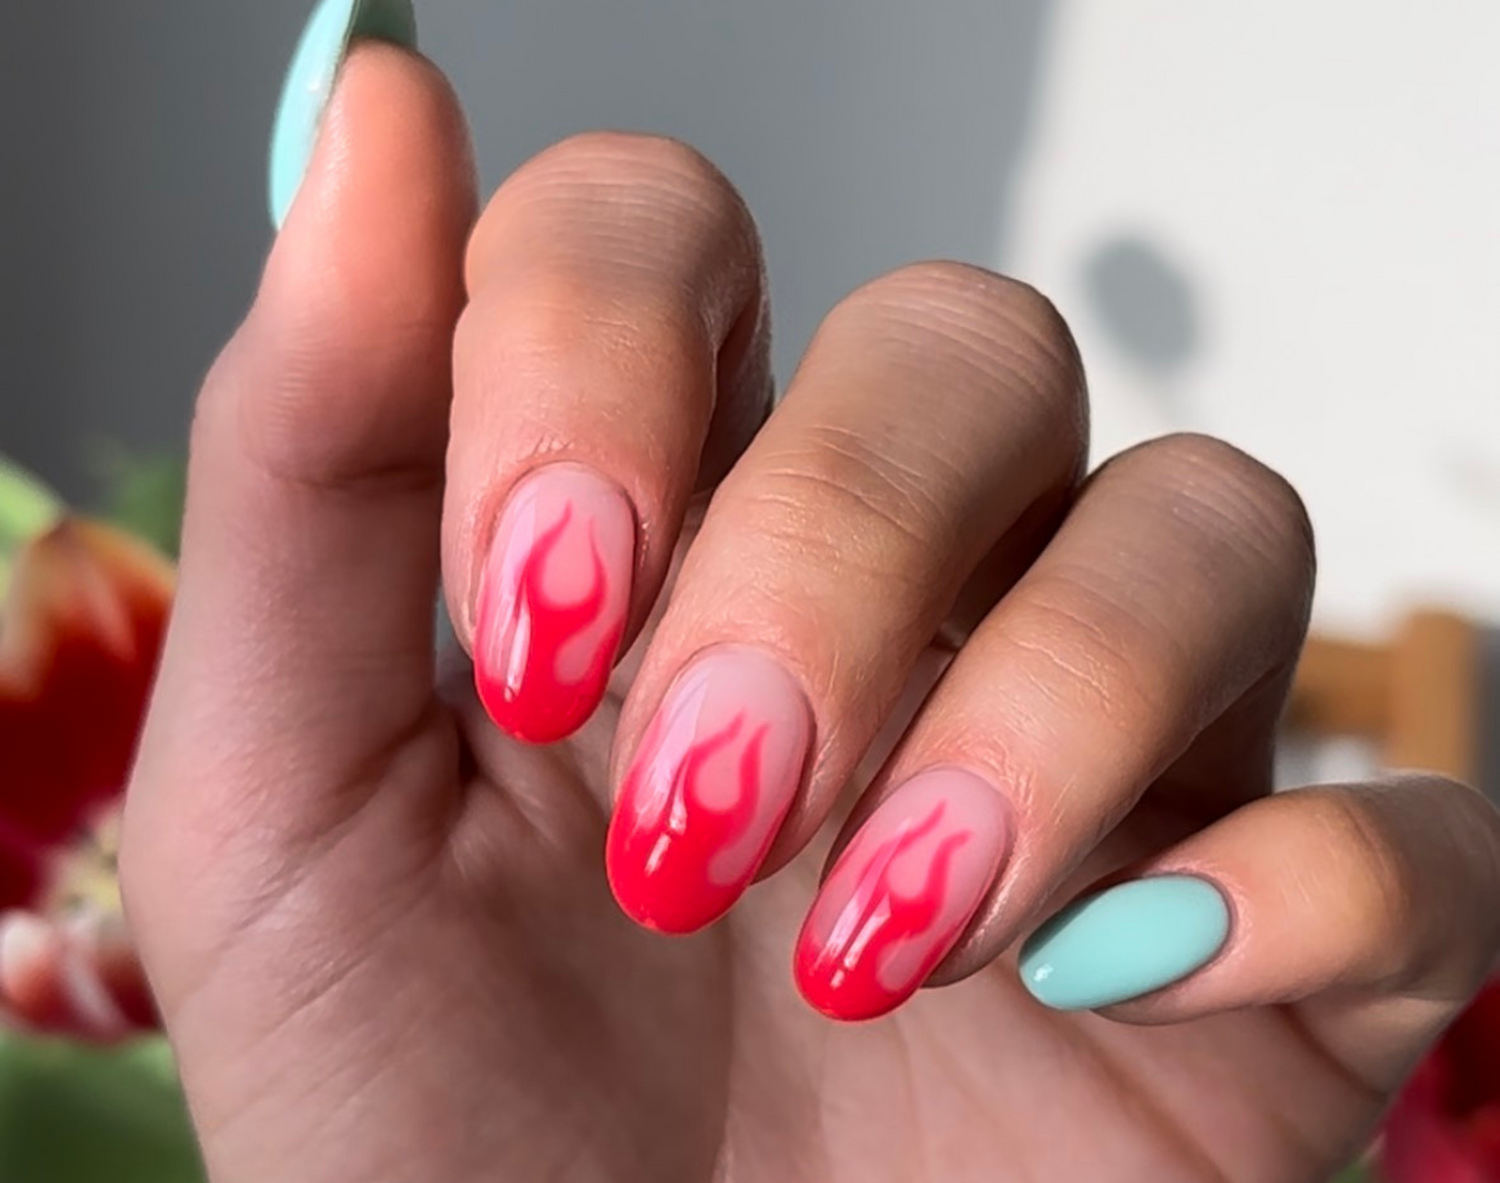
Swirls

Step 1
Begin by applying two coats of 388 Rosewater Pink as the base layer on your nails. Cure each layer for 60 seconds under the LED lamp.

Step 2
Take a little 301 Azure Blue on your Fine Liner Brush and use the tip of your brush to draw a swirling line from the top of your nail to your cuticle. Thicken the beginning of the line a little. Let this cure for 60 seconds under the LED lamp. In the meantime, clean your Fine Liner Brush.

Step 3
Now take a small amount of 299 Coco White and repeat step 2. Do the same with the colour 109 Lipstick Red. Remember to cure each line in between under the LED lamp and clean your Fine Liner Brush after applying each colour.
Finish with one layer of Top Coat to seal the look.
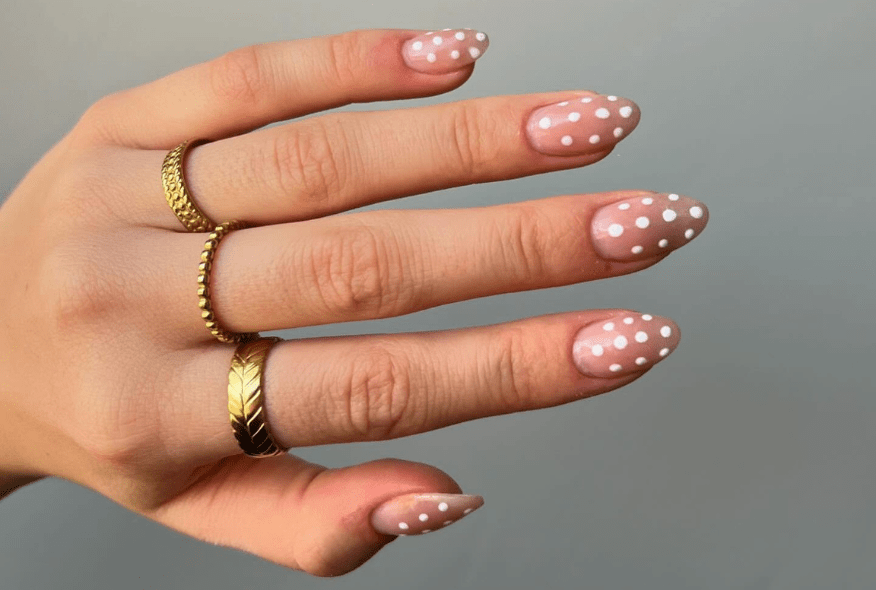
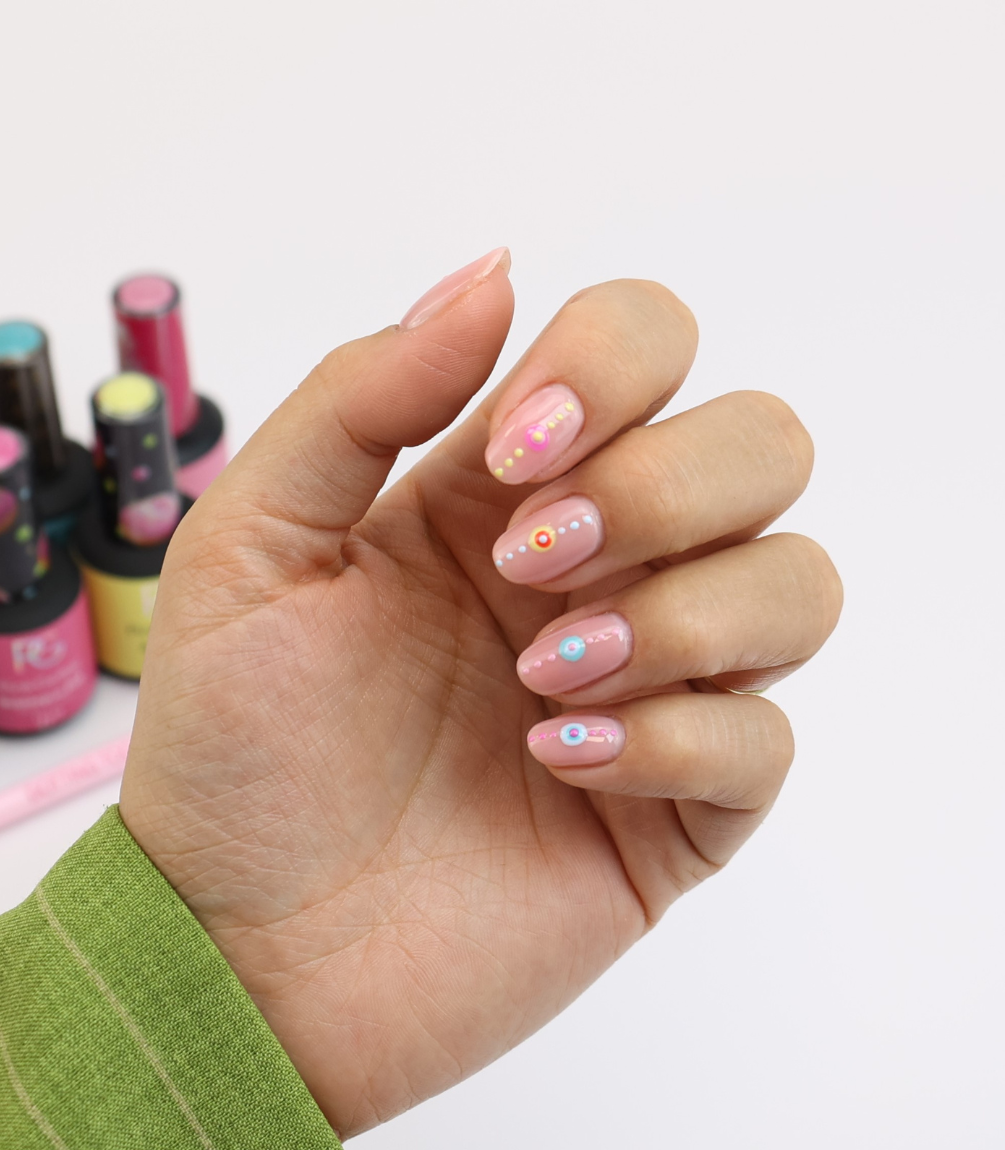
Dotting nail art

Step 1
Apply a layer of 188 Charming Nude. Cure for 60 sec under the LED lamp. Repeat this step if necessary to achieve your desired result.

Step 2
Create the biggest circle for this look using the larger end of our double-sided Dotting Tool. Use it in a circular motion to get the preferred size. Cure for 60 seconds.

Step 3
Then apply the next colour on top using the same bigger side of the Dotting Tool. Now just make the dot in the 'original' size, not moving it around. This will be a smaller circle than the first one.
Finish with one layer of Top Coat to seal the look.
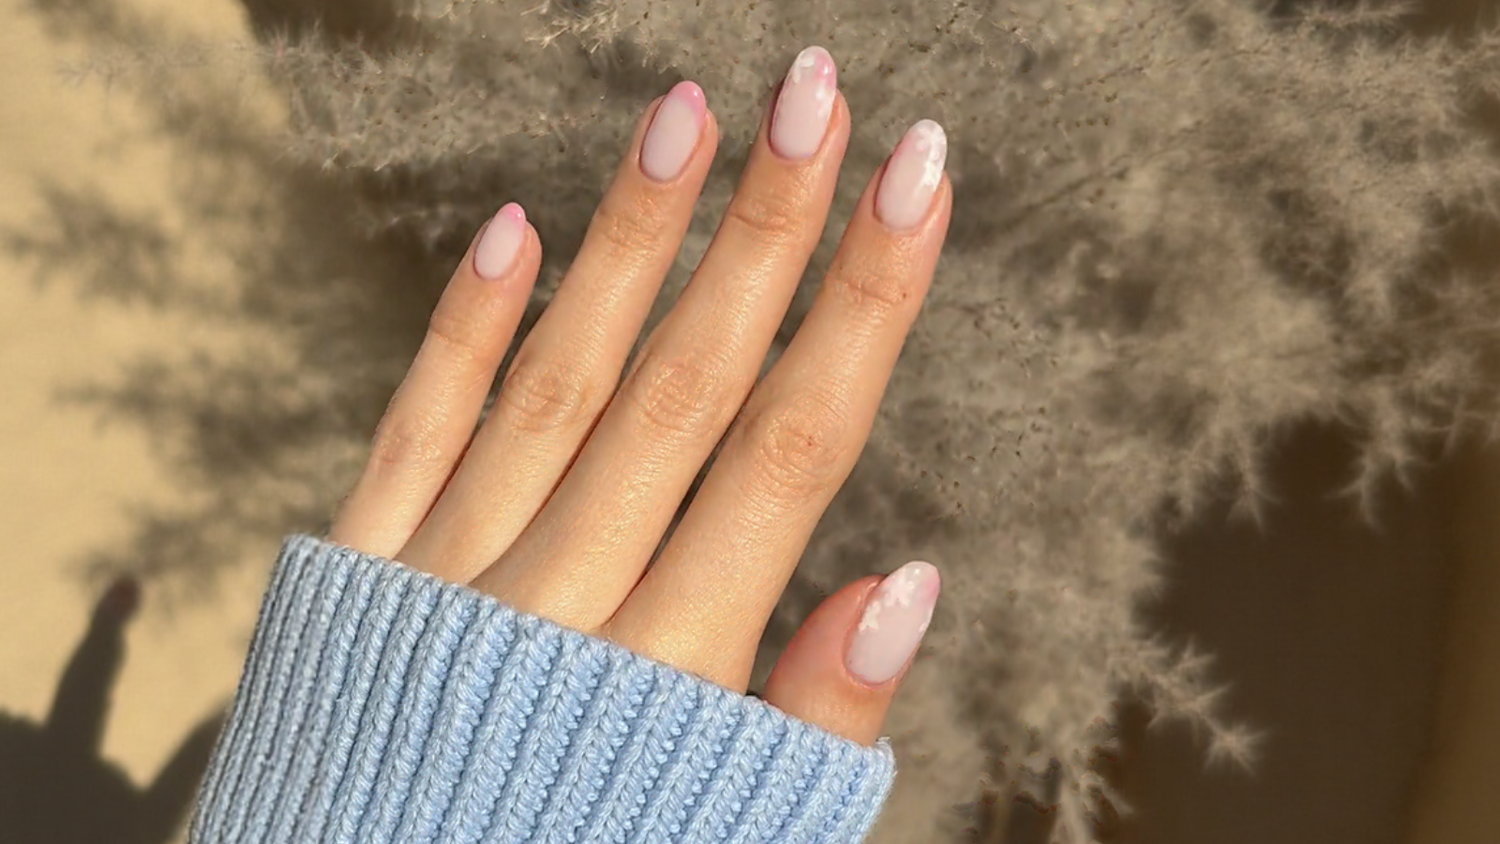
Pearly Swirls

Step 1
Apply one or two layers of the effect coat Lunar Lilac. Cure each layer for 60 seconds under the LED lamp.

Step 2
For this look, various pearlescent effect coat colours are used to add an extra dimension to the design. Start by applying dots of the effect coat Glowing Gold with the brush from the bottle. Next, add dots of Lunar Lilac. Also, add dots of Cosmic Red. Do not cure yet.

Step 3
Take your Dotting Tool and swirl through the dots, covering the entire nail. Keep swirling until you achieve the desired result, then cure for 60 seconds.
Apply a layer of your favourite top coat and cure it for 60 seconds under the LED lamp.
Dripping Chocolate

Step 1
Apply a layer of 419 Marshmallow Nude over the entire nail. Cure for 60 seconds under the LED lamp. If you want more coverage, you can apply a second layer.

Step 2
Take a bit of 421 Mocha Brown on a Dotting Tool and create the first drips, as shown above. Cure for 60 seconds.

Step 3
Take the second colour, in this case, 420 Sugared Cinnamon, on the Dotting Tool. Create another similar half-moon, but place it slightly differently and make it a bit smaller. Cure for 60 seconds.
Finish with one layer of Top Coat to seal the look.