A Very Merry Christmas Nail Art
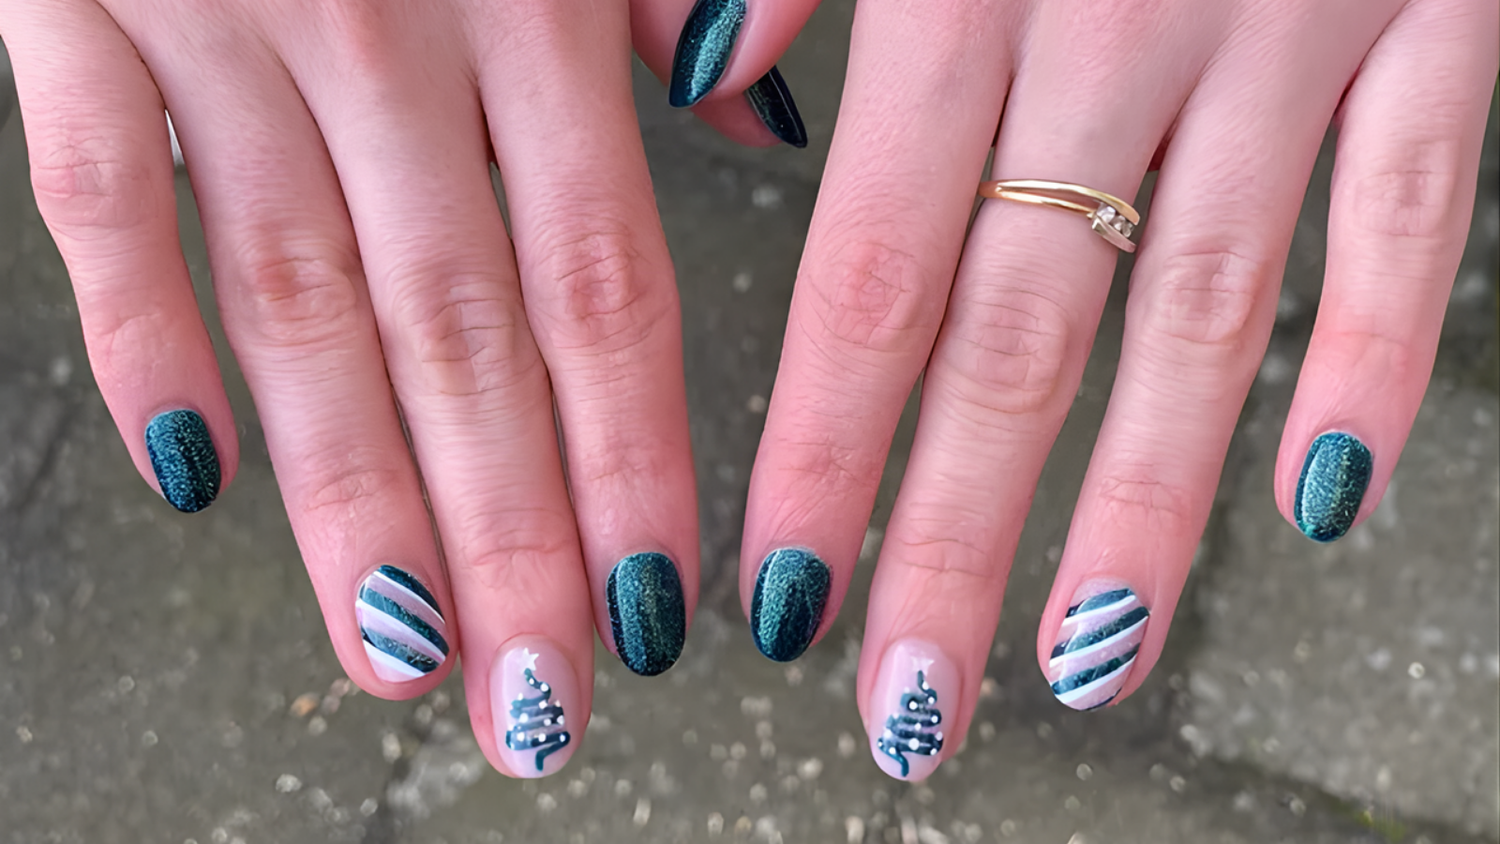
Ho ho ho! We have a very merry Christmas nail art how-to that we want to share with you. With this nail art creation that dream of a white Christmas will become a bit more of a reality!
In this step-by-step guide, we will explain to you how to do this nail art and which products you need for it.
What do you need?
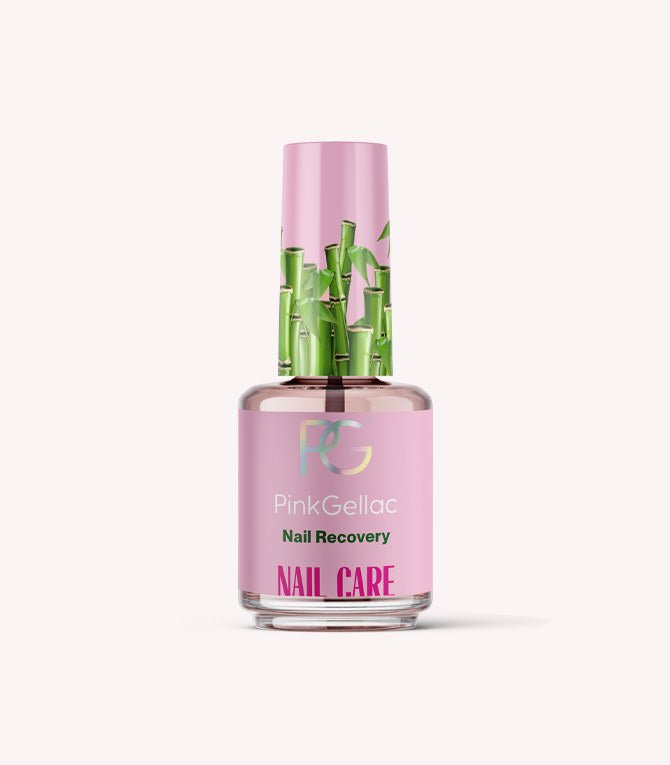
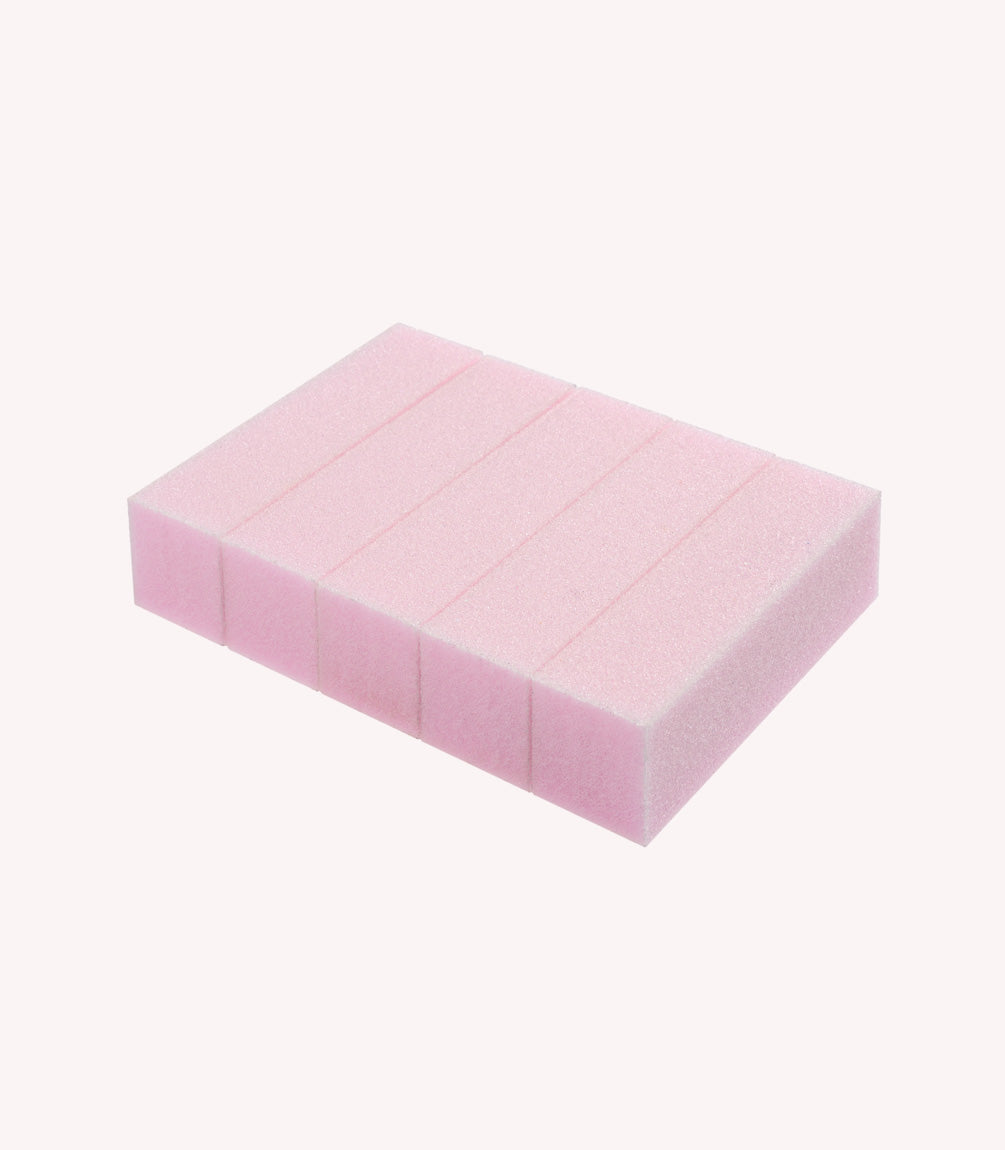
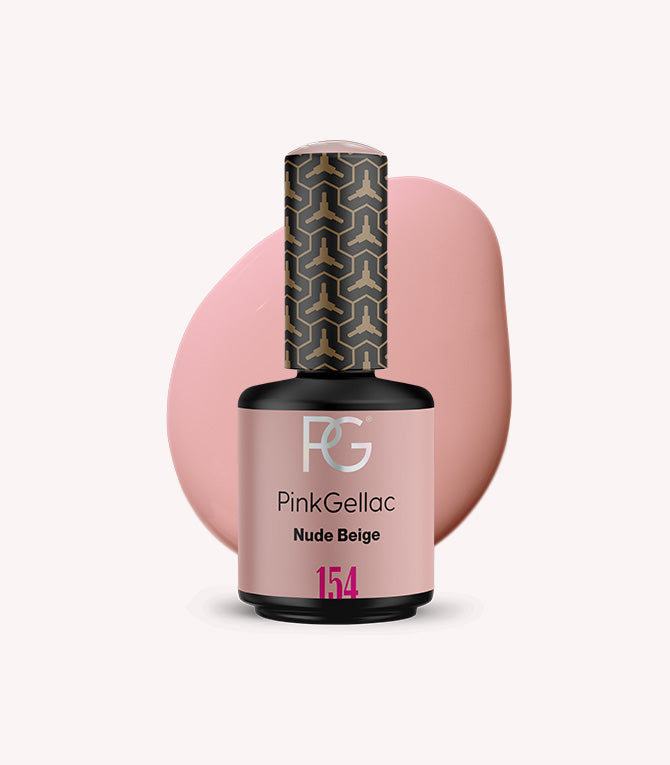
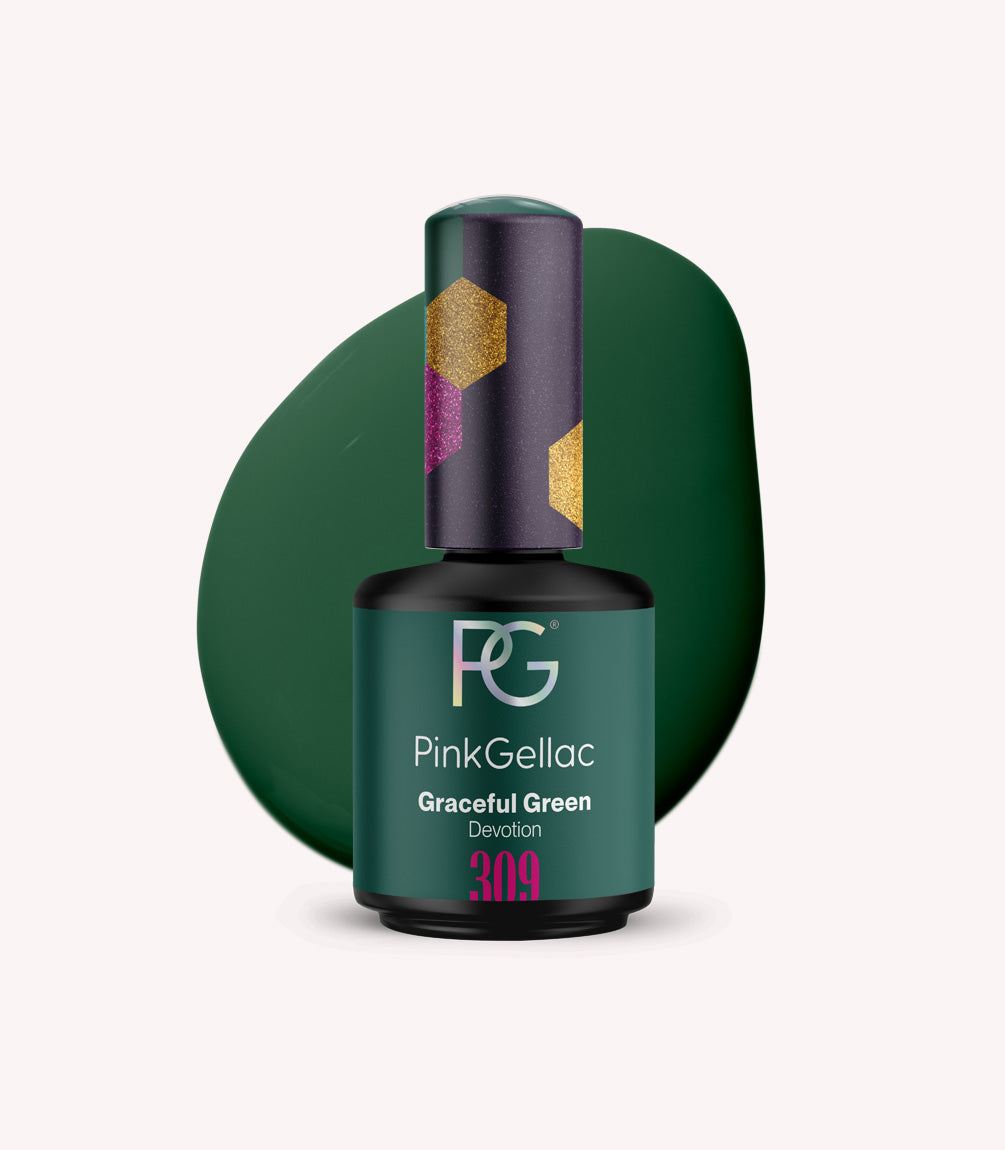
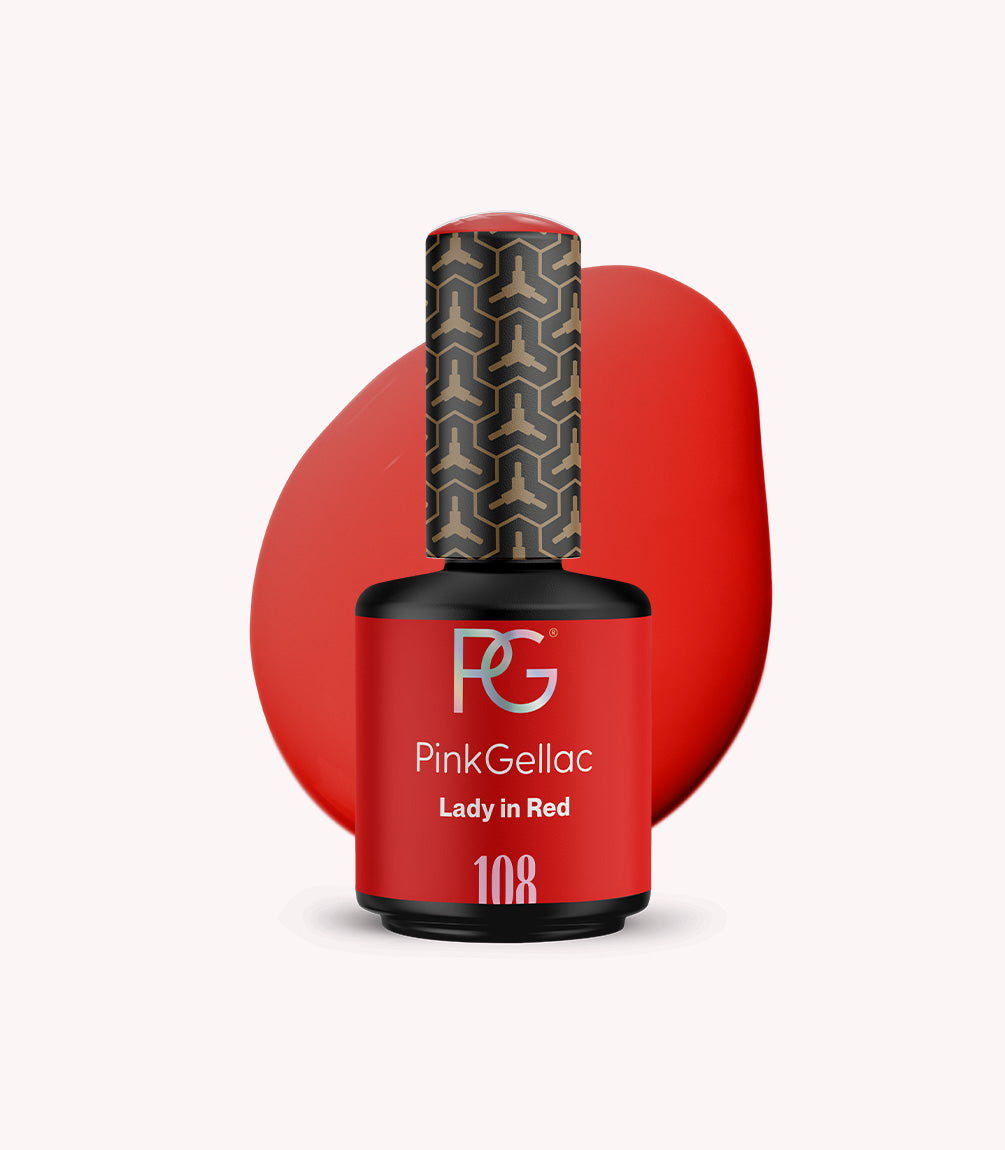
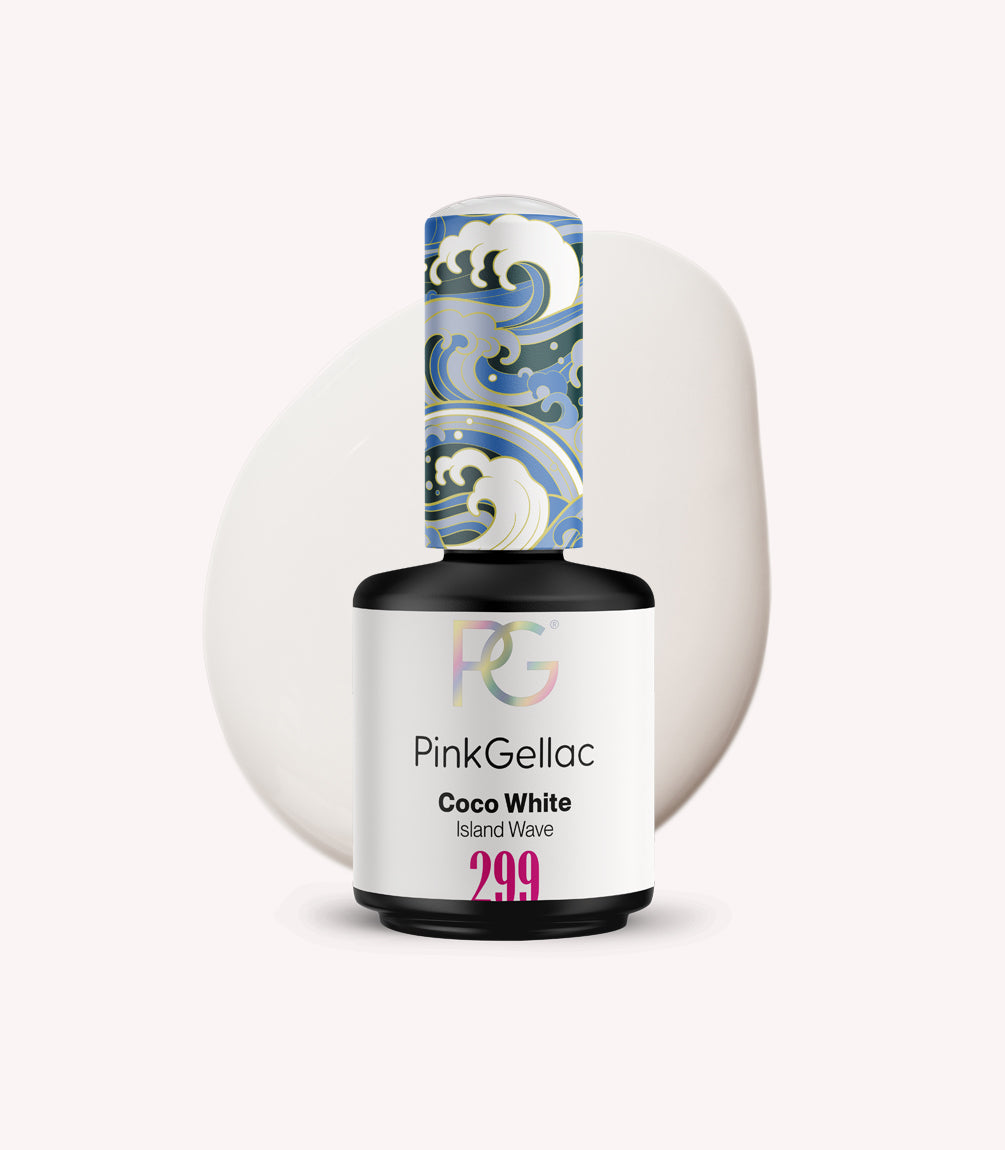
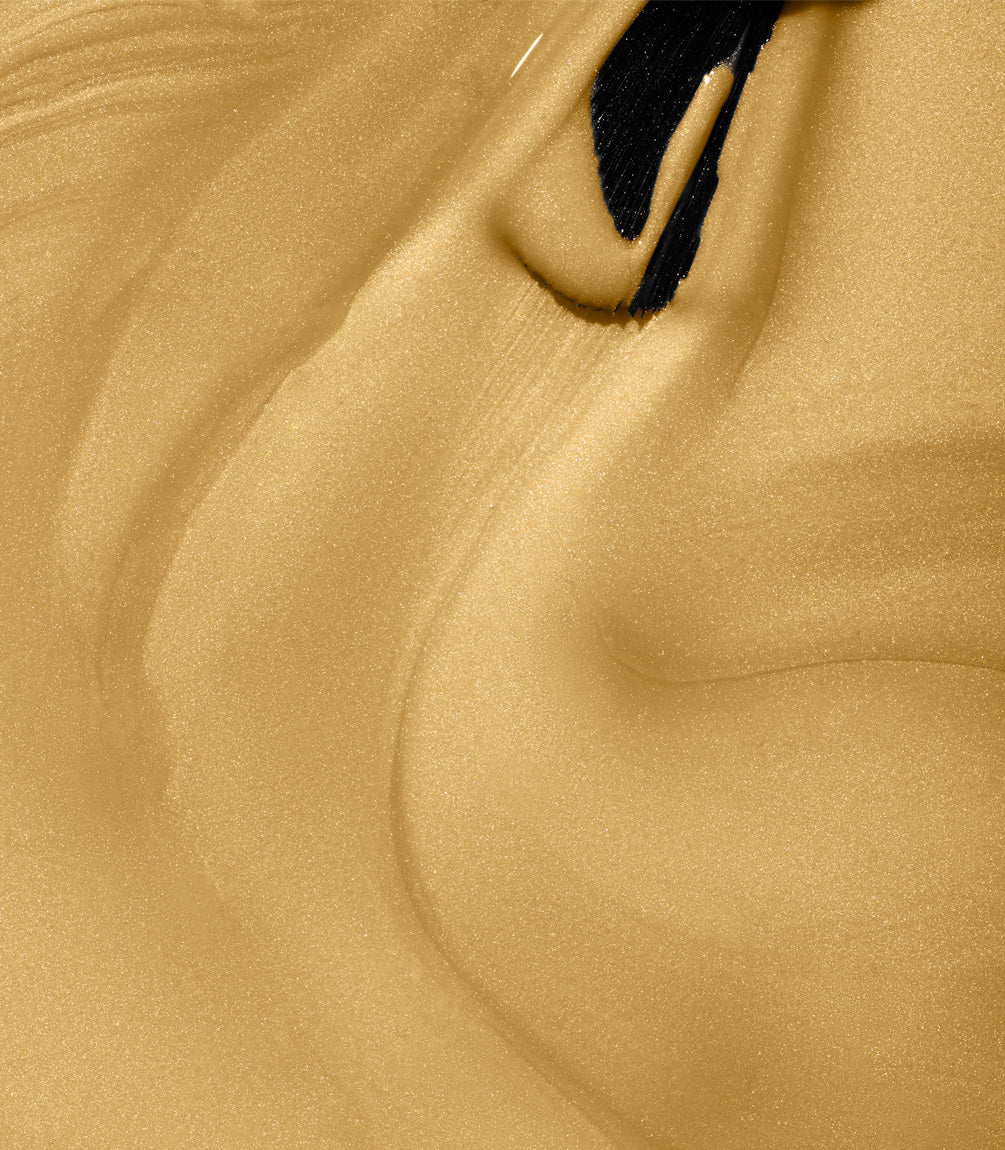
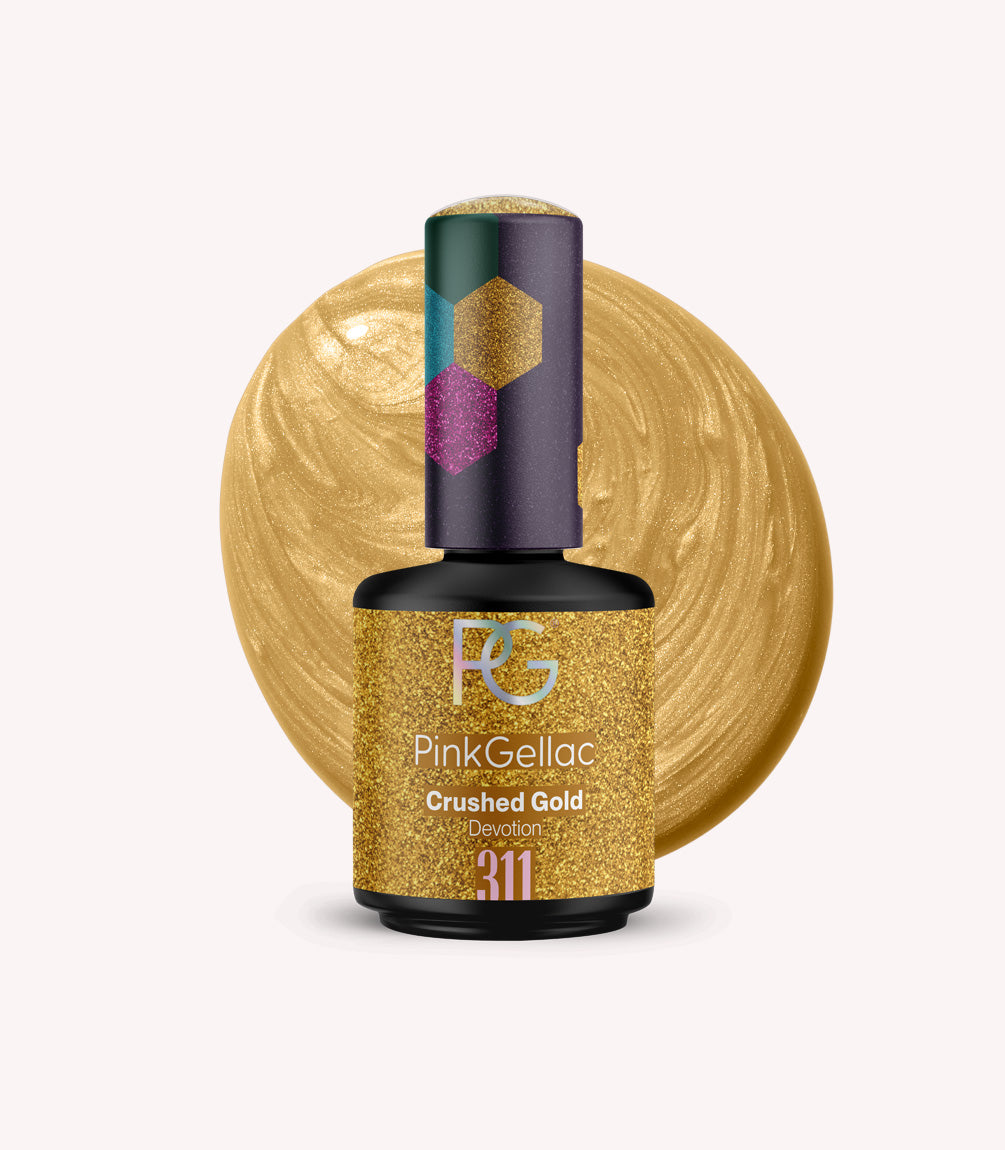
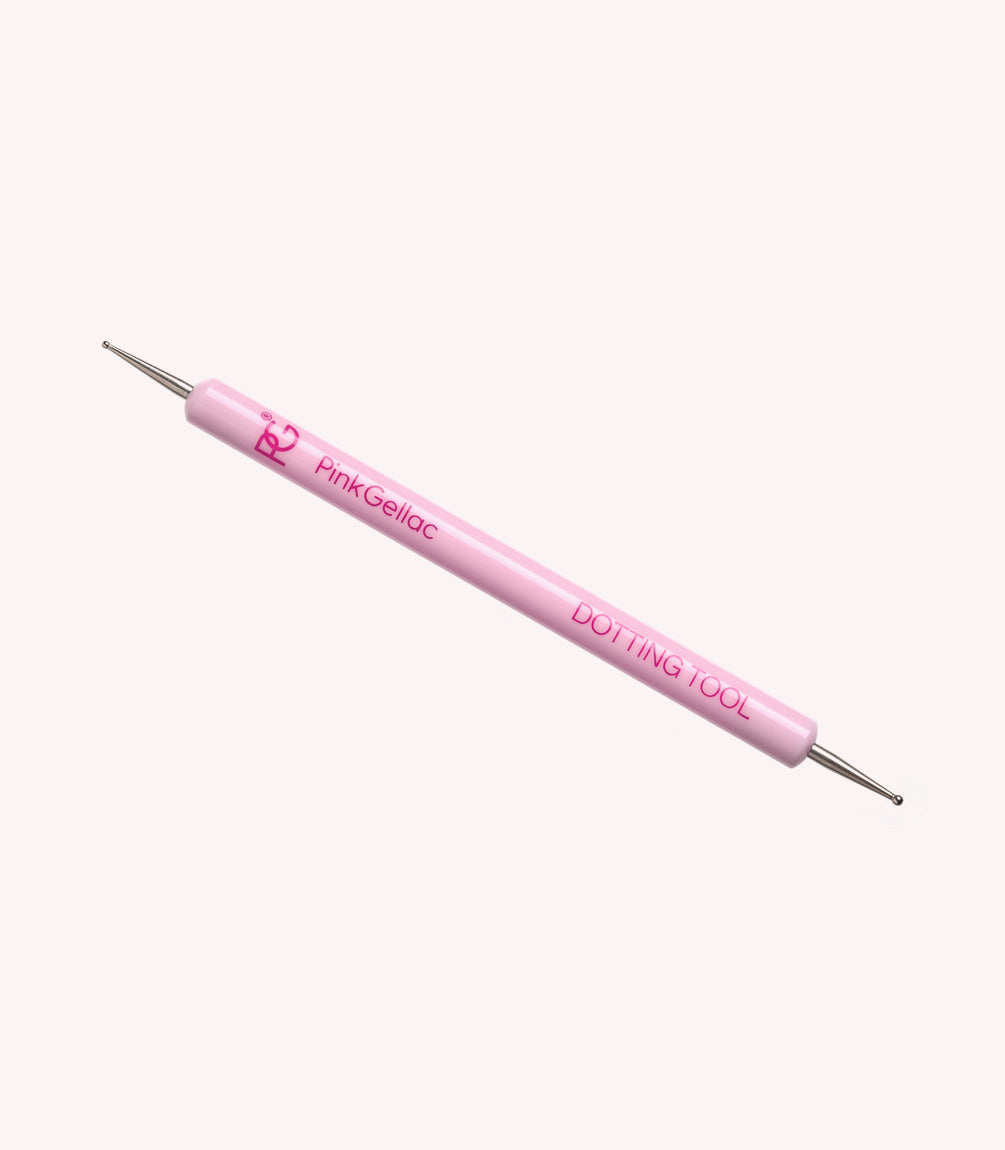
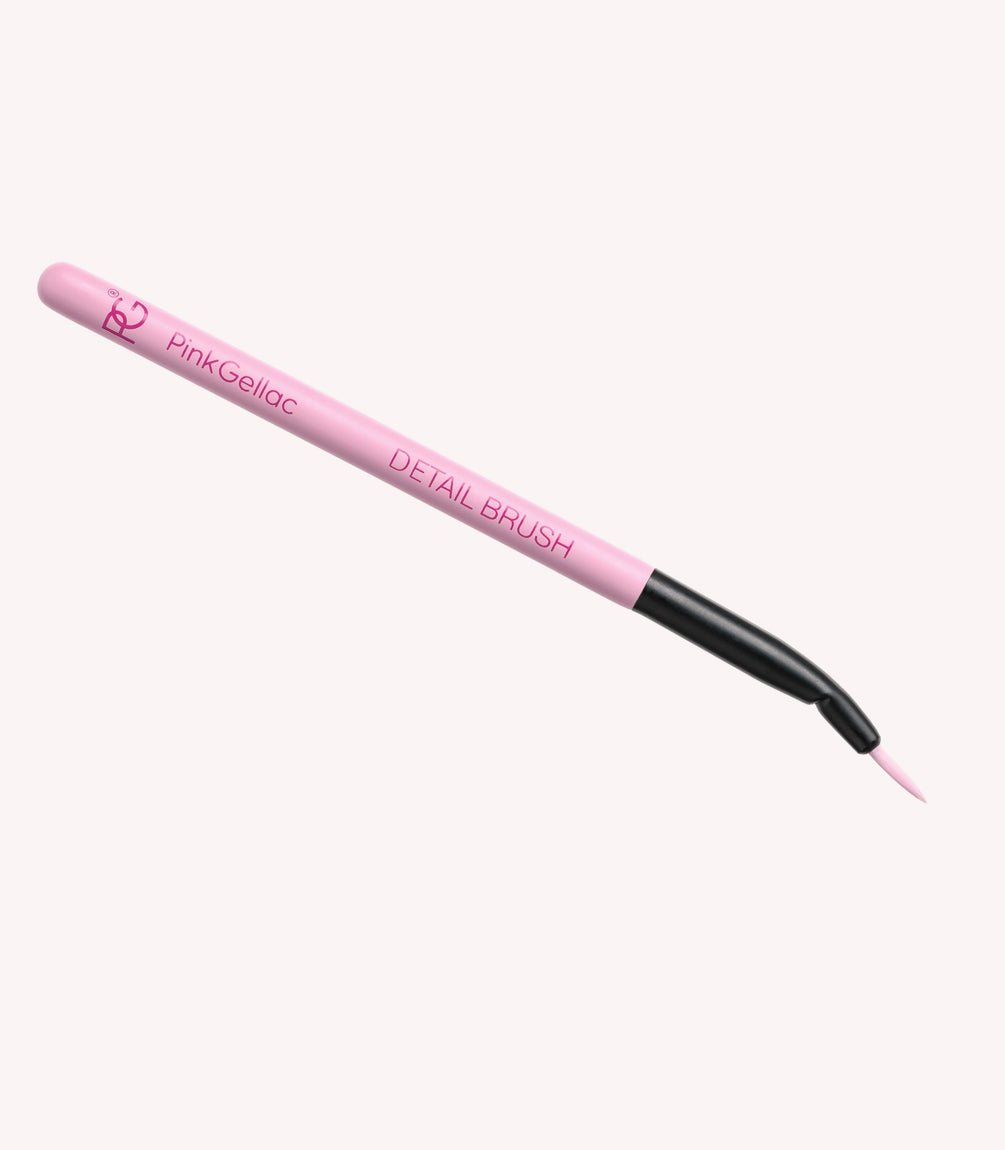
The basics such as the Prep Booster, polishing block, a Base Coat and a Top Coat154 Nude Beige309 Graceful Green108 Lady in Red299 Coco White311 Crushed GoldDotting ToolDetail Brush
Prep your nails
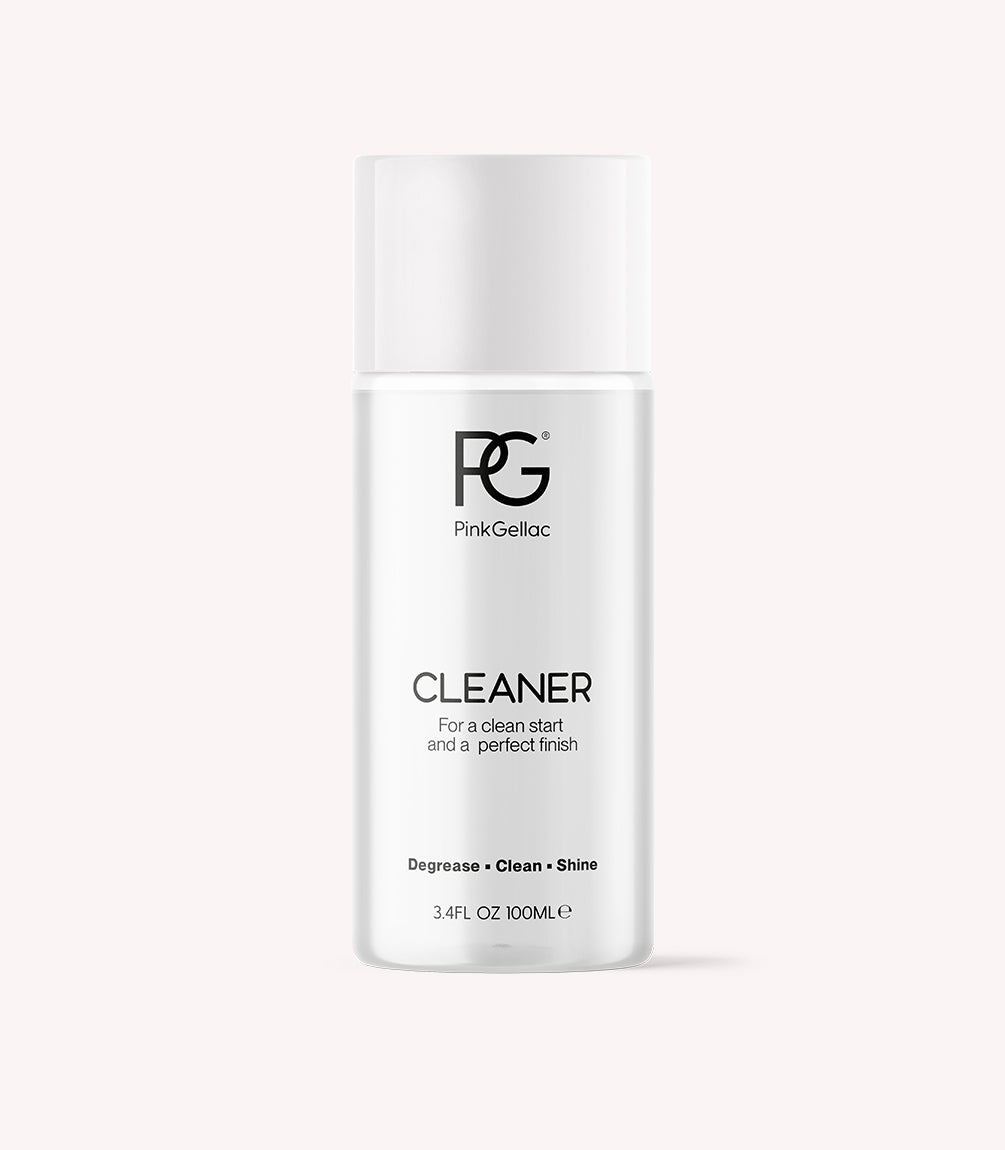
Prepare your nails by filing them into the desired shape. Remove the natural shine from your nails with a polishing block. Use the Cleaner to degrease and clean the nails. Apply the Prep Booster and allow it to air dry for 30 seconds.
Step 1 – Apply Base Coat
Apply your favourite base coat and let it cure for 60 seconds under the LED lamp.
Step 2 – Base Colour
Apply two layers of the 154 Nude Beige all over your nail. Let each layer cure under the LED lamp for 60 seconds.
Step 3 – Draw a line
Take a bit of 309 Graceful Green onto your Detail Brush. Draw a vertical line from the top of your nail towards your cuticle. You can best start near one of the sides of your nail. Let it cure for 60 seconds under the LED lamp. Clean your brush in the meantime.
Step 4 – Draw the rest of the lines
Repeat Step 2 with the colours 108 Lady in Red, 299 Coco White and 311 Crushed Gold. The order of the lines is up to you. Don’t forget to cure each line under the LED lamp and clean your brush between each colour used.
Step 5 – Finish the candy cane
Now take a bit of 108 Lady in Red again onto your Detail Brush. Draw several small diagonal red lines on the white line that you have previously drawn at Step 3. Try to keep a regular spacing between the red lines. Let it cure for 60 seconds under the LED lamp.
Step 6 – Let it snow!
Use your Dotting Tool to create snowflakes. Take a bit of 299 Coco White and apply a few dots on the green line that you have previously drawn at Step 2. You can vary the size of the snowflakes by the amount of gel polish on your Dotting Tool and the pressure with which you apply the dots. When you are done, let this cure for 60 seconds under the LED lamp.
Step 7 - Apply Top Coat
Final step: Apply one of our Top Coats over the entire nail and let it cure for 60 seconds under the LED lamp. Did you use the Shine Top Coat? Then remove the adhesive layer with the Cleaner.
Merry Christmas with this merry nail art! What are your Christmas nails going to look like?
Looking for more nail art ideas? Check out our other blog posts with gel polish nail art.
