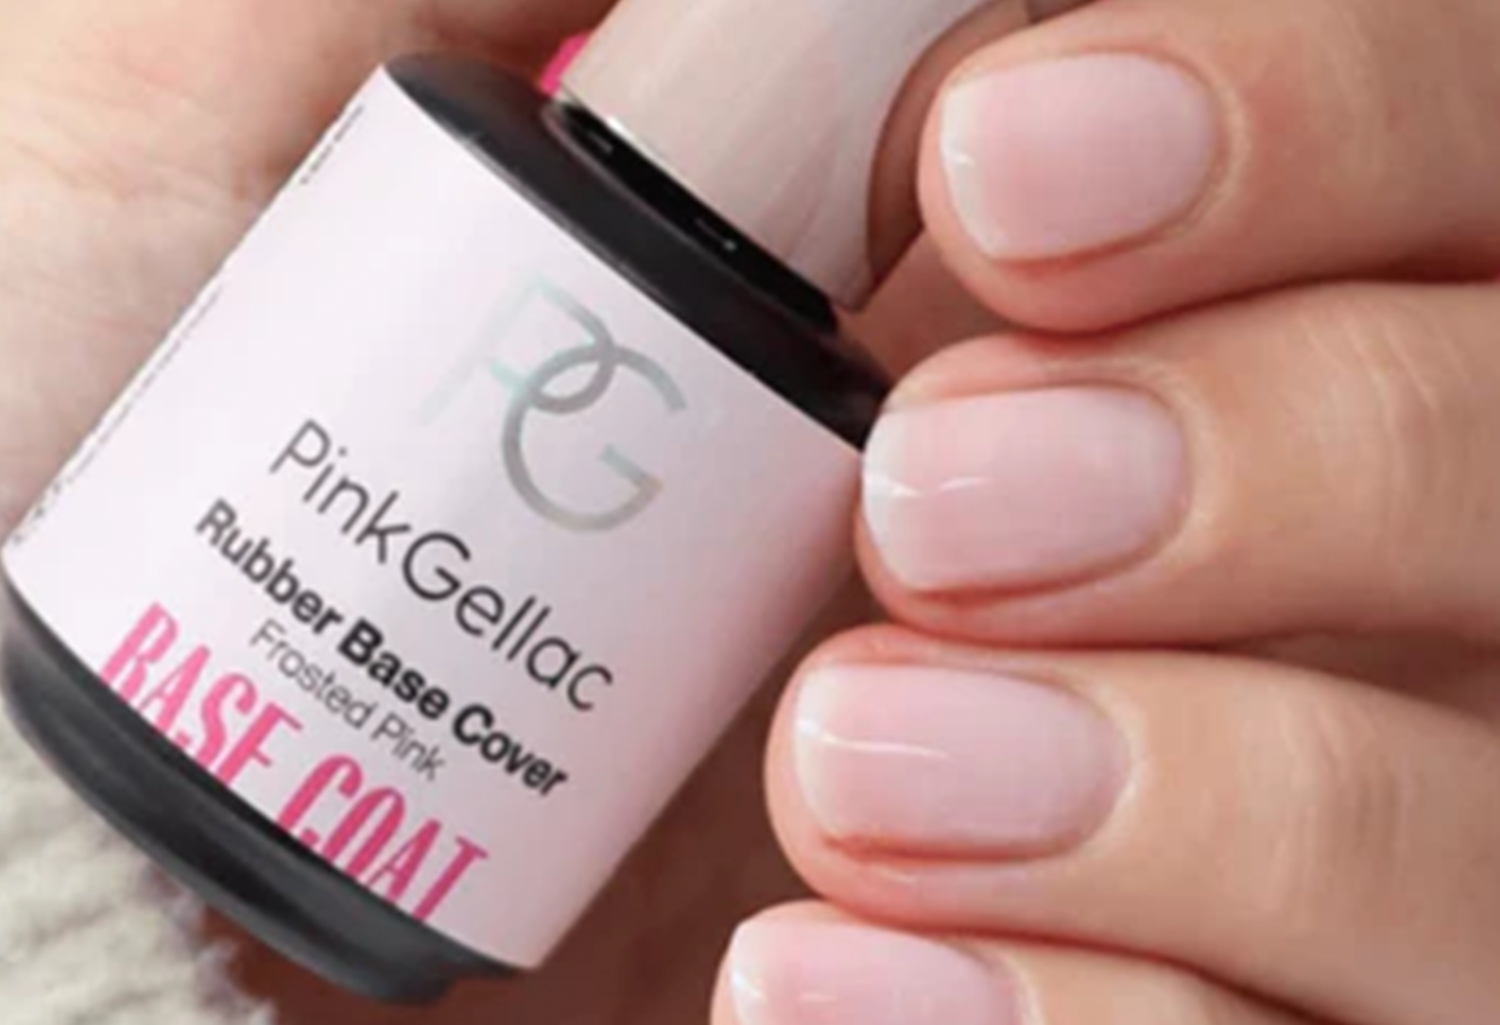
- Increased strength: The Rubber Base adds extra durability to the Peel Base.
- Longer-lasting manicure: Helps the Peel Base stay on for up to two weeks.
- Prevents premature lifting: The Rubber Base provides a strong foundation that reduces early peeling.
- Maintains easy removal: You can still peel off the polish effortlessly when you're ready.
- Best of both worlds: Combines the durability of a traditional base with the convenience of Peel Base.
How to apply
Step 1:
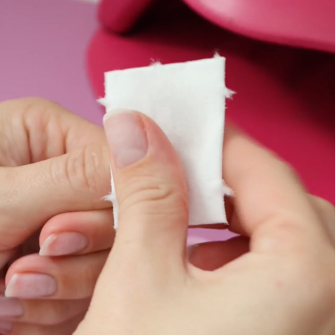
Prep the nails by applying Cleaner to a Wipe and cleaning your nails with it. Then apply a little Prep Booster and let the nails air dry for 30 seconds.
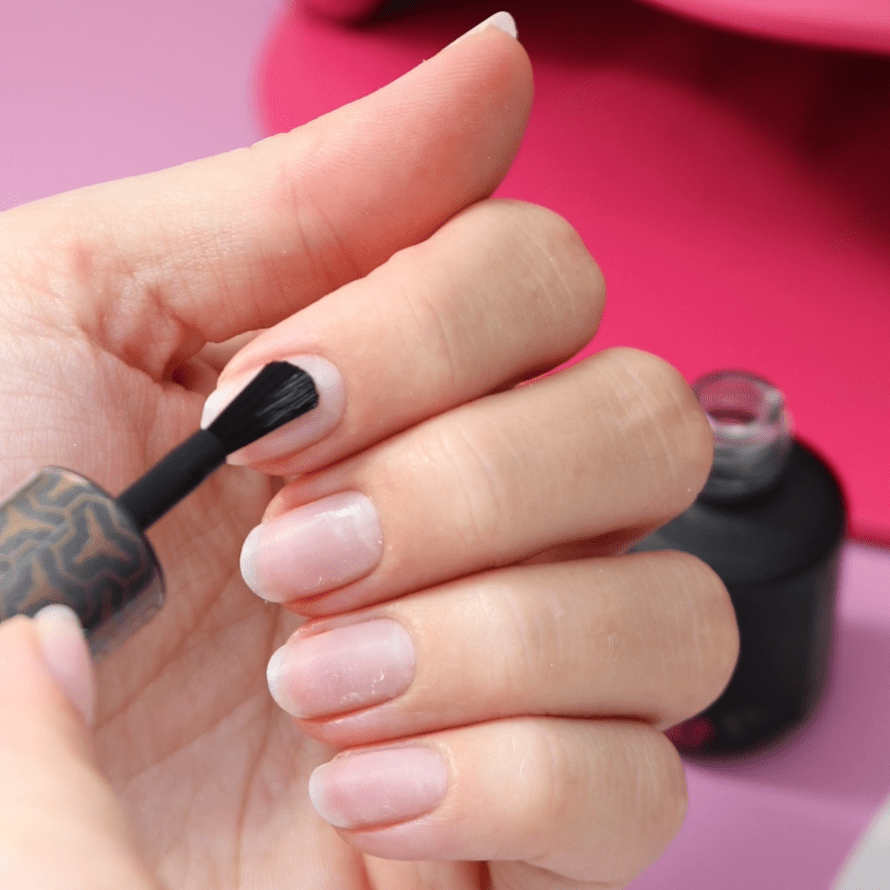
Step 2:
Apply a layer of Peel Base in the center of the nail. Stay in the center for the best adhesion. Let this air dry for 60 seconds.
Step 3:
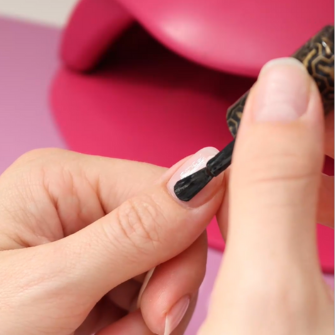
Apply the Rubber Base over the entire nail. This gives strength to the peel base.
Want more strength? You can apply an extra layer. Cure under the LED lamp for 60 seconds.
Step 4:
After applying the Rubber Base, you can add a color or apply a Top Coat if you want to use the color of the rubber base as your nail color. Cure under the LED lamp for 60 seconds.
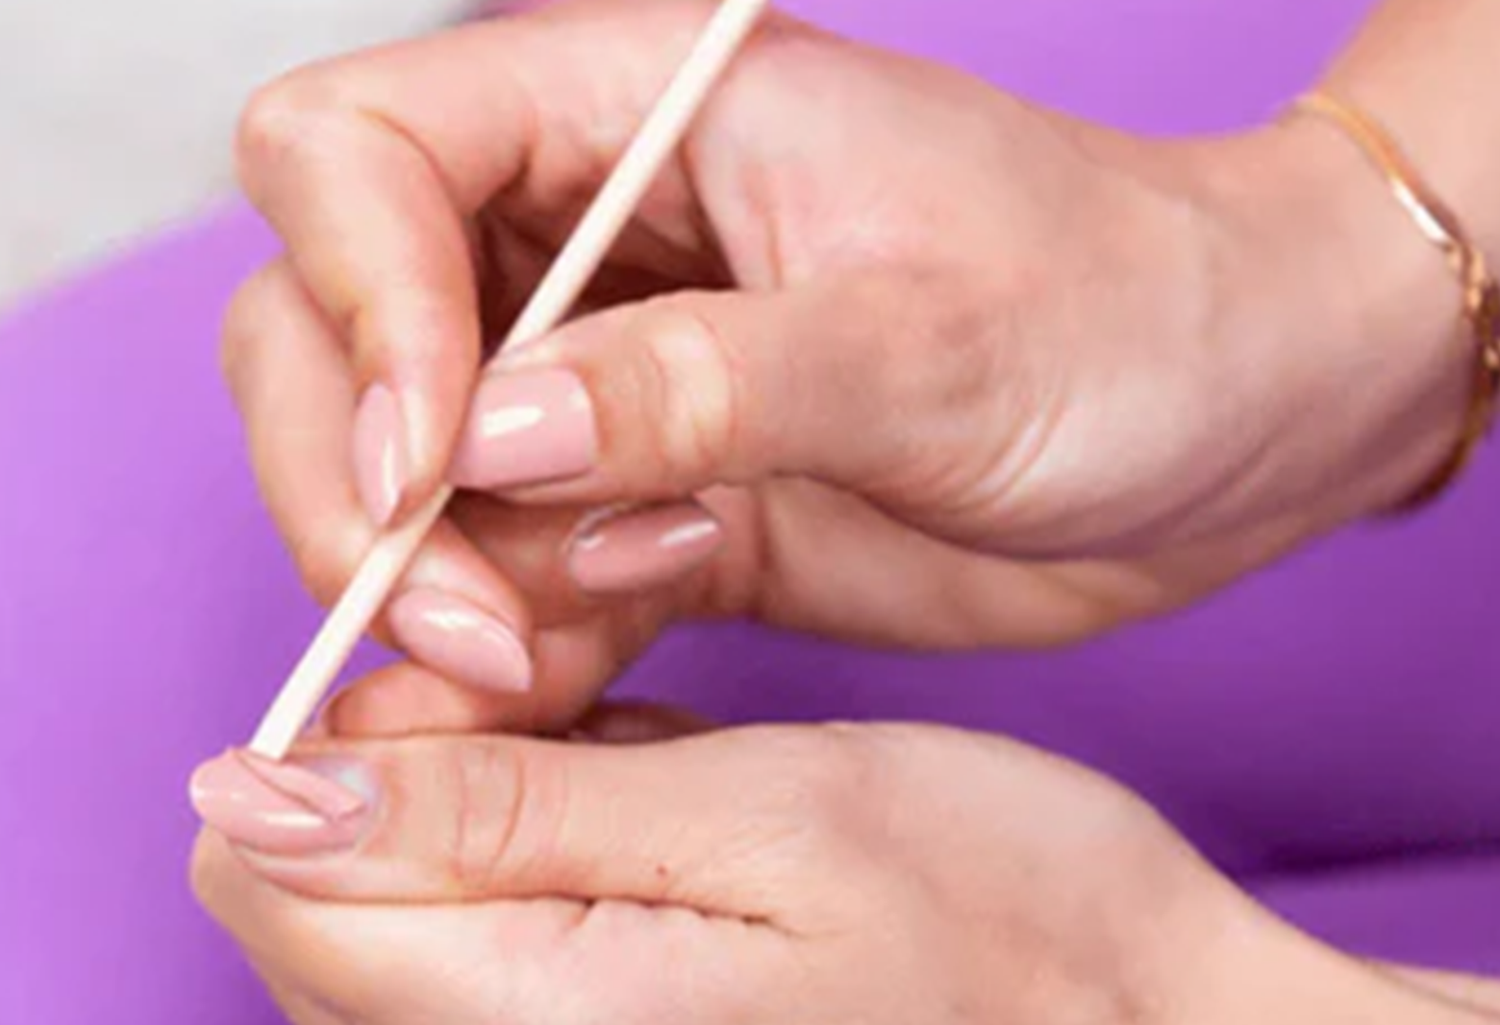
By strengthening the Peel Base with Rubber Base, you enjoy a longer-lasting manicure that stays perfect for up to two weeks. Despite the added strength, removal remains easy: simply use some cuticle oil and an Orange Woodstick to effortlessly remove the polish when you're ready for a new look. For more information about what Rubber Base is and how it works, read the blog "What is Rubber Base?", which further explains its function and benefits. This way, you get the best out of your manicure, with both long-lasting results and the convenience of quick removal.


