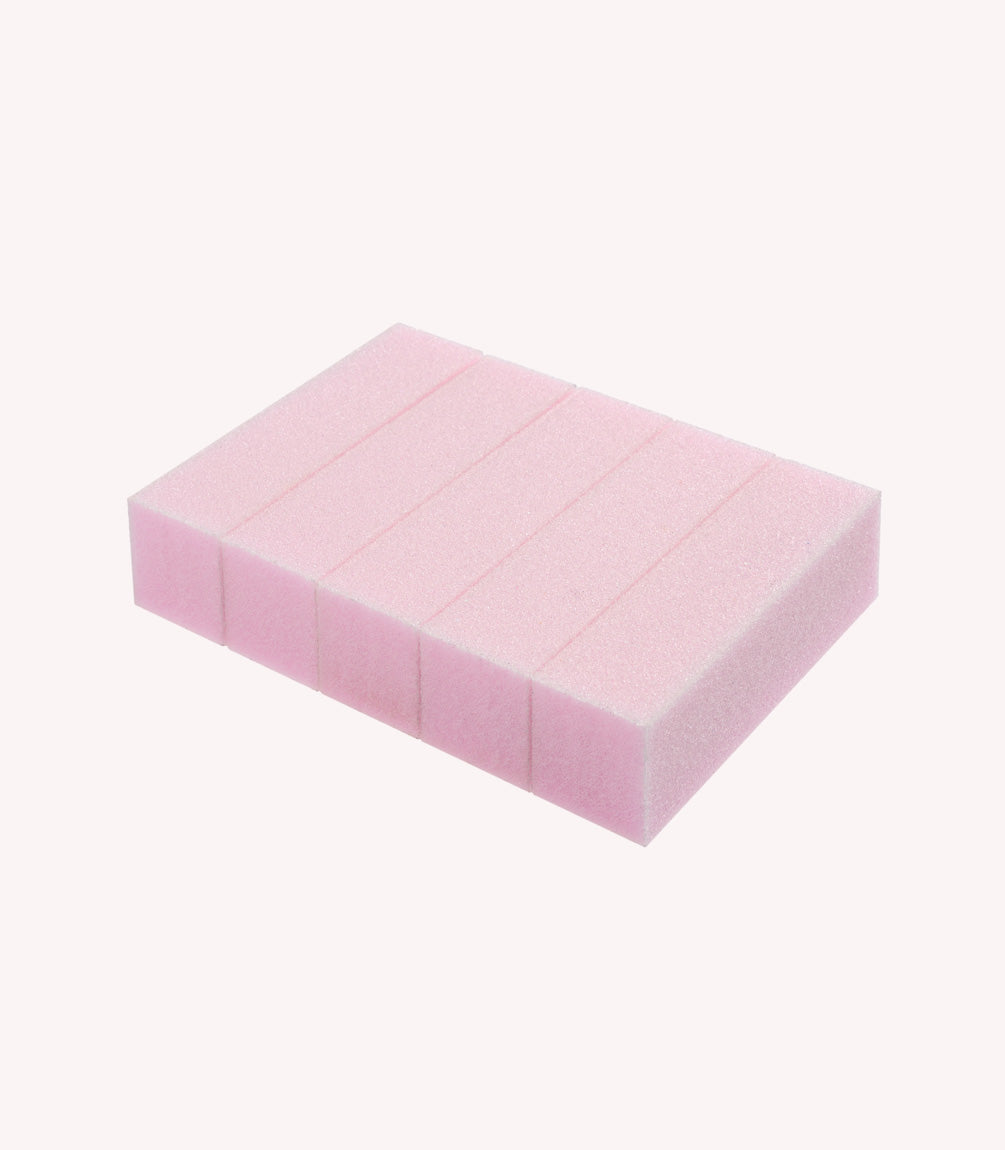
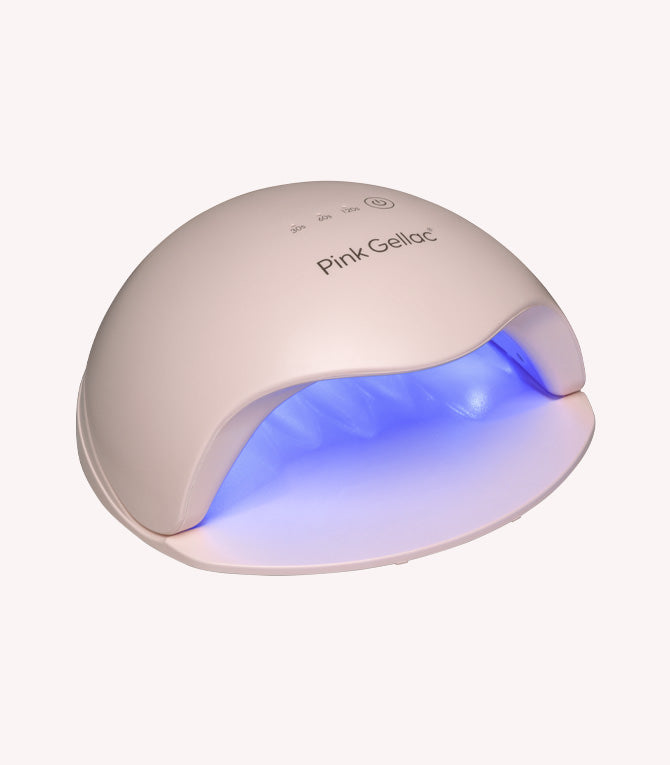
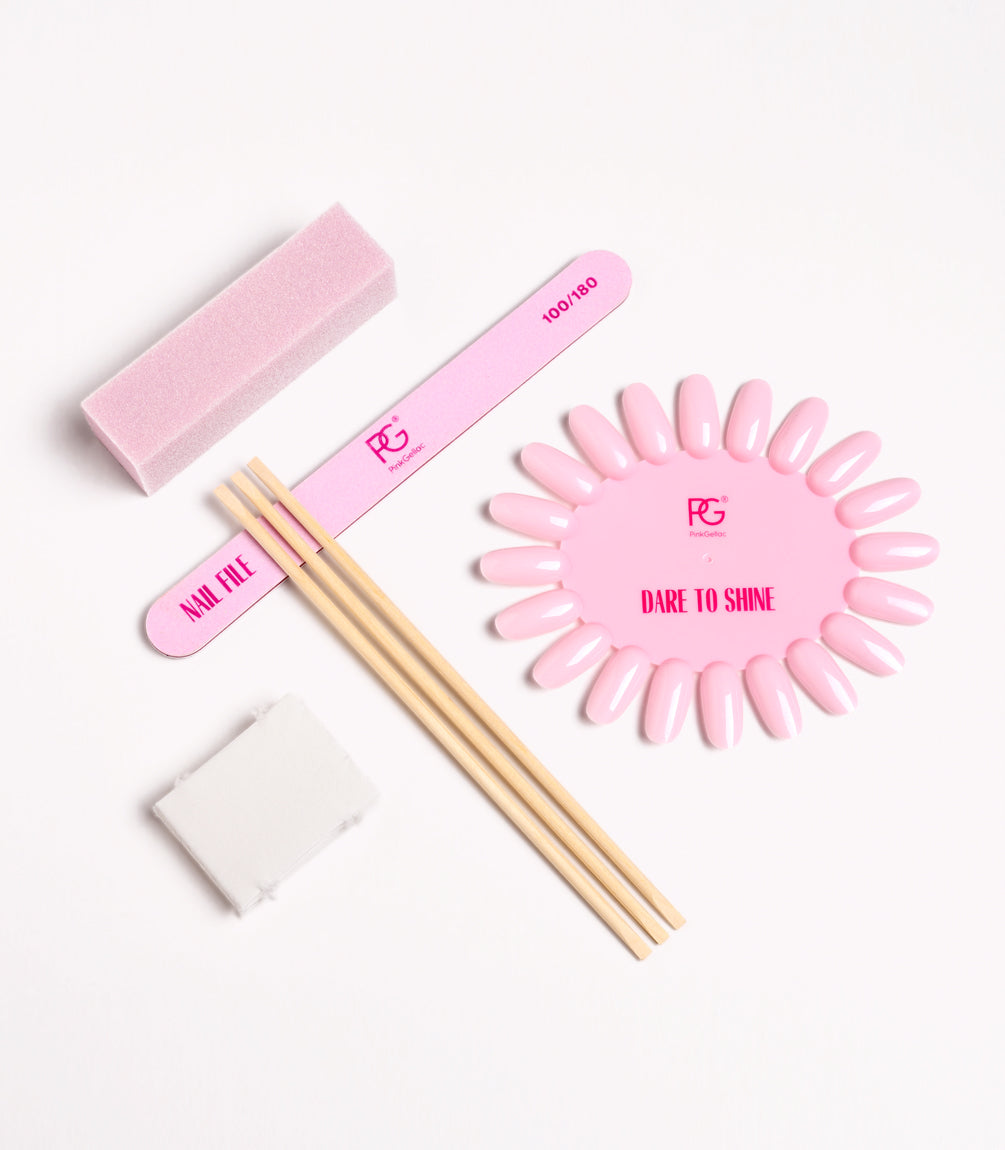
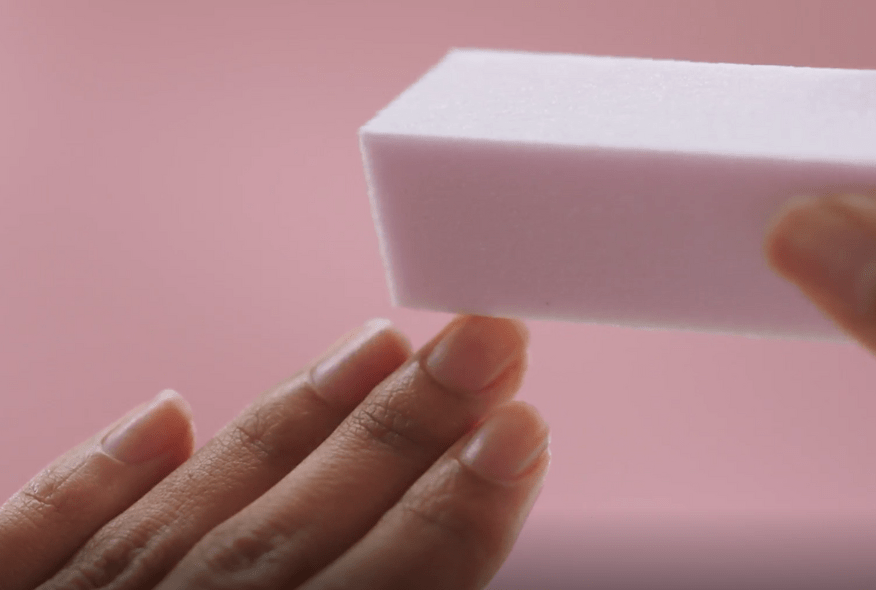
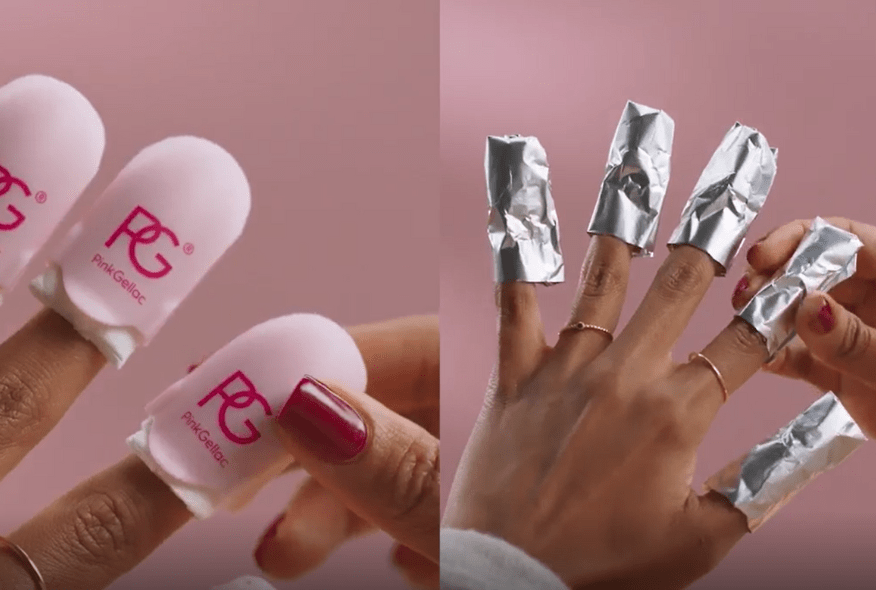
Create a salon-quality manicure at home by applying gel polish in layers. The process is easy to follow with the right steps. Discover below how to apply gel polish correctly. Make sure to prep your nails. Learn how to prep you nails for gel polish. Everything you need for a professional gel manicure at home is listed below. You can also opt for one of our Starter Kits, which include everything you need to both apply and remove gel polish.

Watch the video or follow our step-by-step tutorial below.
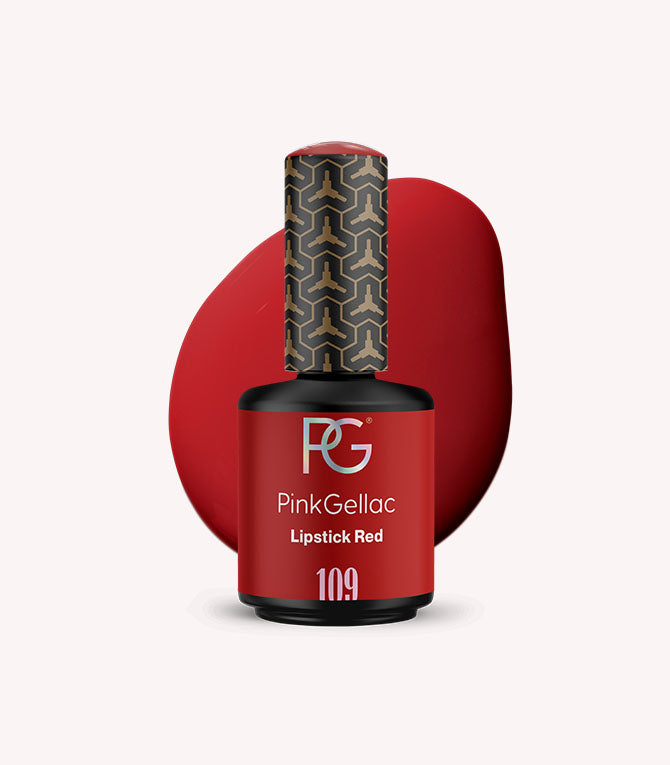
Apply gel polish in 3 steps

Step 1: Apply the Base Coat
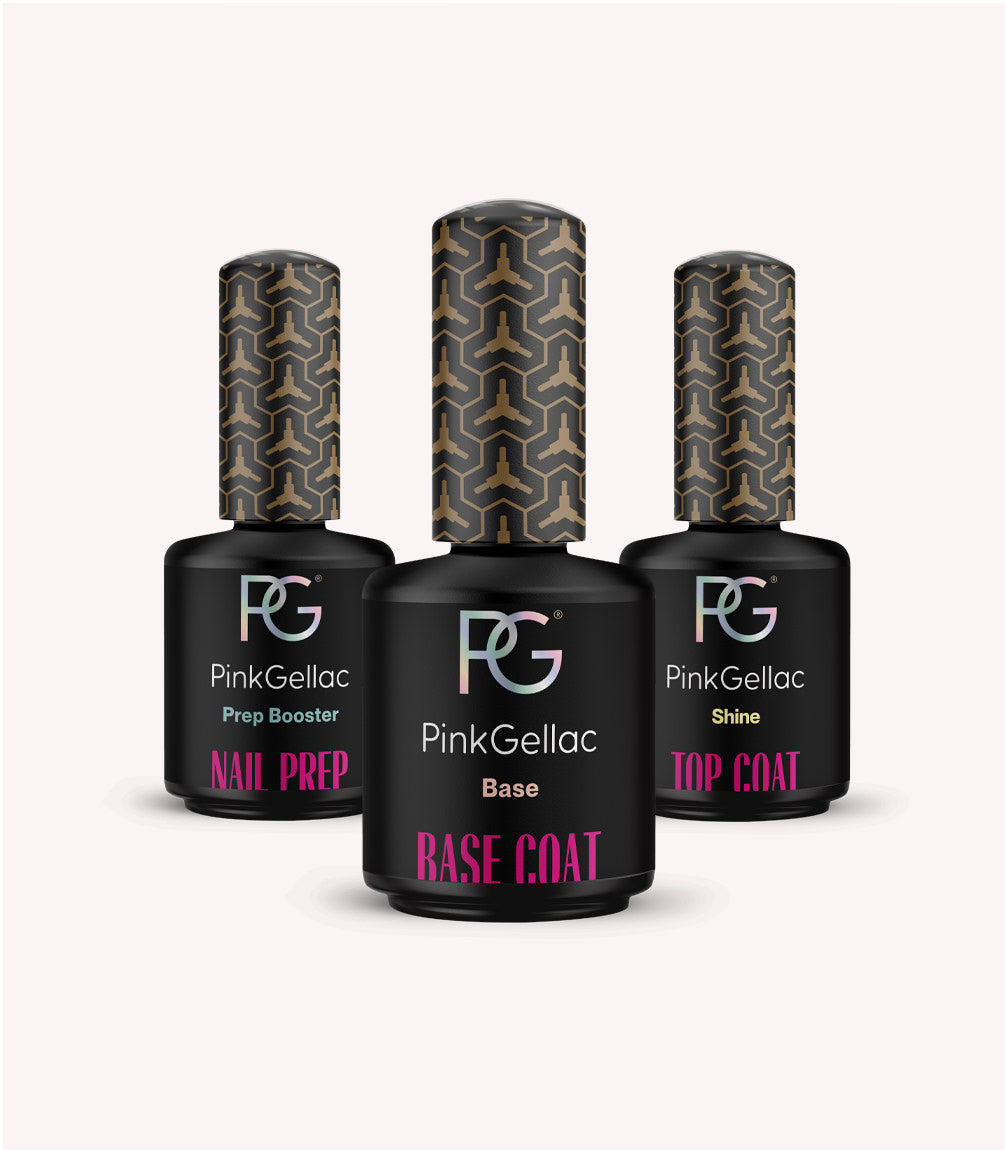
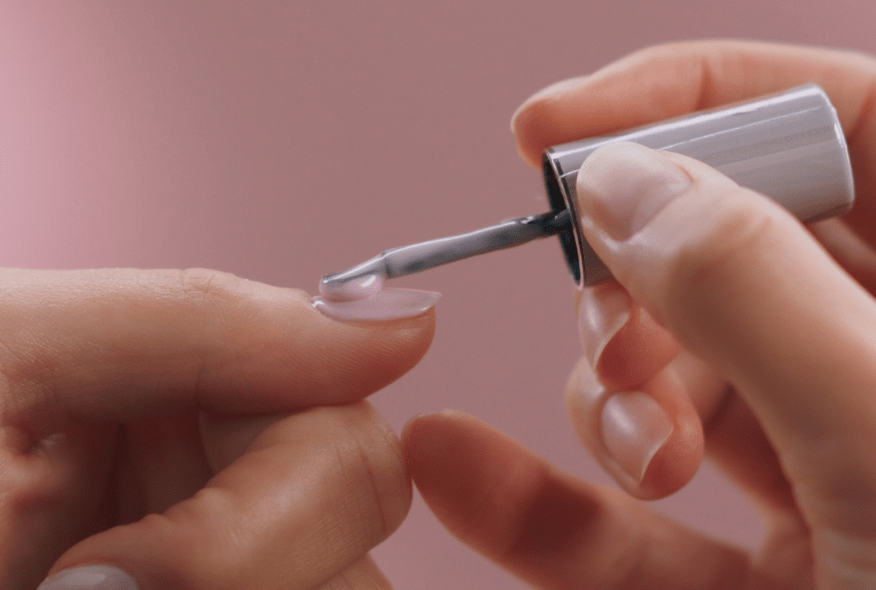
Next is Base Coat. Apply a thin and even layer to the nail, making sure to keep about one millimetre distance from the cuticle. Cure the Base Coat for 60 seconds under the LED-lamp. Check out our different Base Coats, there is a perfect one for everyone.
NOTE: from now on, every layer will be sticky after it has been cured, even though the gel is dry. Why is this? This stickiness makes sure that every layer that goes on top will blend in nicely and that the layers stick together.
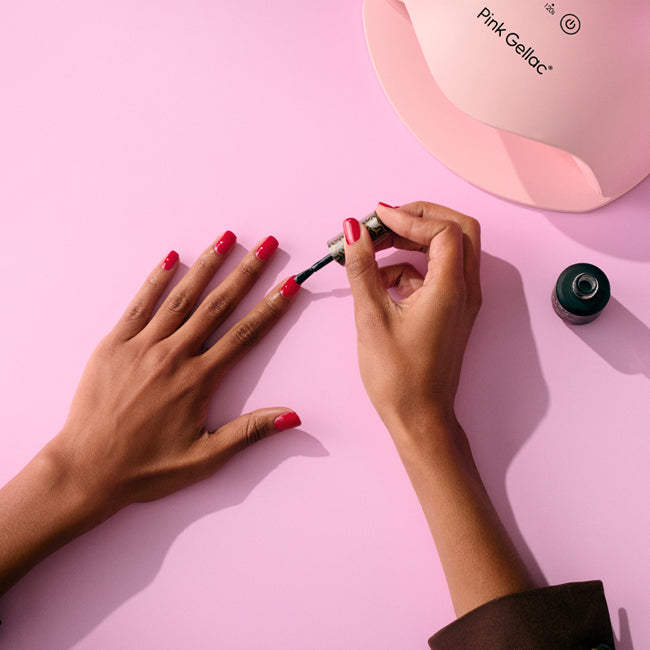
Step 2: Applying the gel polish colour
Now it’s time to apply the colour. Apply the gel polish as thin as possible on the nail, also making sure to keep a millimetre distance from your cuticle. Don’t forget to top of your nail at the edge to prevent air bubbles and lifting.
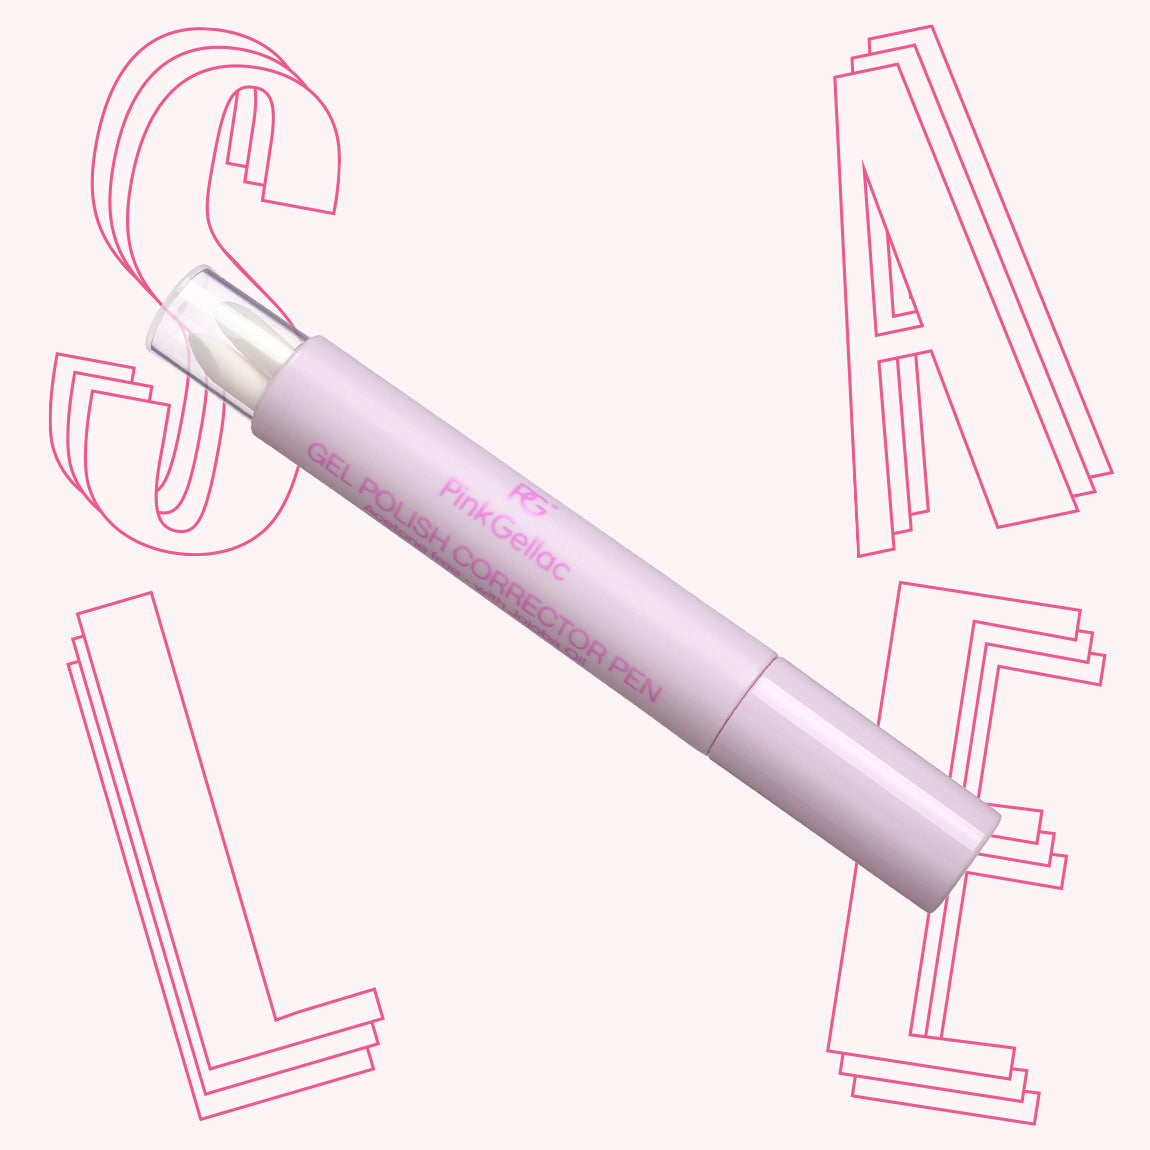
Did you get the gel polish on your skin? Use the Woodstick or Gel Polish Corrector Pen to clean the skin directly. Whenever you’re happy with your work, cure the polish under the LED-light for 60 seconds. Want to apply another layer for more pigment? You can! Please, repeat this step.
Step 3: Applying the Top Coat
For the finishing touches, you need a Top Coat to top off your gel colour. Keep that millimetre distance from your cuticles. Apply a thin layer on your full nail and do not forget the tip of your nail. Did you get some gel polish on your skin? Use the Woodstick or the Gel Polish Corrector Pen to clean the skin directly. Then, cure the Top Coat under the LED-lamp for 60 seconds.
Did you use our Shine Top Coat? Let the gel cool down for two minutes after curing. Then remove the sticky layer with our Cleaner on a lint free Nail Wipe.
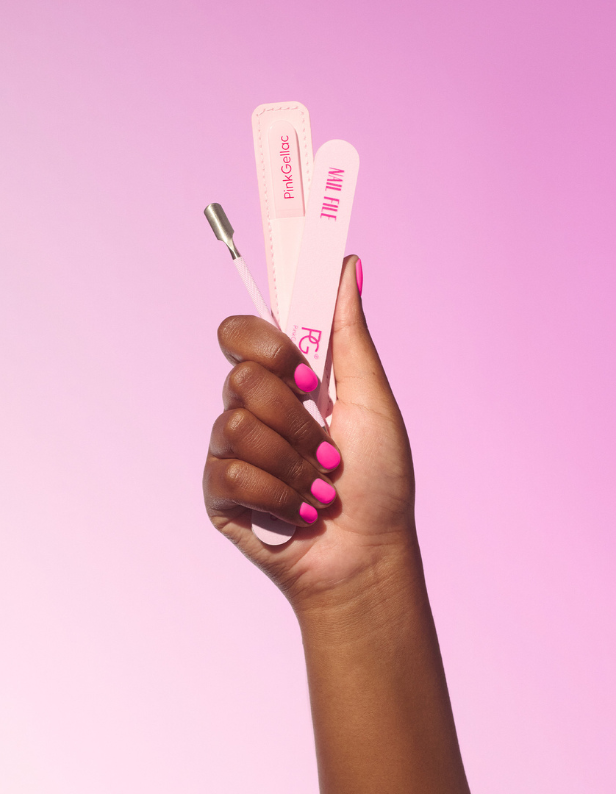
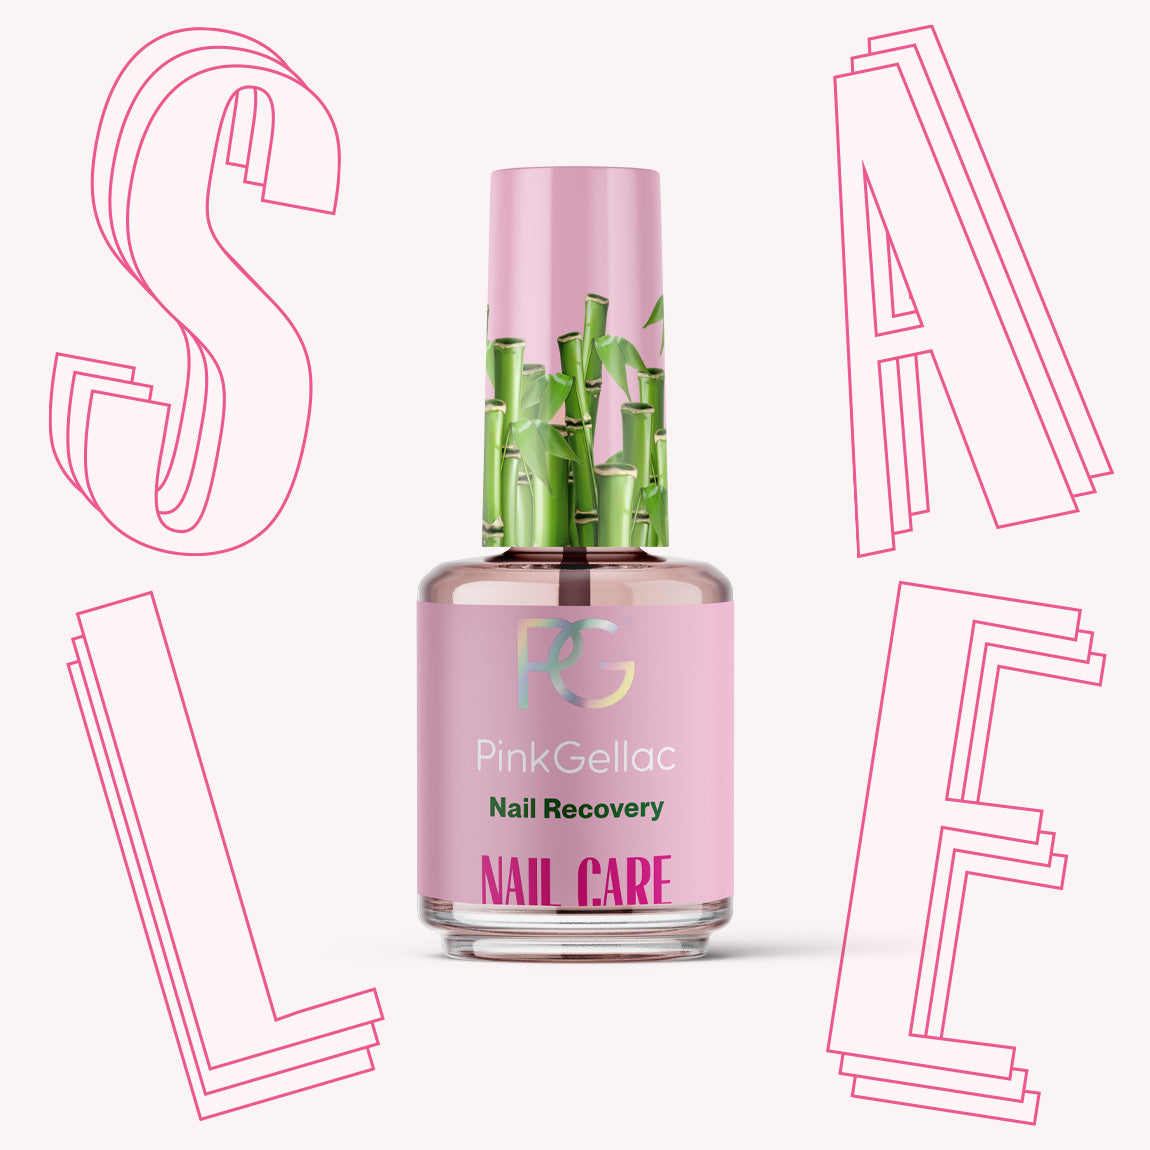
What about the maintenance of gel polish? It is important to use a Cuticle Oil regularly to keep your cuticles and nails hydrated. Avoid direct contact with water for at least an hour before and after application. We recommend you wear gloves whenever you work with cleaning supplies, water or harsh chemicals.
