Summer Leopard Nail Art

With this Nail Art you are ready for the sunny days! Curious how to make these Sunny Leopard Nails? We explain it step by step below.
Use our Nail Art Palette and Brushes to apply your designs even more easily
What do you need?
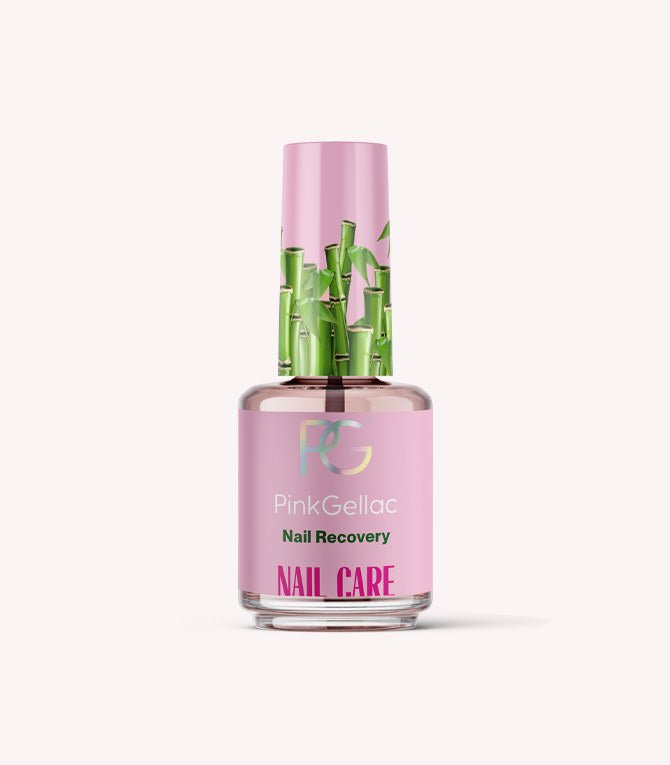
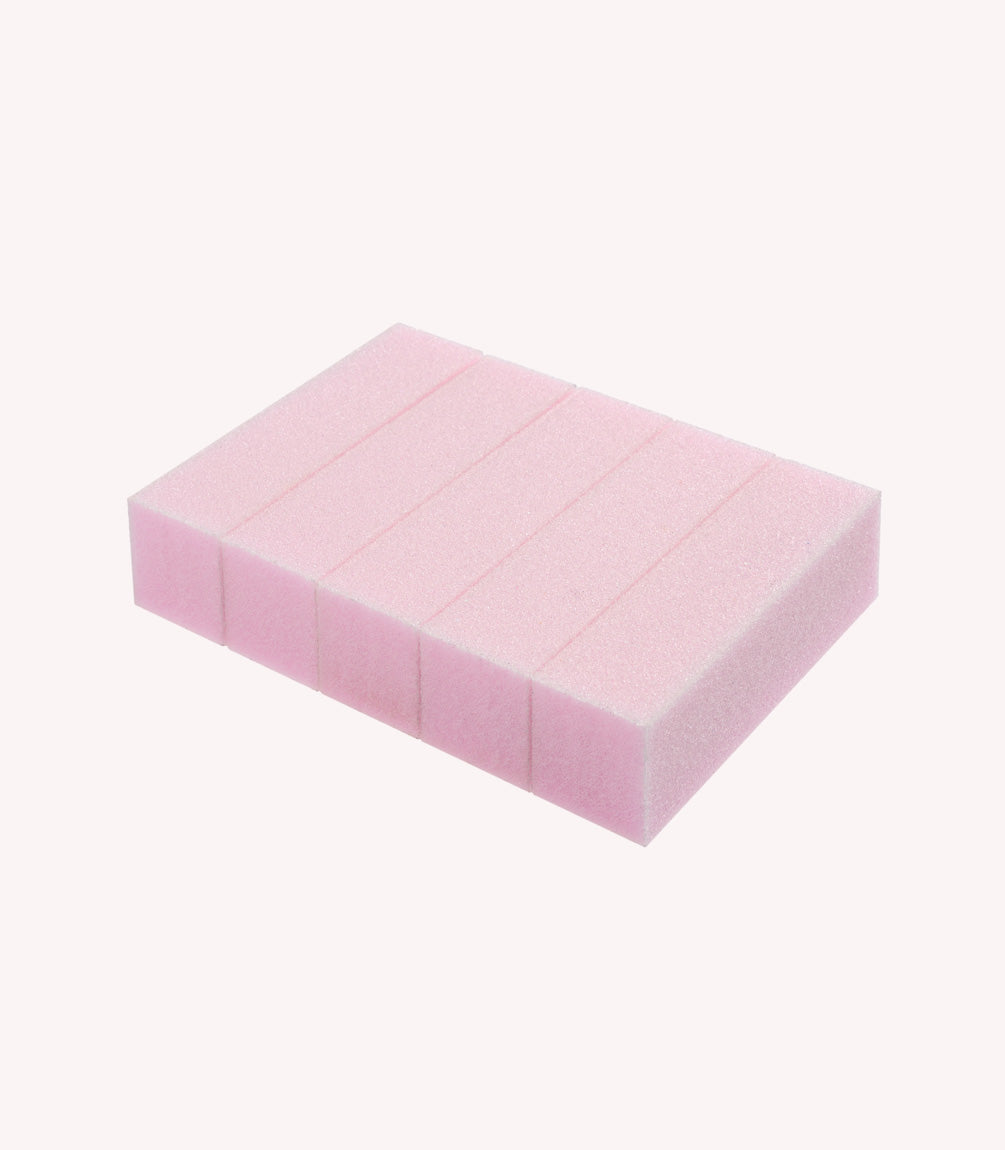
- The basics such as the Prep Booster, polishing block, a LED lamp, a Base Coat and a Top Coat
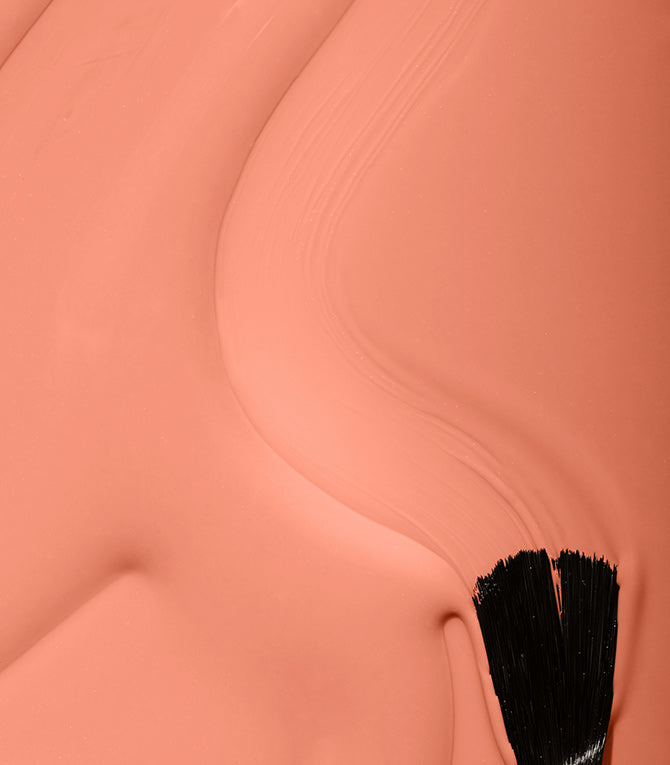
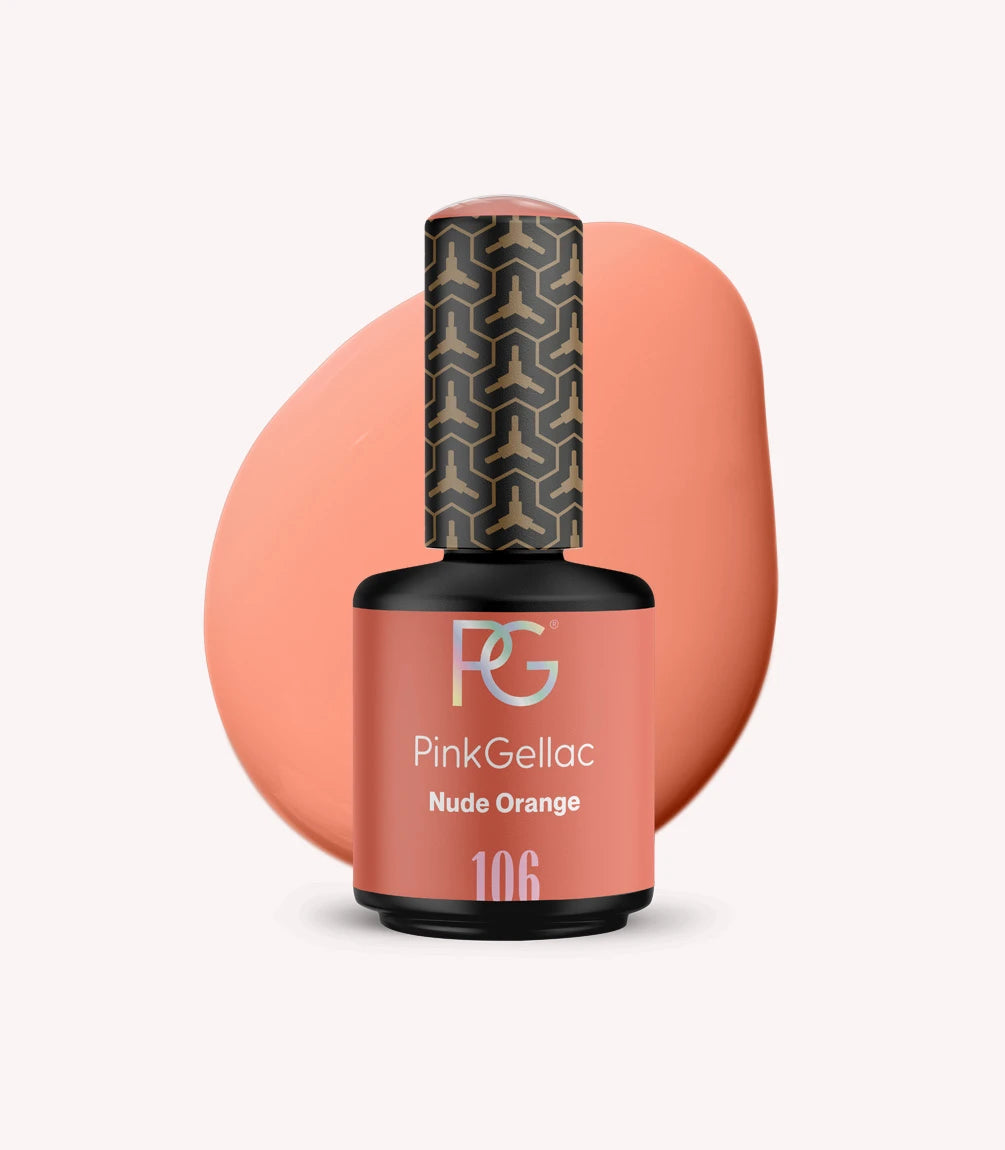
- 106 Nude Orange
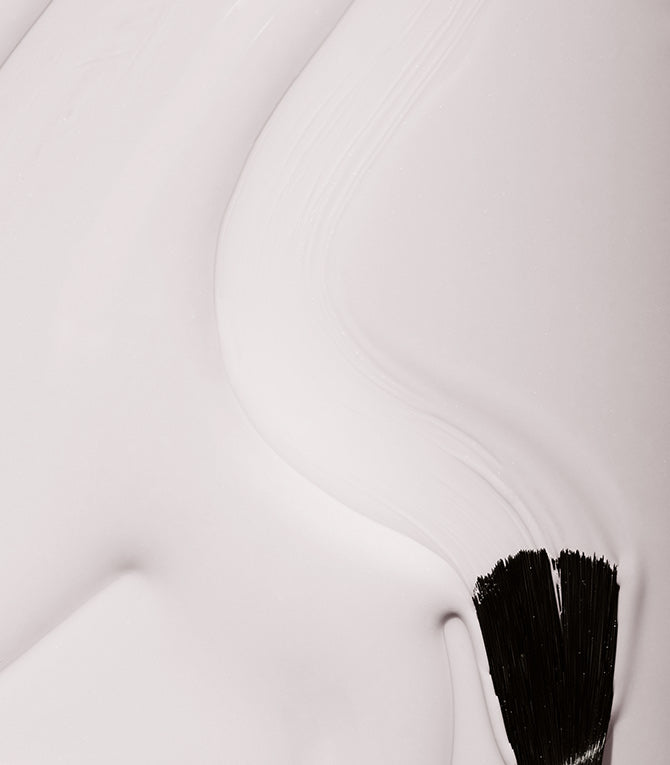
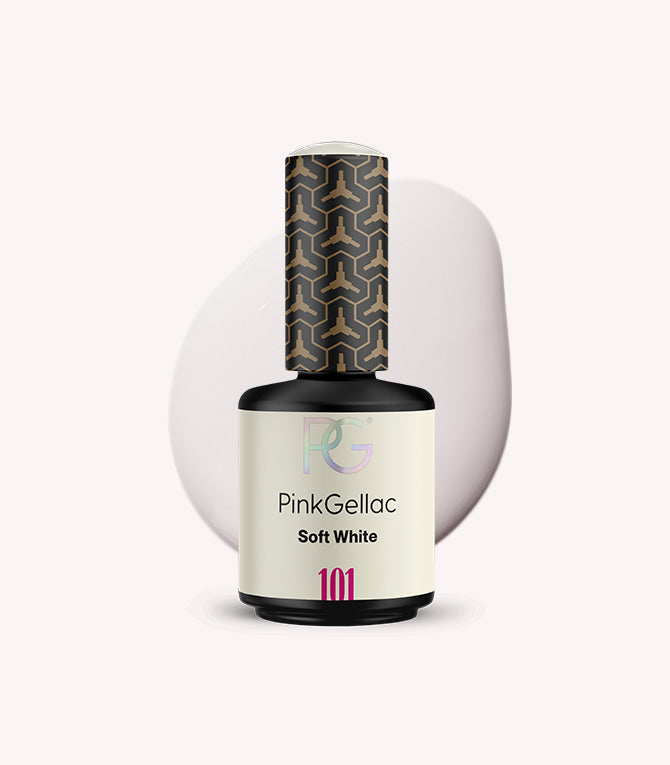
- 101 Soft White
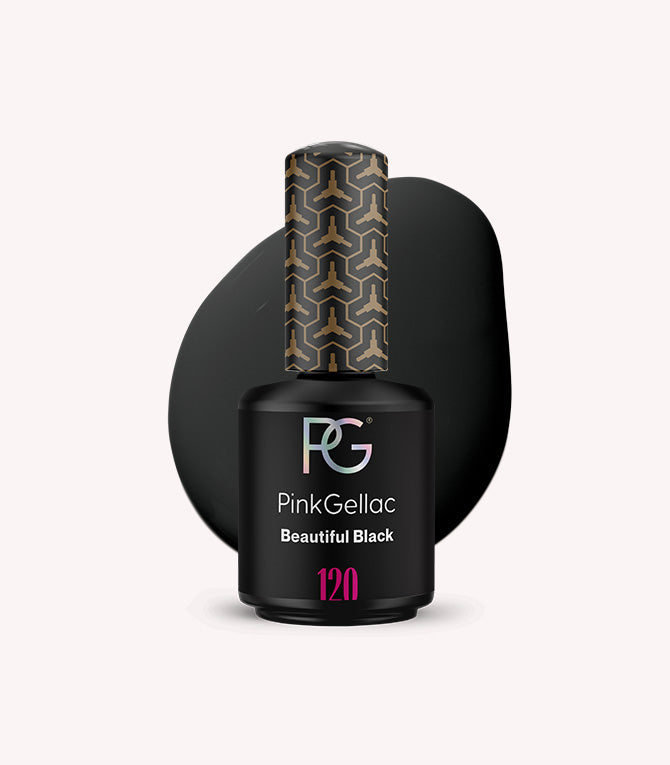
- 120 Beautiful Black
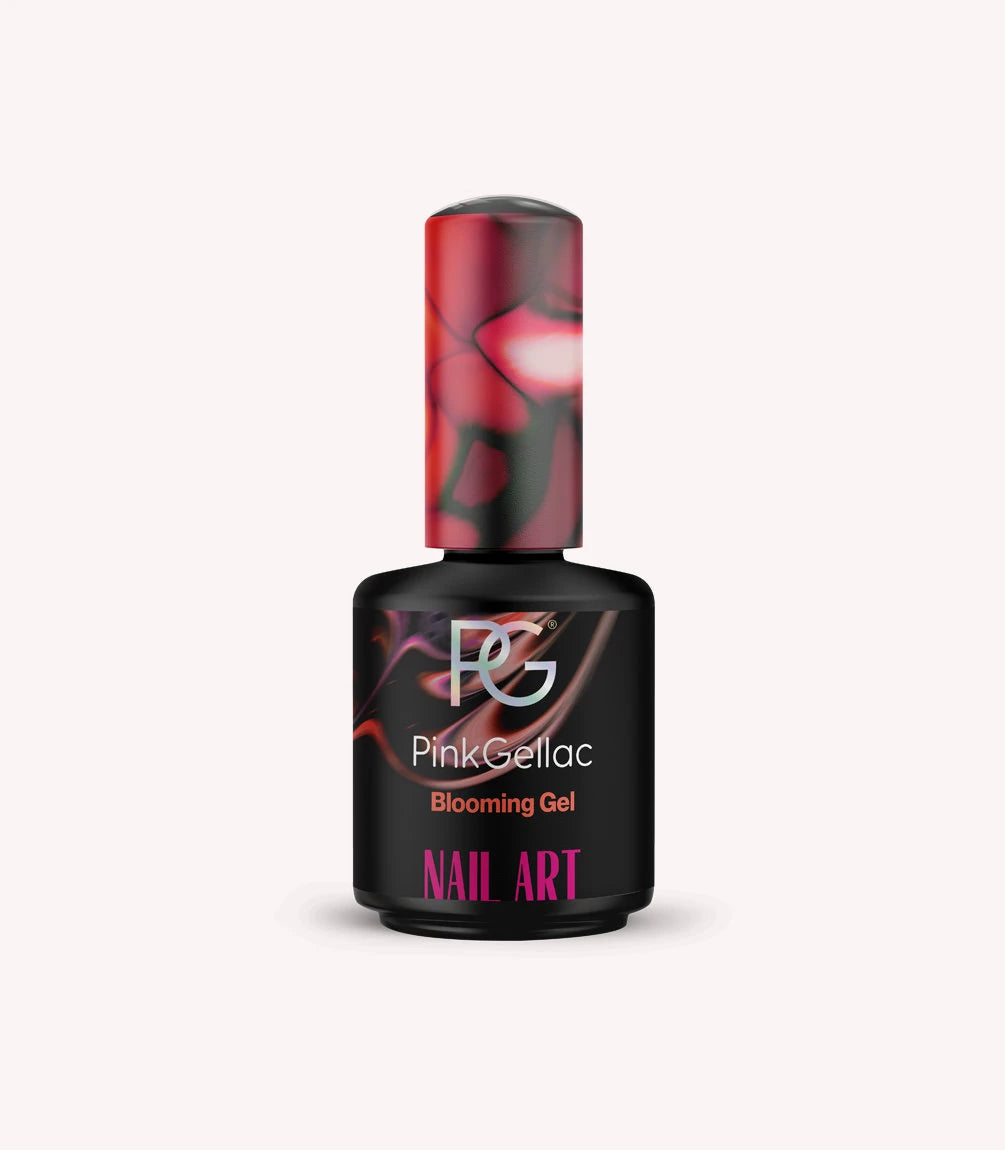
- Blooming Gel
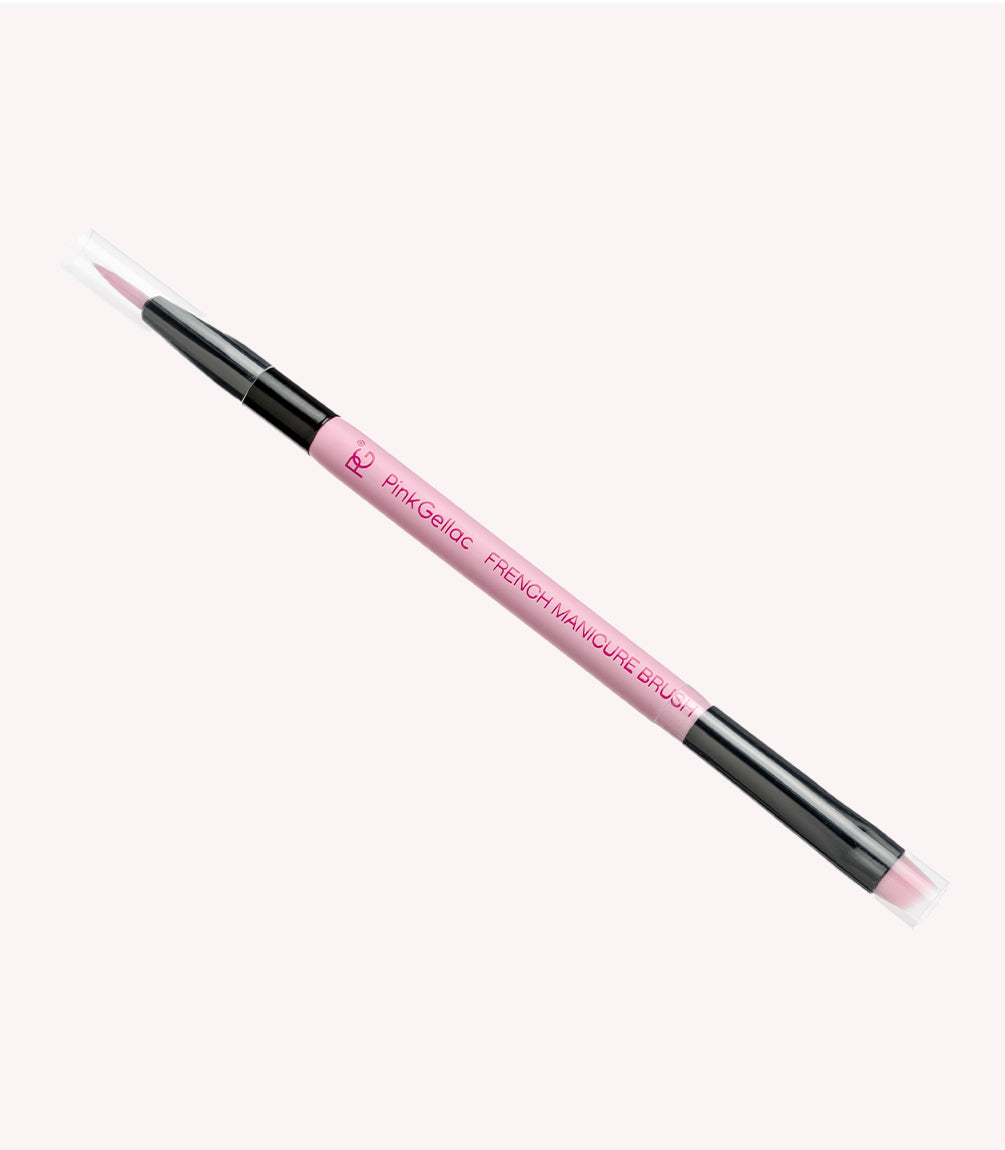
- French Manicure Brush
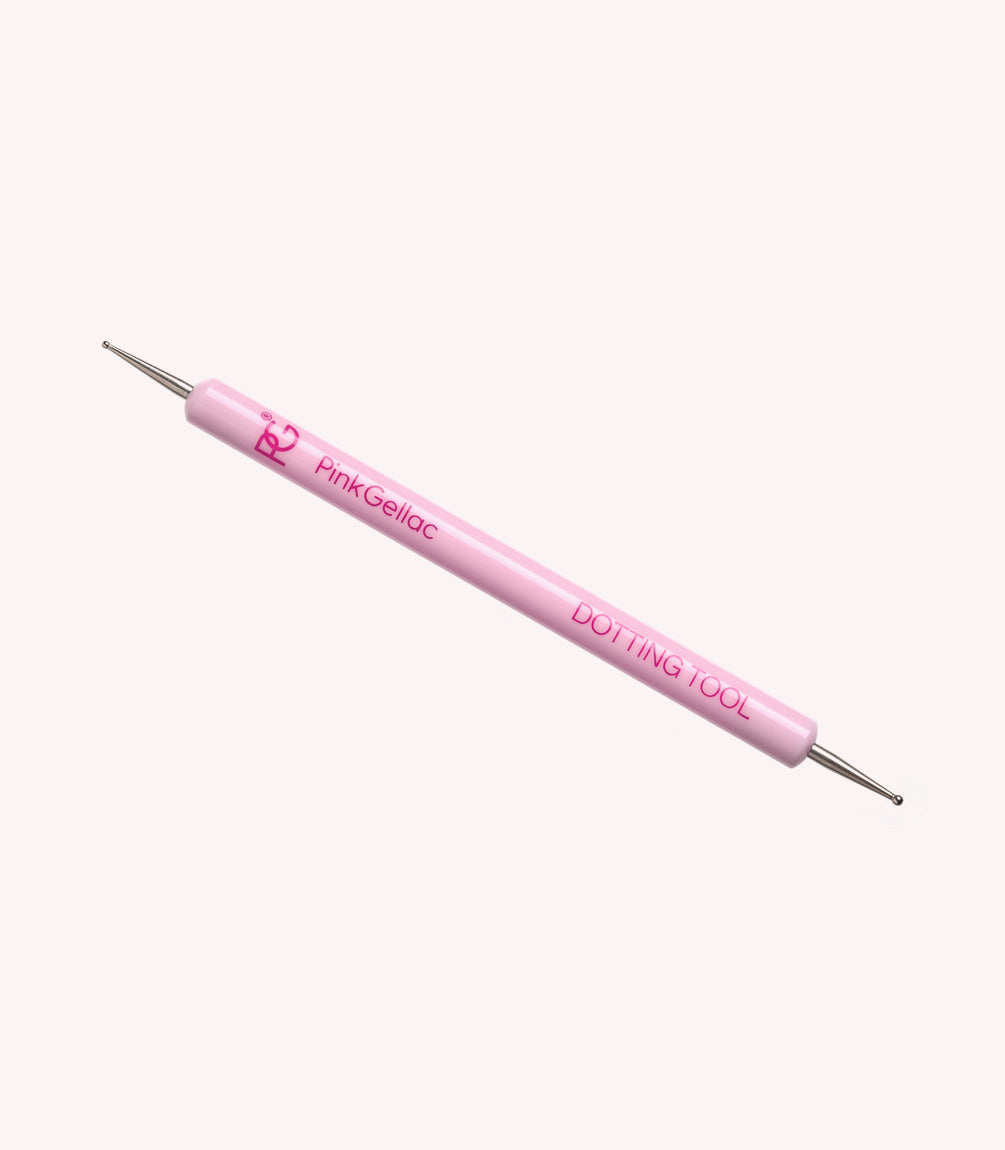
- Dotting Tool
Prep your nails
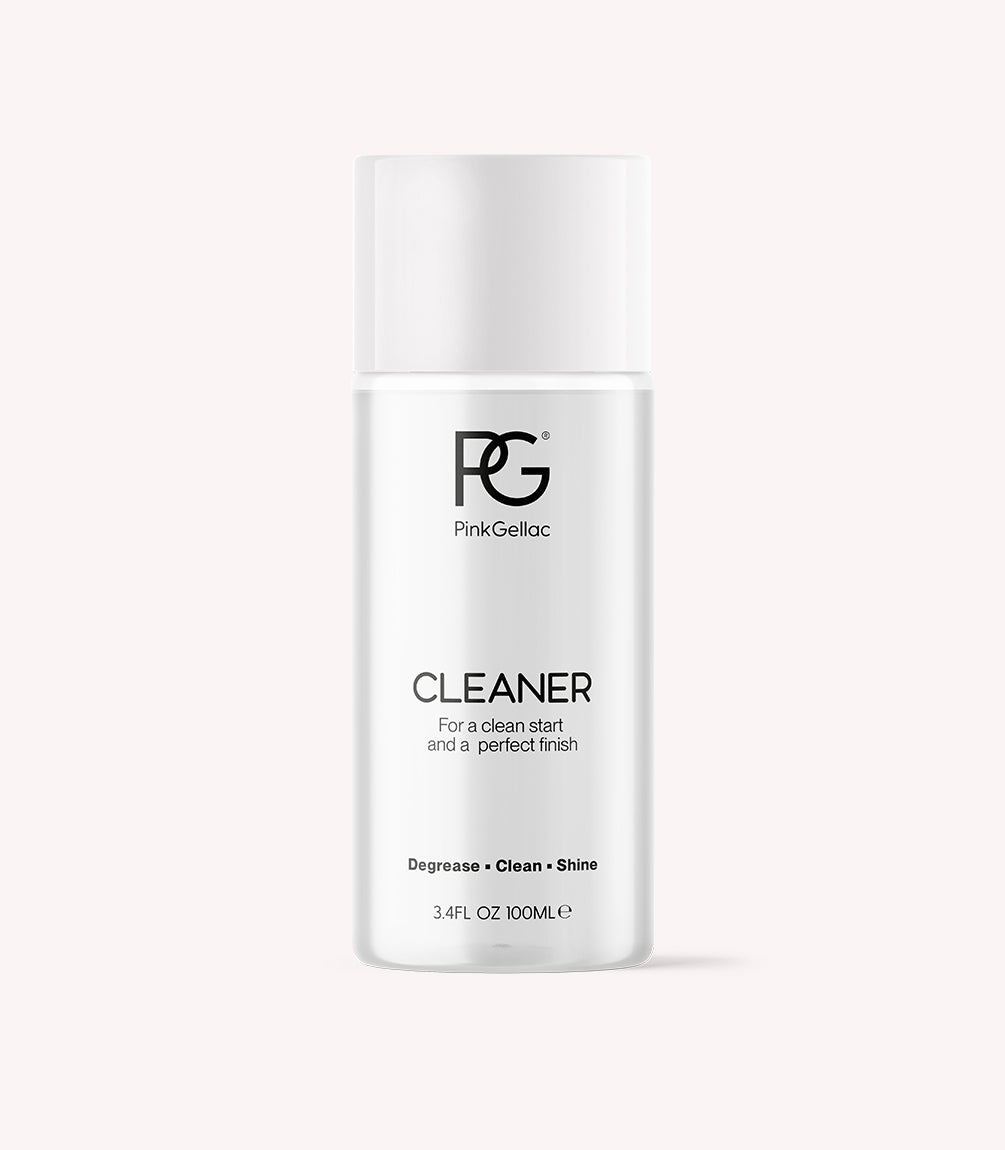
Prepare your nails by filing them into the desired shape. Remove the natural shine from your nails with the polishing block. Use the Cleaner to clean and degrease your nails. Apply the Prep Booster and let it air dry for 30 seconds.
Step 1 - Apply Base Coat
Apply your favourite base coat and let it cure for 60 seconds under the LED lamp.
Step 2 - Apply Base Coat to the nails
Apply your favourite base coat and let it cure for 60 seconds under the LED lamp.
Step 3 - Apply Gel Polish Colour
Apply a layer of 106 Nude Orange and let it cure for 60 seconds under the LED lamp.
Step 4 - Apply Blooming Gel
Apply a layer of Blooming Gel and don’t let it cure yet under the LED lamp.
Step 5 - Create white spots
Apply a bit of 101 Soft white to the French Manicure Brush and create a spot-like pattern. Whenever you’re satisfied with the result, you can let it cure for 60 seconds under the LED lamp.
Thanks to the slanted shape of the French Manicure Brush, you can easily apply a French Manicure. This brush is not only ideal for a French Manicure but you can also use it easily in combination with the Blooming Gel.
Step 6 - Create black spots
Take a bit of 120 Beautiful Black to the Dotting Tool and apply small spots all over the nail. Let this cure for 60 seconds under the LED lamp. With the Dotting Tool you can easily create dots. Both sides of the Dotting Tool have a spherical end, which makes it super easy to work with different sizes.
Step 7 - Apply Top Coat
Apply a layer of top coat and let it cure for 60 seconds under the LED lamp.
If you used the Shine top coat, keep in mind that it leaves a sticky layer after curing that needs to be wiped off with the Pink Cleaner
