Abstract Nail Art

Let’s take a step back in time and rediscover the charm of geometric designs! This abstract pattern is not only fun but also simple to create. We are excited to reintroduce this trend, perfect for those who love a bit of nostalgia mixed with modern flair. This design is simple, stylish, and doesn’t take hours, unlike some other intricate abstract looks. Join us as we work through this nail art step by step! Let’s go!
Start with your usual nail prep routine and apply your favourite base coat.
Step by step

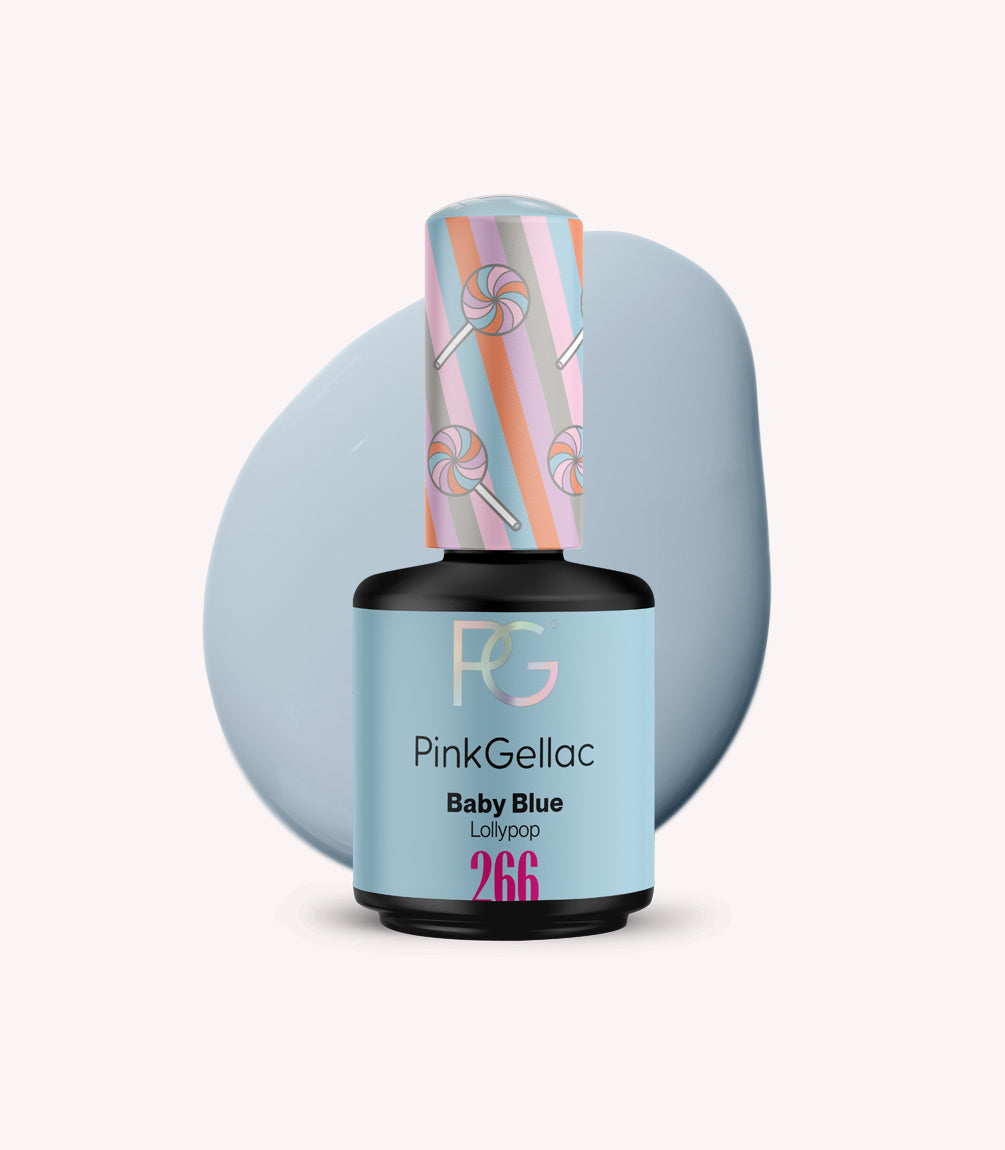
Step 1: Apply 266 Baby Blue
Apply a thin layer of 266 Baby Blue to all your nails. Cure this layer for 60 seconds under the LED lamp. Repeat this step for an even, opaque result.

Step 2: Draw a straight line
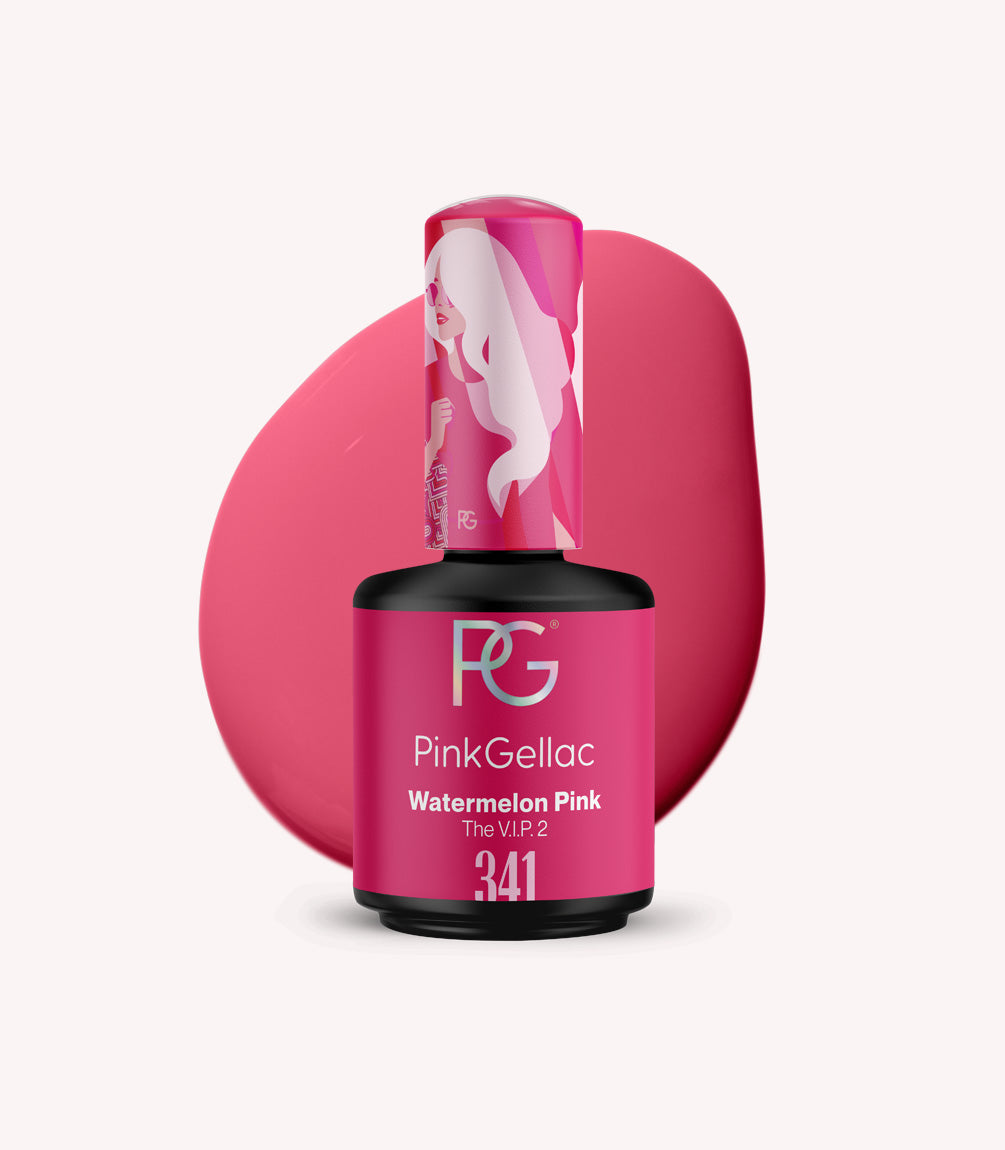
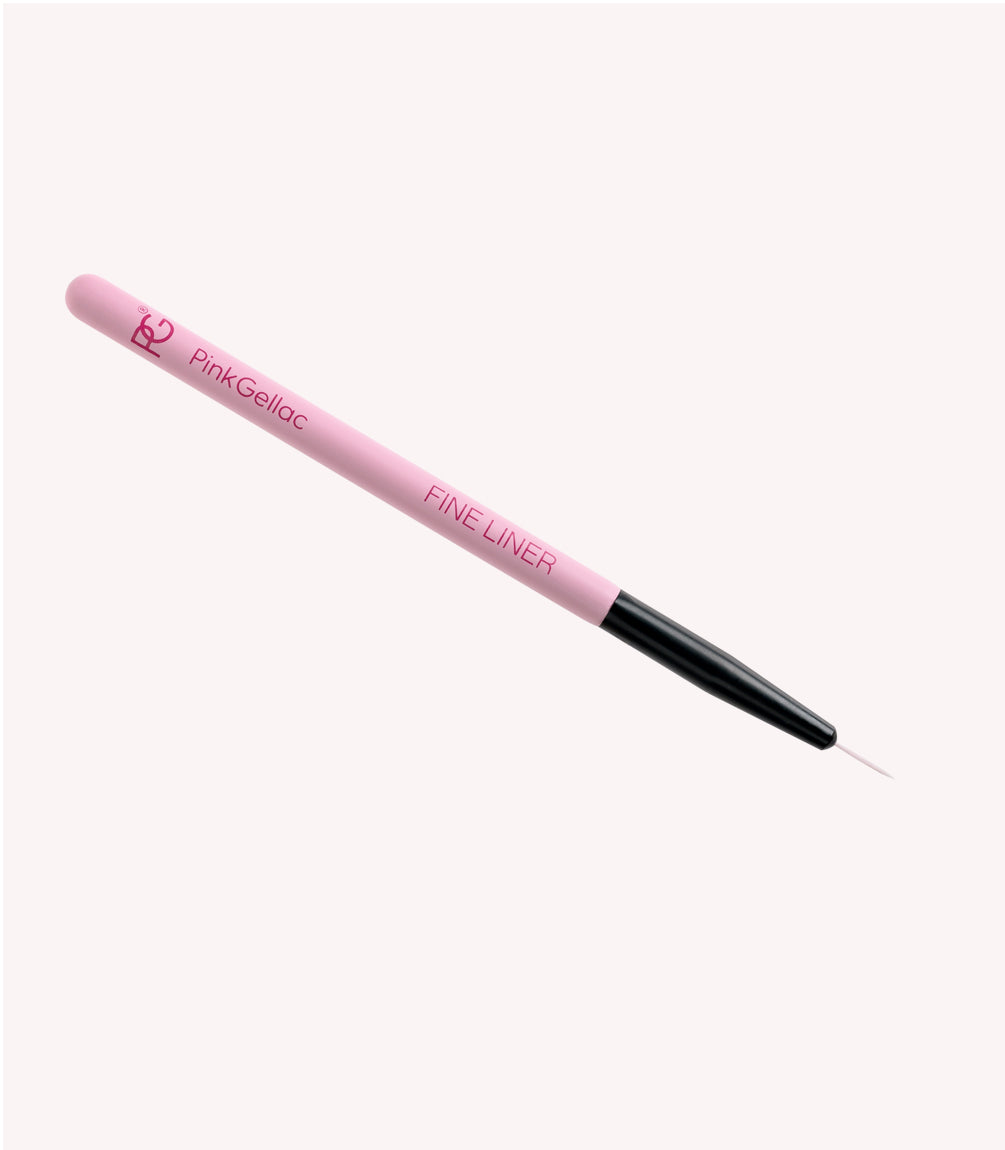
Put a bit of 341 Watermelon Pink on a Nail Art Palette and pick up some of the colour with the Fine Liner. Draw a straight line, slightly to the left of the centre.

Step 3: Fill in the left half
Fill in the left half of the line, as shown in the image above. You don’t need to cure it yet.

Step 5: Round off the corners
Round off the corners on the side of the pink area. Once you are satisfied with the result, cure the whole design under the LED lamp for 60 seconds.

Step 6: Top Coat
Finish the nail with your favourite Top Coat. Don’t forget to seal the tip of your nail to prevent chipping. Cure again for 60 seconds. Remove the sticky layer after two minutes if necessary.

Look at the end result!

Are you going to recreate this look? Share it on Instagram! Don’t forget to tag us with @pinkgellac or use #pinkgellac. What nail art tutorial would you like to see? Let us know!
