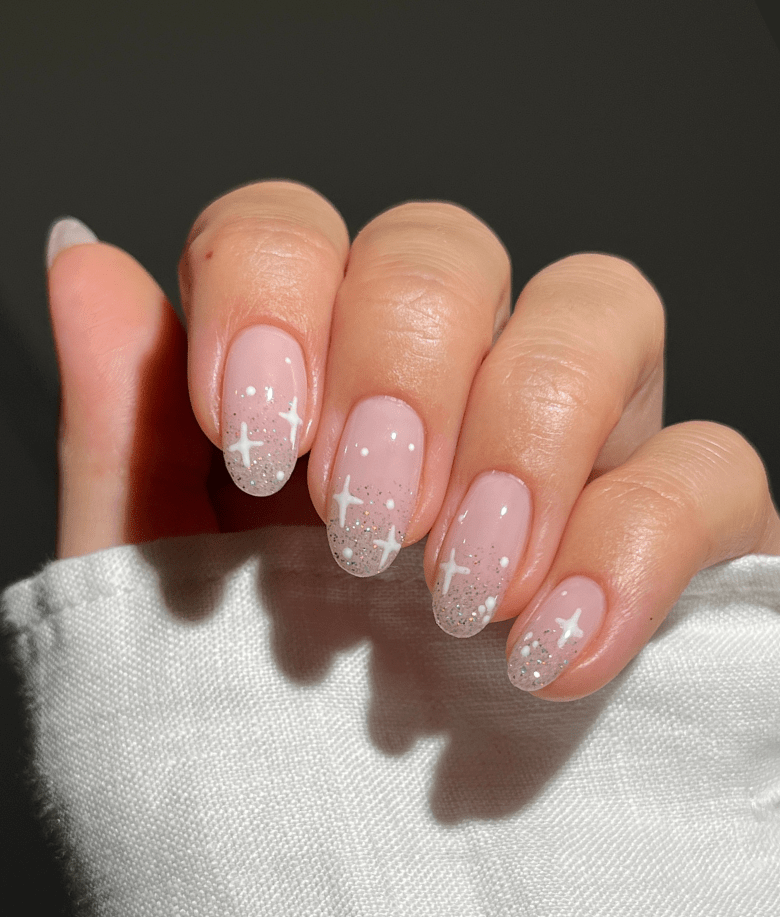
Do you want to shine and twinkle no matter the occasion? We take this twinkle very seriously here: Let’s create an actual star and some twinkles! Go through our step-by-step plan on how to create your twinkly nail art and to find out what products you need for it.
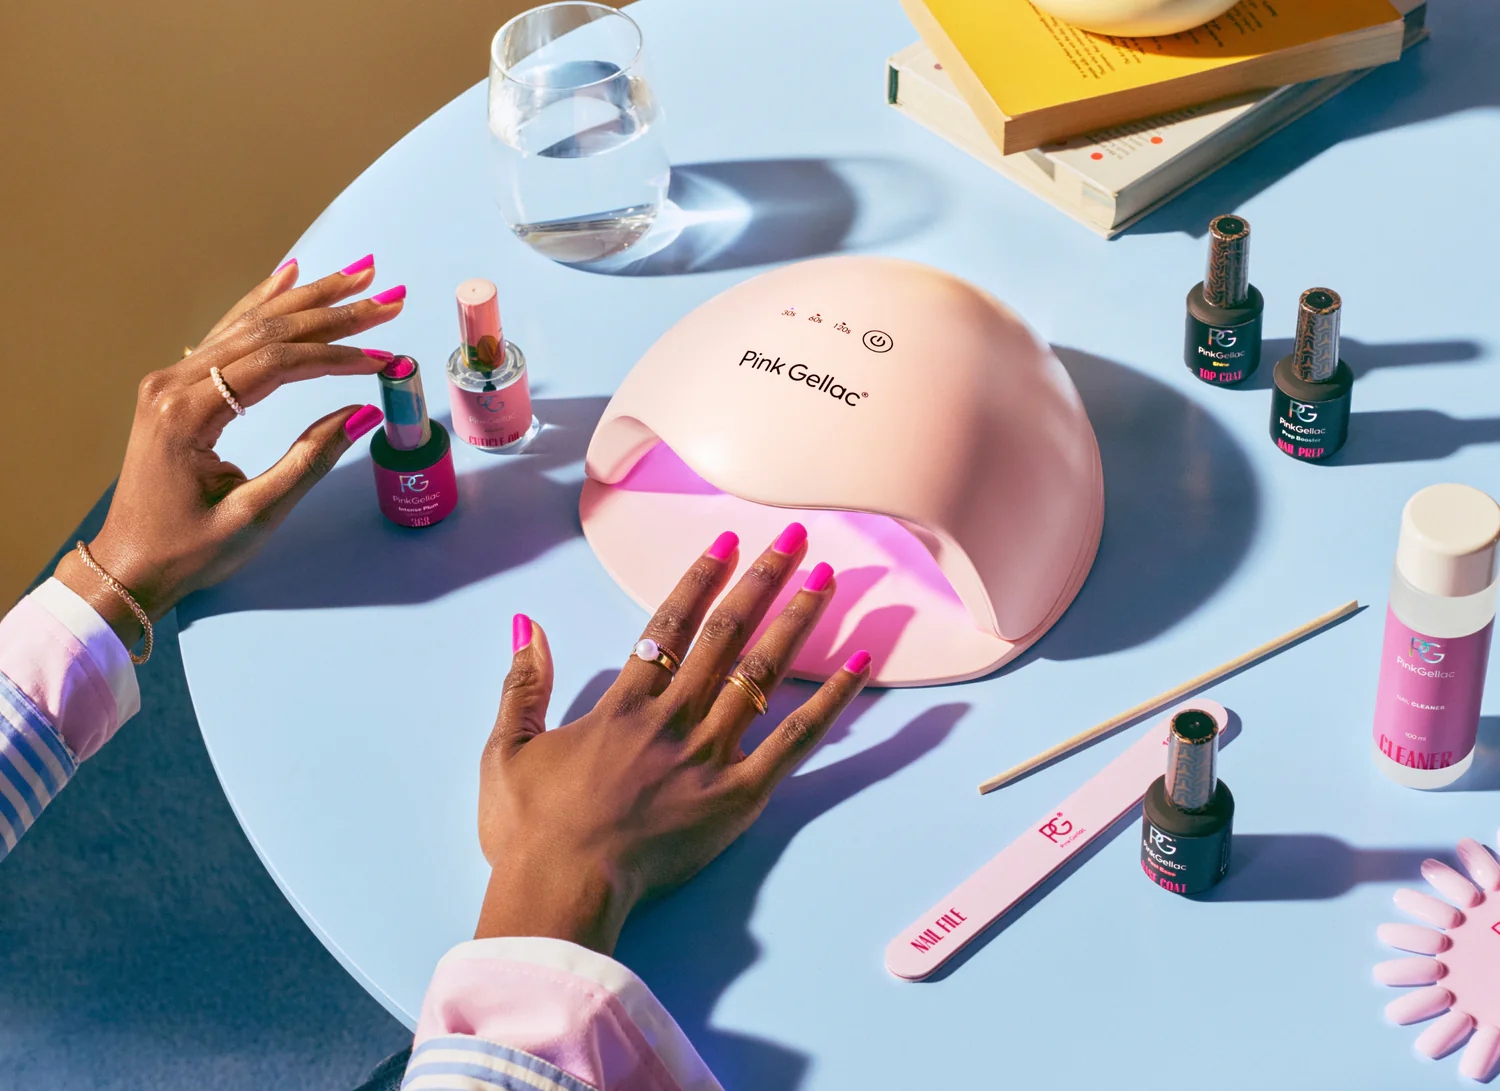
Prepare your nails by filing them into the desired shape. Remove the natural shine from your nails with the polishing block. Use the Cleaner to clean and degrease your nails. Apply the Prep Booster and let it air dry for 30 seconds.
Than apply your favourite Base Coat before you start with our step-by-step guide.
Step by step
Step 1
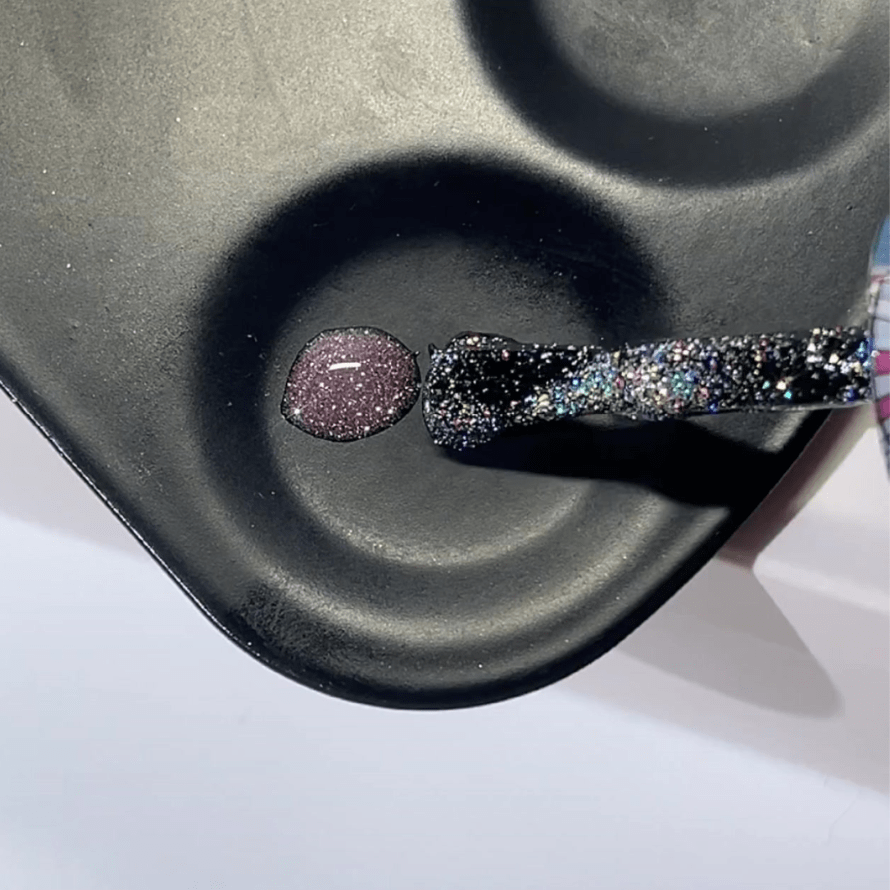
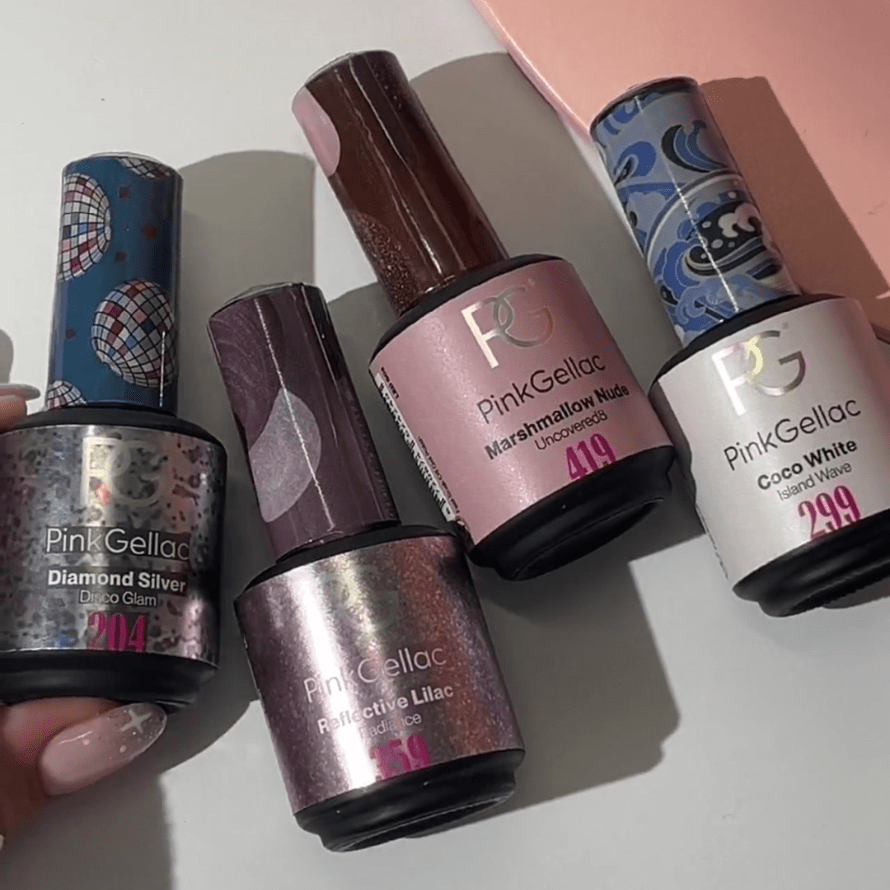
Grab your colours and nail art tools. The colours that have been used for this look are: 419 Marshmallow Nude, 359 Reflective Lilac, 204 Diamond Silver & 299 Coco White.
Step 3
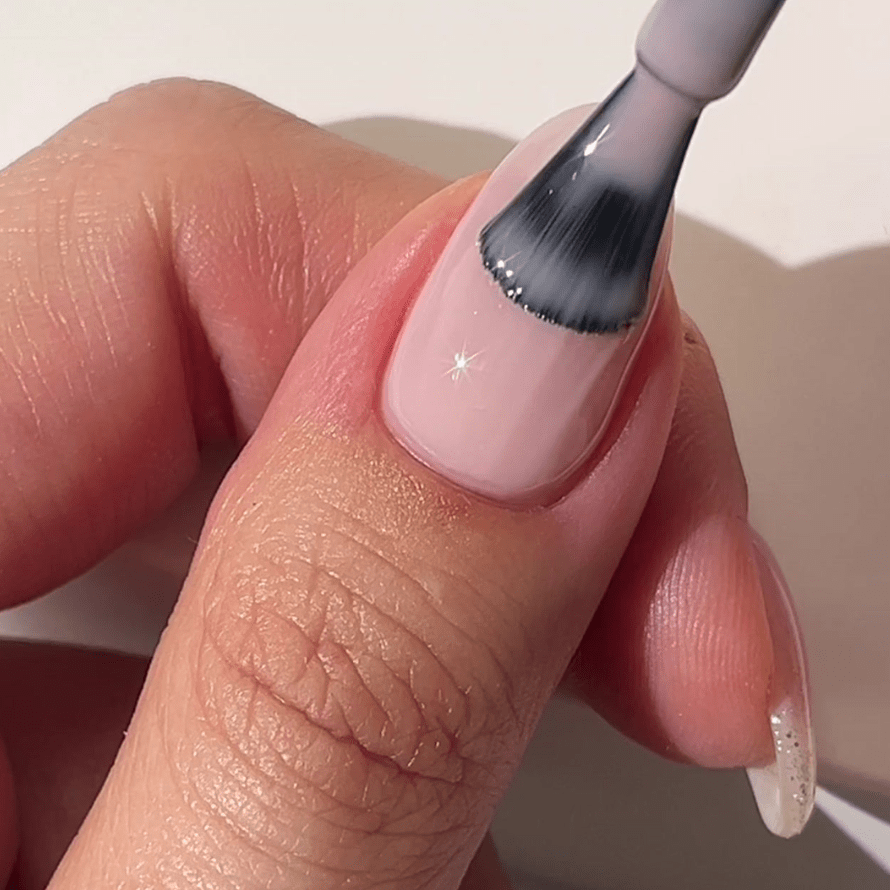
Apply the 419 Marshmallow Nude as the base colour and cure it for 60 seconds under the LED lamp. If you're not satisfied yet, than apply a second layer.
Step 4
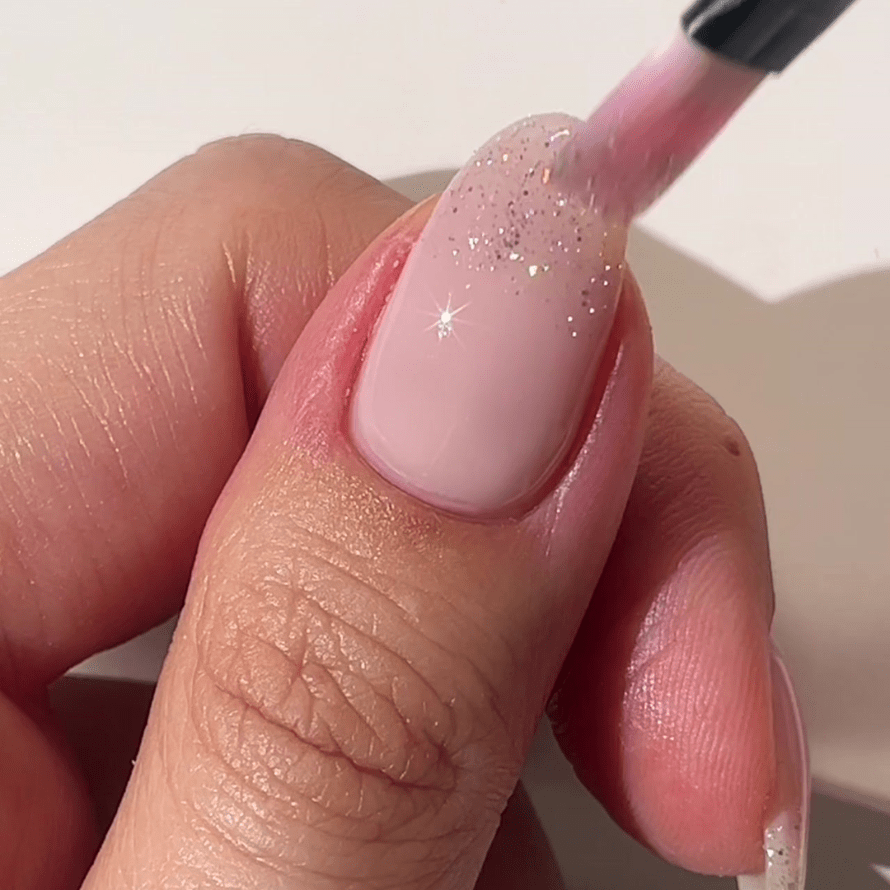
Next you should gently brush the glitter towards the top of the nail using the Flat Brush. Let this cure for 60 seconds under the LED lamp. You can repeat step 2 and step 3 to create a more visible glitter effect.
Step 5
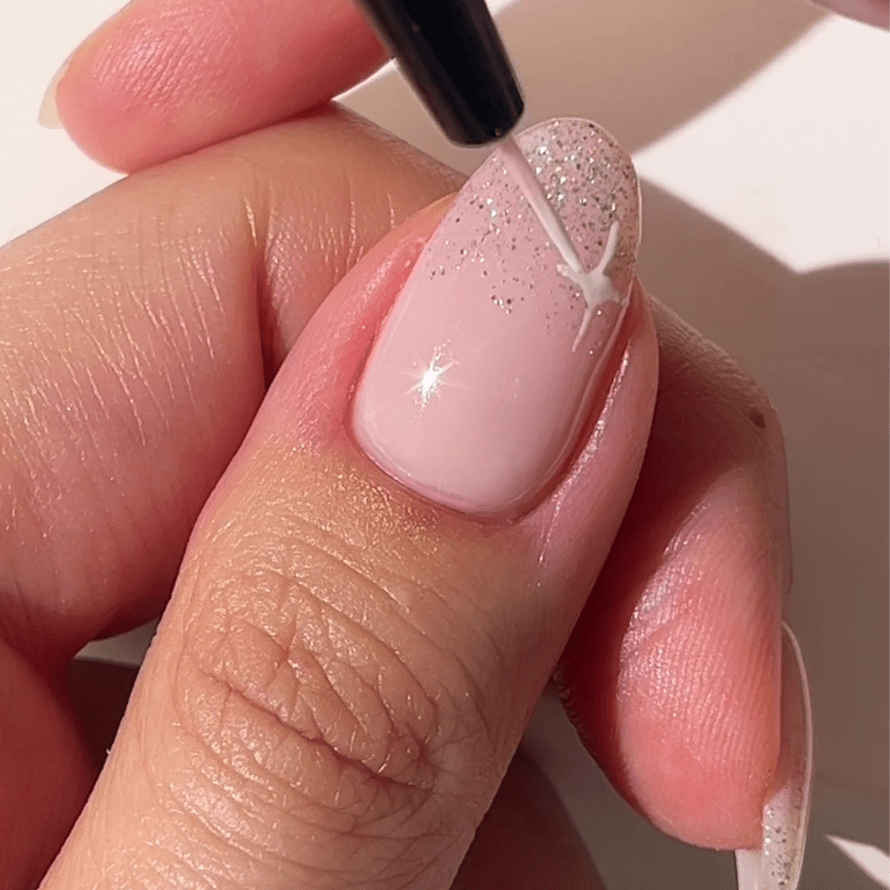
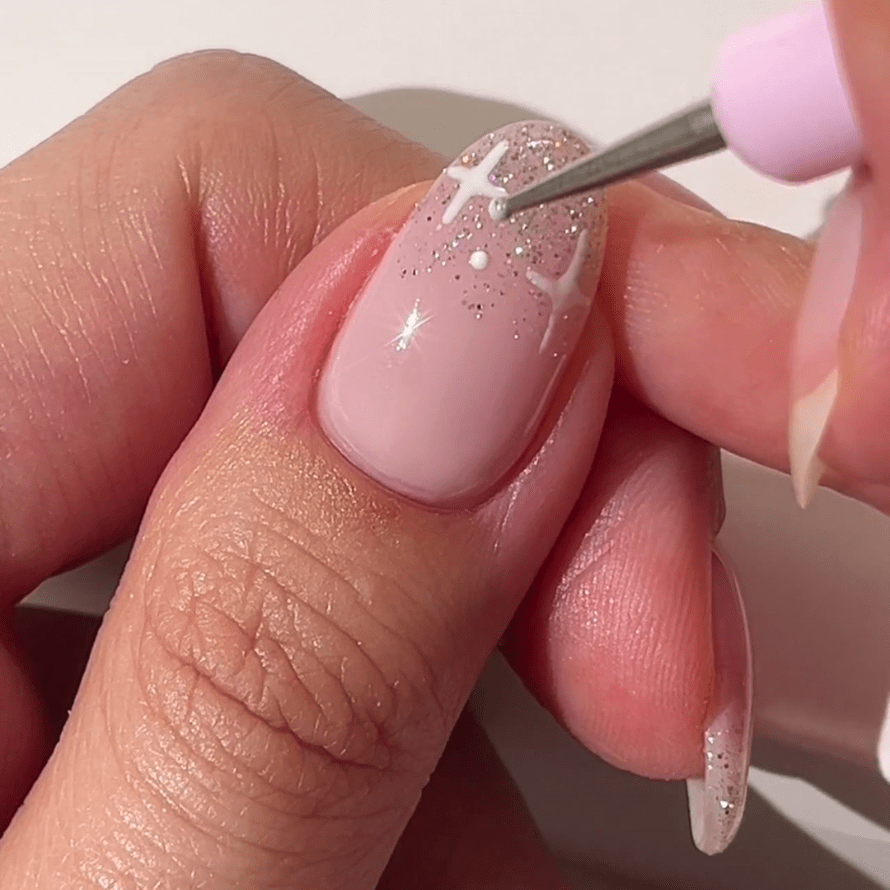
Take a bit of 299 Coco White on the Dotting Tool and put a small dot on your nail.
Grab your Fine Liner to draw two vertical lines in opposite direction, and two slightly shorter horizontal lines also in opposite direction, to create the star as shown above.
Step 6
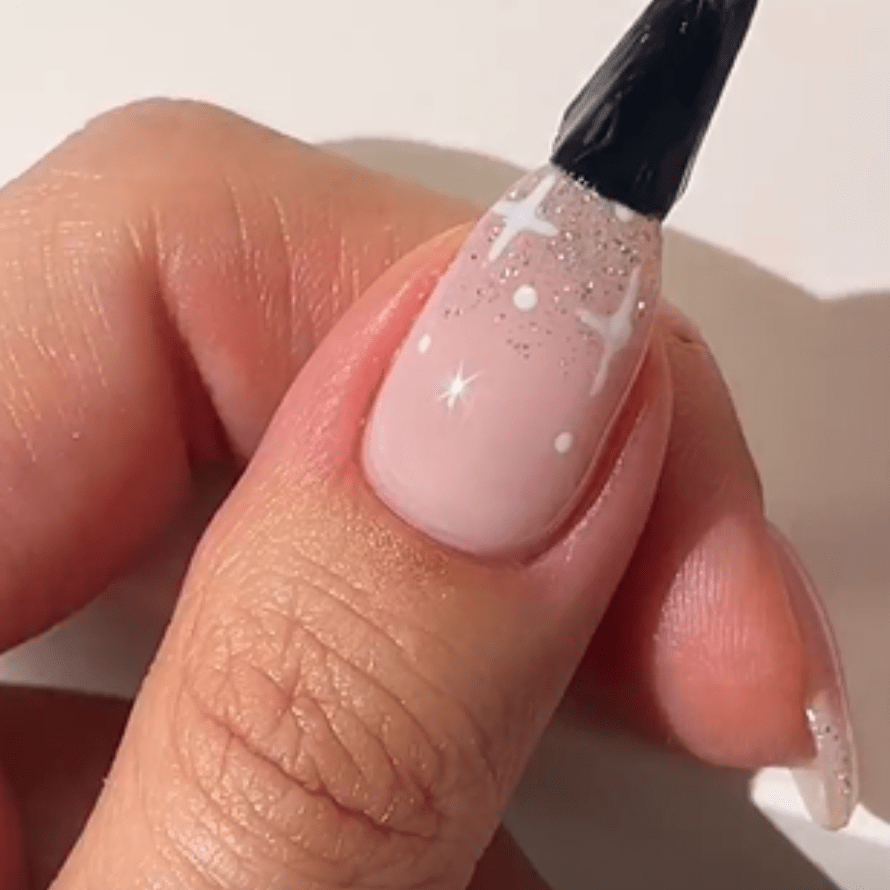
Take another bit of 299 Coco White on the Dotting Tool and put some small dots around the stars. Than cure it for 60 seconds under the LED lamp.
Step 7
Apply one of our Top Coats over the entire nail and leave to harden for 60 seconds under the LED lamp. Have you used the Shine Top Coat? Then remove the sticky layer with the Cleaner.
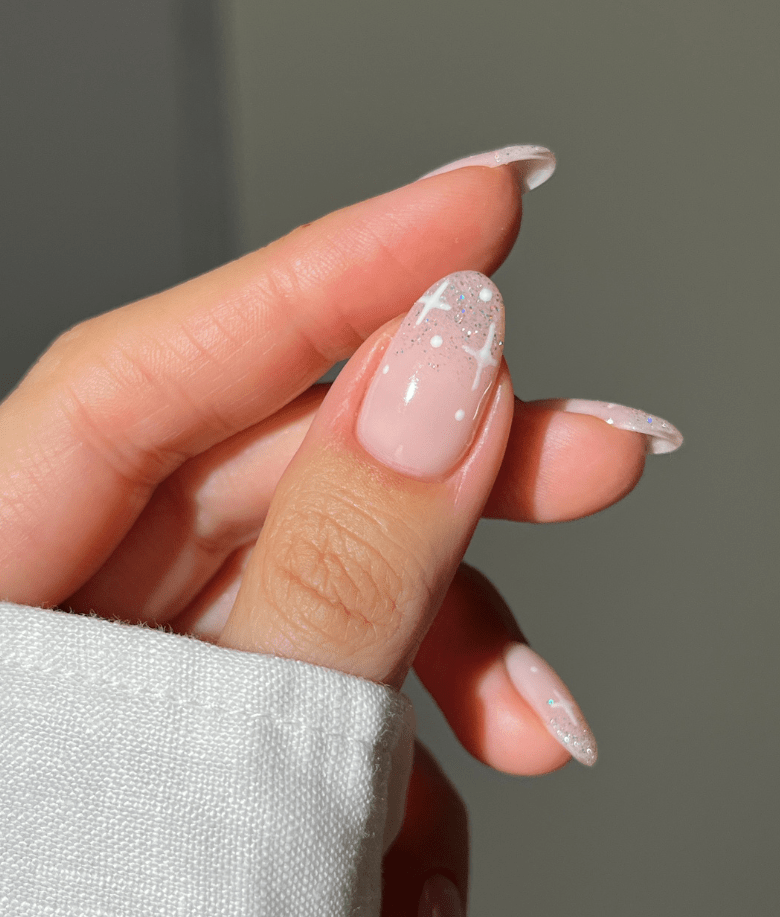
Are you going to recreate these Twinkly Star Nails? Share your creation and tag us! Use @pinkgellac or #pinkgellac so we don’t miss out!


