Tie-Dye Nail Art
Tie Dye time!
With this step-by-step plan you create the most beautiful Tie Dye Nail Art. We tell you exactly how to make this cool nail art and what you need for it.
What do you need?
- The basics, such as the Prep Booster, polishing block, Base Coat and Top Coat
- 101 Soft White
- 288 Lily Lilac
- 284 Spring Green
- 287 Joyous Yellow
- 286 Serenity Orange
- 285 Happy Pink
- Detail Brush
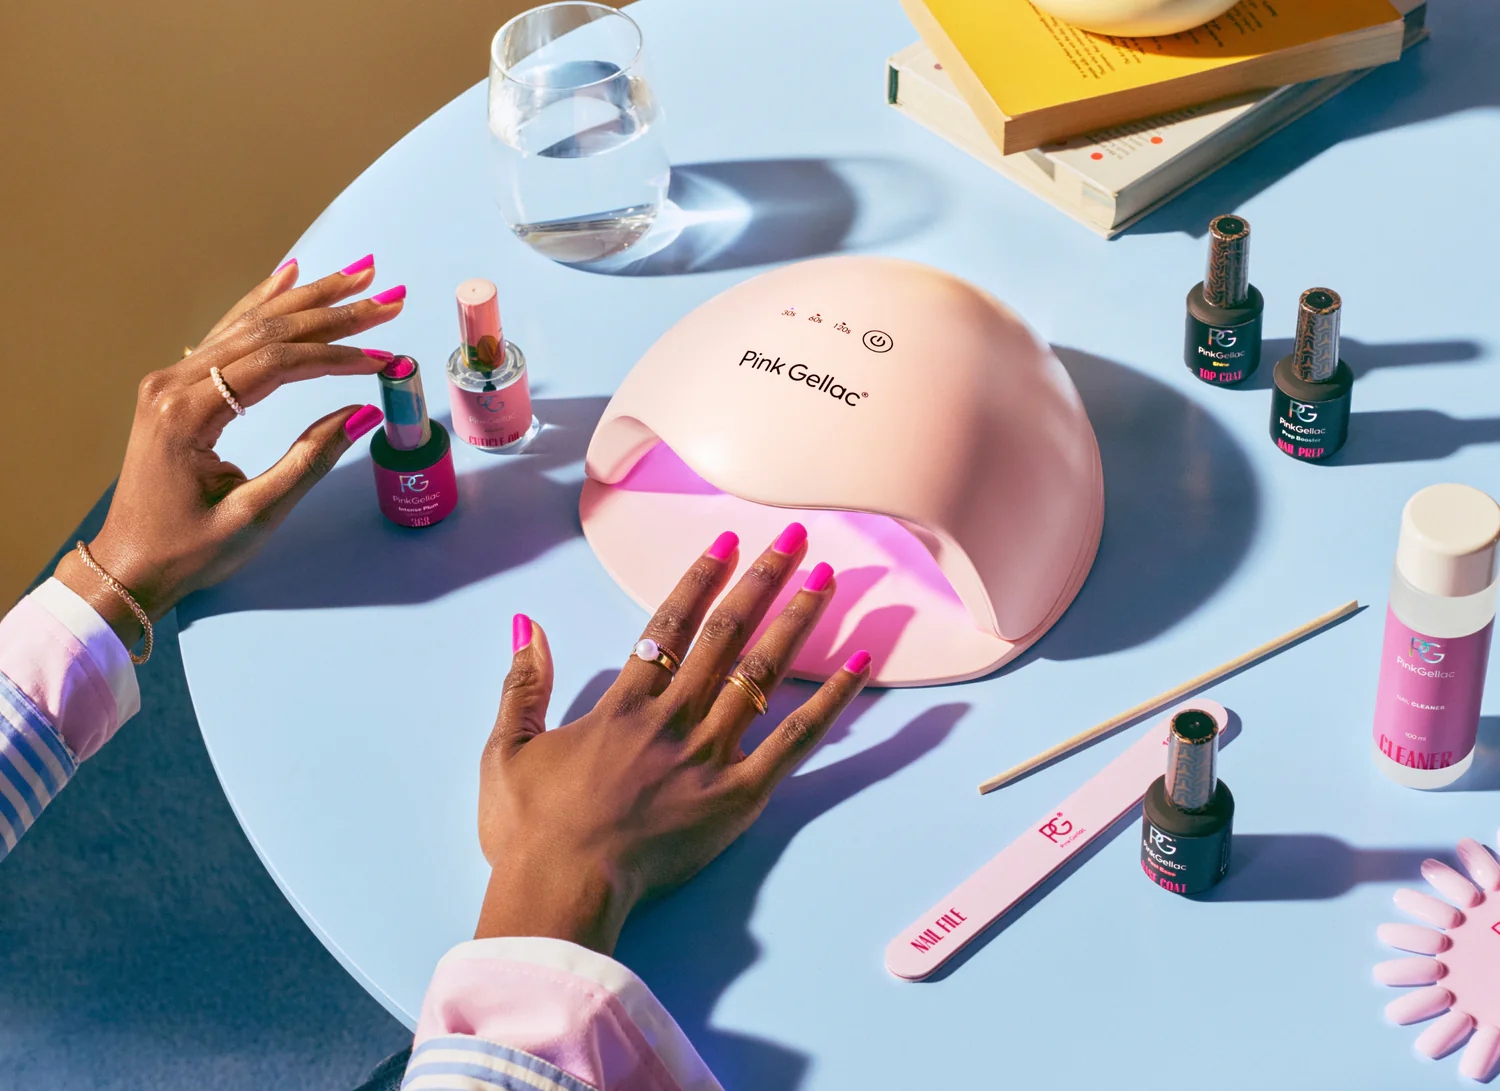
- LED lamp of Pink Gellac
PREP YOUR NAILS
Prepare the nails by filing them to shape and removing the natural shine from the nails with the polishing block. Use the Cleaner to degrease and clean the nails. Apply the Prep Booster and allow it to air dry for 30 seconds.
STEP 1 - APPLY BASE COAT
Apply your favourite base coat and let it cure for 60 seconds under the LED lamp.
Step 2 - Apply layer of gel polish colour
Apply a layer of 101 Soft White over the entire nail and let it cure for 60 seconds in the LED lamp.
Step 3 - Create spiral lines
Take a bit of 288 Lily Lilac on your Detail Brush and draw a spiral line from the centre of the nail from the inside out. Don't let this harden yet. Repeat with 284 Spring Green, 287 Joyous Yellow, 286 Serenity Orange, and 285 Happy Pink. In between, wipe the Detail Brush with a dry Nail Wipe.
Step 4 - Draw lines
With the Detail Brush, draw lines from the centre out and from the outside to the centre, alternately. Let this cure for 60 seconds under the LED lamp.
Step 5 - Apply Top Coat
Apply the top coat and let it cure for 60 seconds under the LED lamp. Shine used? After a cooling period of 2 minutes, wipe it off with a Nail Wipe with Cleaner (not necessary with Ultra Shine).