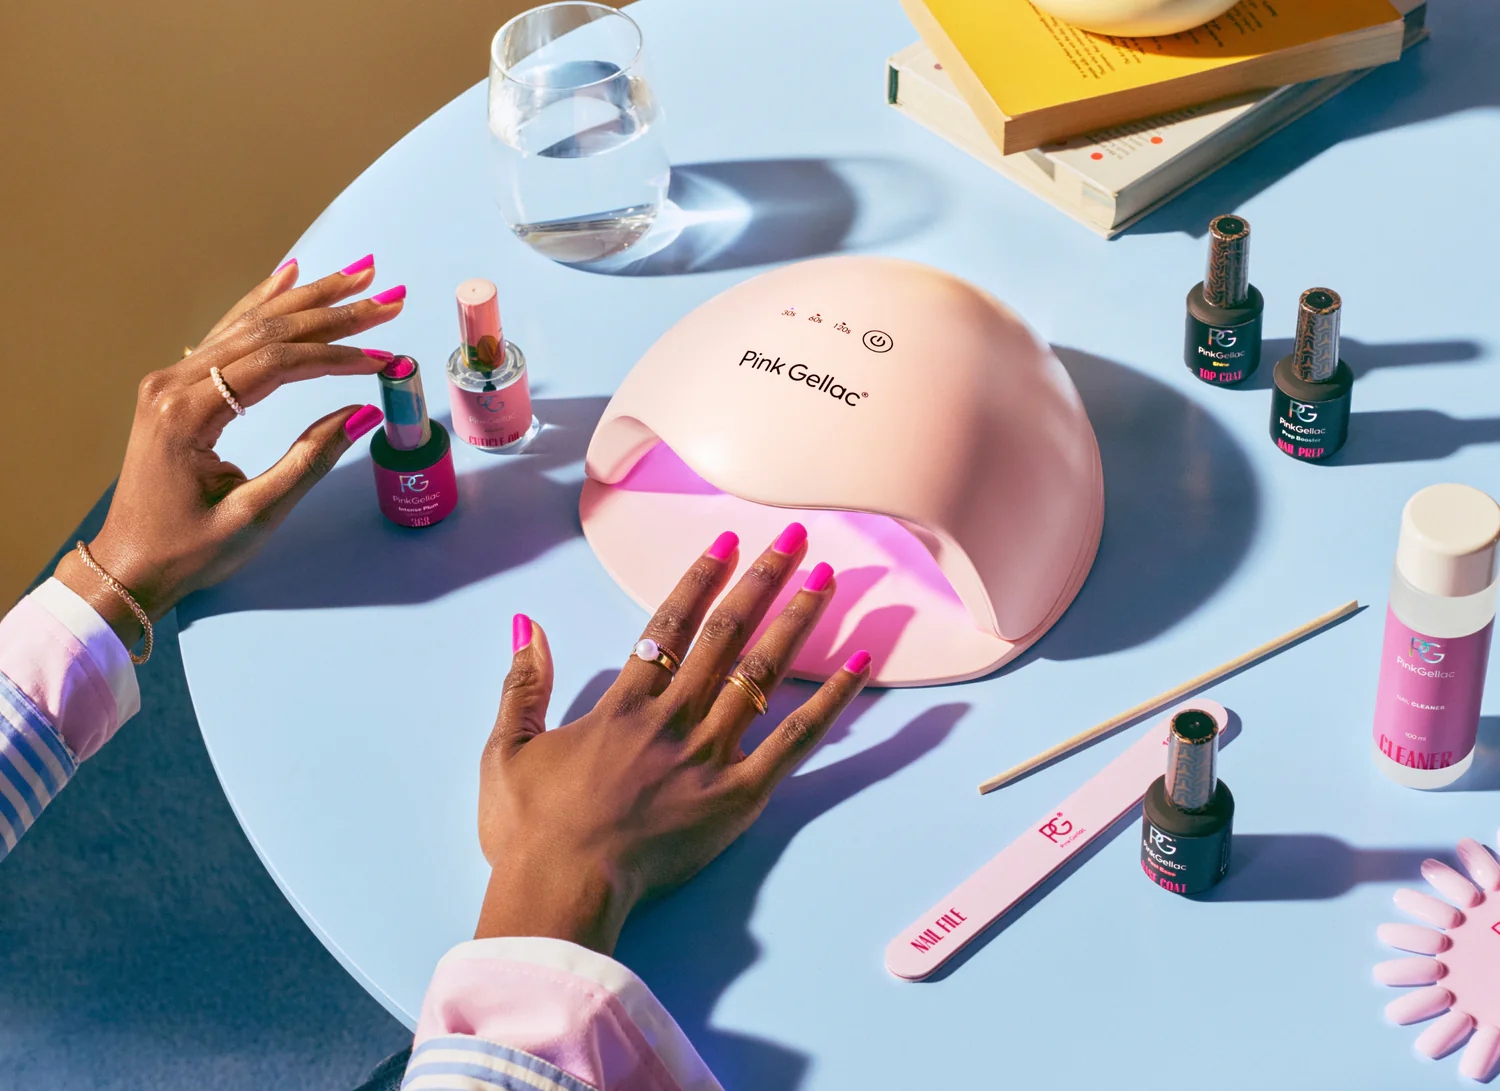
Create hauntingly beautiful nails with this spooky nail art. Using Blooming Gel and a simple 8-step tutorial, you can create a spooky blooming ghost for Halloween. Learn how to bring this nail design to life with easy techniques and products!
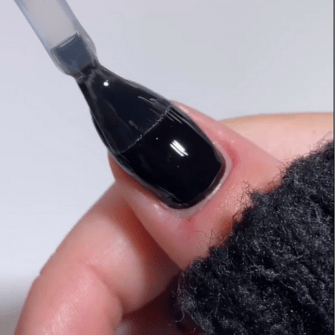
Step 1:
After prepping the nail, apply 1 or 2 layers of 120 Beautiful Black and cure for 60 seconds under the LED lamp. Then apply a layer of Blooming Gel to the nail. Do not cure this layer yet, as this is where the ghost will go.
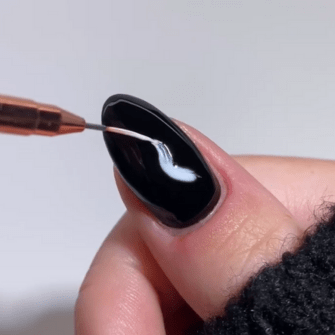
Step 2:
Take the color 101 Soft White and a Fine Liner. To create the ghost's tail, draw a small curved line at the bottom of the nail. It doesn’t have to be perfect. Note: the Blooming Gel spreads quickly. Do not cure yet.
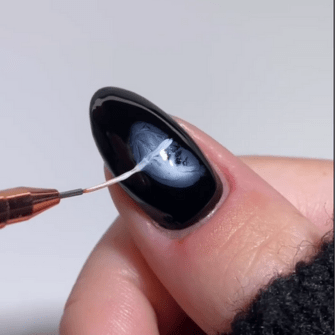
Step 3:
Now draw a horizontal line across the ghost. This will form the arms. Again, it doesn’t have to be perfect because the Blooming Gel will blur the line. Still, do not cure.
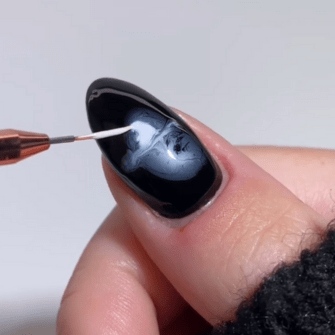
Step 4:
Draw the ghost's head by making a small round shape above the arms. Make sure it's the same size as the lower body. Do not cure yet.
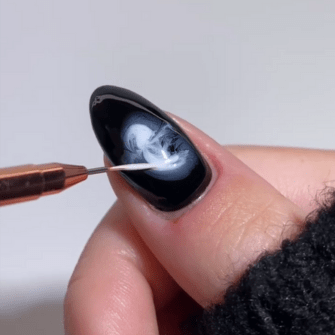
Step 5:
Go over the ghost's tail again to make it clearer. If it's already clear enough, you can skip this step. Still, don’t cure yet.
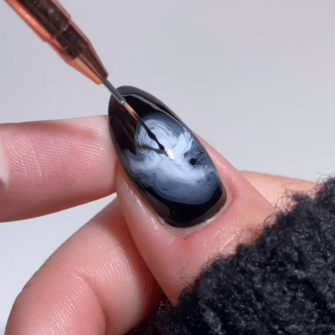
Step 6:
Check if the ghost is clear enough. If not, go over it again with 101 Soft White for more depth. Still, don’t cure yet.

Step 7:
Using 120 Beautiful Black, draw the ghost's eyes and mouth by placing three small dots. Happy with it? Now cure the look for 60 seconds under the LED lamp.
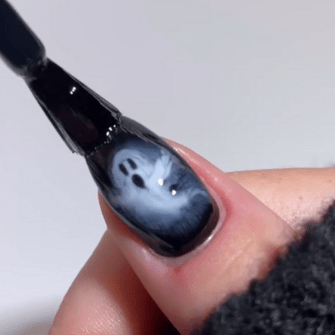
Step 8:
Apply your favorite top coat to seal the look and add shine. Cure for 60 seconds under the LED lamp.
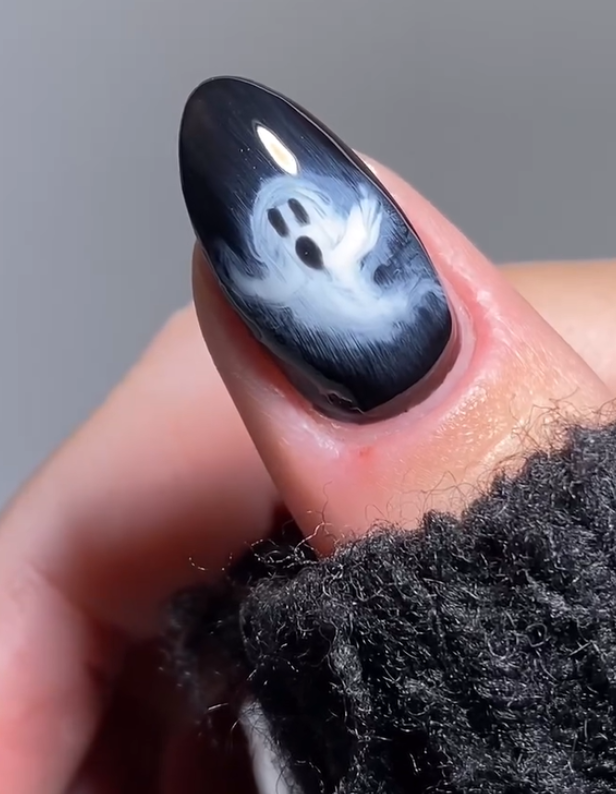
The great thing about these Blooming Spooky nails is that each nail doesn’t need to be exactly the same or symmetrical. In fact, it adds a playful effect if each nail is slightly different. The design doesn’t have to be perfect either, as the Blooming Gel softens everything.
Are you going to recreate these Blooming Spooky nails? Share your creation and tag us! Use @pinkgellac or #pinkgellac so we don’t miss out.


