Valentine Swirls
Swirls: One of our most favourite nail art designs! This nail art is perfect if you want to combine multiple shades of colour. The colours from the Valentine's Kit go perfectly well together! Read more about how to create your own Valentine Swirls.
What do you need?
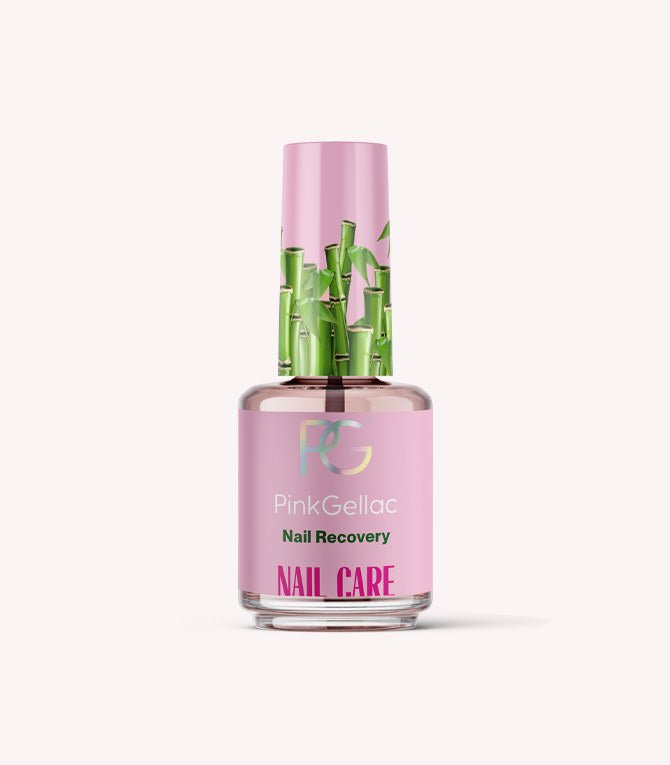
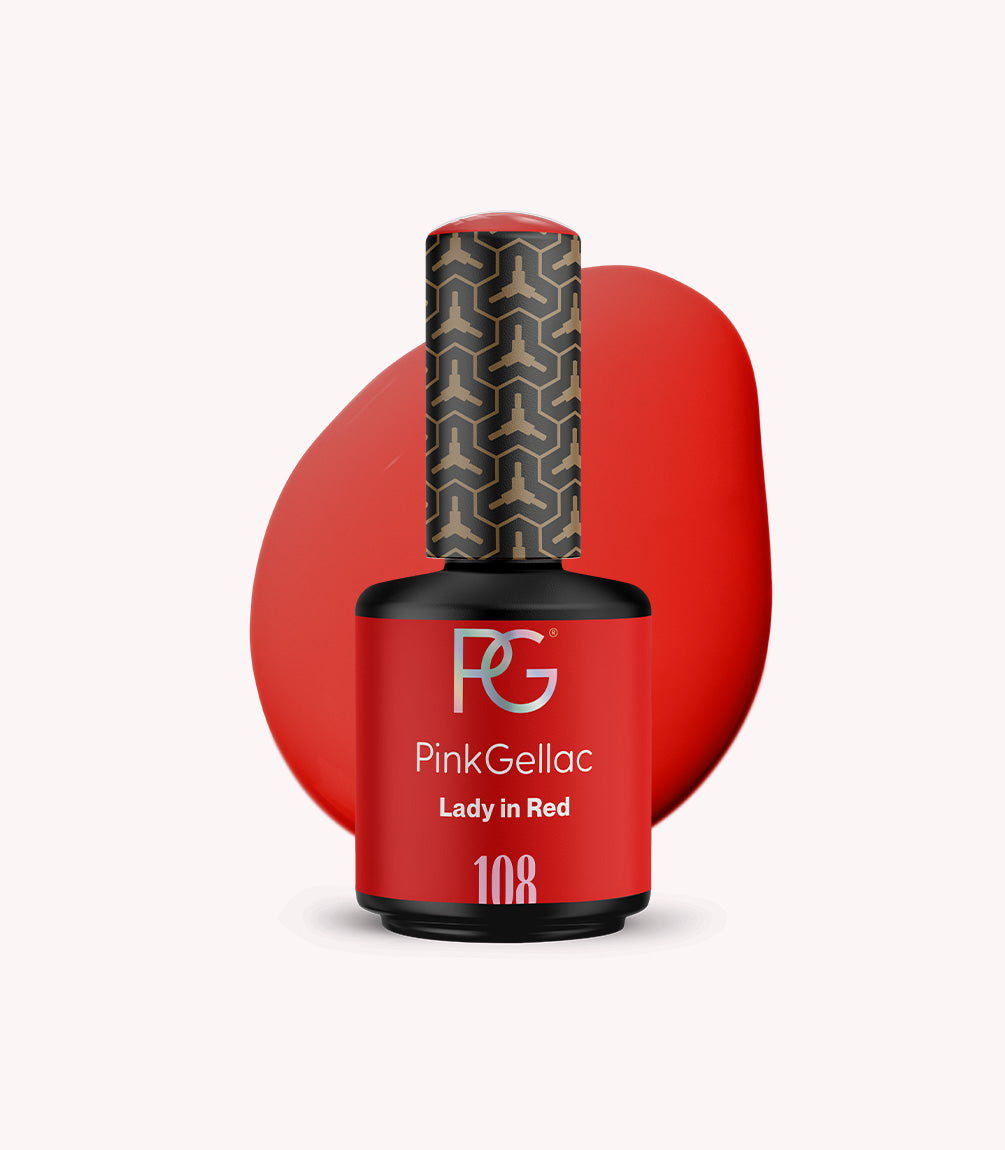
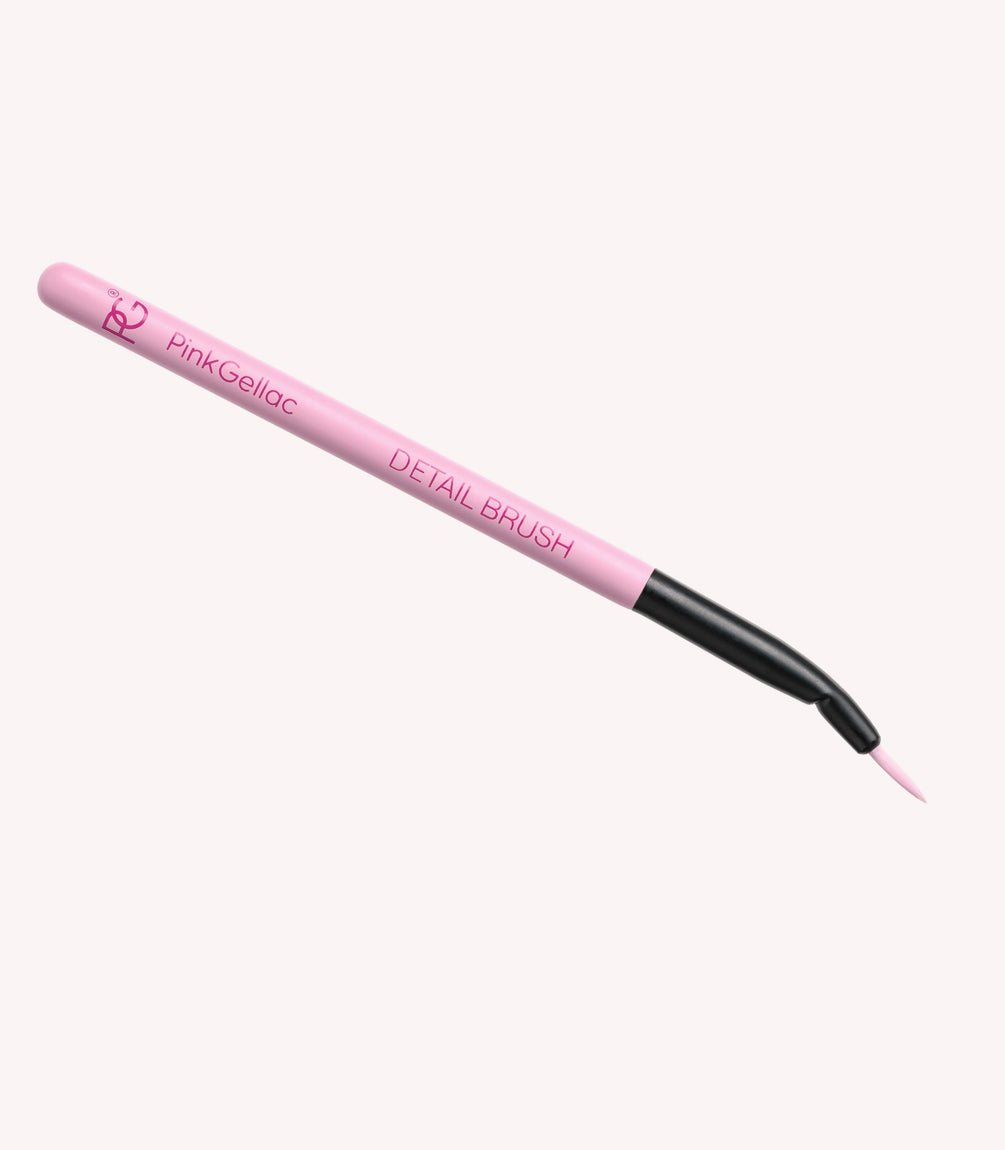
The basics such as the Prep Booster, polishing block, a LED lamp, a Base Coat and a Top Coat270 Florida Pink108 Lady in Red121 French PinkDetail Brush
Prep your nails
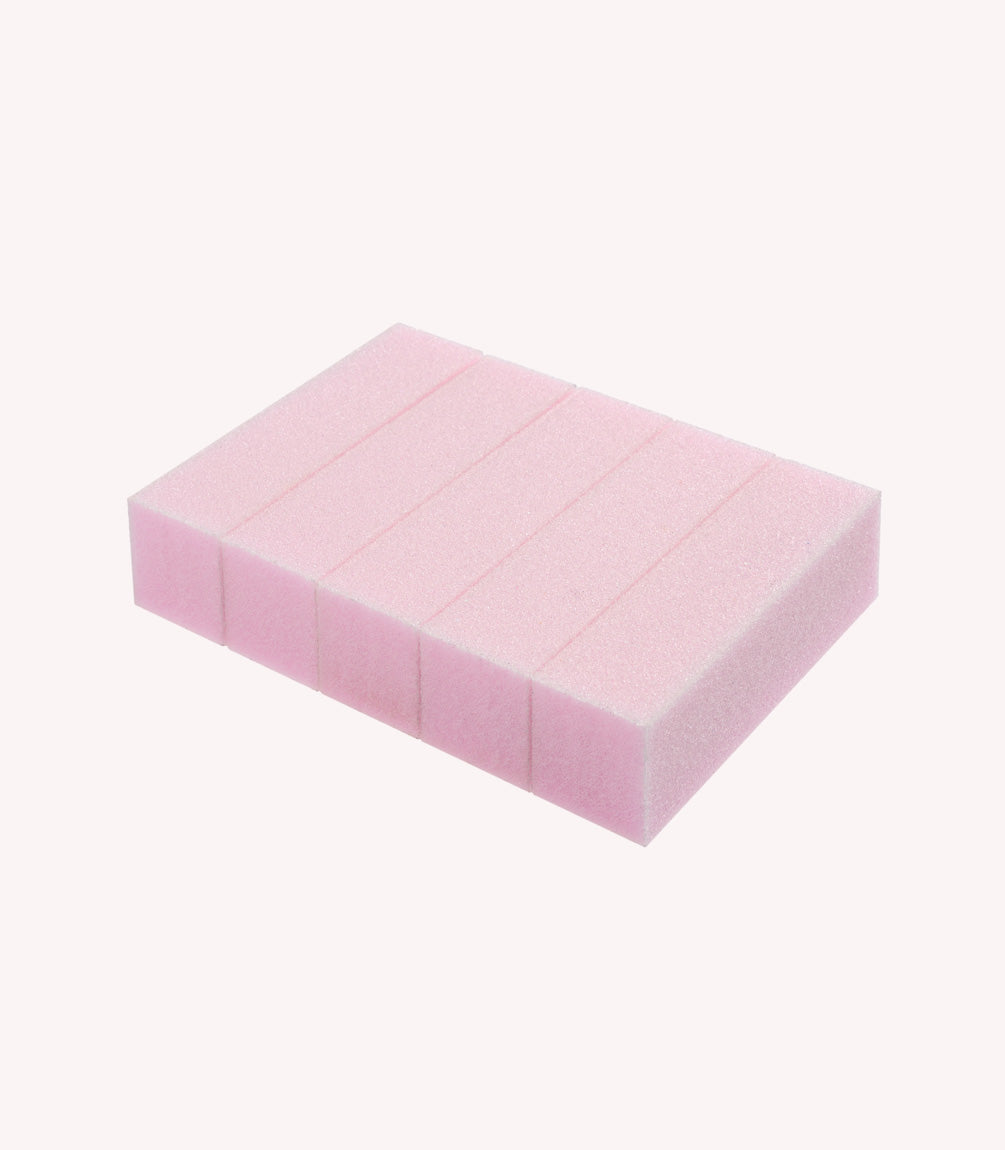
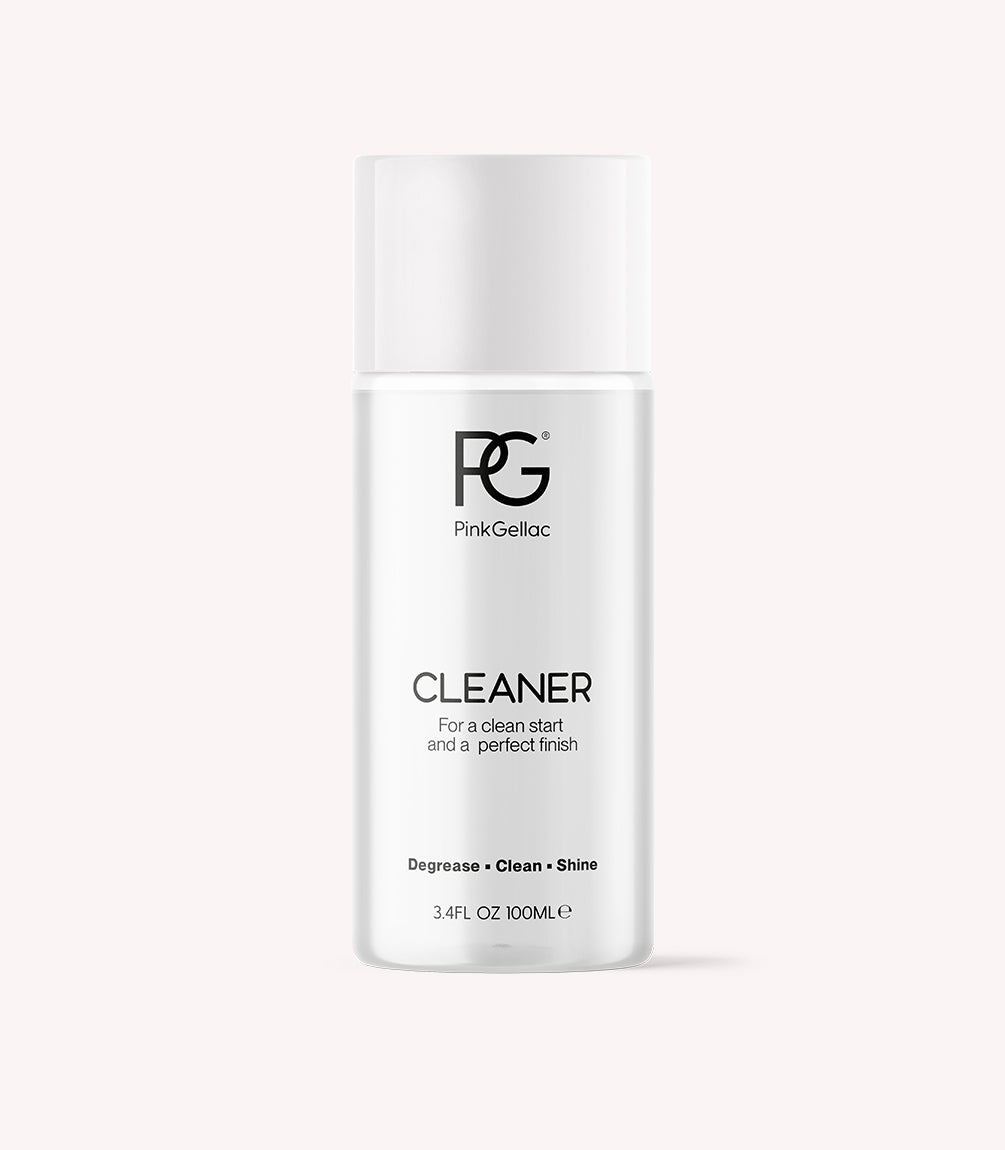
Prepare your nails by filing them into the desired shape. Remove the natural shine from your nails with the polishing block. Use the Cleaner to clean and degrease your nails. Apply the Prep Booster and let it air dry for 30 seconds.
Step 1 – Apply Base Coat
Apply your favourite base coat and let it cure for 60 seconds under the LED lamp.
Step 2 – Base Colour
Apply two layers of 121 French Pink to the entire nail. Let each layer cure for 60 seconds under the LED lamp.
Step 3 – Applying Swirls
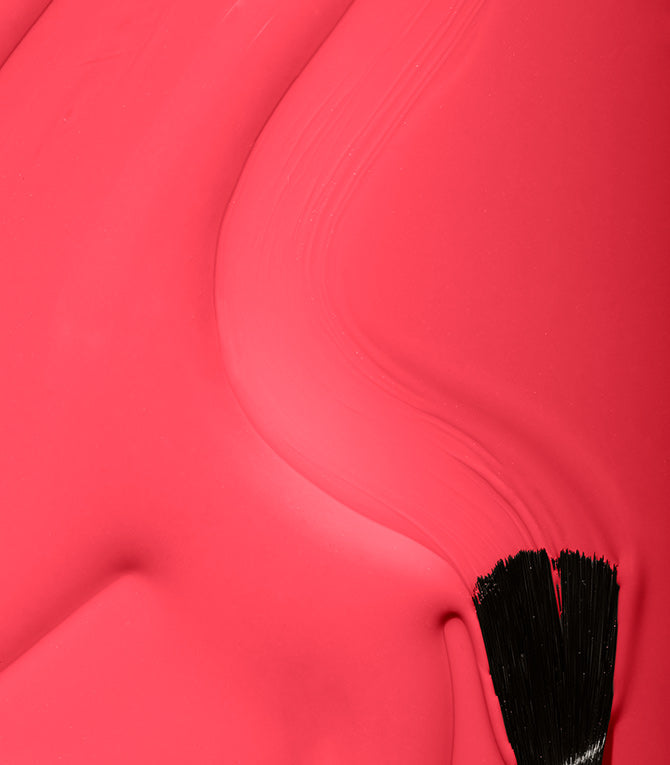
Take a small amount of 270 Florida Pink on your Detail Brush and with the tip of your brush, draw a swirling line from the top of your nail to your cuticle. Thicken the beginning of the line a bit. Let this cure for 60 seconds under the LED lamp. In the meantime, make sure to clean your Detail Brush with cleaner.
Step 4 – More Swirls
Now take a small amount of 108 Lady in Red and repeat step 2. Remember to cure each swirl line under the LED lamp and clean your brush after applying each colour.
Step 5 – Apply Stickers
Want to give your manicure an extra lovely touch? Choose one or more stickers and carefully remove them from the sticker sheet. Place the sticker on the nail and press it gently with your finger. This can also be done with an Orange Woodstick or Dotting Tool.
Step 6 – Apply Top Coat
Apply one of our Top Coats to the entire nail and let it cure for 60 seconds under the LED lamp. Did you use the Shine Top Coat? Then remove the sticky layer with the Cleaner.
We are definitely IN LOVE with this design. Tag @pinkgellac in your Instagram post and who knows, you might see your nails featured on our Instagram Stories.
Looking for more Valentine's inspiration? Check out more blog posts for nail art to fall in love with.
