

20 January 25
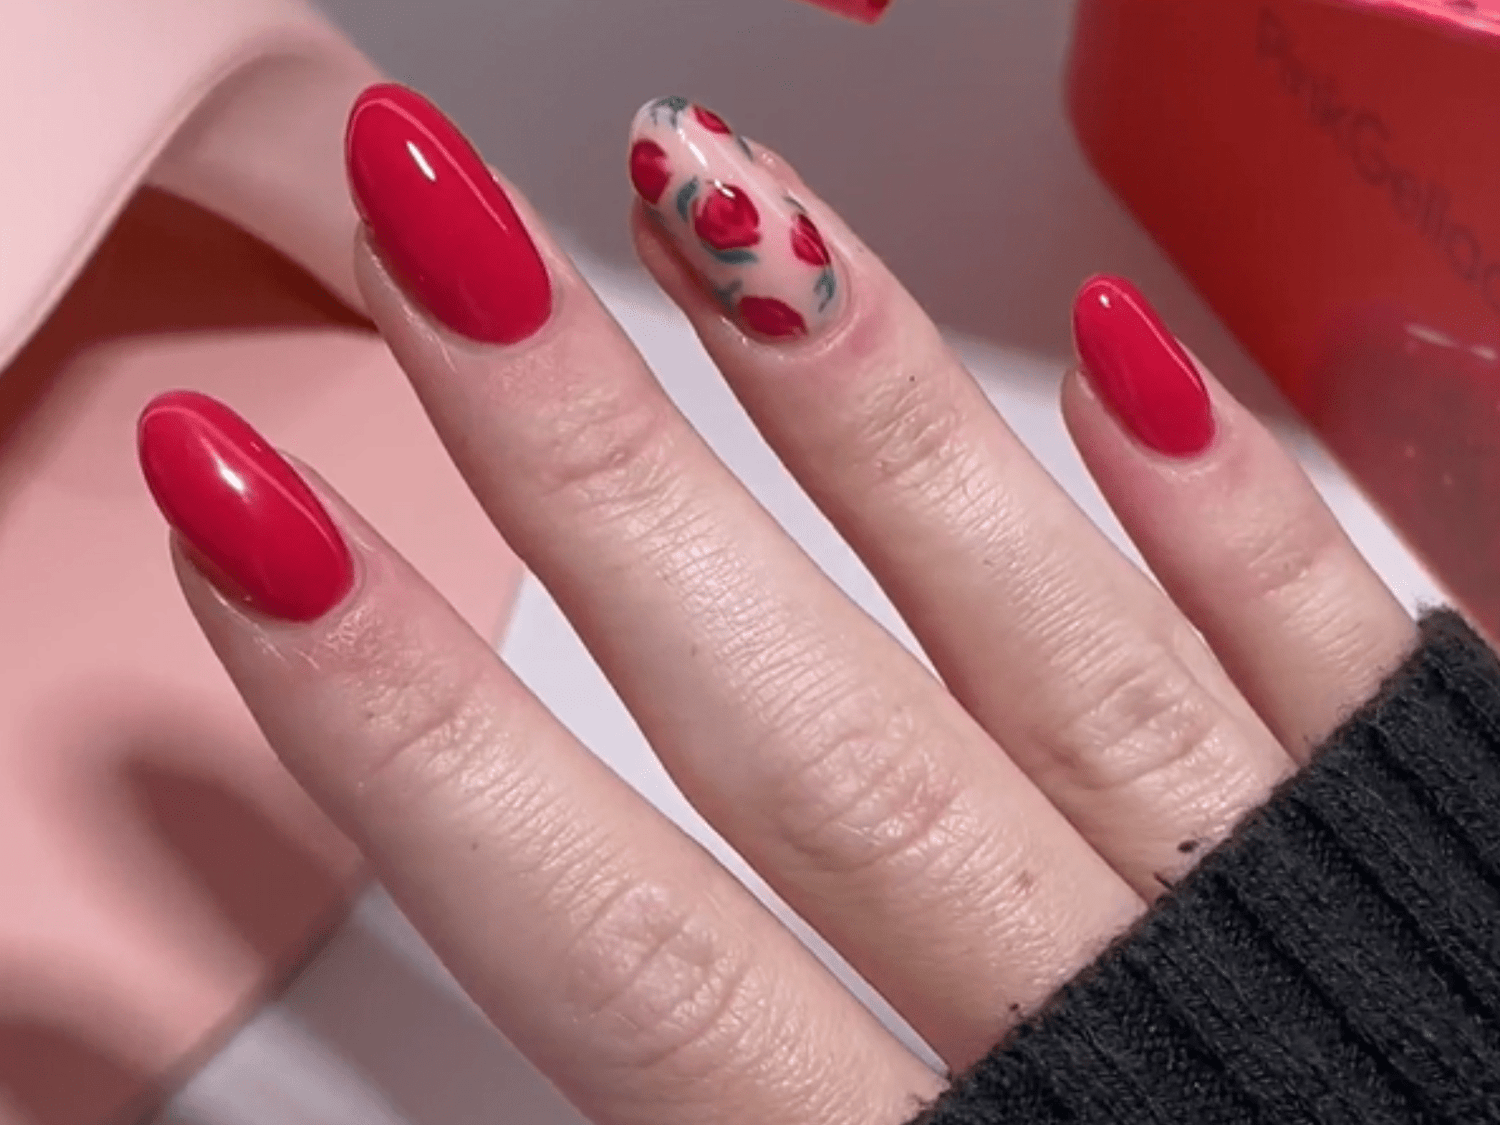
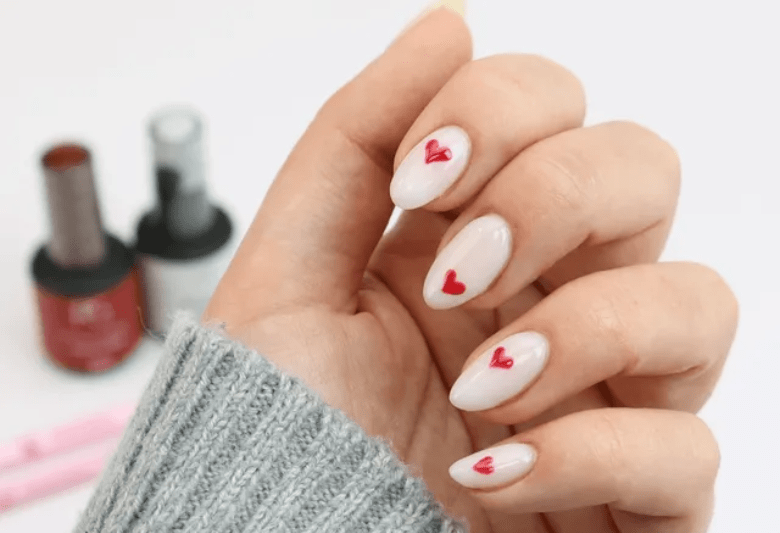
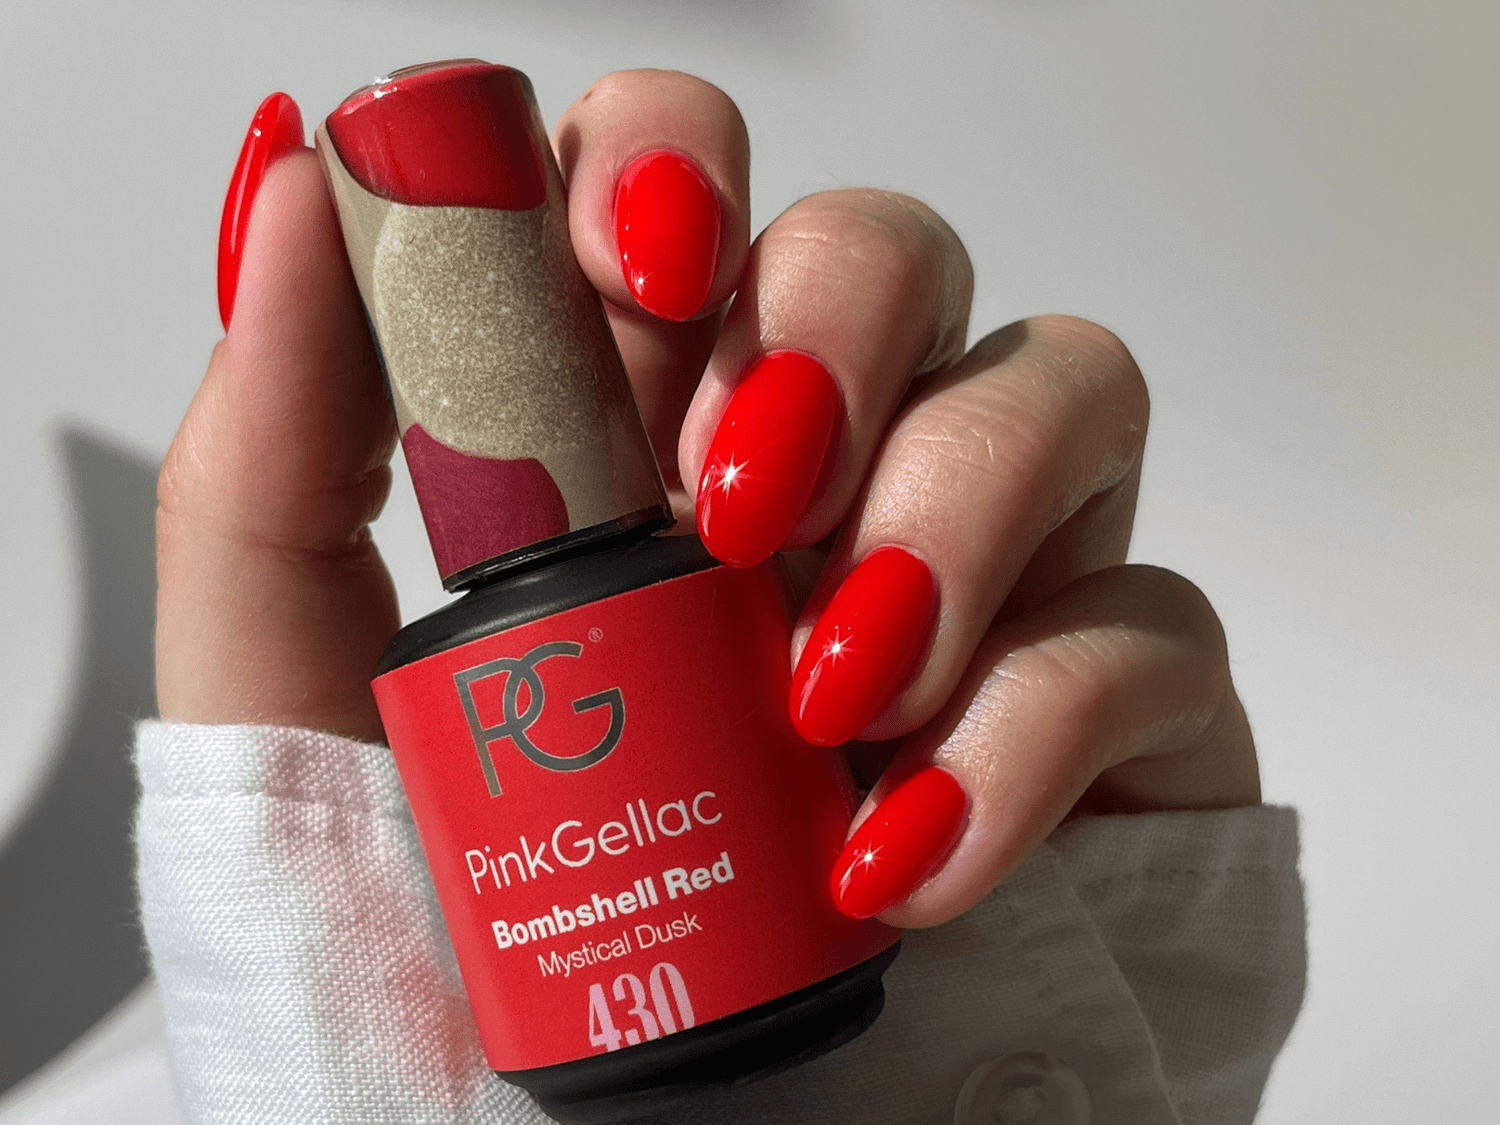
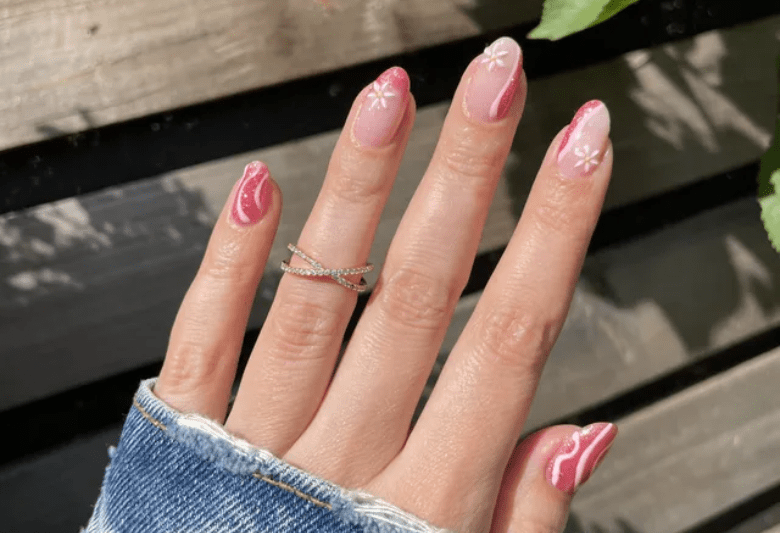
18 ideas for Valentines nails
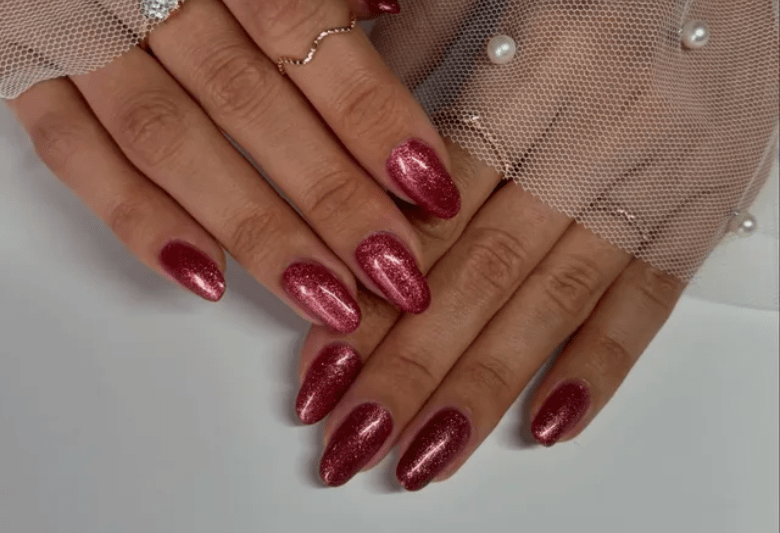
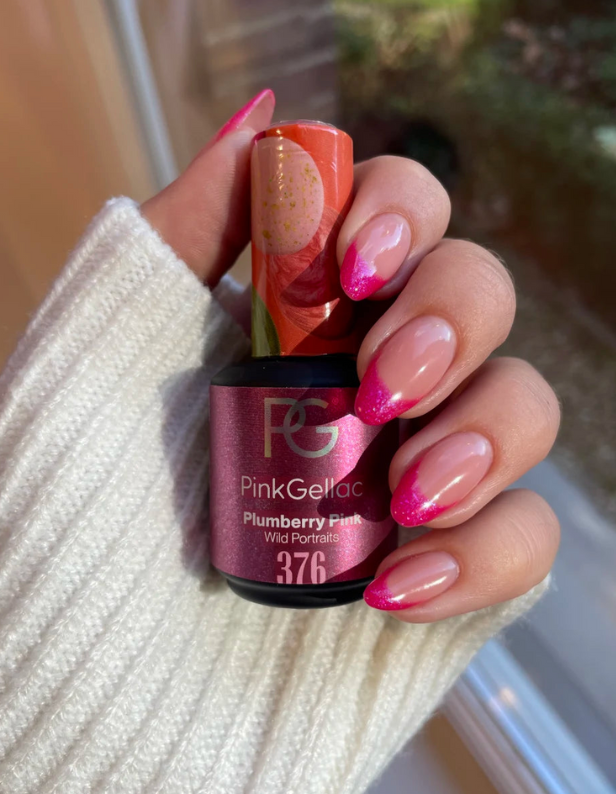
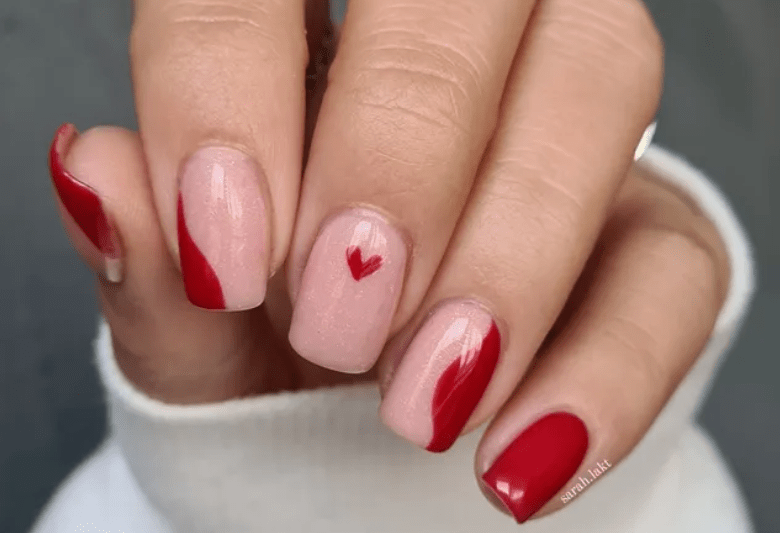
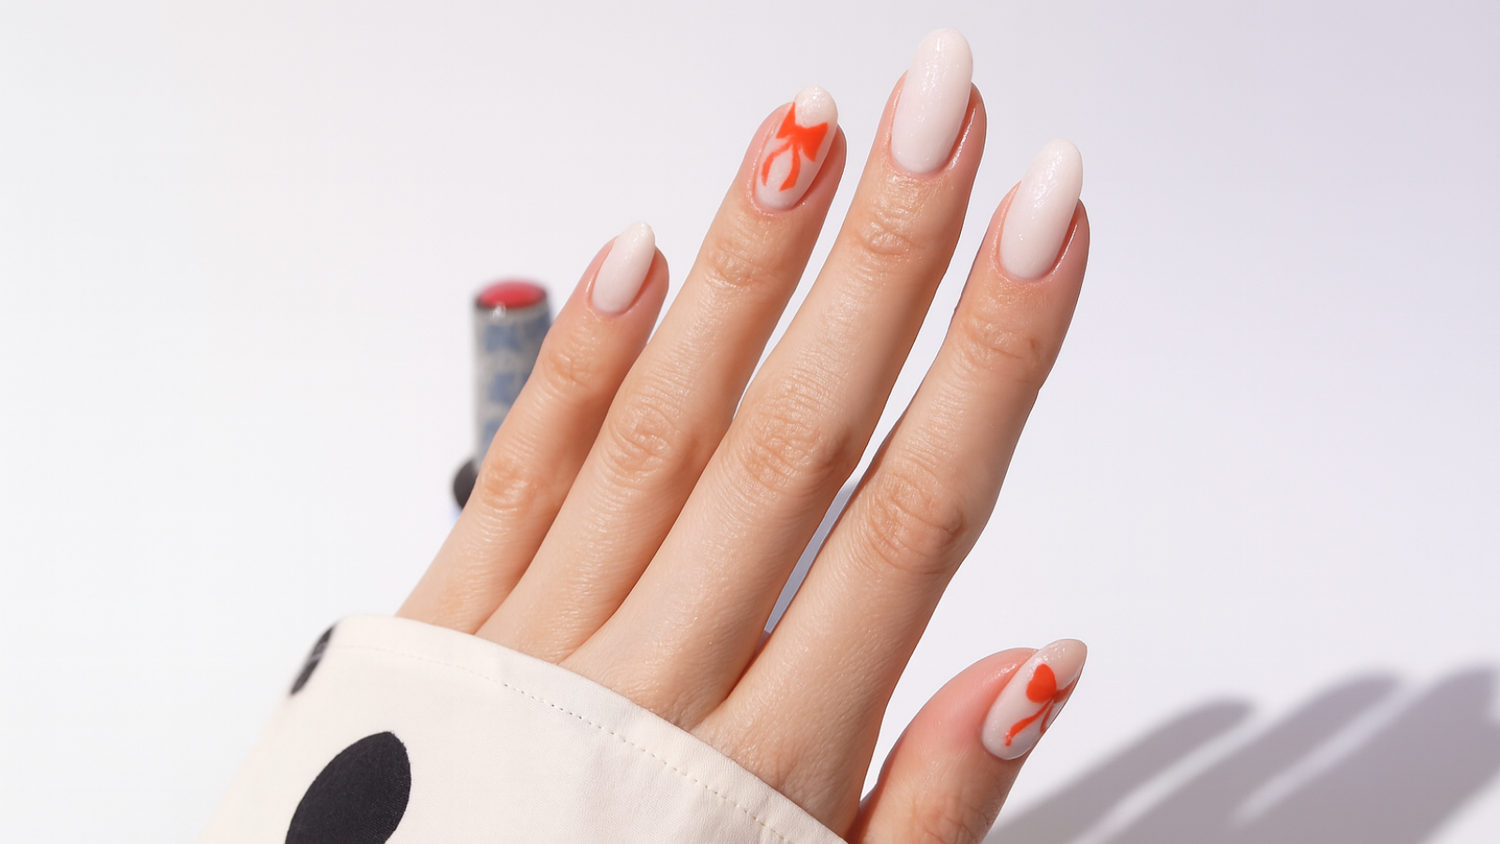
Valentine’s Day is just around the corner, and what better way to celebrate love than with stunning nail art? Whether you opt for romantic hearts, playful swirls, or sparkling shades, your nails can be the perfect accessory to show your love. In this blog, we share our favourite Valentine’s looks—from subtle and elegant to bold and eye-catching. Get inspired and give your nails a loving touch!