

Gel Nails Inspiration
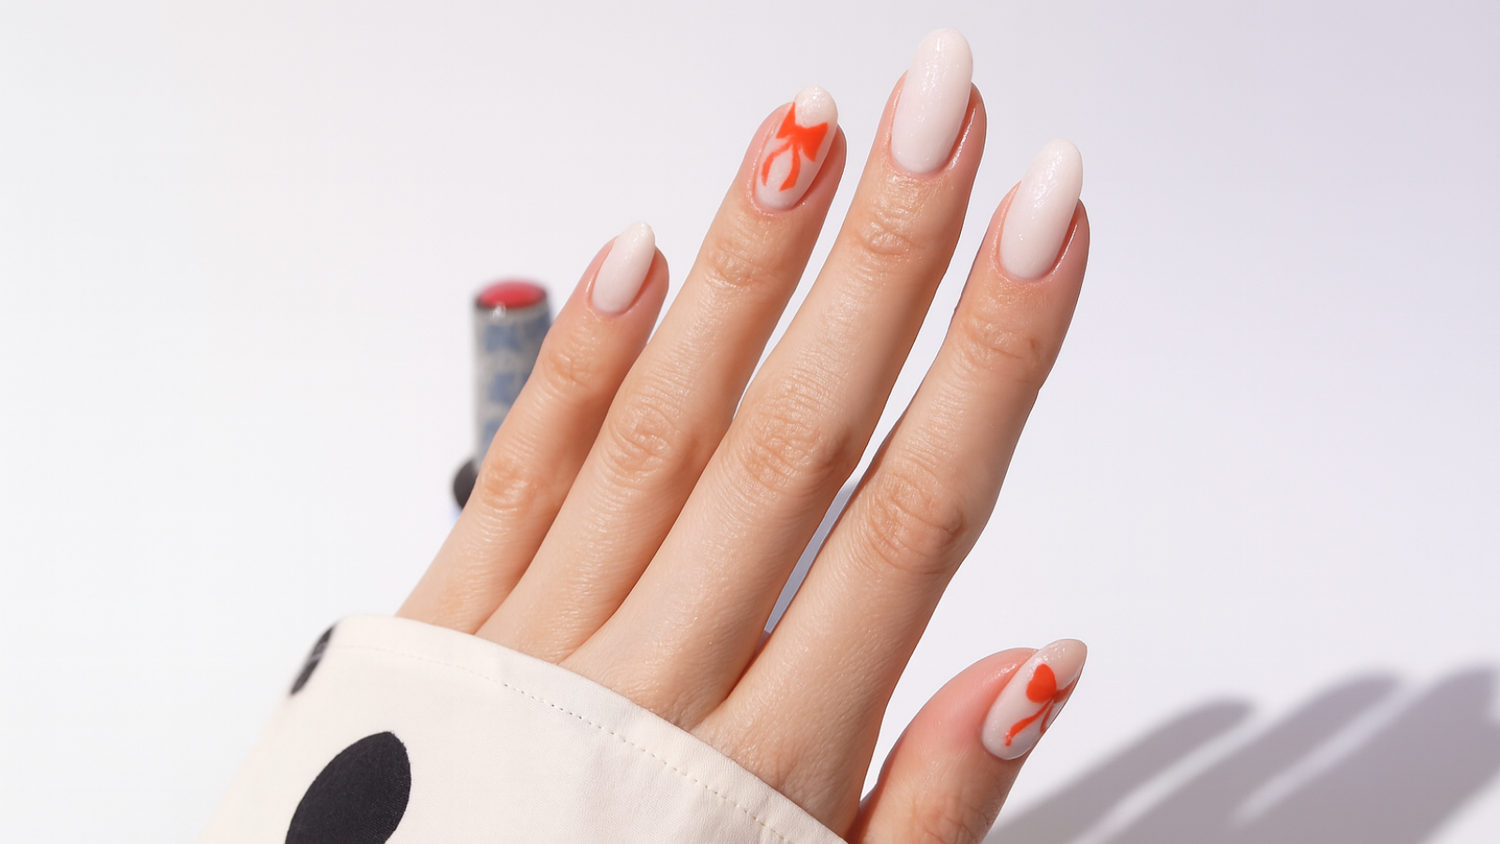
Emily in Paris Bow Manicure
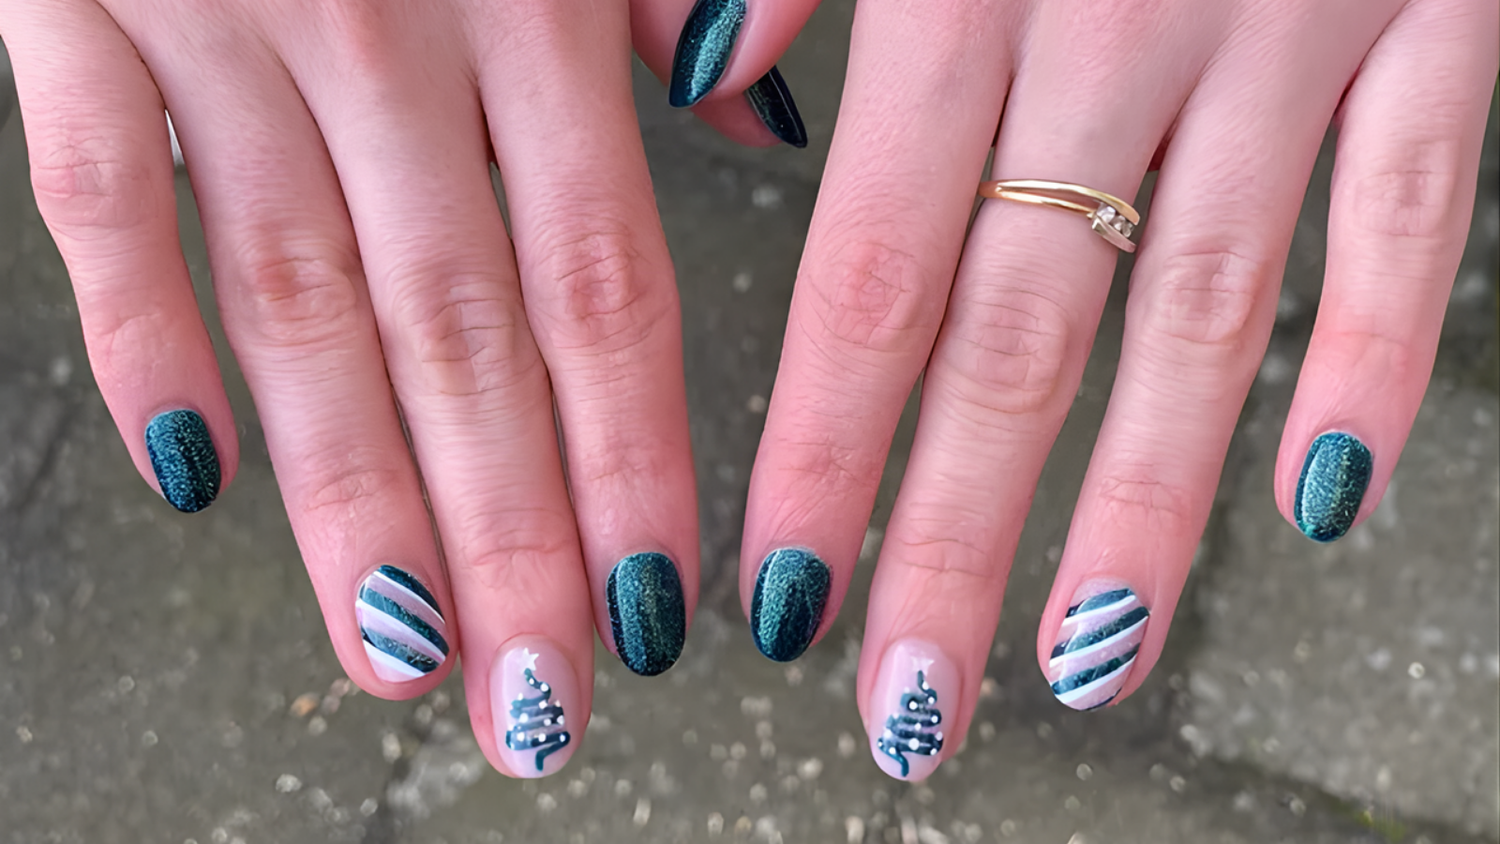
This Year’s Most Popular Christmas Nail Trends
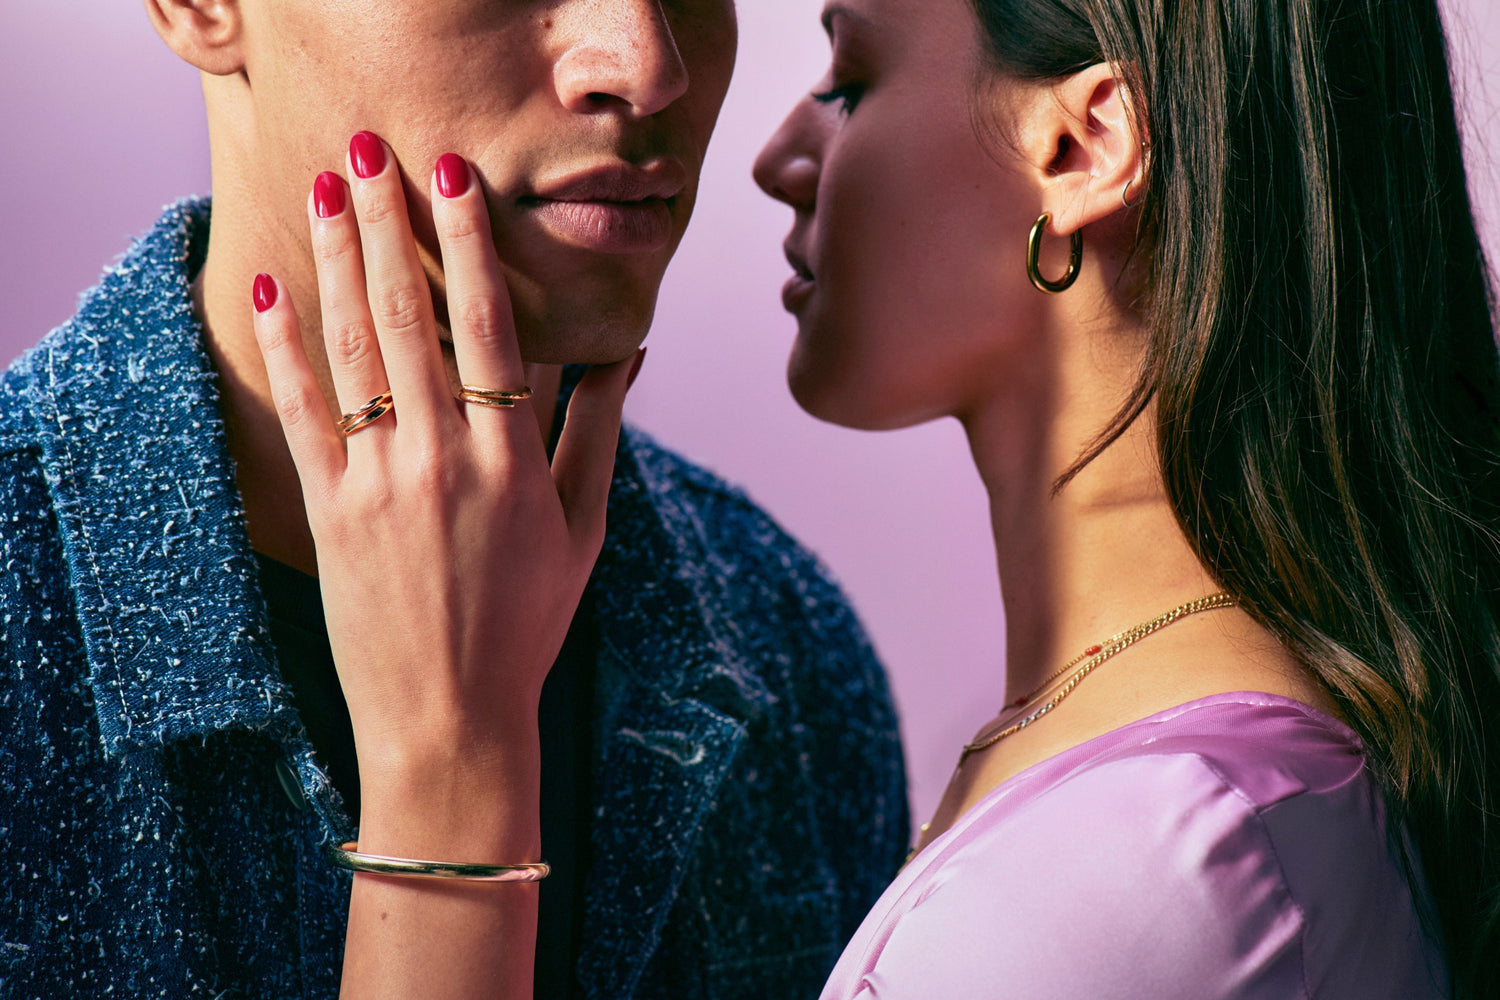
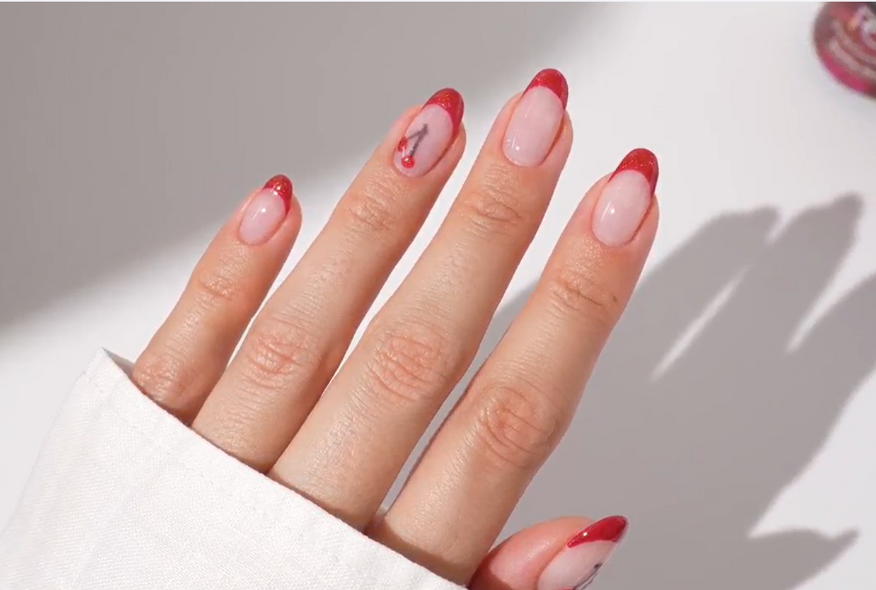
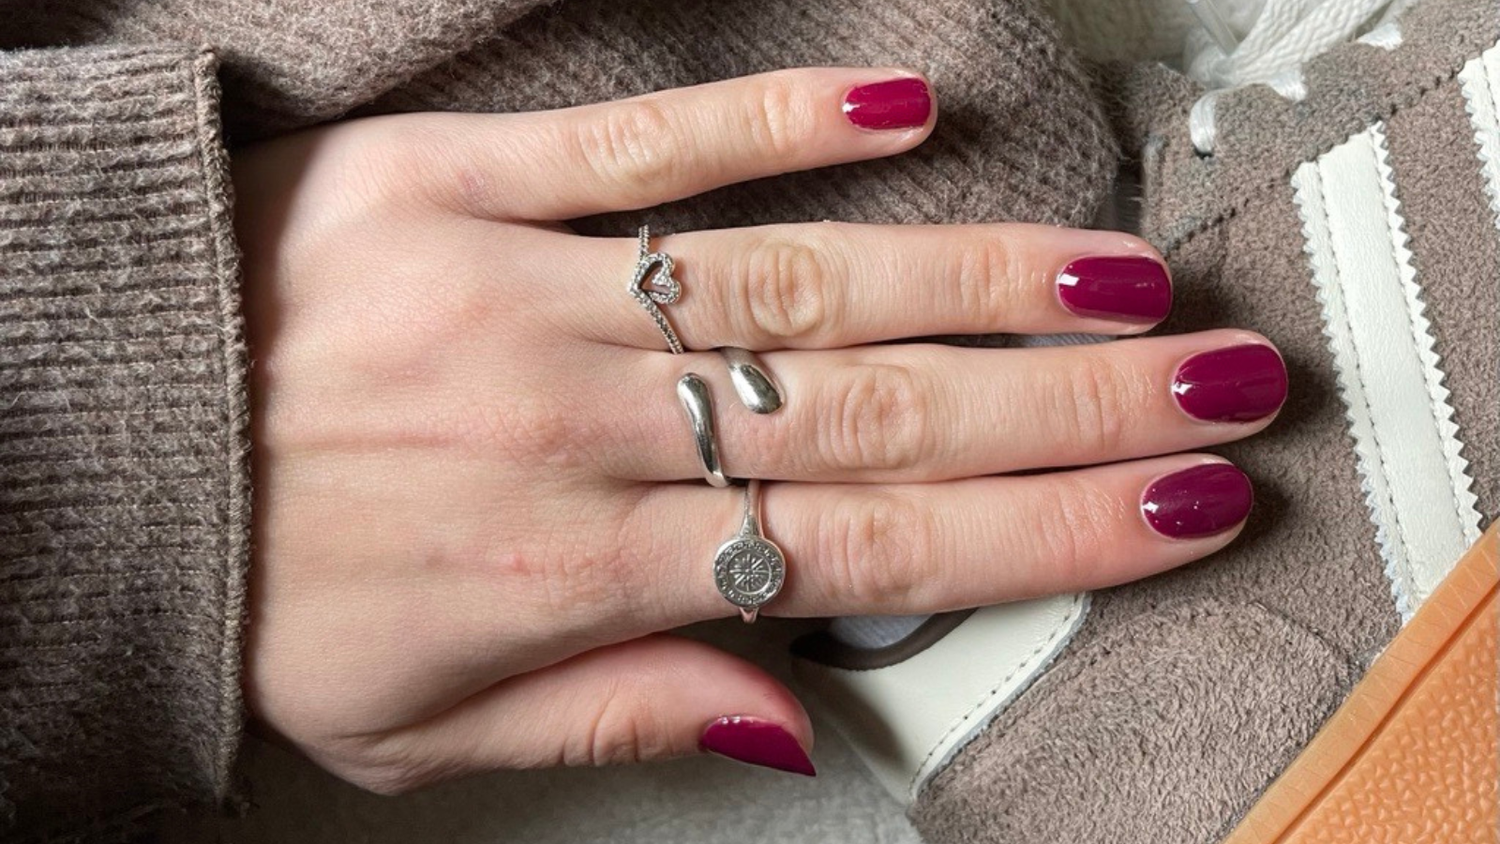
The Power of the Red Nail Theory
Wear your nails like a Victoria Secret Super Model
How to make Cat Eye Cherry Nail Art?
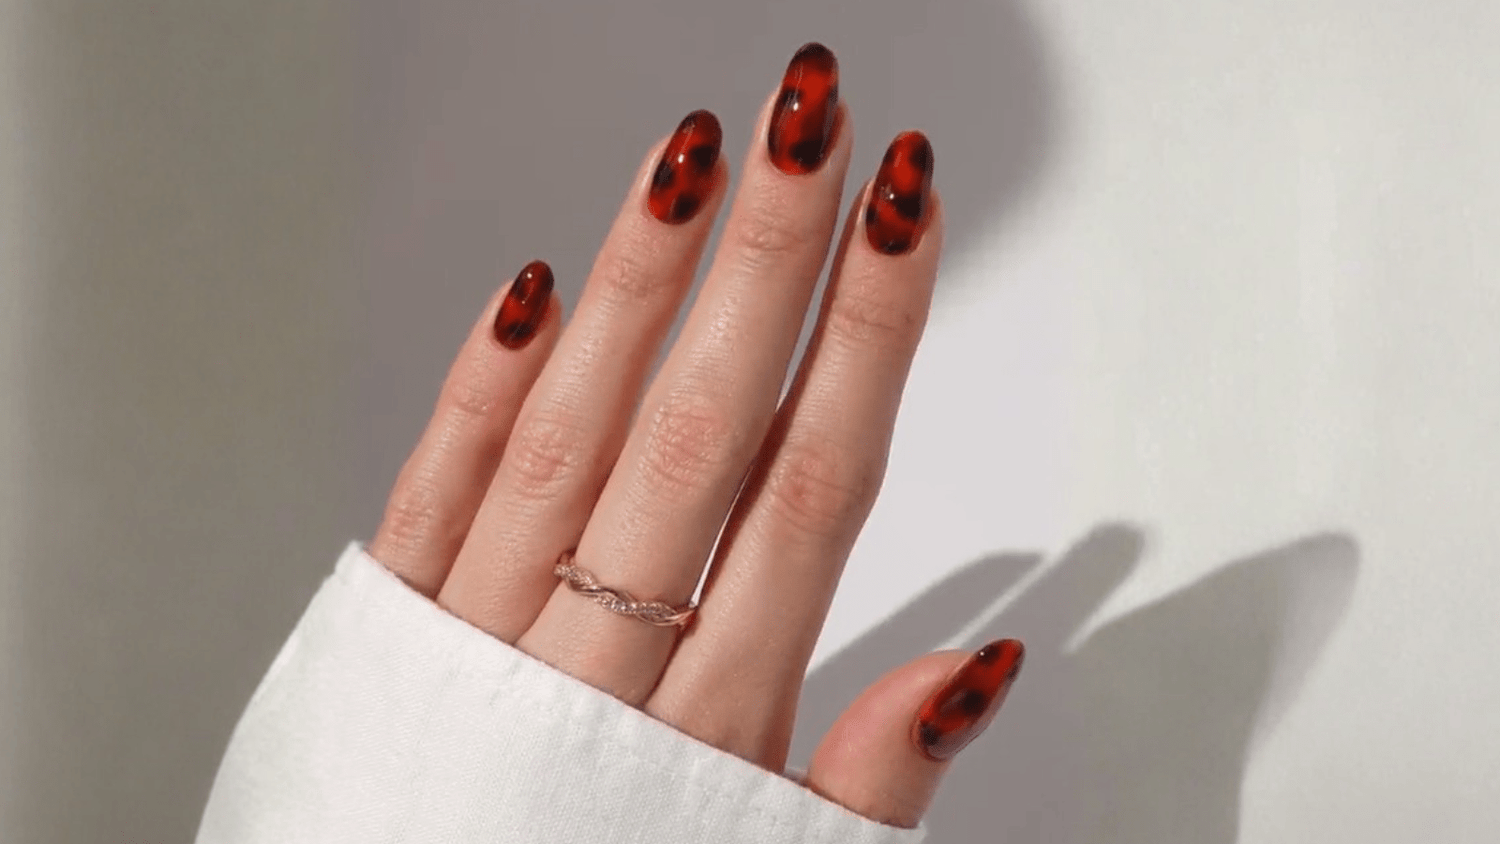
Tortoise Nail Art with a Jelly Coat
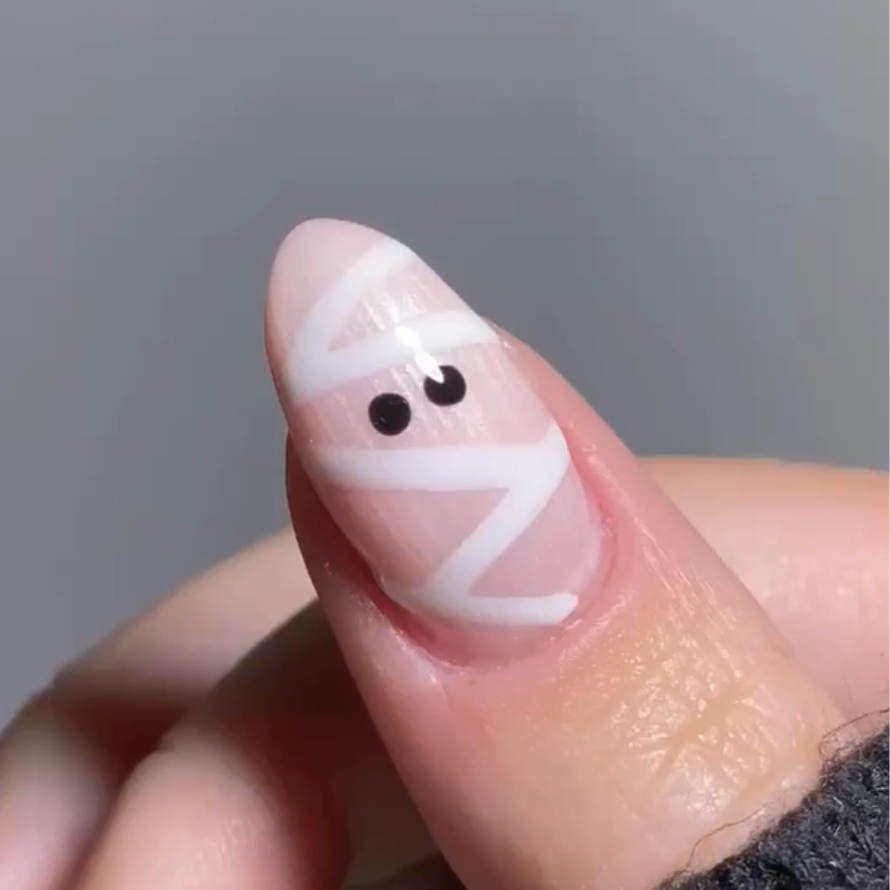
How to create Mummy Halloween Nail Art?
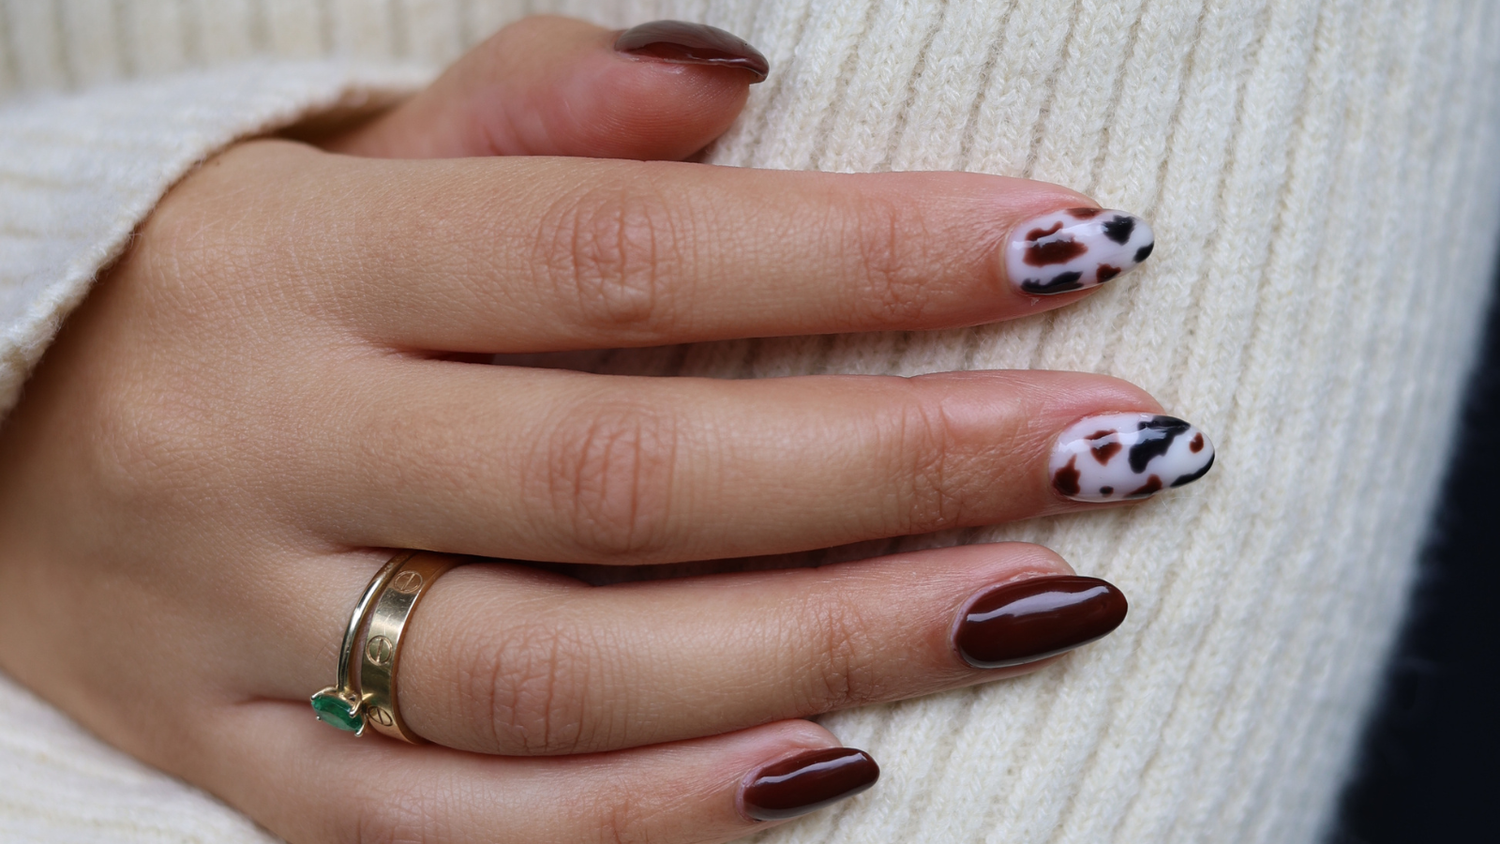
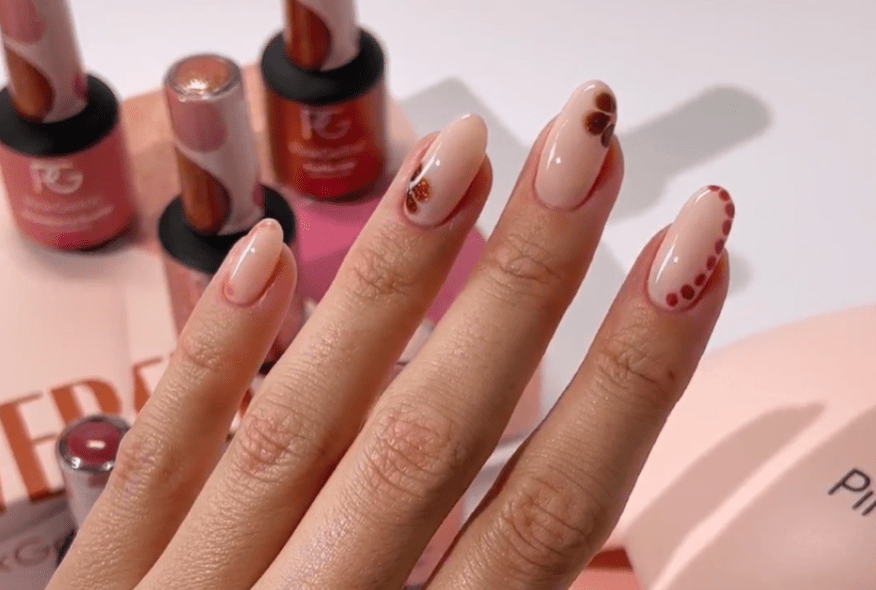
Creative Nail Designs for Autumn 2025
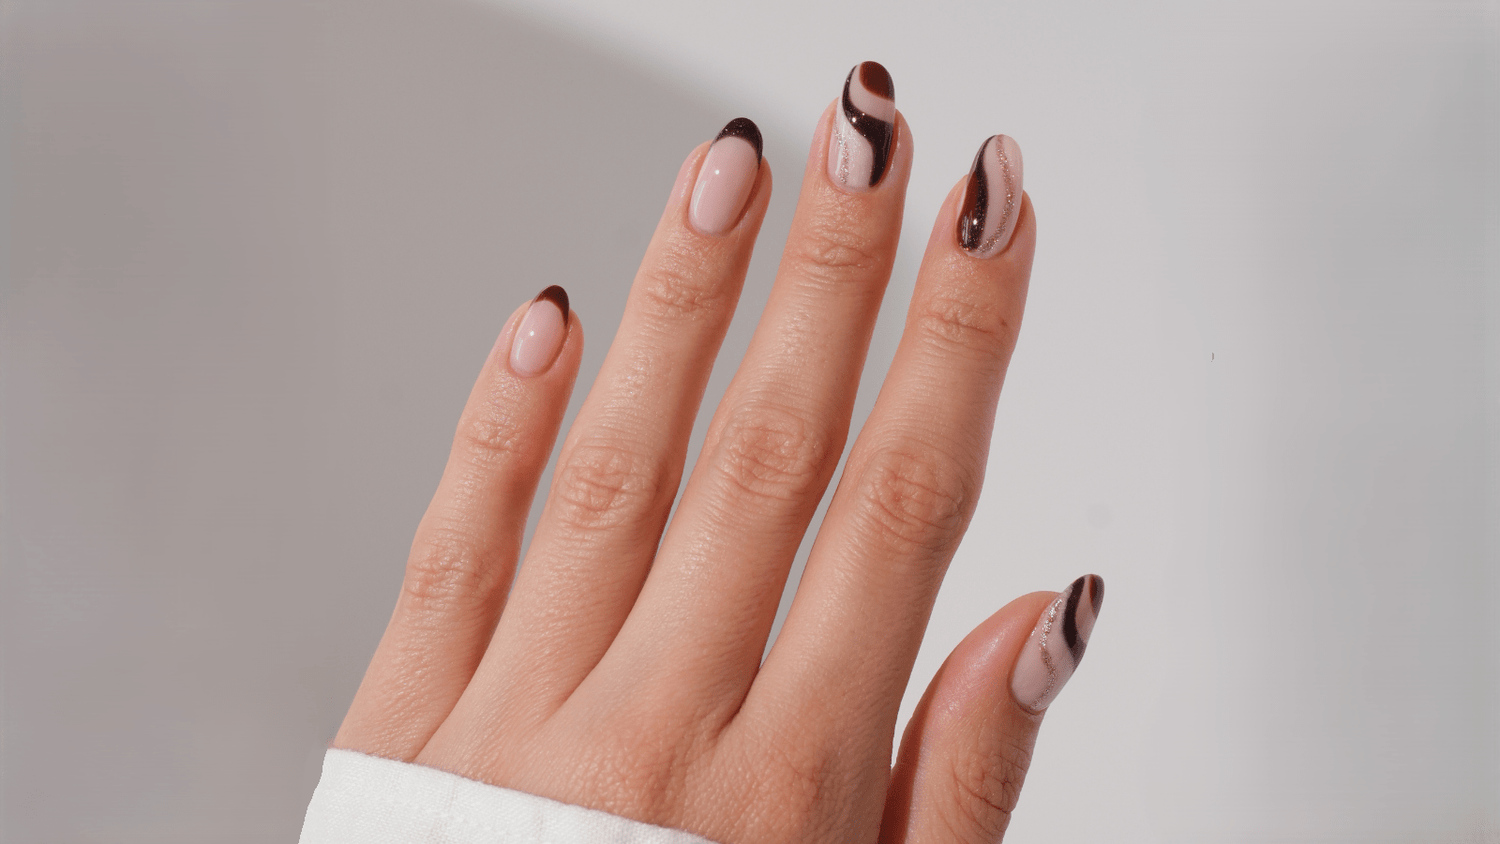
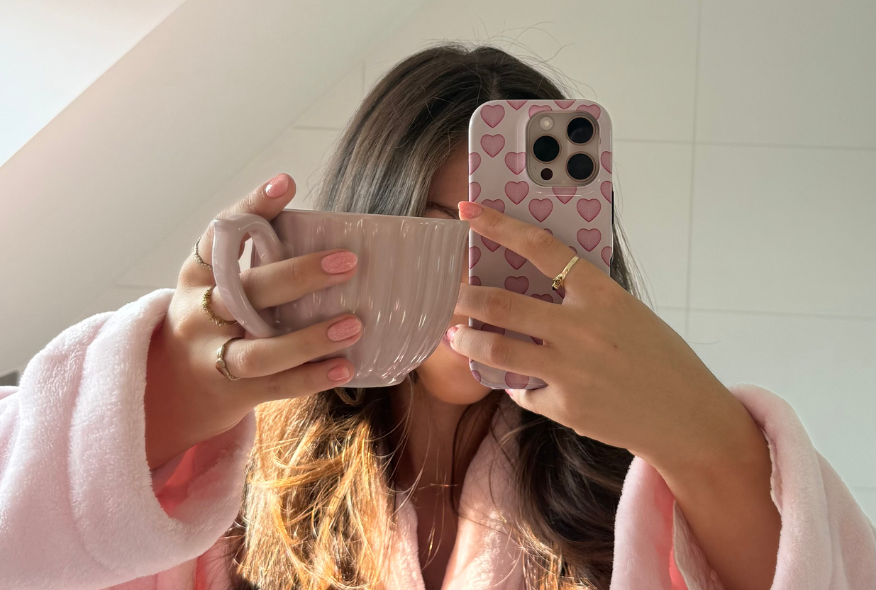
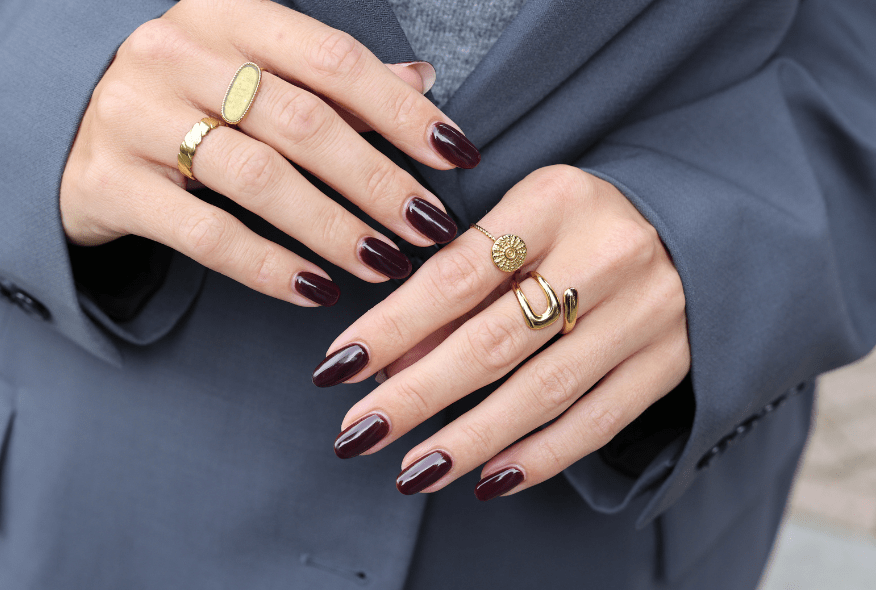
Autumn Chic Nails: The Perfect Nail Look for the Season!
Autumn Nail Trends 2025
Back To School Nails