

24 October 24
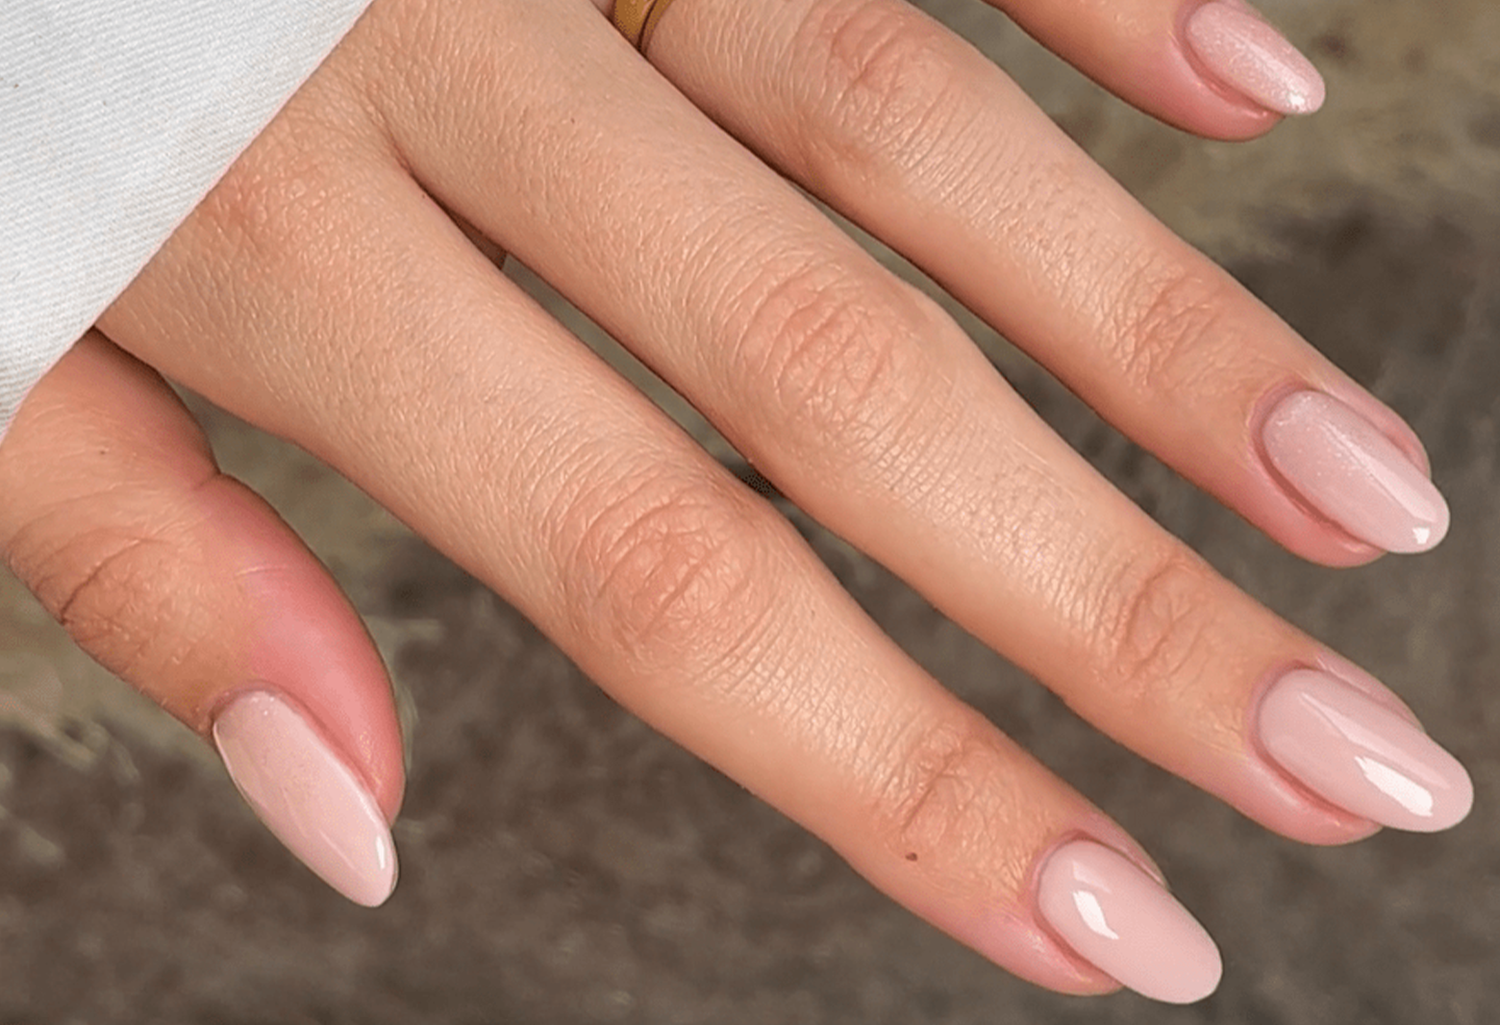
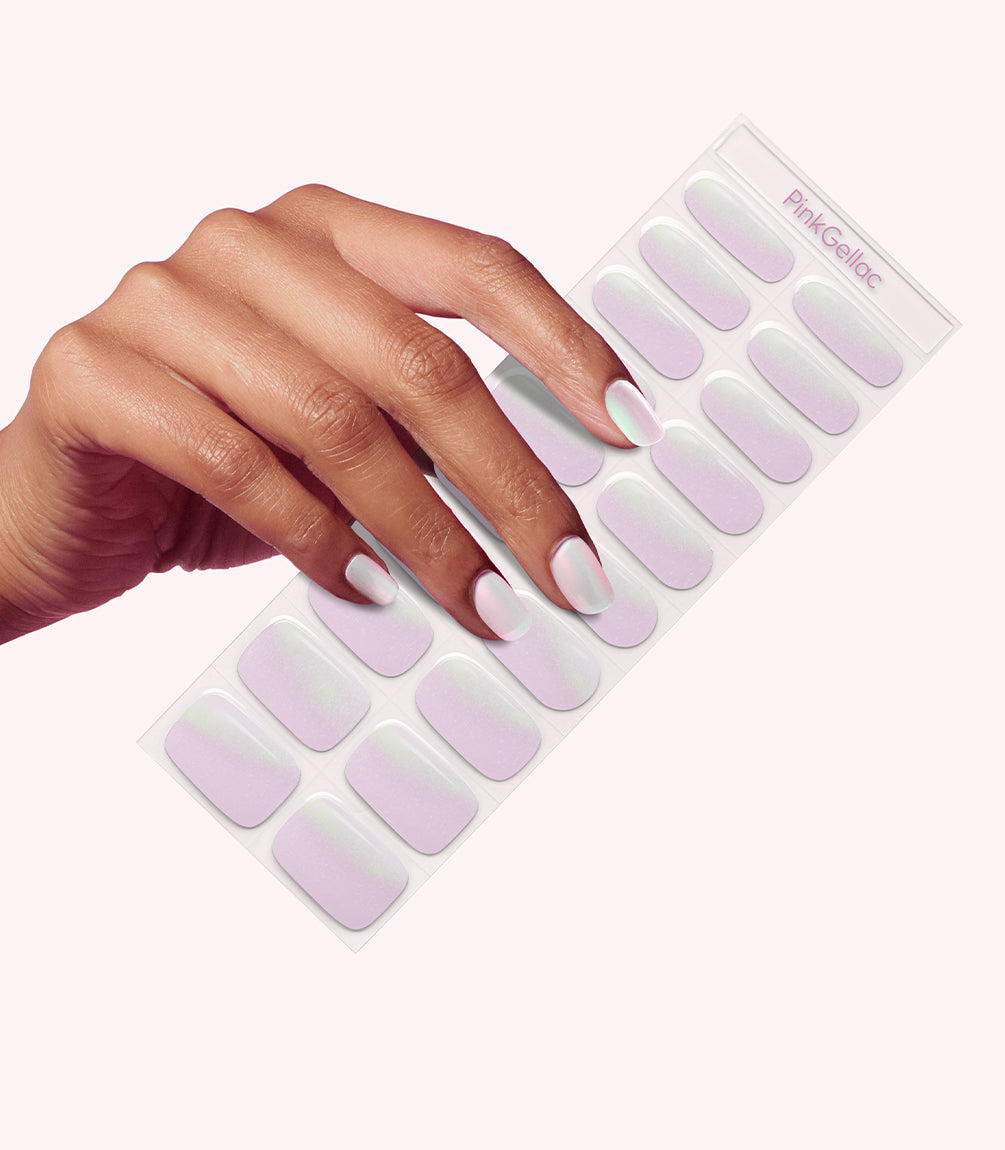
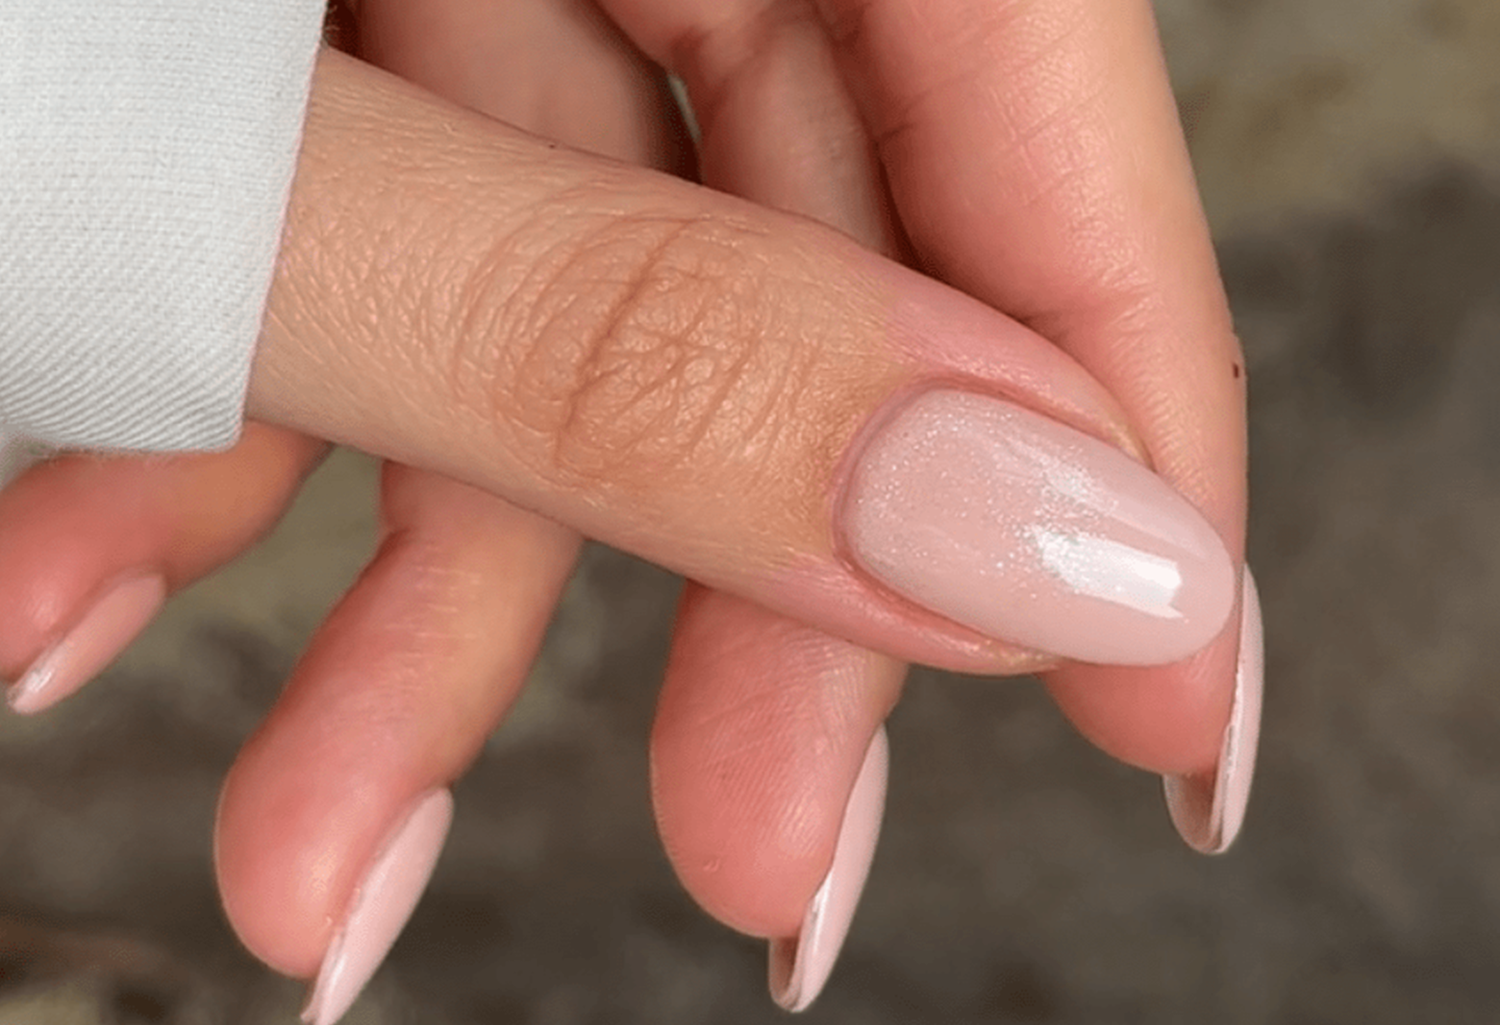
We say "Yes!" to this sparkly nude ombre design! Is it your big day or do you just want to give your nails a romantic touch? This subtle and elegant nail art goes with any bridal look.
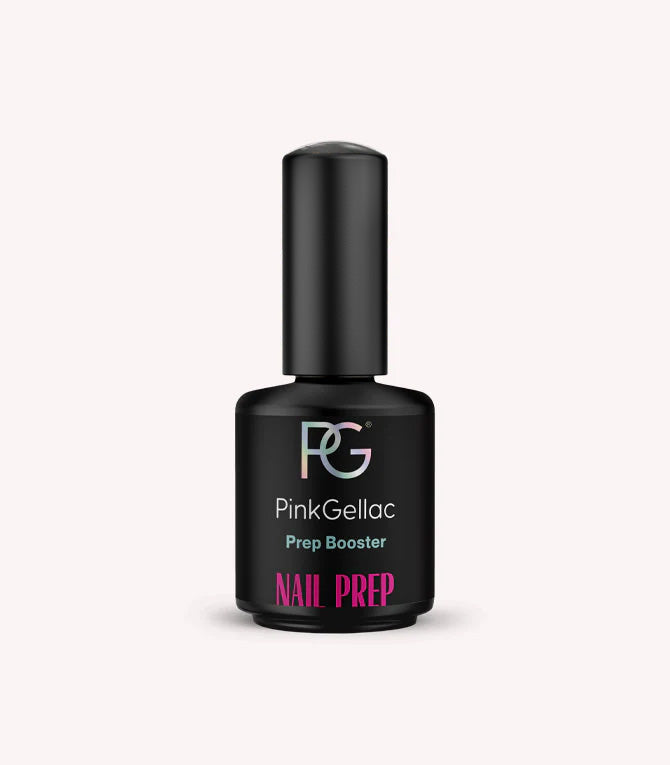
Prepare your nails by filing them into the desired shape. Remove the natural shine from your nails with the polishing block. Use the Cleaner to clean and degrease your nails. Apply the Prep Booster and let it air dry for 30 seconds.
Step by step

Step 1
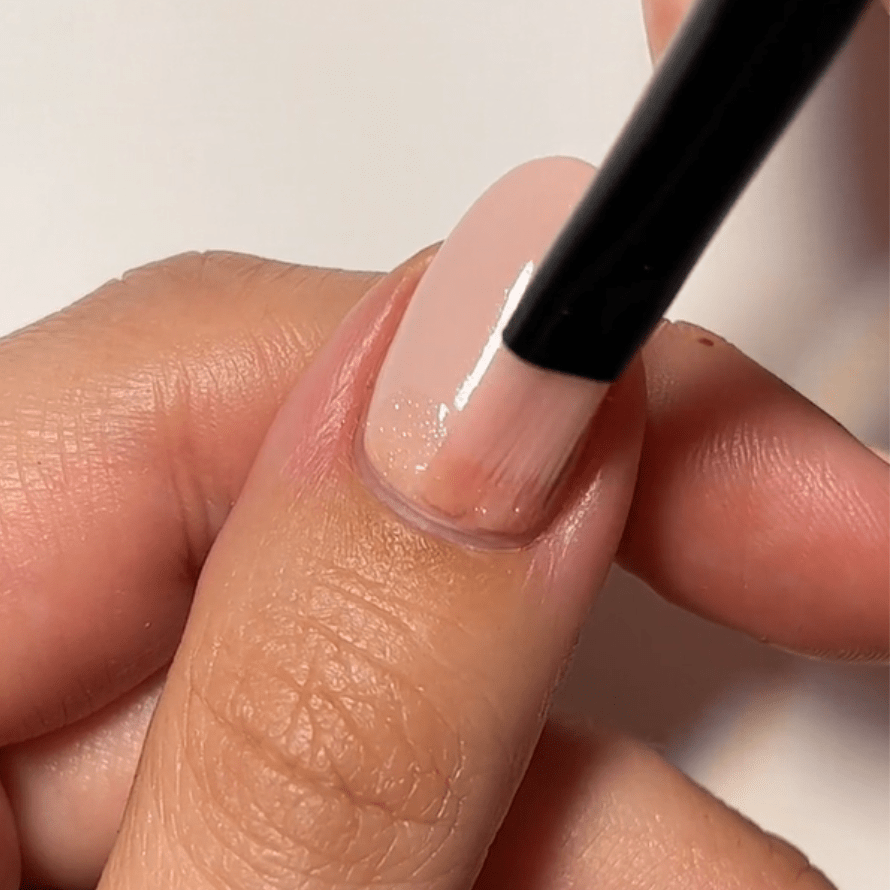
After applying your favourite base coat and curing it for 60 seconds under the LED lamp, you apply two coats of 105 Blush Orange all over the nail. Let both coats cure for 60 seconds under the LED lamp.

Step 3
Next you should gently brush the glitter towards the top of the nail using the Fan Brush. Let this cure for 60 seconds under the LED lamp. You can repeat step 2 and step 3 to create a more visible glitter ombre effect.

Step 4
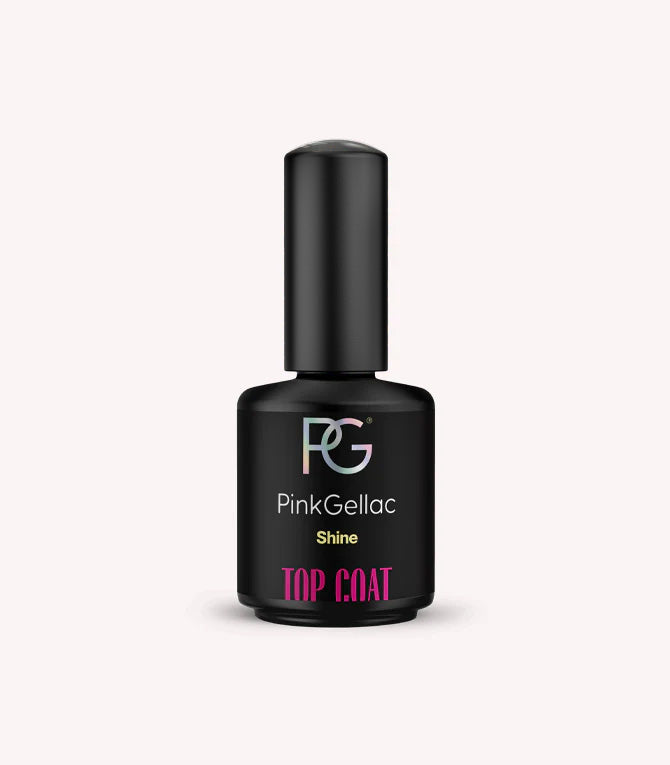
Apply one of our Top Coats over the entire nail and leave to harden for 60 seconds under the LED lamp. Have you used the Shine Top Coat? Then remove the sticky layer with the Cleaner.
Of course, you can use a different base colour with this design to match your manicure even more with your outfit!
Are you going to recreate these Glitter Ombre Wedding Nails? Share your creation and tag us! Use @pinkgellac or #pinkgellac so we don’t miss out!
Shop the look
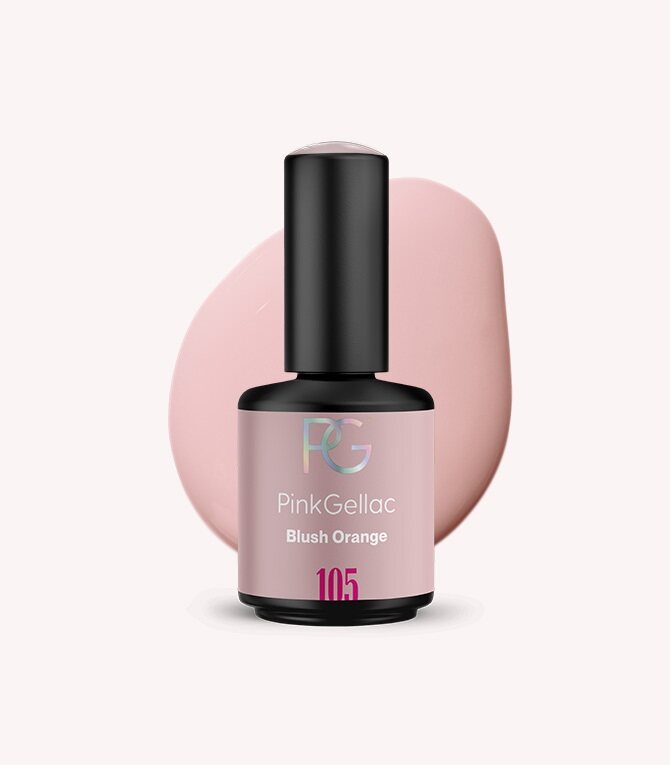
gel nail polish
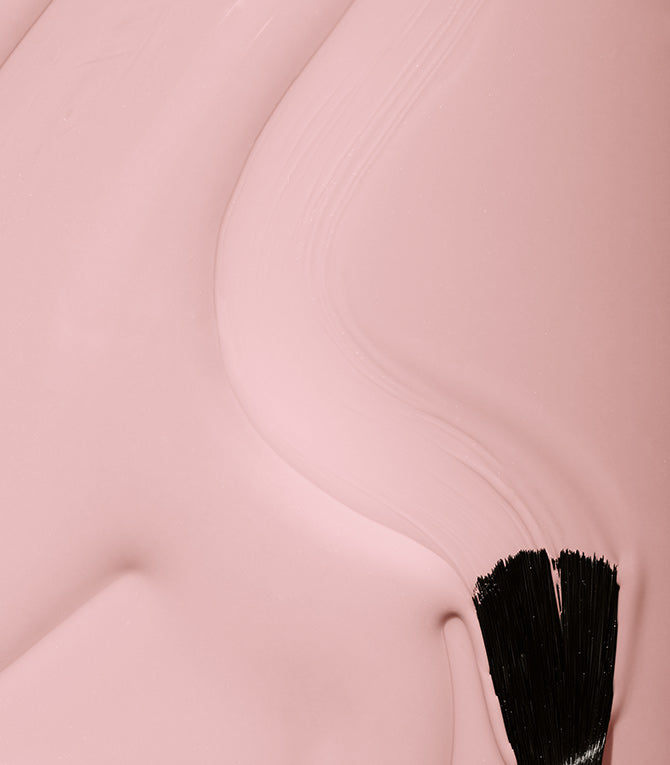
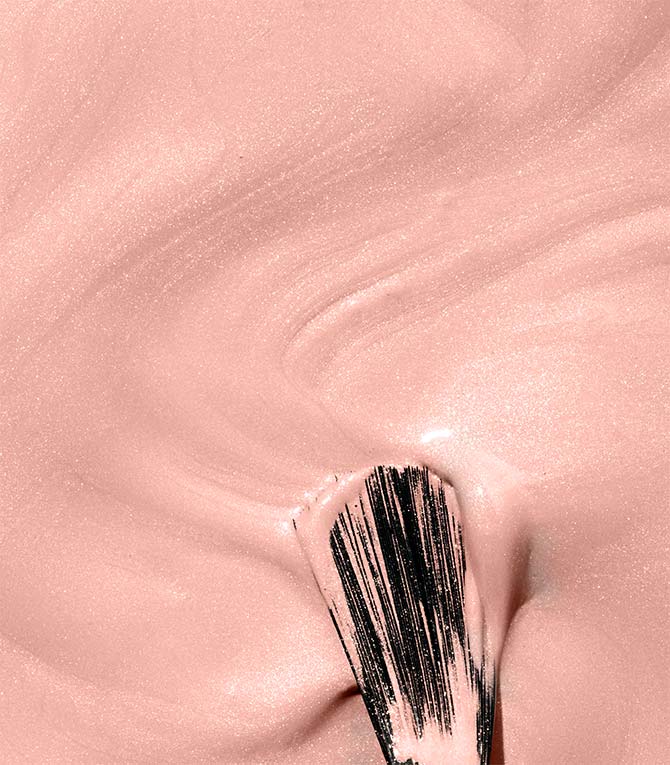
105 Blush Orange
14,00 €

Summer Sale: - 28%
gel nail polish
144 Romantic Pink
14,00 €
9,99 €
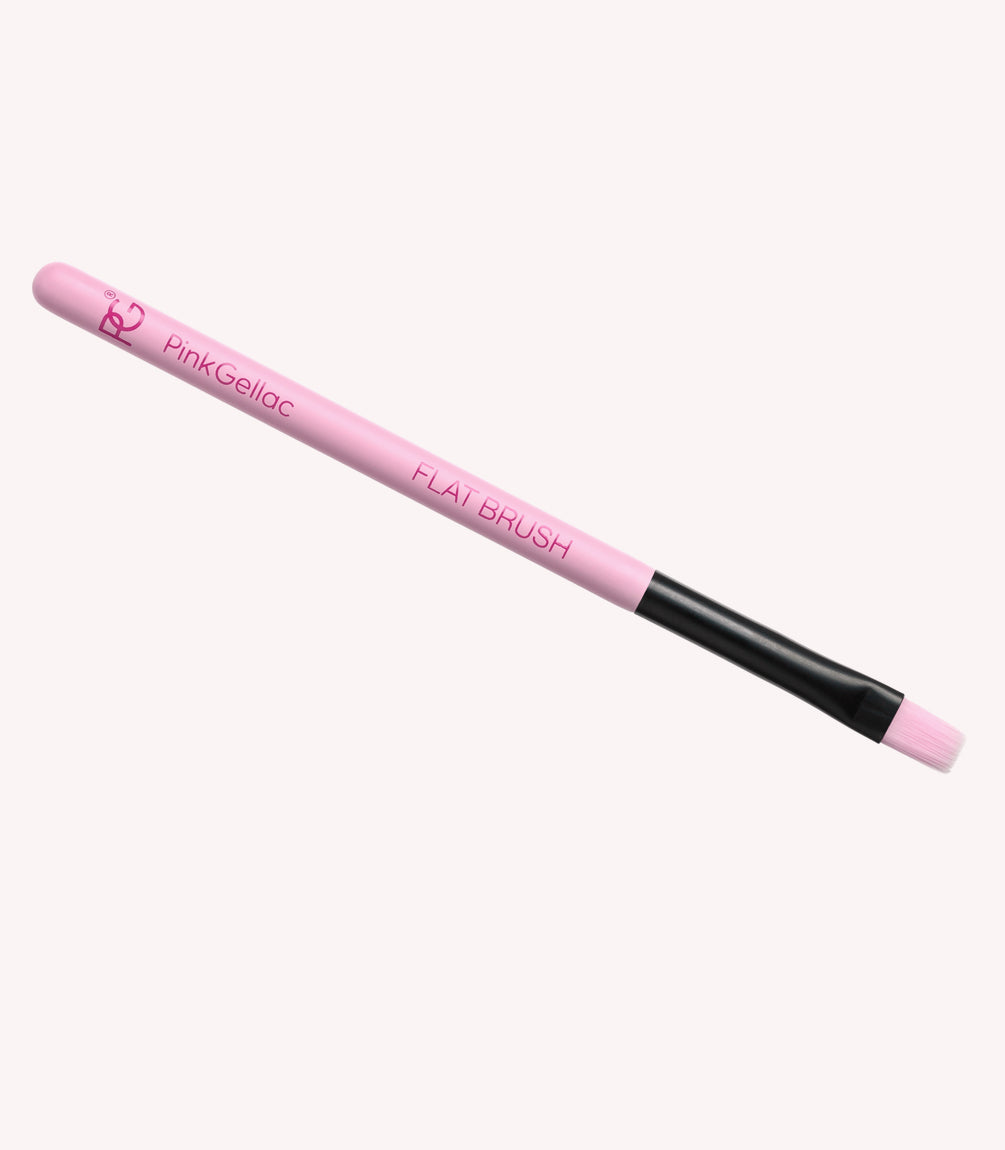
Flat Brush
10,00 €
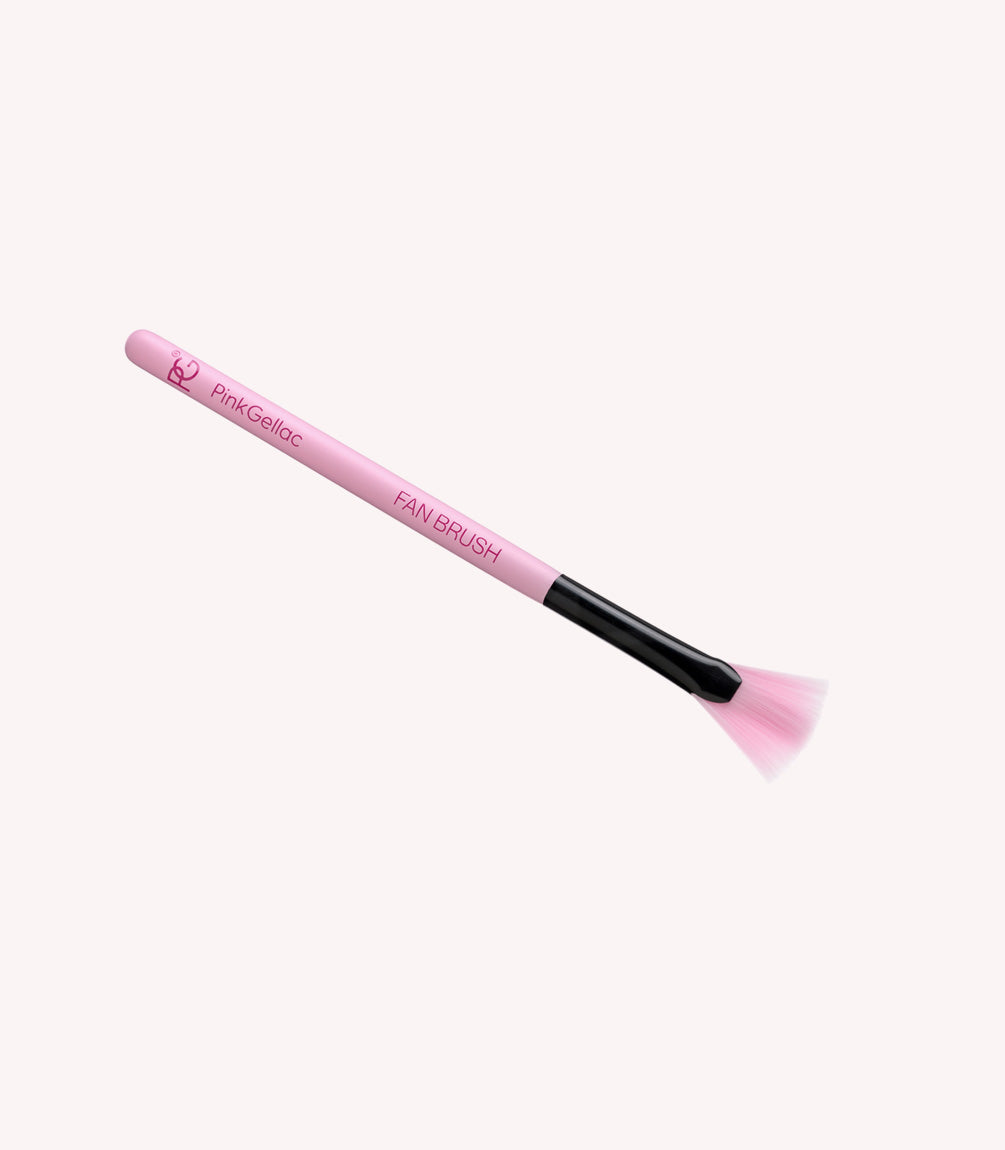
Fan Brush
10,00 €