

How To Create Mummy Halloween Nail Art?
If you’re looking for a fun and playful nail art design for Halloween, this Mummy Design is just what you need. With only a few simple lines and dots, you can create a look that’s both cute and spooky. Perfect for giving your nails a Halloween twist this autumn or for any Halloween party!
Step 1: Apply your base colour
After completing your nail prep routine, first apply your favourite base coat to create a smooth and long-lasting foundation. Cure it for 60 seconds under the LED lamp. Next, apply the colour 418 Meringue Pink and cure this layer under the LED lamp as well. For a more intense colour, you can apply a second coat and cure again.
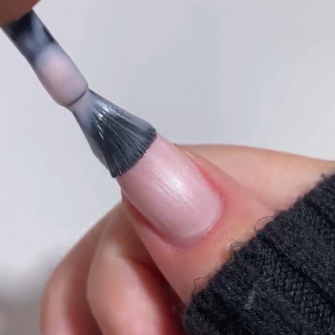
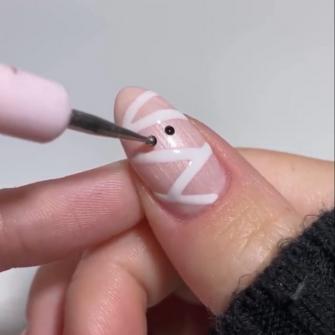
Step 2: Create your lines
Use the 101 Soft White and a Fine Liner to draw diagonal lines across the nail. Once your happy with the lines, cure under the LED Lamp for 60 seconds.
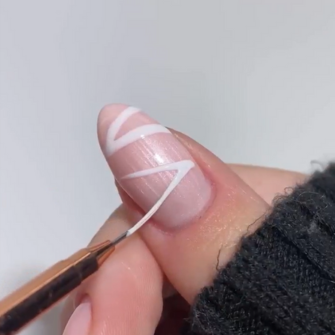
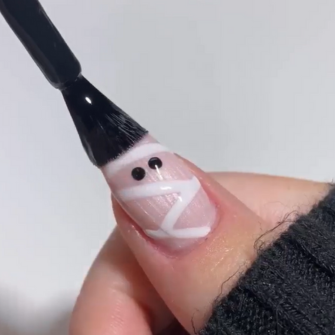
Step 3: Apply the eyes
Use a Dotting Tool to create two eyes on your nail using shade 120 Beautiful Black. After your done, cure for 60 seconds under the LED Lamp.
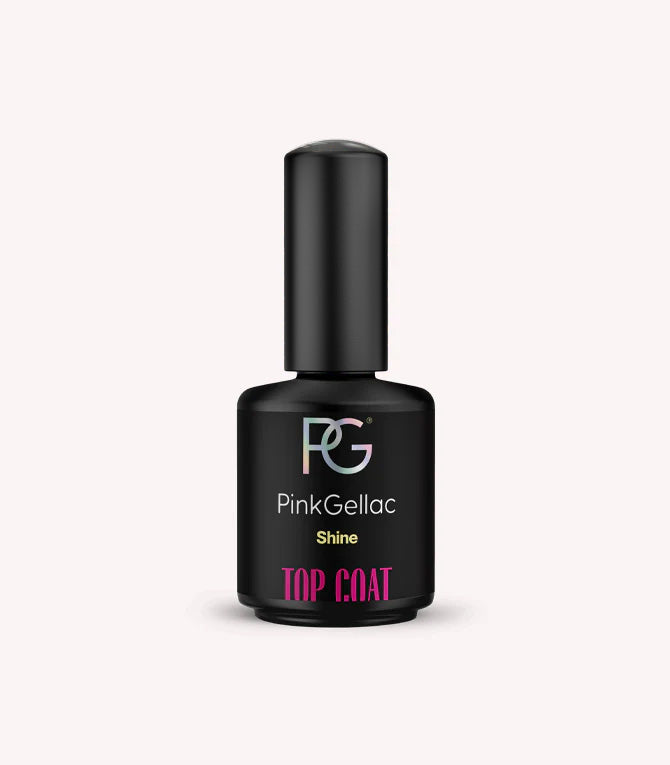
Step 4: Apply the Top Coat
Apply Top Coat over the entire nail to seal your gel manicure nail art look. Cure for 60 seconds under the LED Lamp.
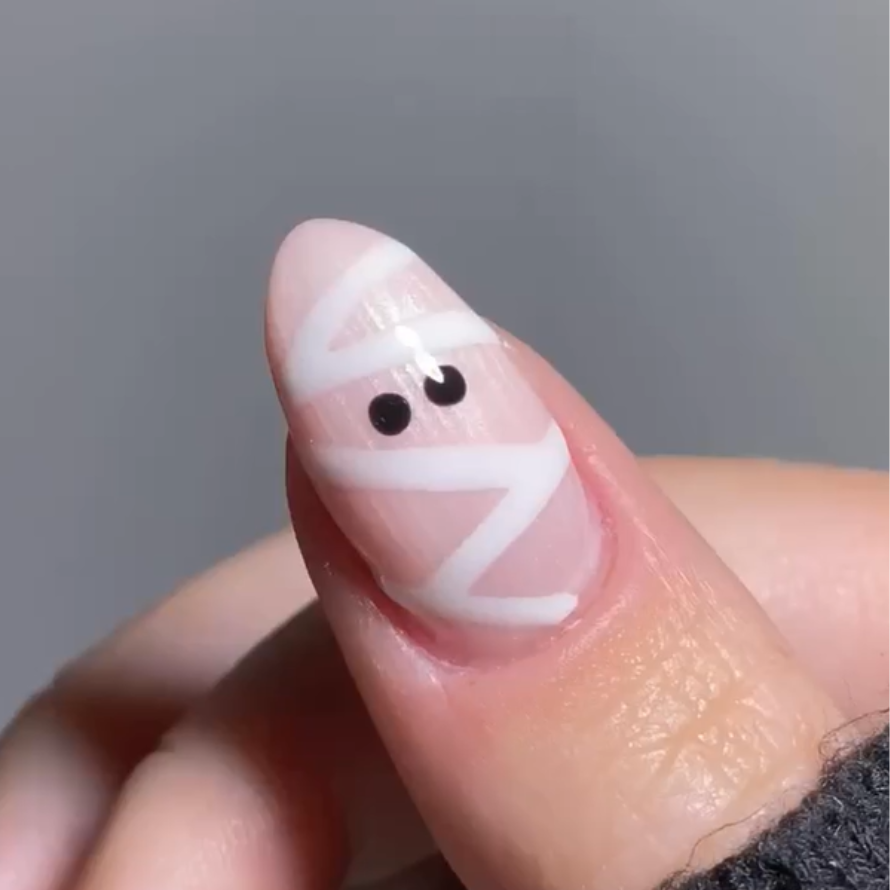
And there you have it, your Mummy Nails! The playful bandage design paired with those cheeky little eyes makes this look the ultimate Halloween statement. Whether you’re heading to a fancy-dress party, carving pumpkins, or simply embracing the Halloween spirit, your Mummy Nails will add that perfect finishing touch.
Are you going to recreate this look? Don’t forget to tag us on Instagram with @pinkgellac so we don't miss it!