Blissful Blooming Gel Flower Nails


1. Blooming Bliss on thumb and pinky
Apply shade 453 Blooming Bliss on your thumb and pinky. It’s a playful confetti-style gel polish that makes any nail art look pop. Cure under a LED lamp for 60 seconds. Apply 1–2 coats depending on your desired coverage.

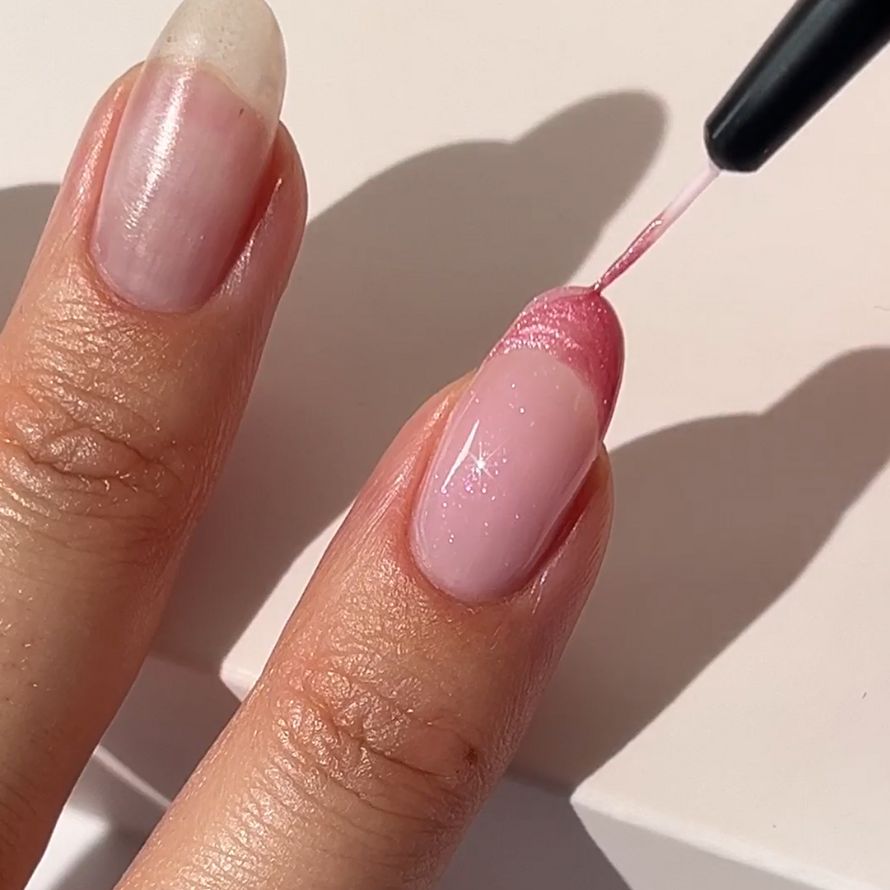
2. Luminous Pink on other nails
Paint the rest of your nails with 452 Luminous Pink. This soft pink shade is the perfect base for the designs you’ll add next. Cure for 60 seconds under the LED lamp. Again, apply 1–2 coats as needed.
3. Playful French manicure
Time to get creative! Use a Fine Liner Brush to create a French manicure on your index and ring fingers. For this, use shades 454 Velvet Rose and 456 Pearly Blue. Once you’re done, cure under the LED lamp for 60 seconds.
4. Let your nails bloom
For the floral design, you’ll need Blooming Gel and a Dotting Tool. Apply a thin layer of Blooming Gel. Before curing, add five small dots of 455 Vivid Purple close together. The Blooming Gel allows the colour to gently spread out, creating a blooming flower effect. Let it develop to your liking, then cure under the LED lamp for 60 seconds.
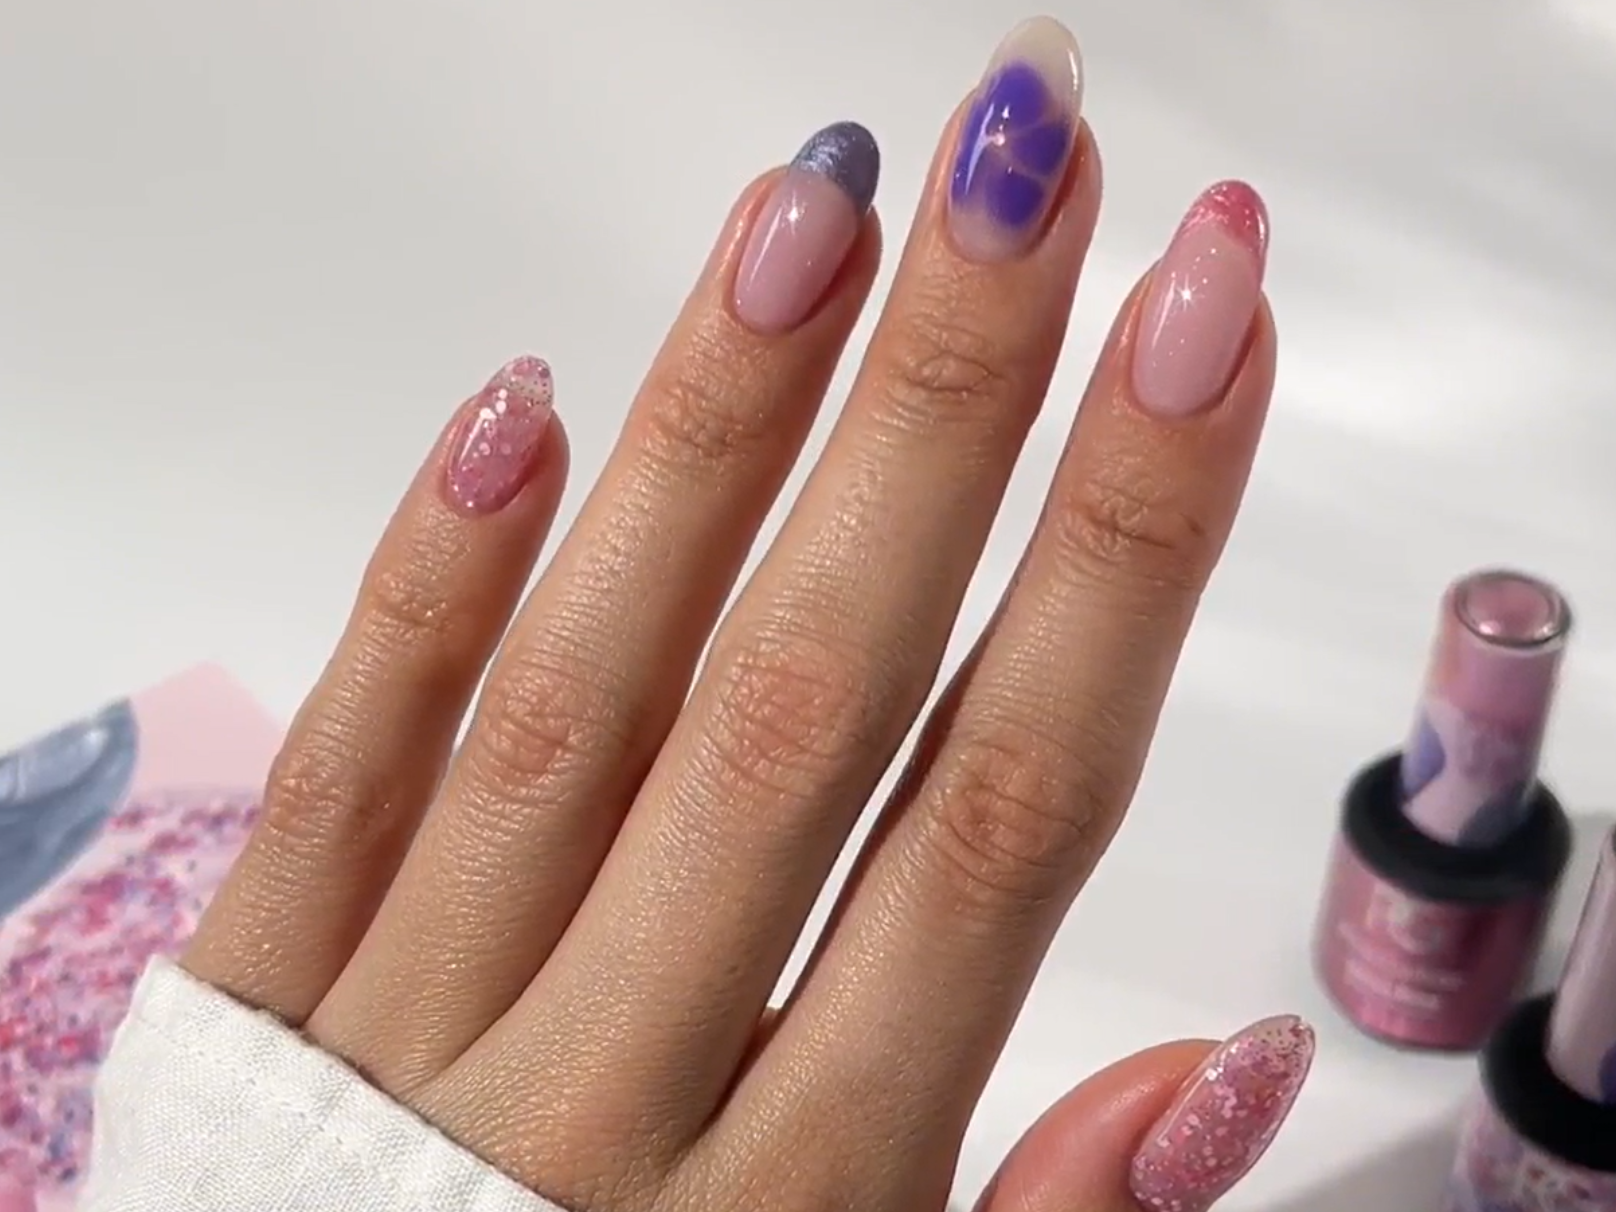
Finish the look with a Top Coat and remove the sticky layer using Cleaner.
Ready to jump on spring’s prettiest trend?
The Blooming Flower nail look is blossoming everywhere, from Insta feeds to salon chairs, and now it’s your turn to put your own spin on it. Whether you’re a beginner nail enthusiast or a seasoned pro, this trend is all about having fun and letting your creativity flourish. Mix and match colours, play with placement, or keep it minimal. The possibilities are endless. In need of some inspiration? See how our nail community is wearing the Blooming Flower. Their stunning creations, made using the Blooming Gel, are featured just below.