


Save 745 kr
Ordered before 23:30, shipped today
Secured delivery with GLS
Buy now, pay later with Klarna

Effortless

Durable

Easy Removal
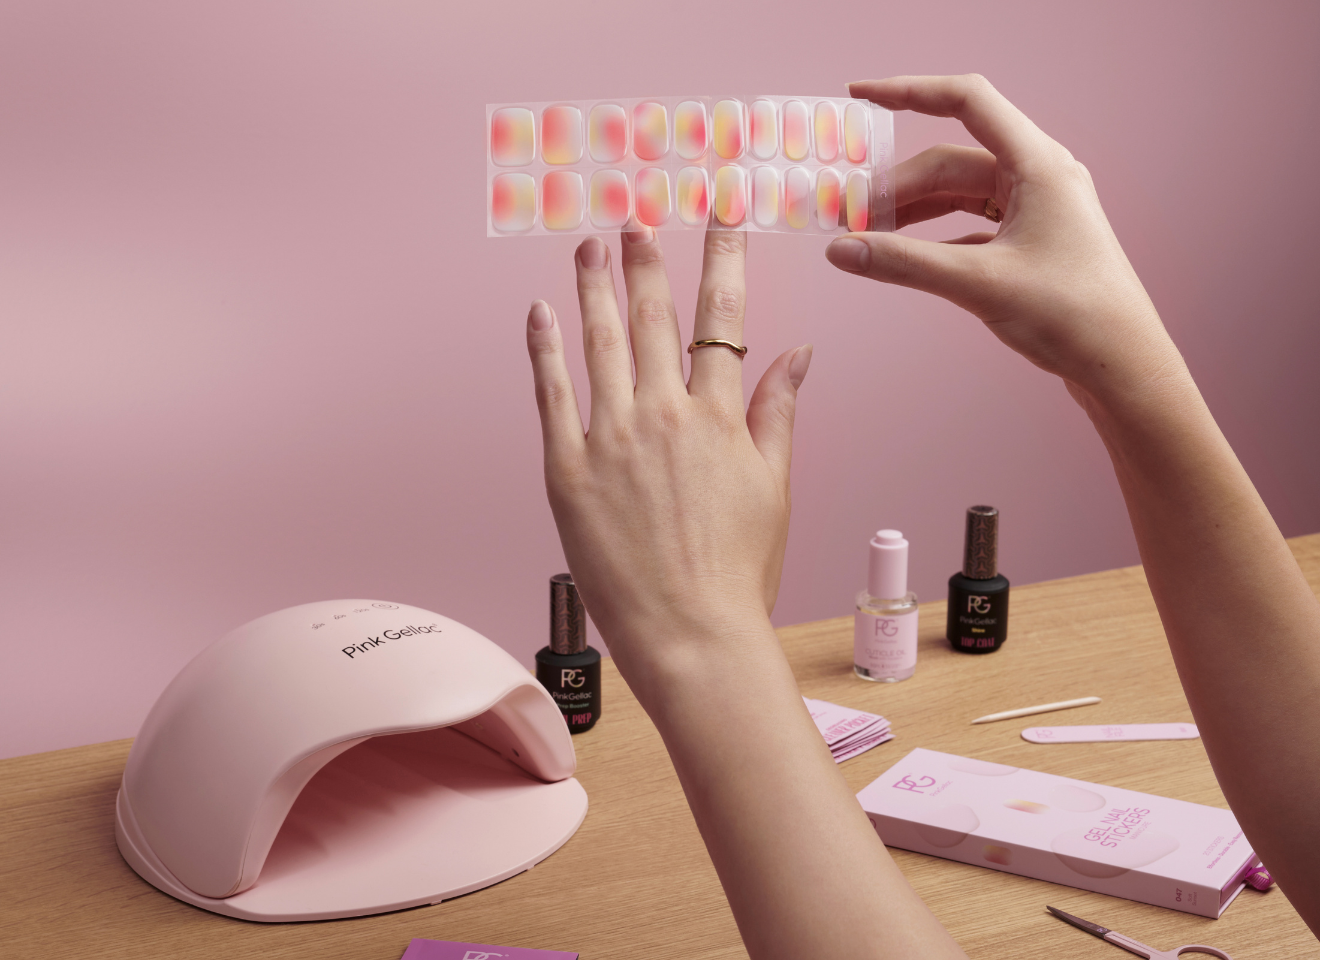
How to apply Gel Stickers
Learn how to apply gel stickers with our easy tutorial!
Starting with Gel Nail Stickers

Save 683 kr
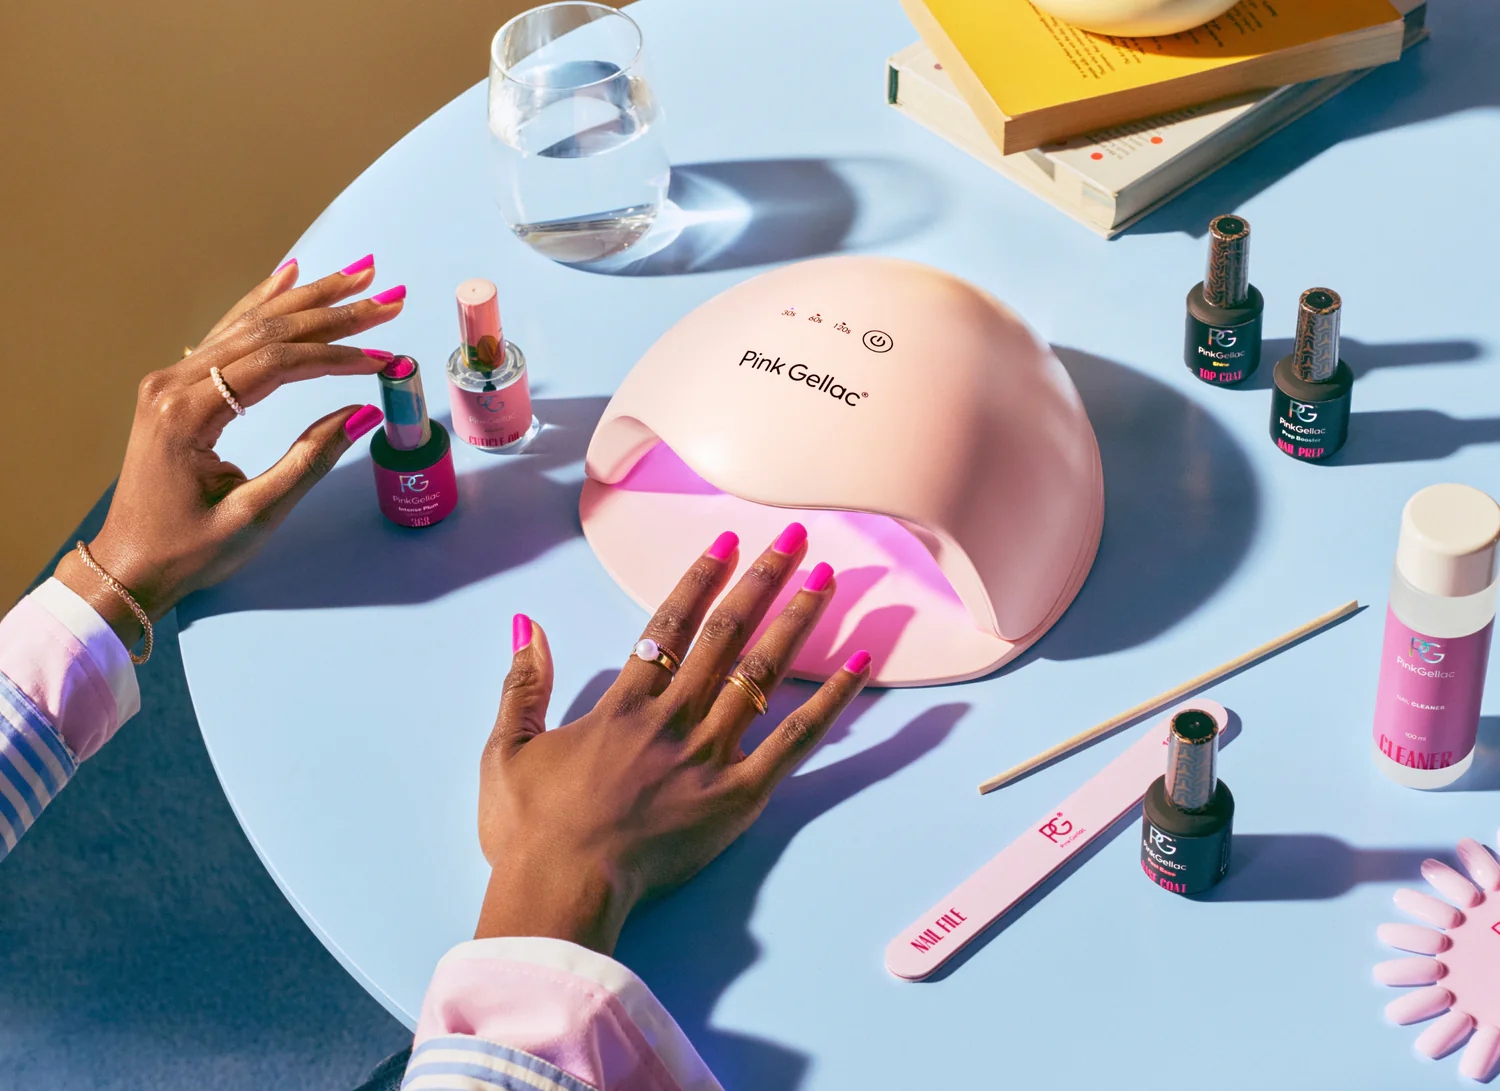
Complete kit + 1 Gel Sticker design of choice
Compact Kit
688 kr
Set value 1 371 kr

Save 28 kr
Basics kit + 1 Gel Sticker design of choice
Basics Kit
338 kr
Set value 366 kr

NEW
Cuticle Oil Musk
129 kr
NEW
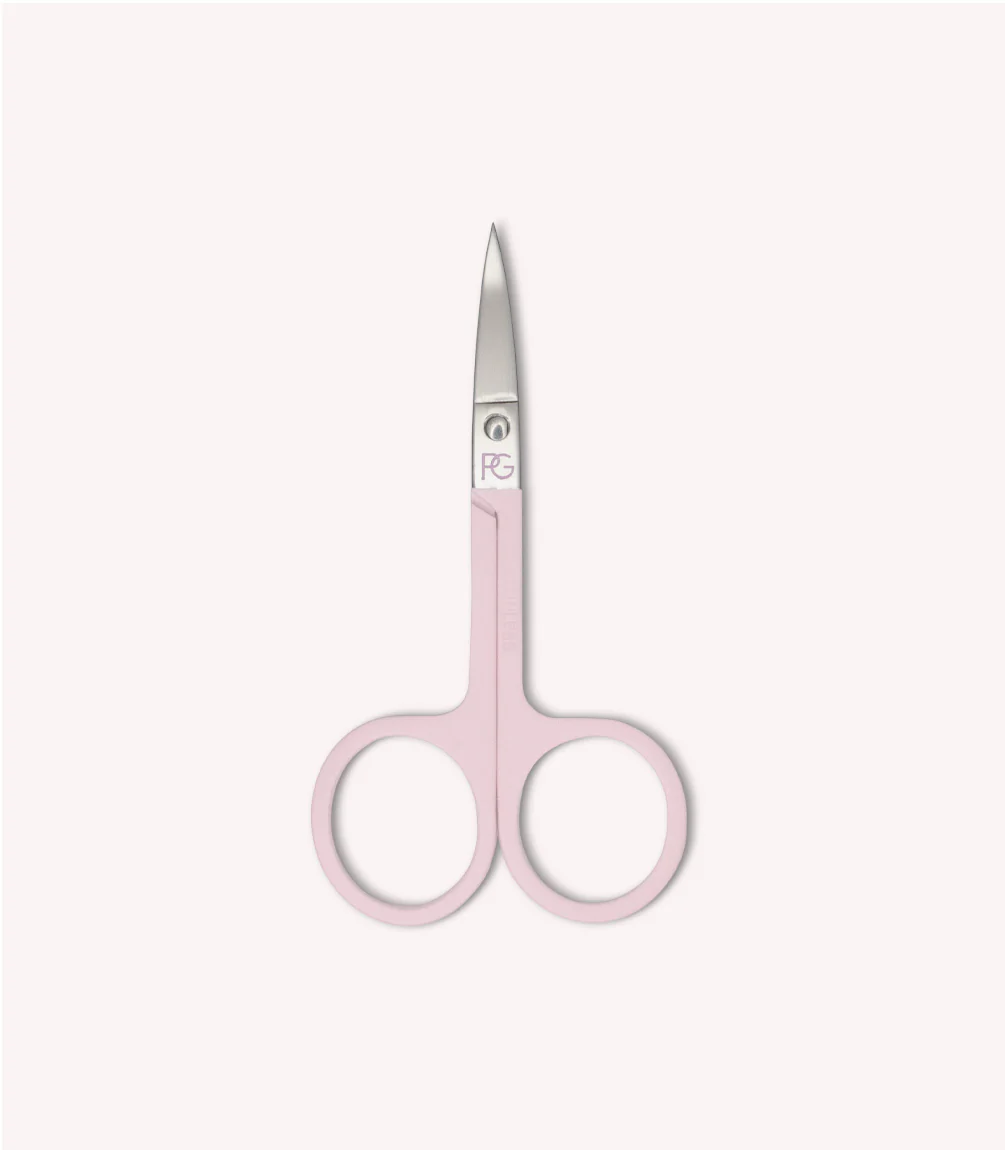
Manicure Scissors
47 kr
NEW
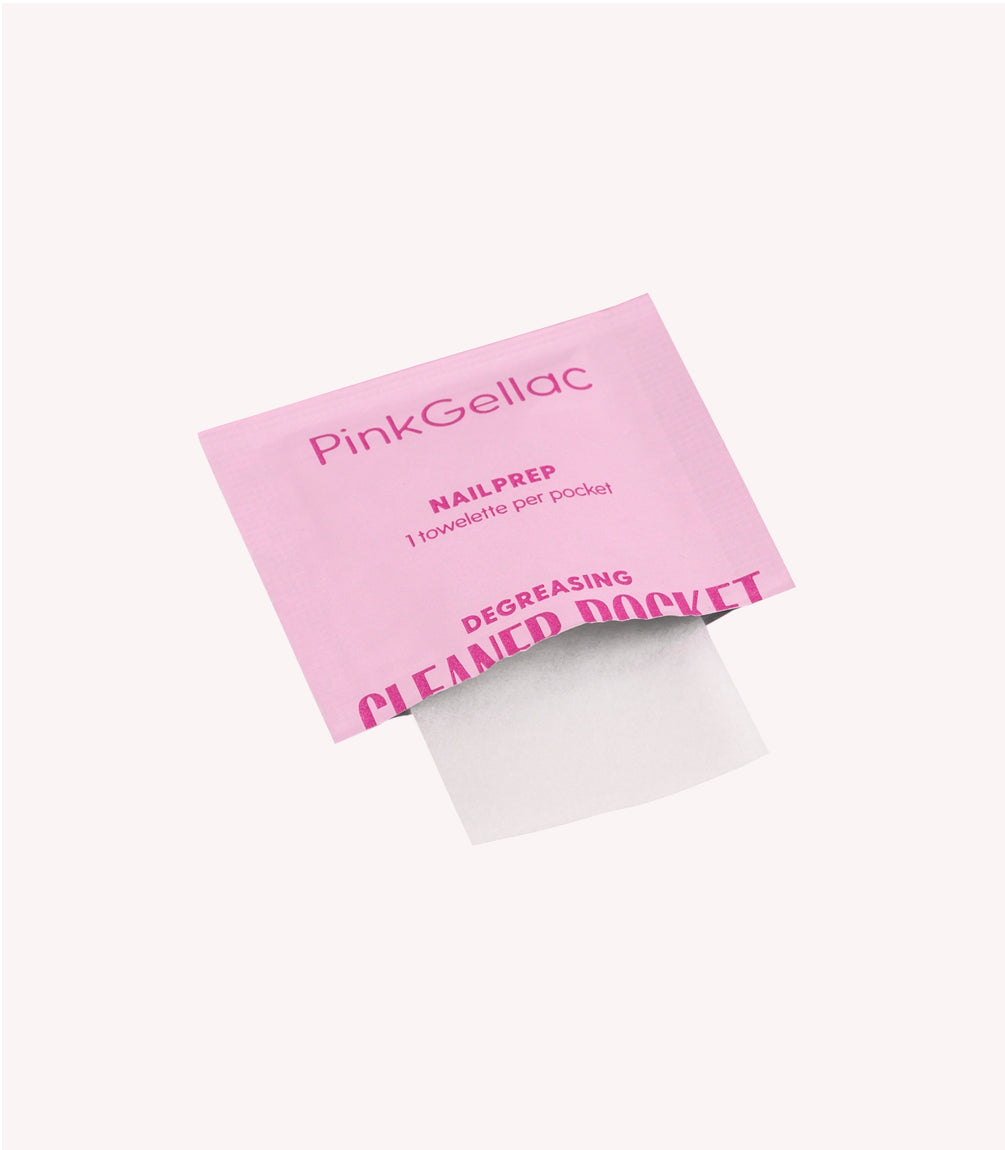
Cleaner Pockets
59 kr

Prep Booster
198 kr


Shine Top Coat
198 kr
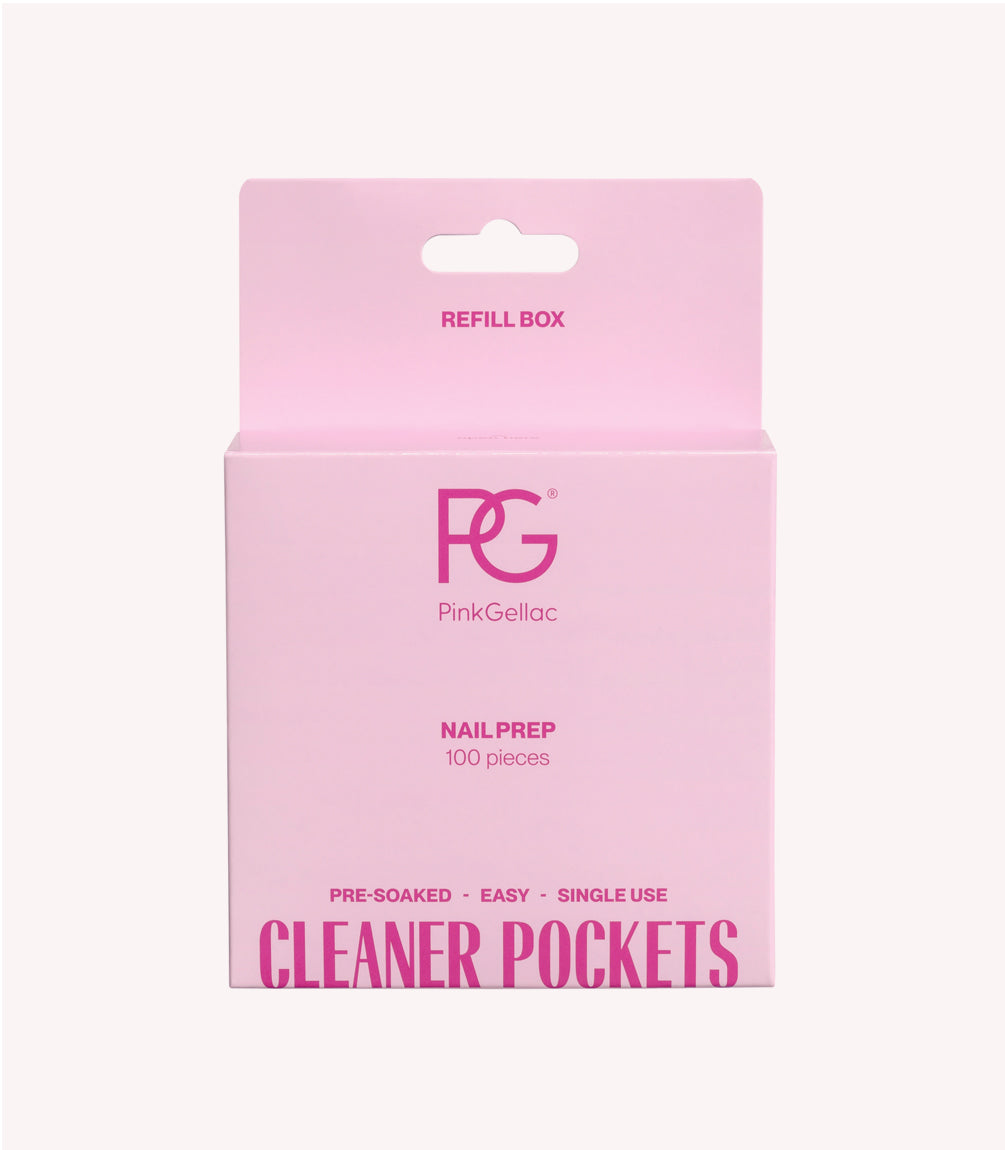
Cleaner Pockets
117 kr