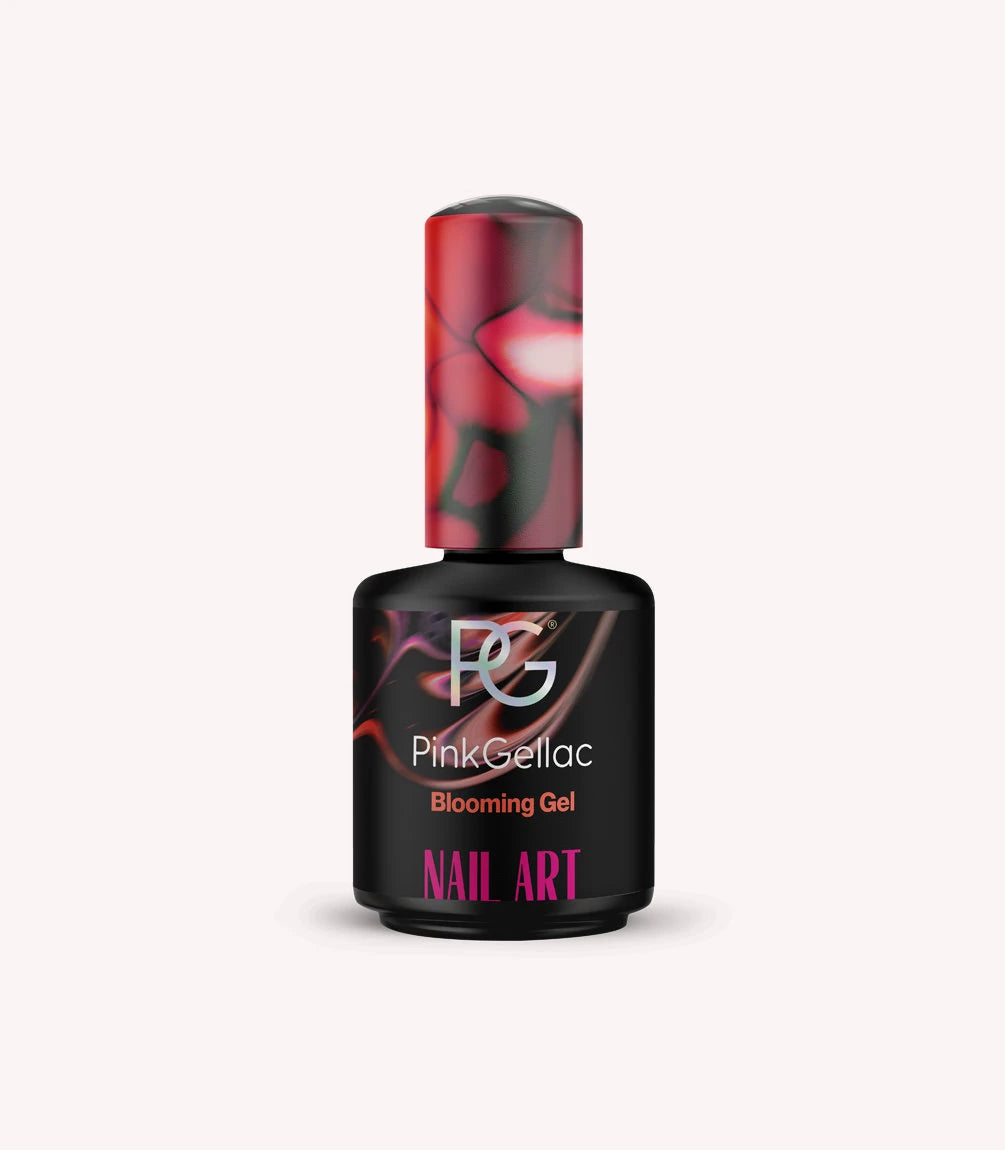
What is Blooming Gel?

Blooming Gel is a transparent polish that enables you to create a variety of nail art designs. It causes the coloured gel polish that you apply on top to spread out, allowing your design to blend seamlessly. Let the Blooming Gel work its wonders.

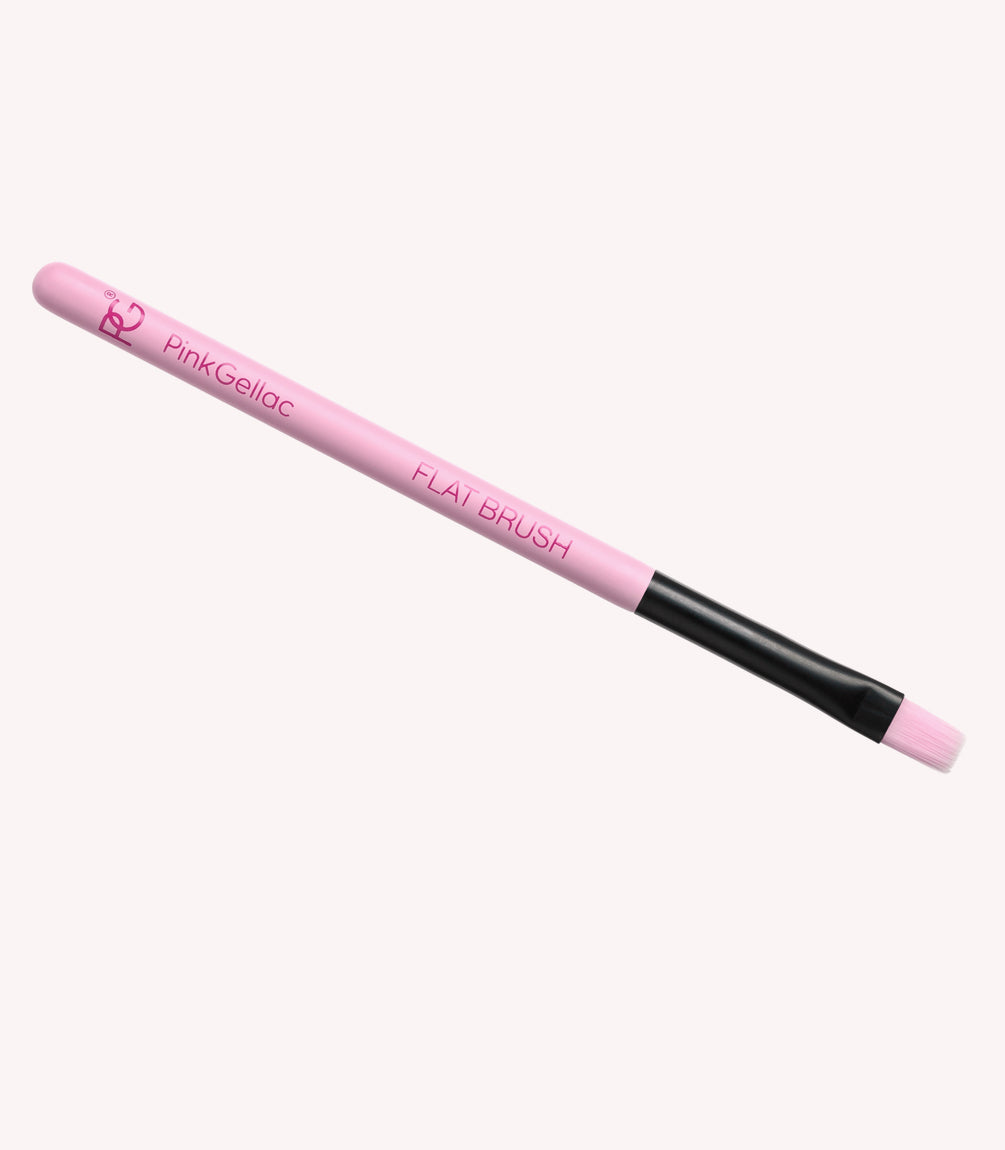
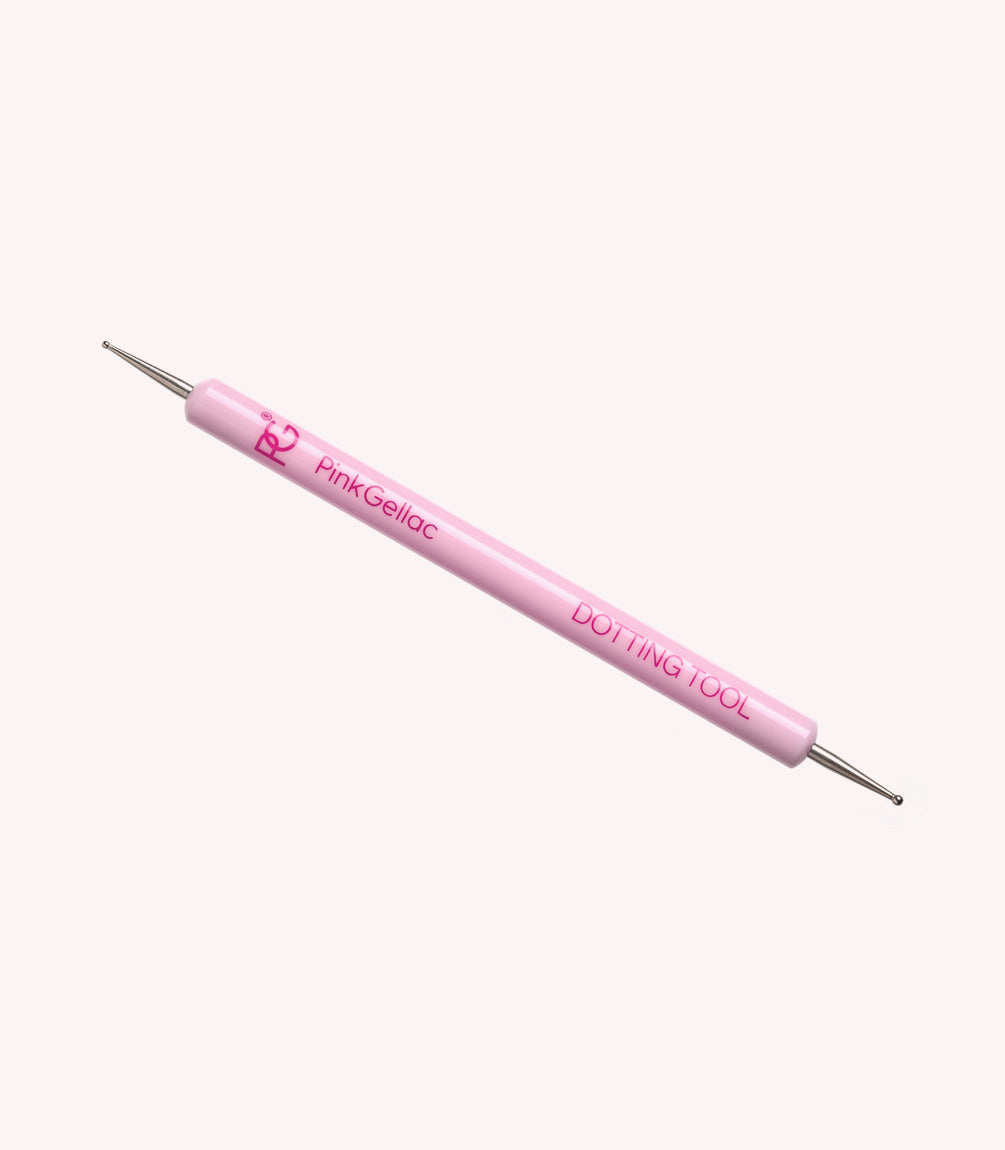
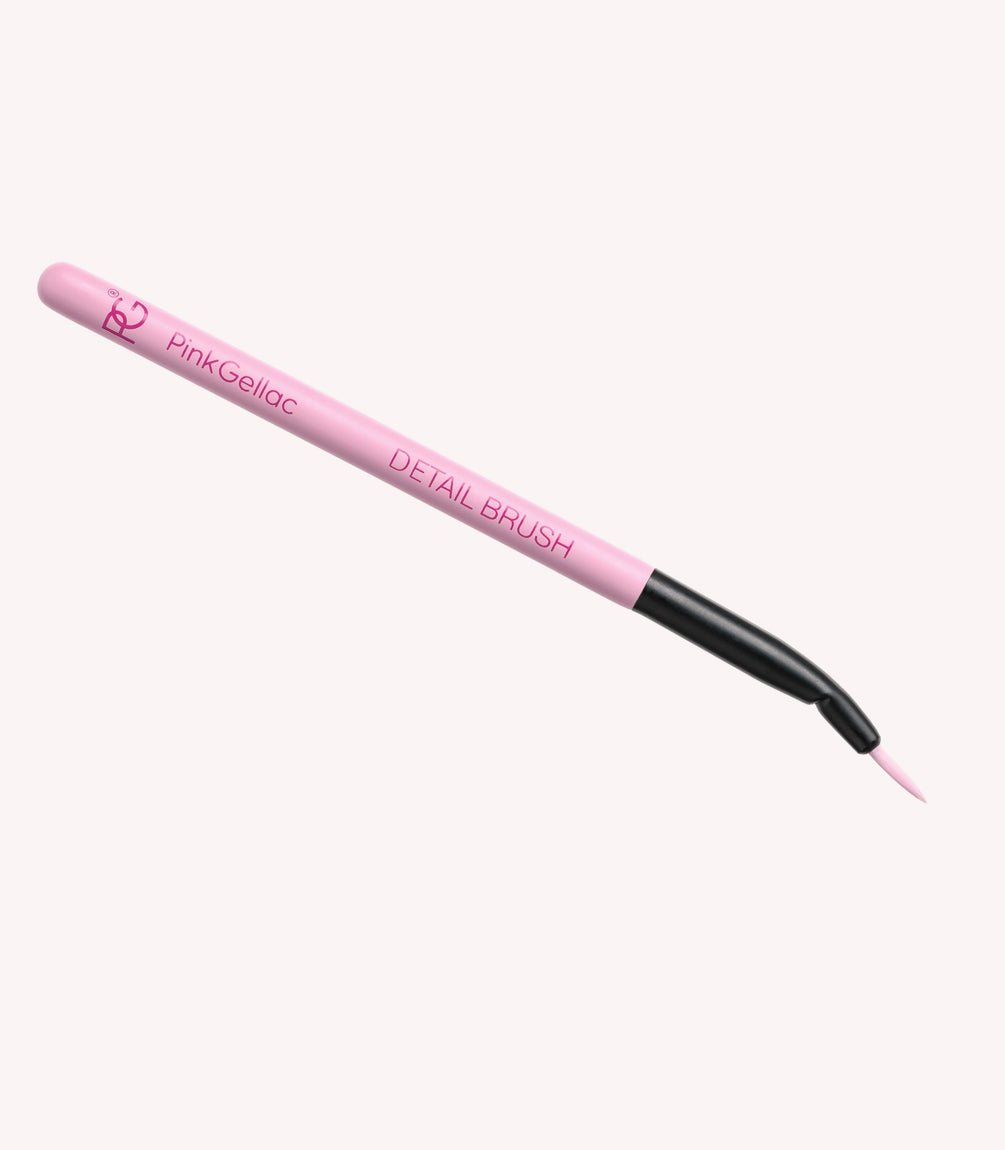
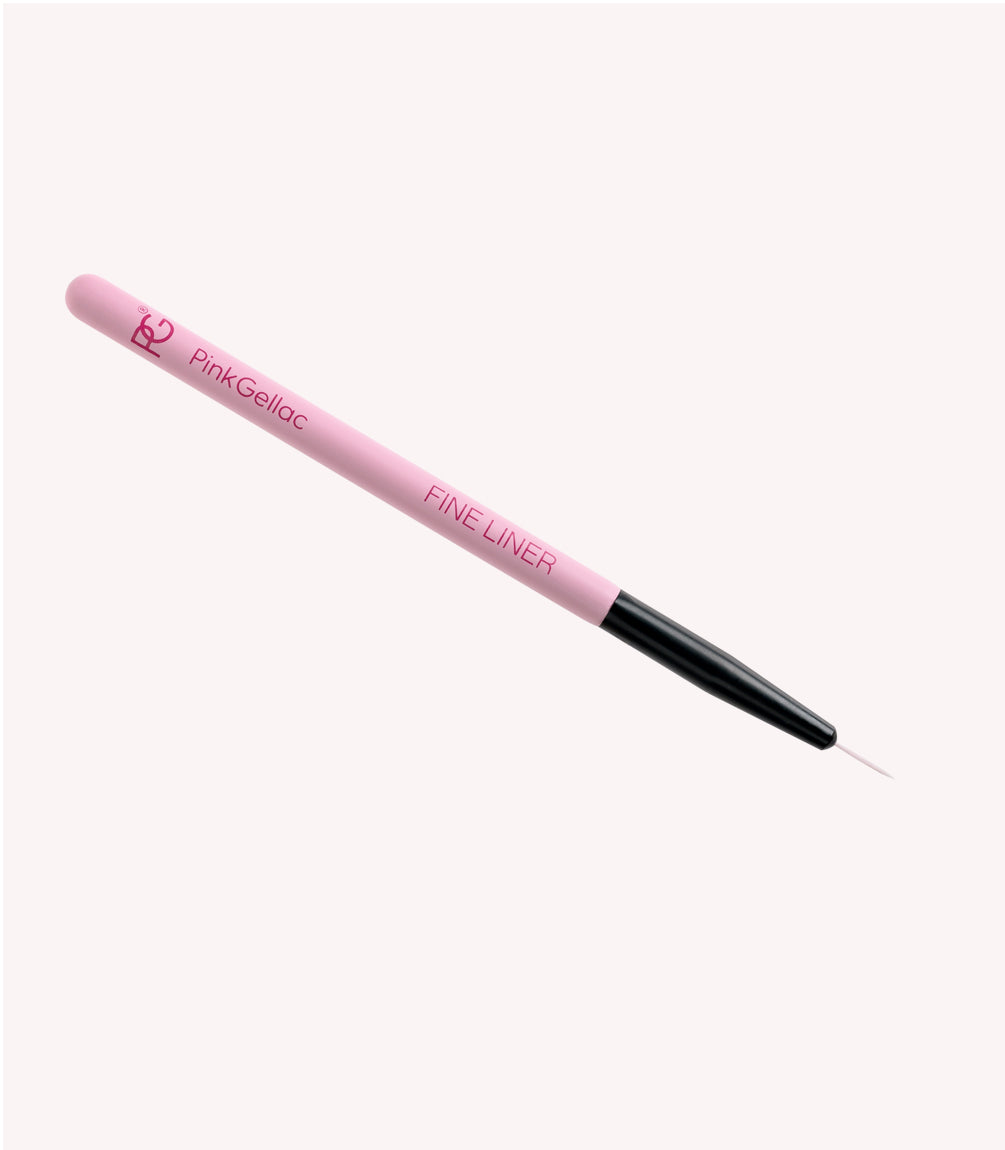
You can introduce colours into the Blooming Gel using tools such as a flat brush, detail brush, fine liner, or our double-sided Dotting Tool. Each provides a different effect and result. The polish will continue to spread until it cannot any further or until it has been cured.

Tip: Work on one finger at a time. If you are happy with the result, briefly cure your nail/hand under the lamp for 5 seconds. After this, the design will not spread any further. When you have finished with the last finger on your hand, do cure the Blooming Gel for the full 60 seconds to ensure complete hardening.

What designs can you create with Blooming Gel?

  • Aura nails
  • Crocodile look
  • Flowers
  • A Rose
  • Tie-dye effect
  • Marble
  • Snake Print
  • And so much more...
Blooming Gel Nail Art: Snake Print

  • If you're interested in learning more about how to use it and would like a step-by-step guide followed by a practical example, then head over to this blog.

Blooming gel designs

#Blooming Gel  #203 Chocolate Brown
Pink Gellac
Pink Gellac
Pink Gellac
Pink Gellac

HOW TO USE BLOOMING GEL?

Step 1: Prepare your nails as usual: file them, push back cuticles, and gently buff them with a Polishing Block. Clean your nails and degrease them with Cleaner. Apply a layer of Prep Booster and allow it to air dry for 30 seconds.

Step 2: Apply your favourite Base Coat and cure it under the LED lamp for 60 seconds.

Step 3: Then apply a coloured gel polish as usual. Apply one or two coats and cure each coat under the LED lamp for 60 seconds. This will be the base colour under the Blooming Gel.

Step 4: Now, apply a thin layer of Blooming Gel over your colour. Don’t cure the Blooming Gel immediately, as the coloured gel polish you want to introduce will only spread if the layer is still 'wet'.

Step 5: Select the appropriate nail art tool for your desired design: consider a flat brush, detail brush, fine liner, or Dotting Tool. Then apply a colour into the Blooming Gel with this tool. Choose a different colour than the base layer. Allow the Blooming Gel to work until you are satisfied with the design, then cure it under the LED lamp.

Step 6: Finish your manicure with your favourite Top Coat. If you used the Shine Top Coat, wipe it off afterward with Cleaner. Always conclude with Cuticle Oil.

Additional Tips:

  • Avoid applying the Blooming Gel too thickly. If the layer is too thick, the new colour you want to introduce won't adhere properly, it might reach your skin more easily, your design could spread excessively, and become messier.
  • Not satisfied with the result? Wipe your nail with Cleaner while it's still wet and try again. The base colour will remain intact. Moreover, you can also practise on our Colour Pops. Remember, practice makes perfect.
  • Warm the gel polish bottle beforehand by rolling it between your hands. This makes the polish more fluid and it will spread more effectively.
  • Our Dotting Tool has two sides, allowing you to experiment with the size of dots you place in the Blooming Gel.
  • You can also create an oval shape in the Blooming Gel by making a gentle left-right motion.

Initially, it may take some time to understand how it works, but once you master it, you can create stunning nail art designs.

How to create a marble design with Blooming Gel?

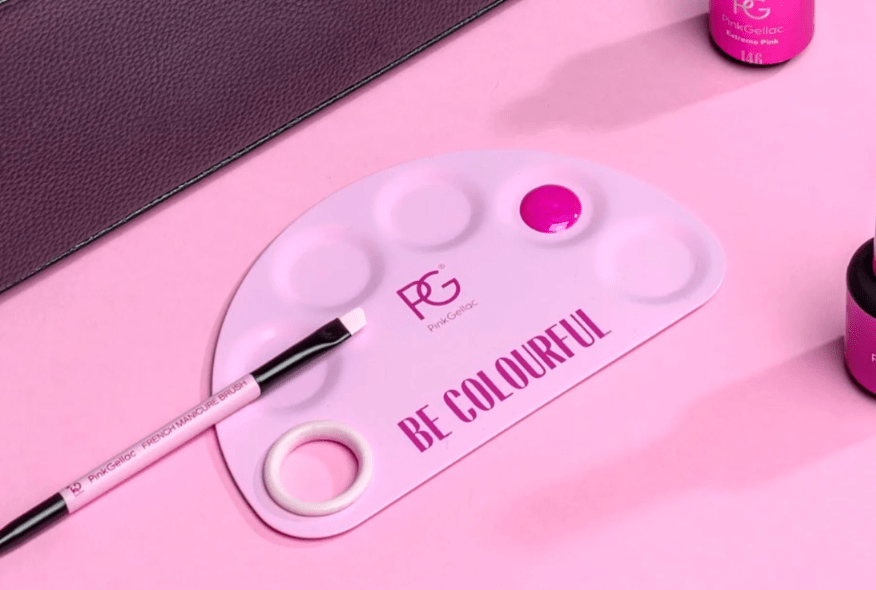
Select 2 to 4 colours that you think go well together (including the base colour). Place dots of these colours close together on the Nail Art Palette. Lightly blend them by dragging a Dotting Tool through them in a zigzag motion. Then, use a Flat Brush to pick up the mixed gel polish and apply it into the Blooming Gel. This helps the colours to merge beautifully and creates a uniform marble effect. Once you're happy with the result, cure the Blooming Gel under the LED lamp.

Pink Gellac