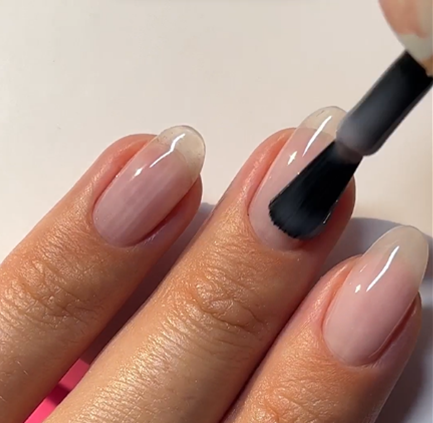
Step 1: Apply Base Coat
Apply Rubber Base Frosted Pink over your entire nail. This provides a strong base and a subtle pink glow. Cure the base for 60 seconds under the LED lamp. If you have a different base coat, you can use that as well.
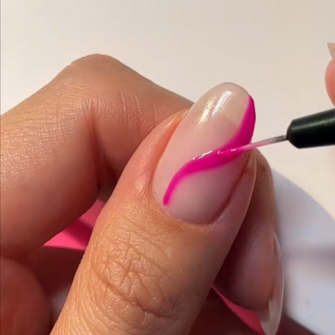
Step 2: Create first pink swirl
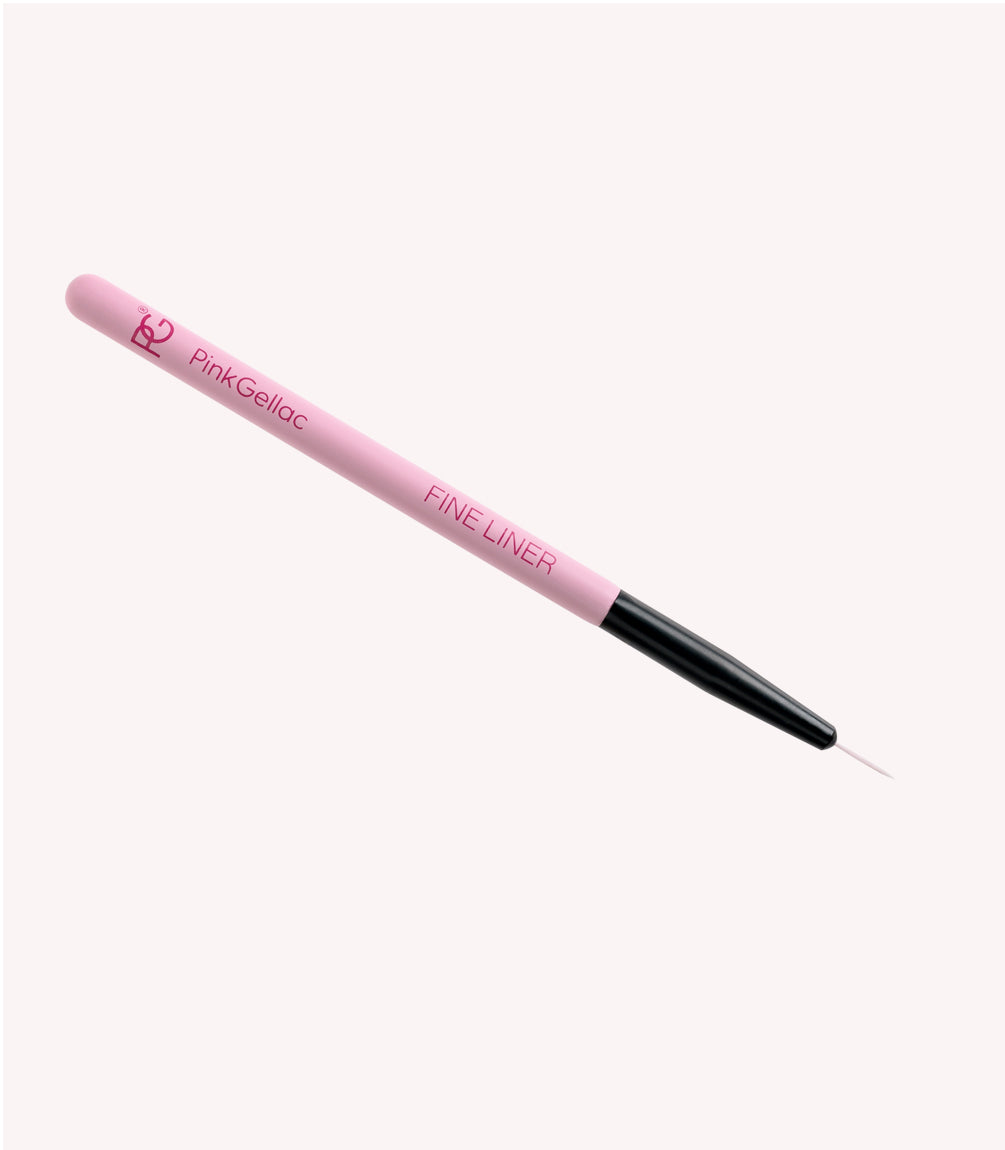
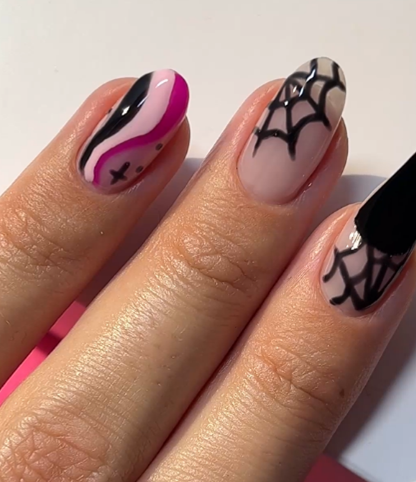
Use the Fine Liner to create the first swirl with 343 Sapphire Pink. Start at the bottom of your nail and work upwards in a wavy motion. Cure each design for 60 seconds in the LED lamp to prevent the designs from blending.

Step 3: Create the pink swirl
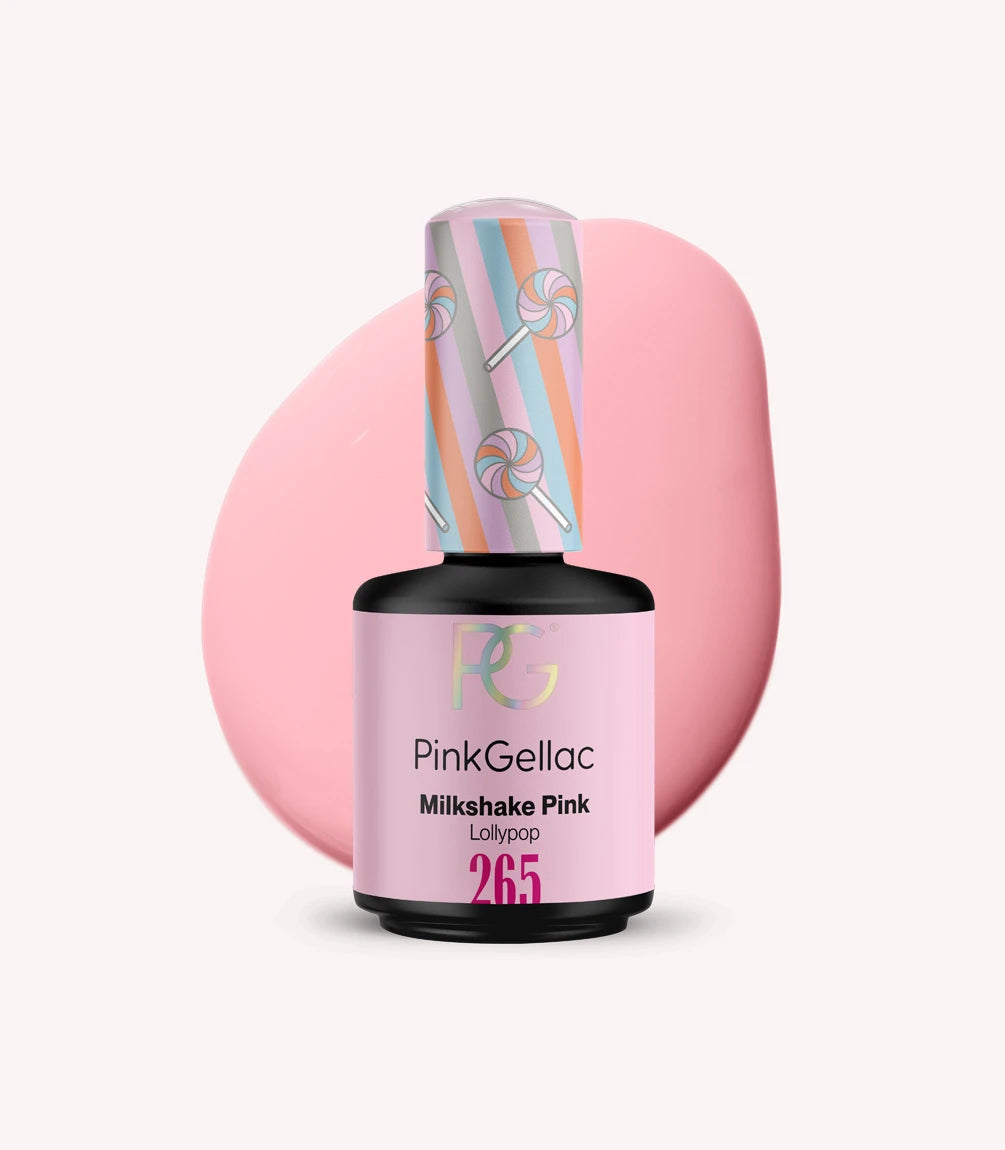
Next, use 265 Milkshake Pink to make a second swirl. This shade adds an extra layer of pink and creates contrast. Cure it again in the LED lamp.

Step 4: Create the black swirl
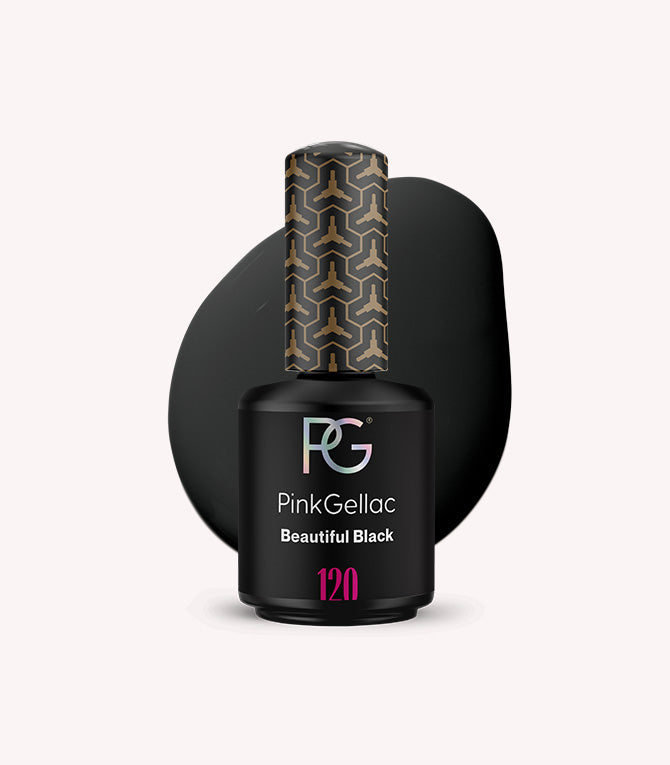
Finish the look with a swirl using 120 Beautiful Black. This creates a dramatic effect. Cure for 60 seconds in the LED lamp.

Step 5: Add stars
Pick up the Fine Liner and 120 Beautiful Black again. Draw a small star under your swirls to add extra detail.
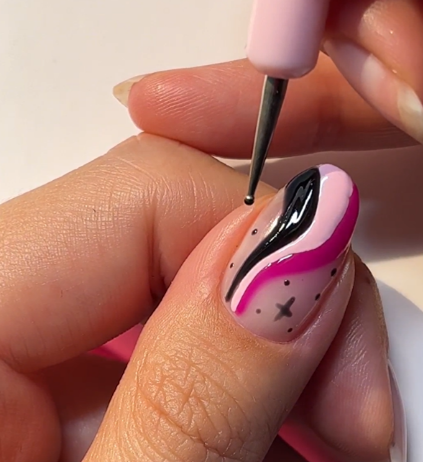
Step 6: Add small dots
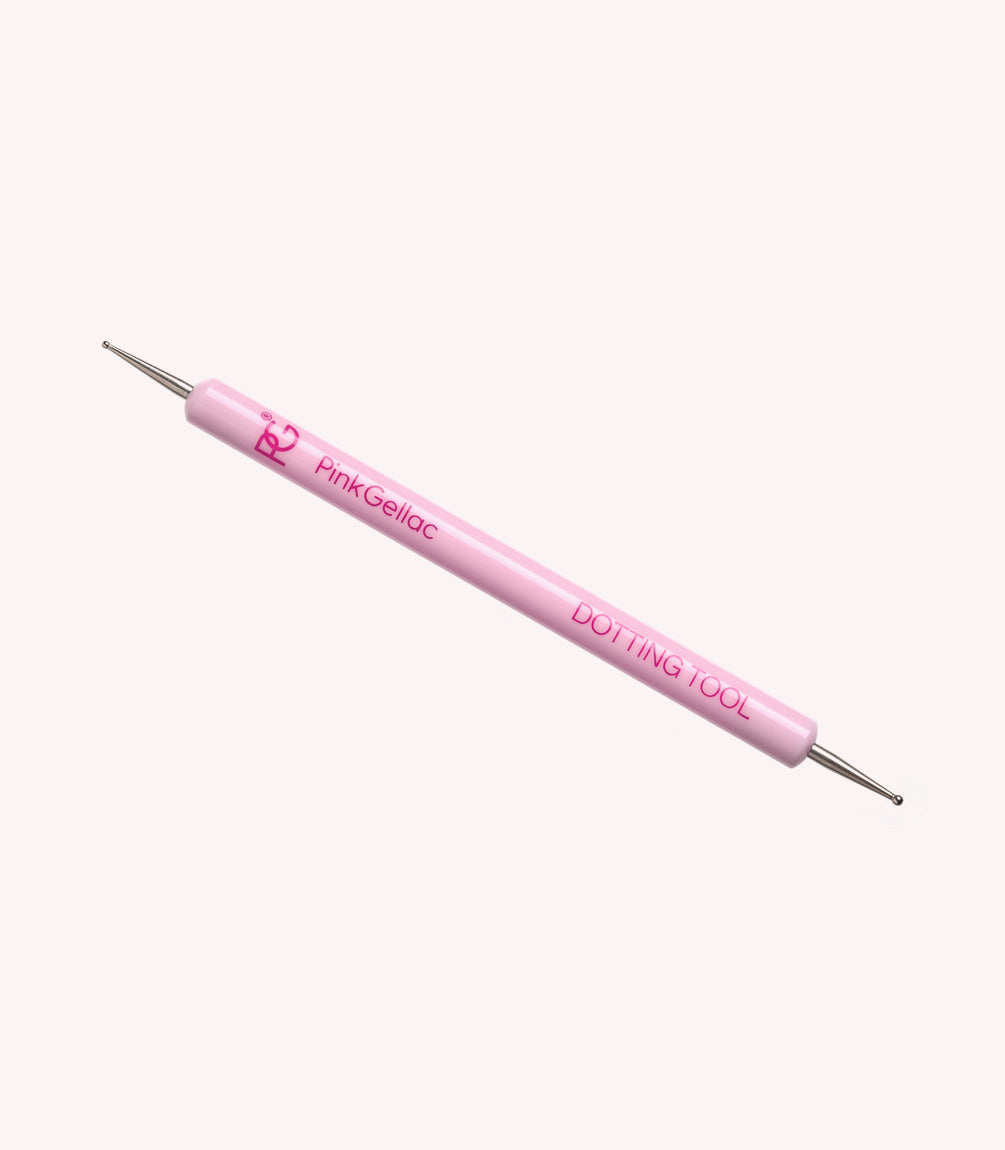
Use the Dotting Tool and 120 Beautiful Black. Place small dots around your pink and black swirls.

Step 7: Draw the spider webs
Take the Fine Liner and 120 Beautiful Black again. Draw four thin vertical lines across your nail. These will be the main lines of your spider web.
Step 8: Repeat for extra spider webs
Connect the vertical lines to complete the spider web. Repeat steps 5 and 6 on your other nails to complete the Halloween look.
Learn here how to do more spiderweb nail art.

Are you excited about your Halloween Pink Swirls? We’d love to see your creation! Share your look and tag us on social media. Use @pinkgellac or #Pinkgellac so we don’t miss your spooky nail art!
Want to create a different vibe? Try 353 Chili Red and 355 Royal Red for a bloody effect. These colors give your nails an intense and dramatic look that’s perfect for the Halloween atmosphere. The choice is entirely yours.
