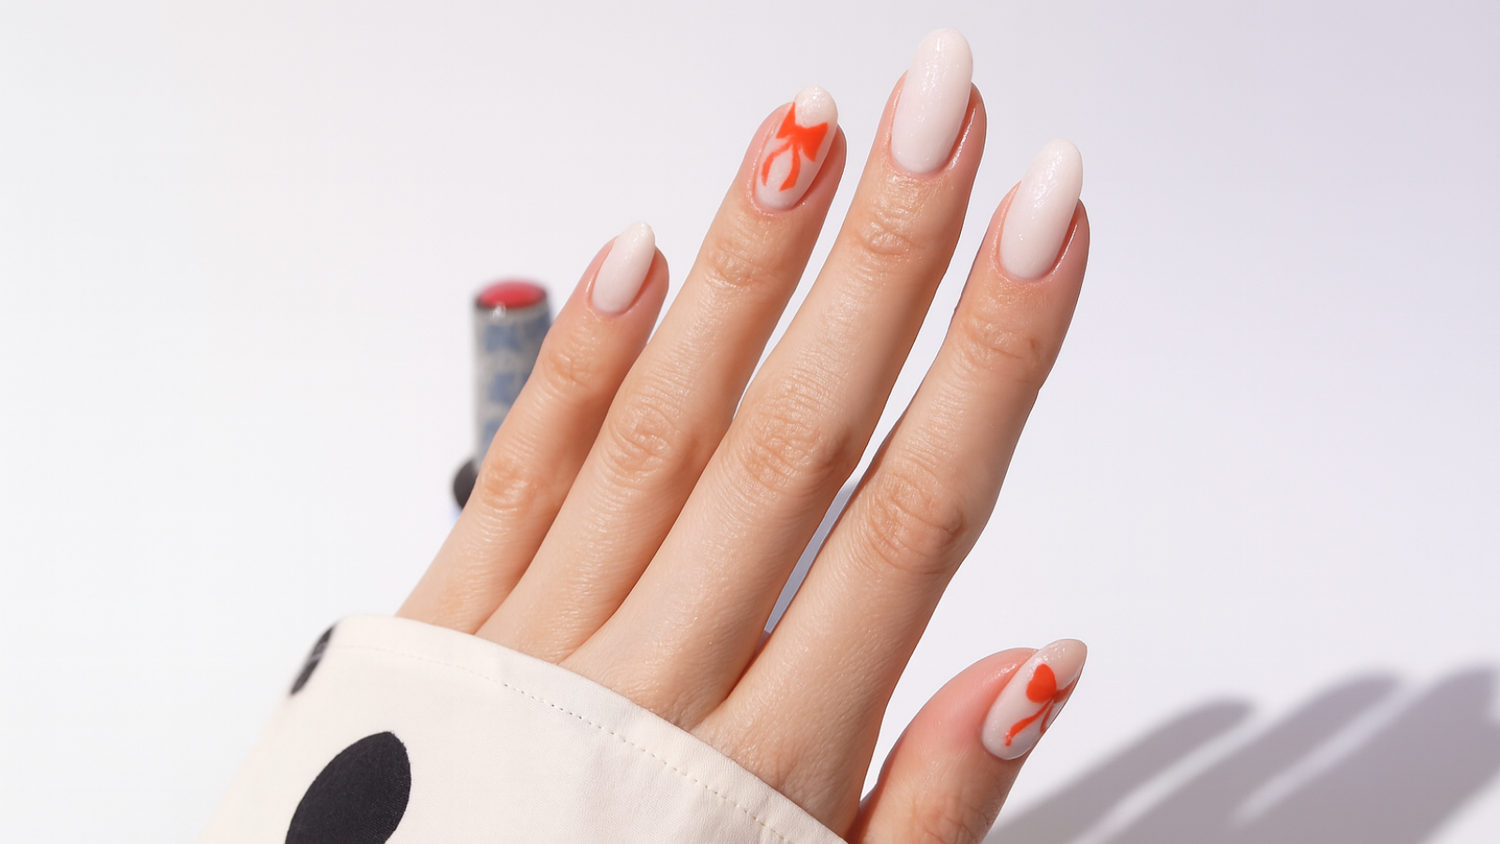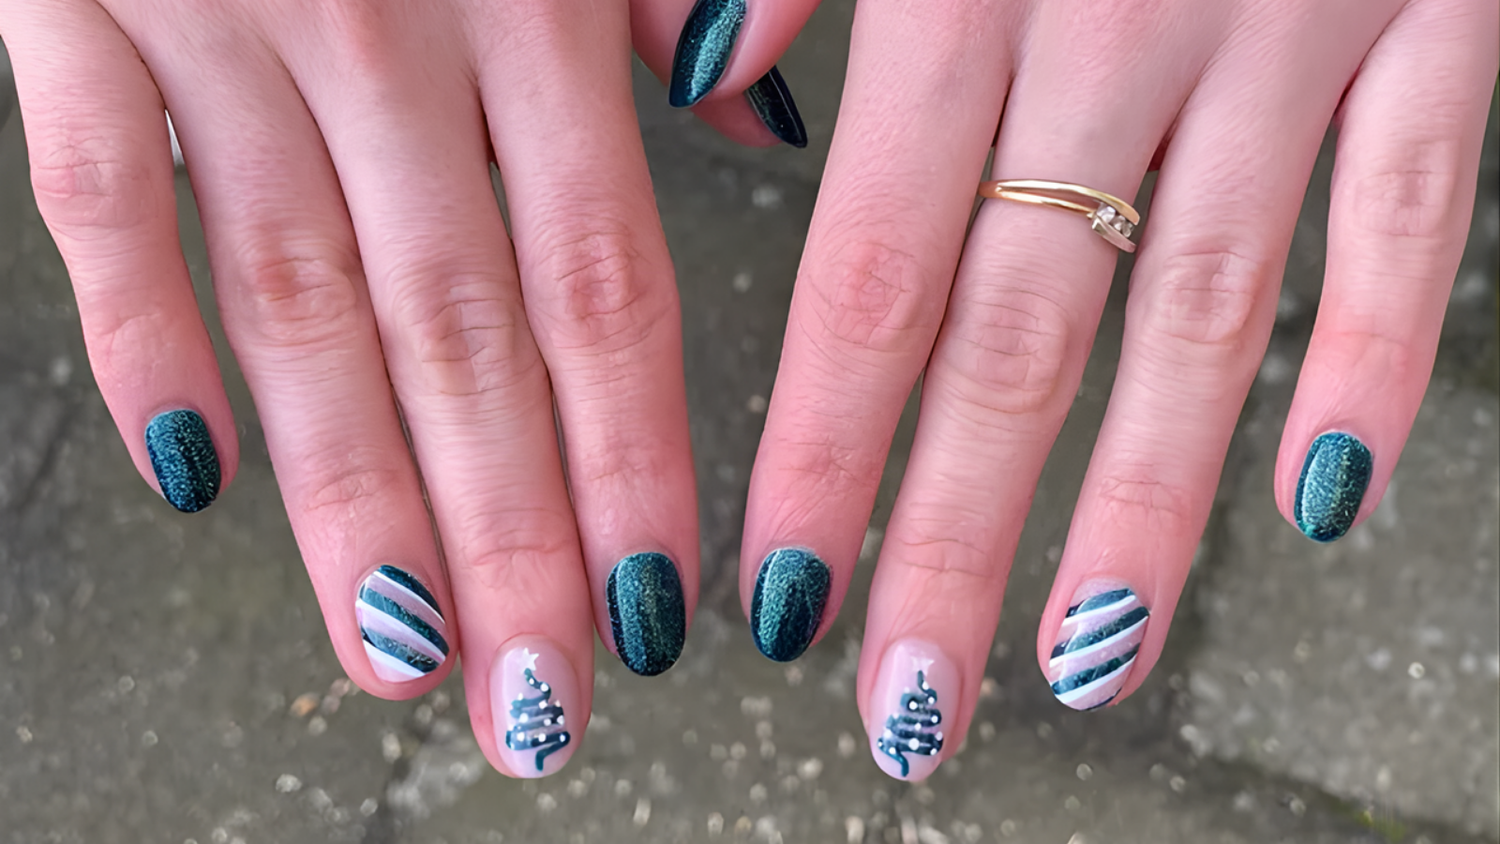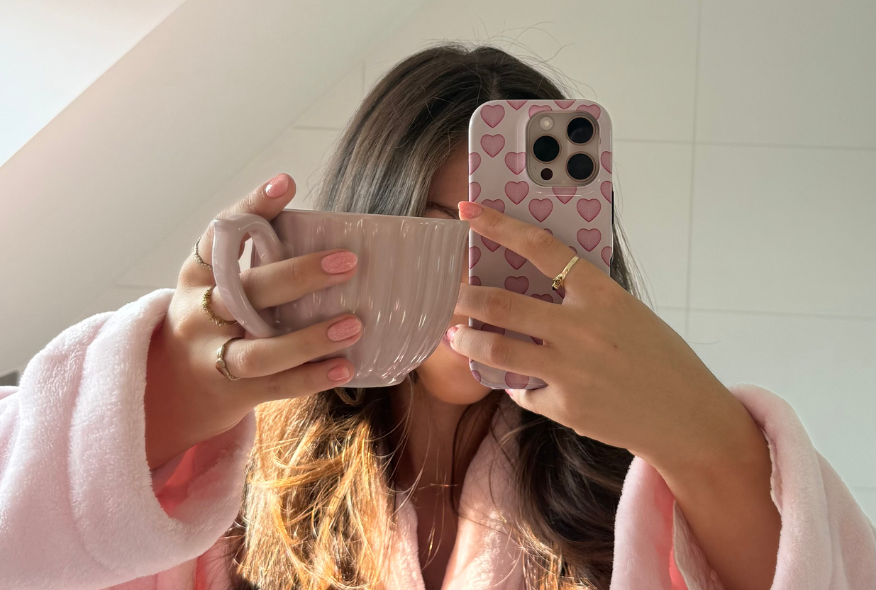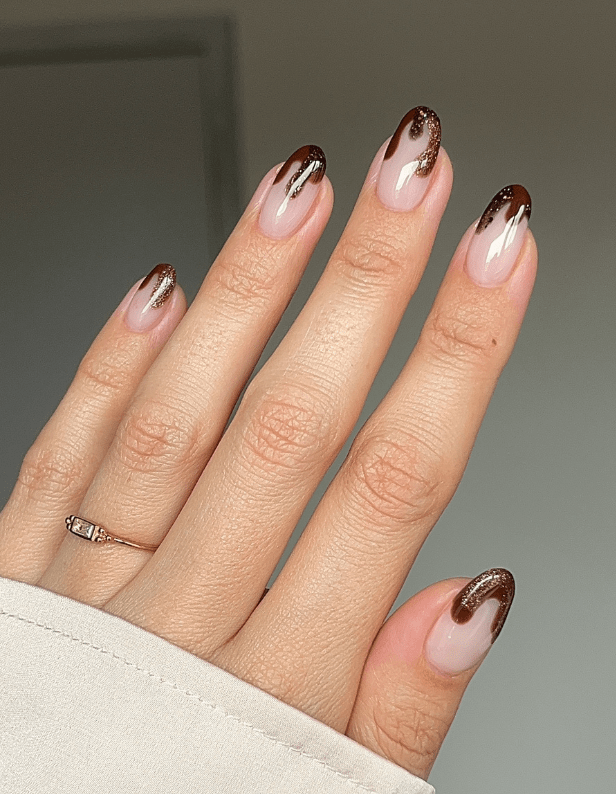
It’s time to indulge in the sweetest trend of the season: Chocolate Nails! Chocolate brown nails are an absolute must this autumn and winter. With this nail art look, we’re excited to add a unique and playful twist to the trend. Imagine rich, glossy chocolate dripping from your nails—mouthwatering, isn’t it? In this blog, we’ll guide you step by step on how to create these chocolate nails and transform your nails into a tempting treat!
Start with your usual nail prep routine and apply your favourite base coat. Finish this look with a top coat.
Step by step

Step 1
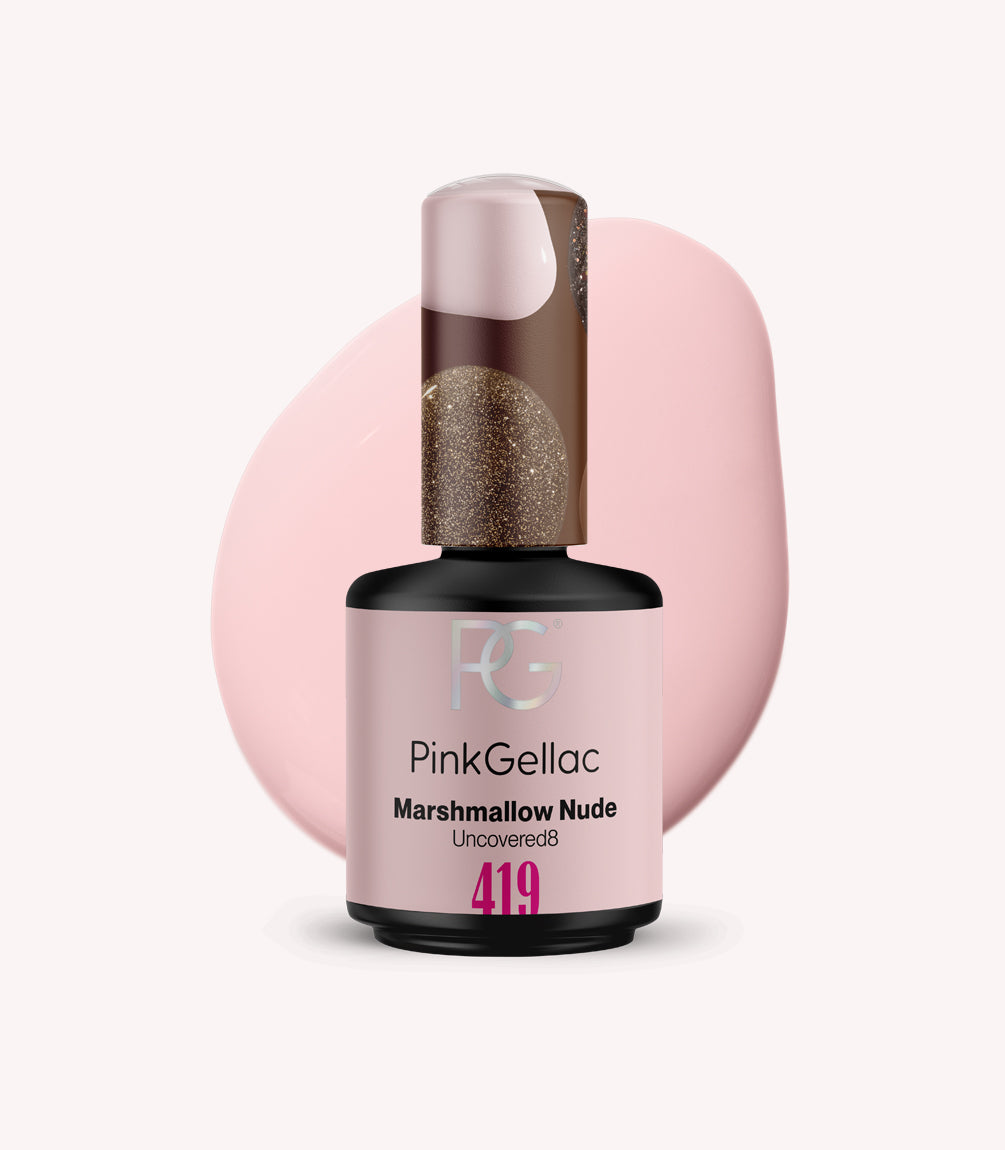
Apply a layer of 419 Marshmallow Nude over the entire nail. Cure for 60 seconds under the LED lamp. If you want more coverage, you can apply a second layer.
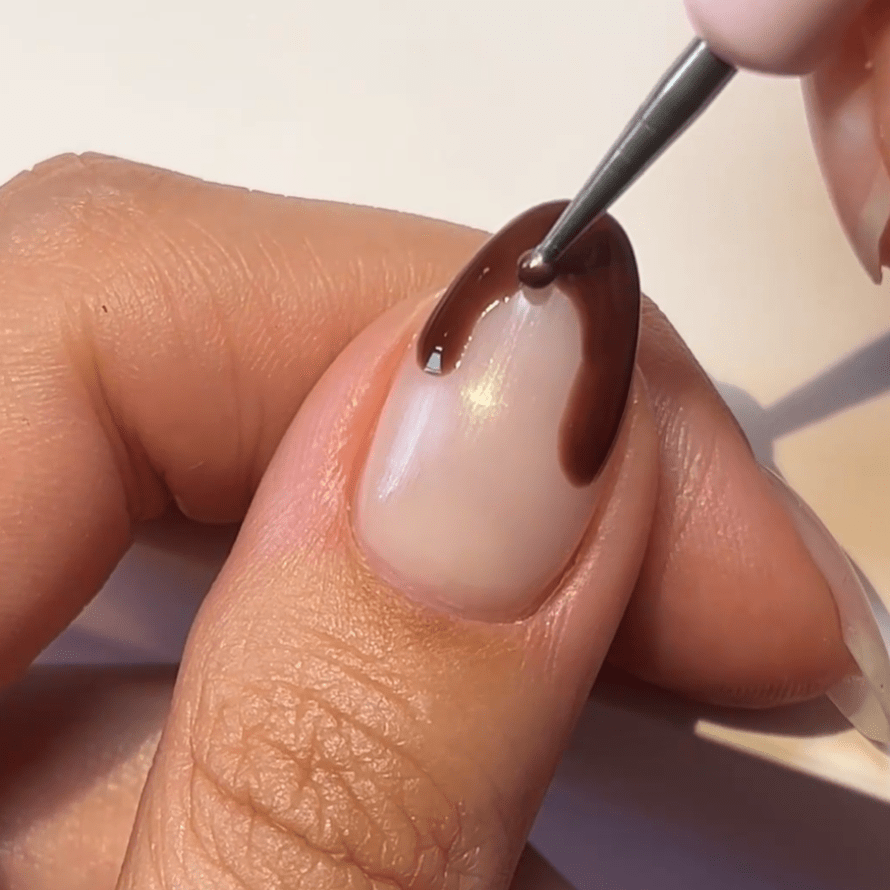
Step 3
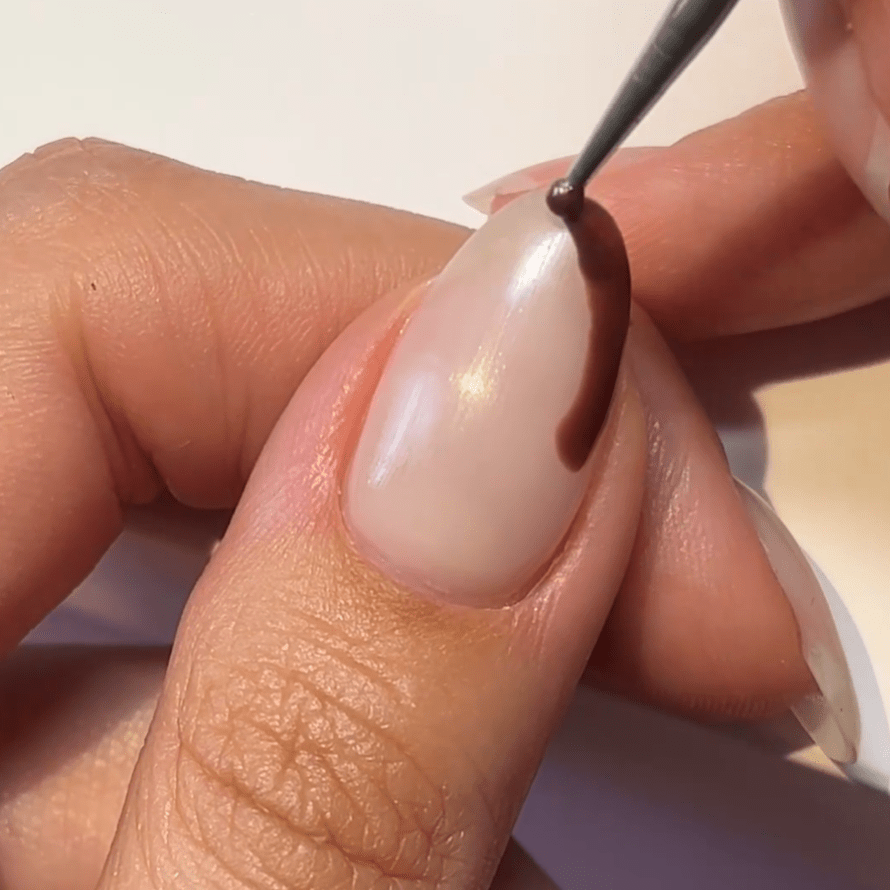
Create a second drip so that the look resembles a half-moon, as shown above. Cure for 60 seconds.

Step 4
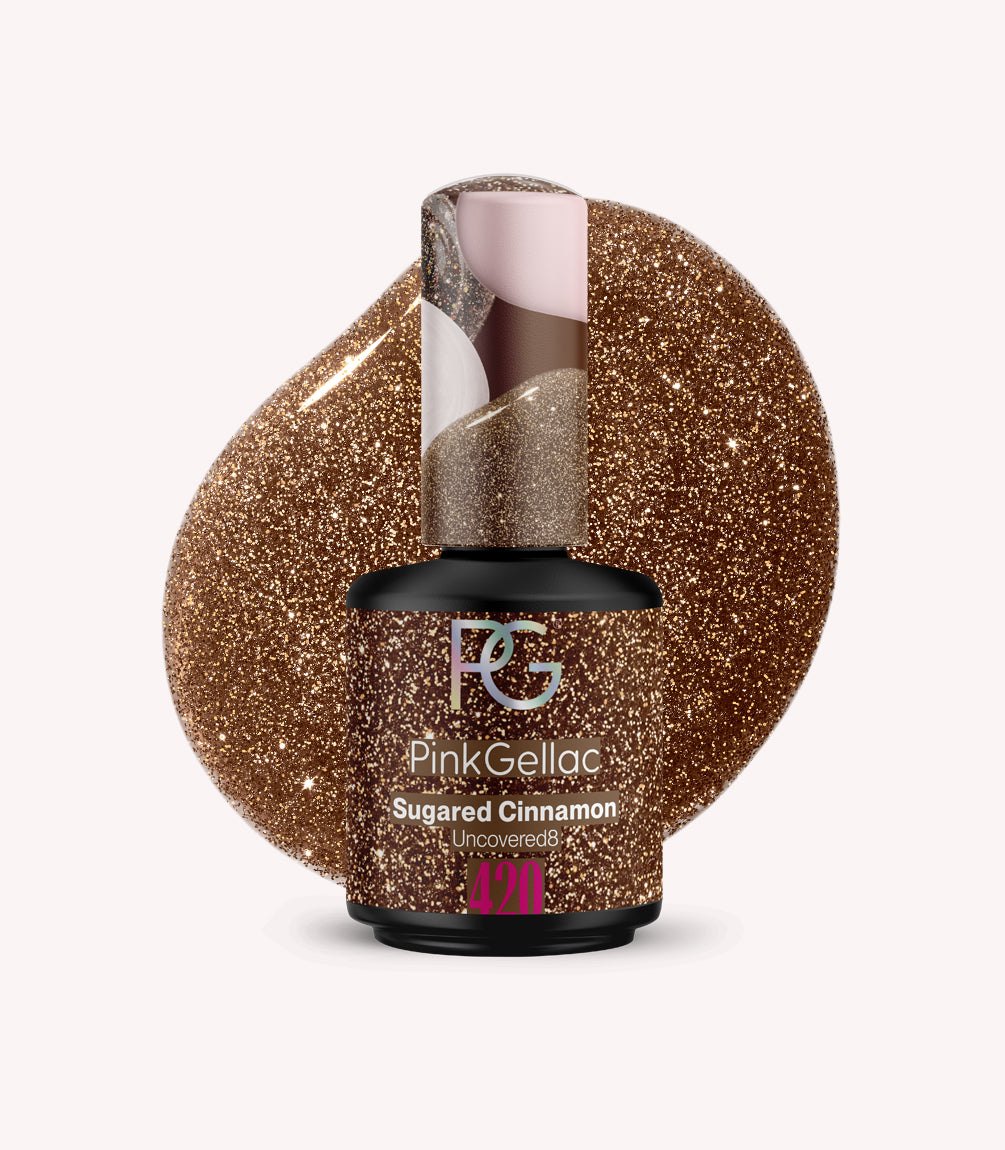
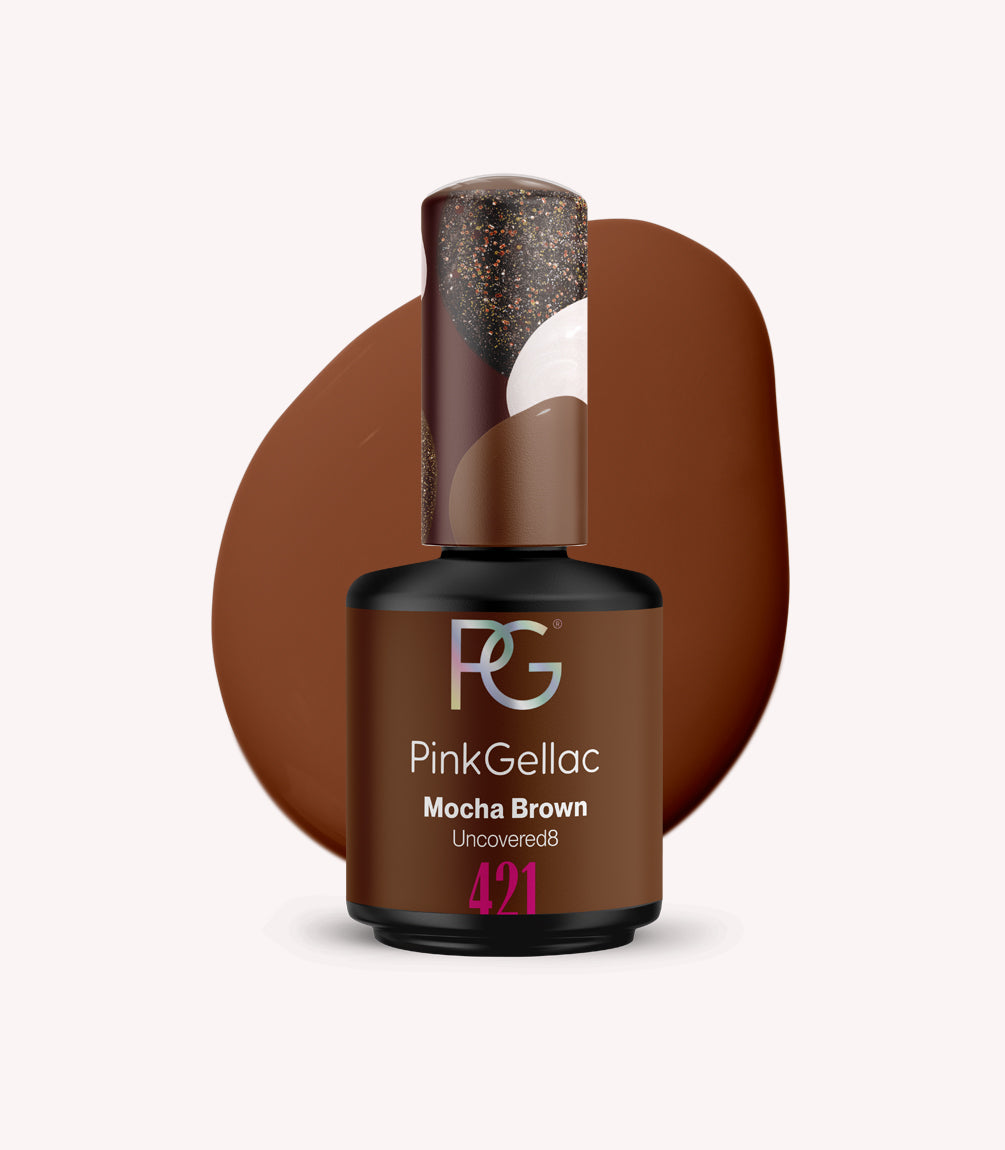
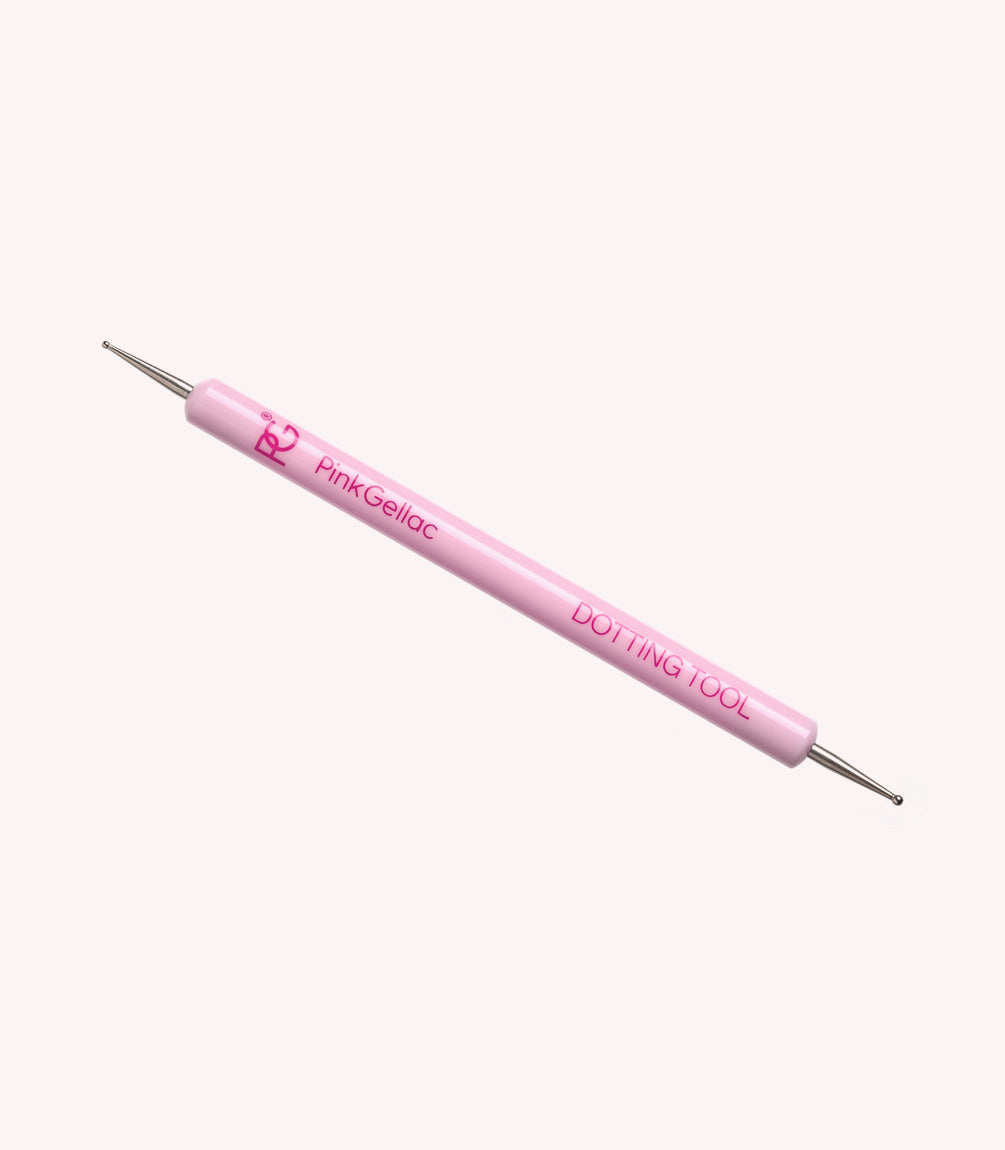
Take the second colour, in this case, 420 Sugared Cinnamon, on the Dotting Tool. Create another similar half-moon, but place it slightly differently and make it a bit smaller. Cure for 60 seconds.

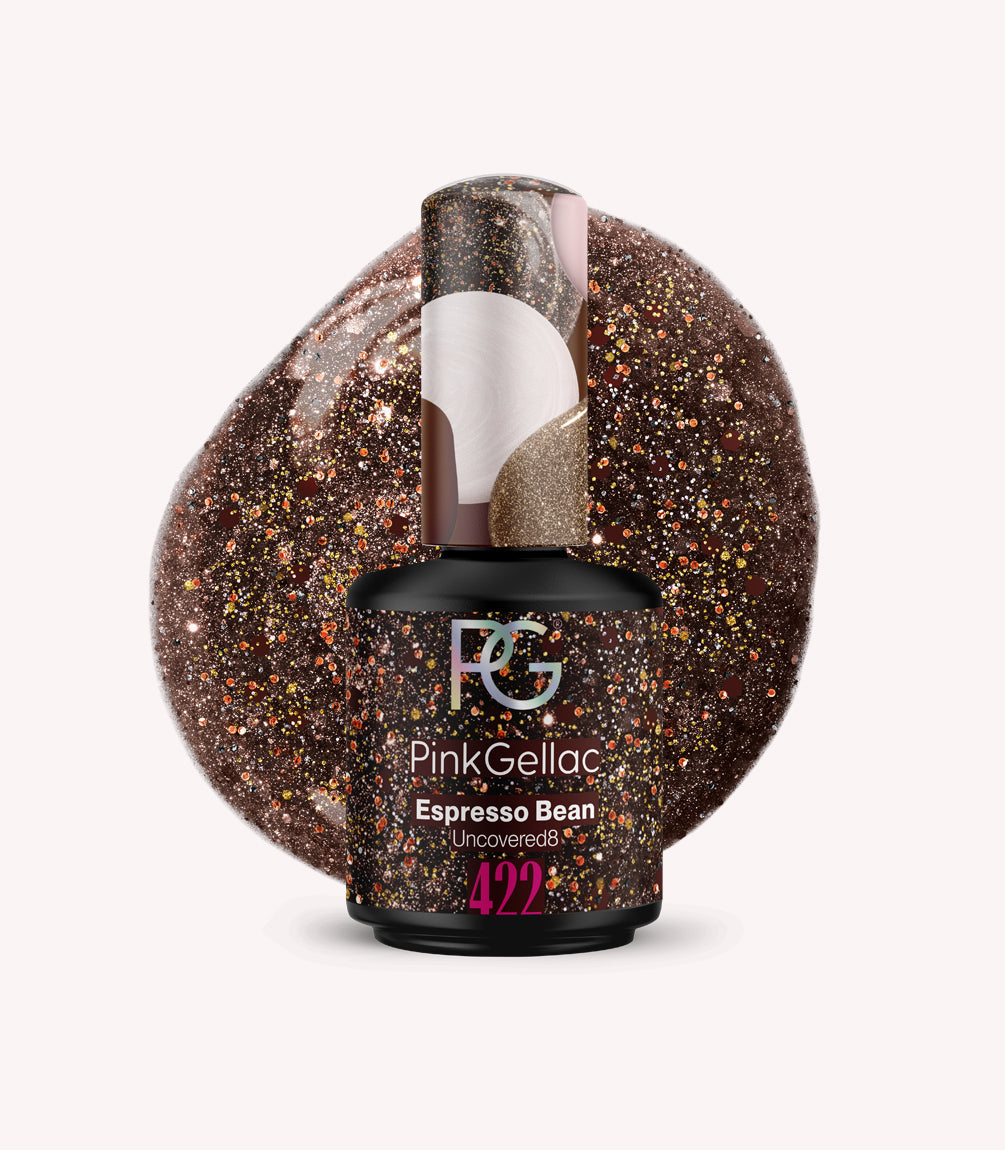
The great thing about these chocolate nails is that each nail doesn’t need to be exactly the same or symmetrical. In fact, it adds a playful effect if each nail is slightly different. For this look, 422 Espresso Bean was also used on some nails as an extra touch or as a substitute for 420 Sugared Cinnamon.
Are you going to recreate these chocolate nails? Share your creation and tag us! Use @pinkgellac or #pinkgellac so we don’t miss out!
