Prep your nails
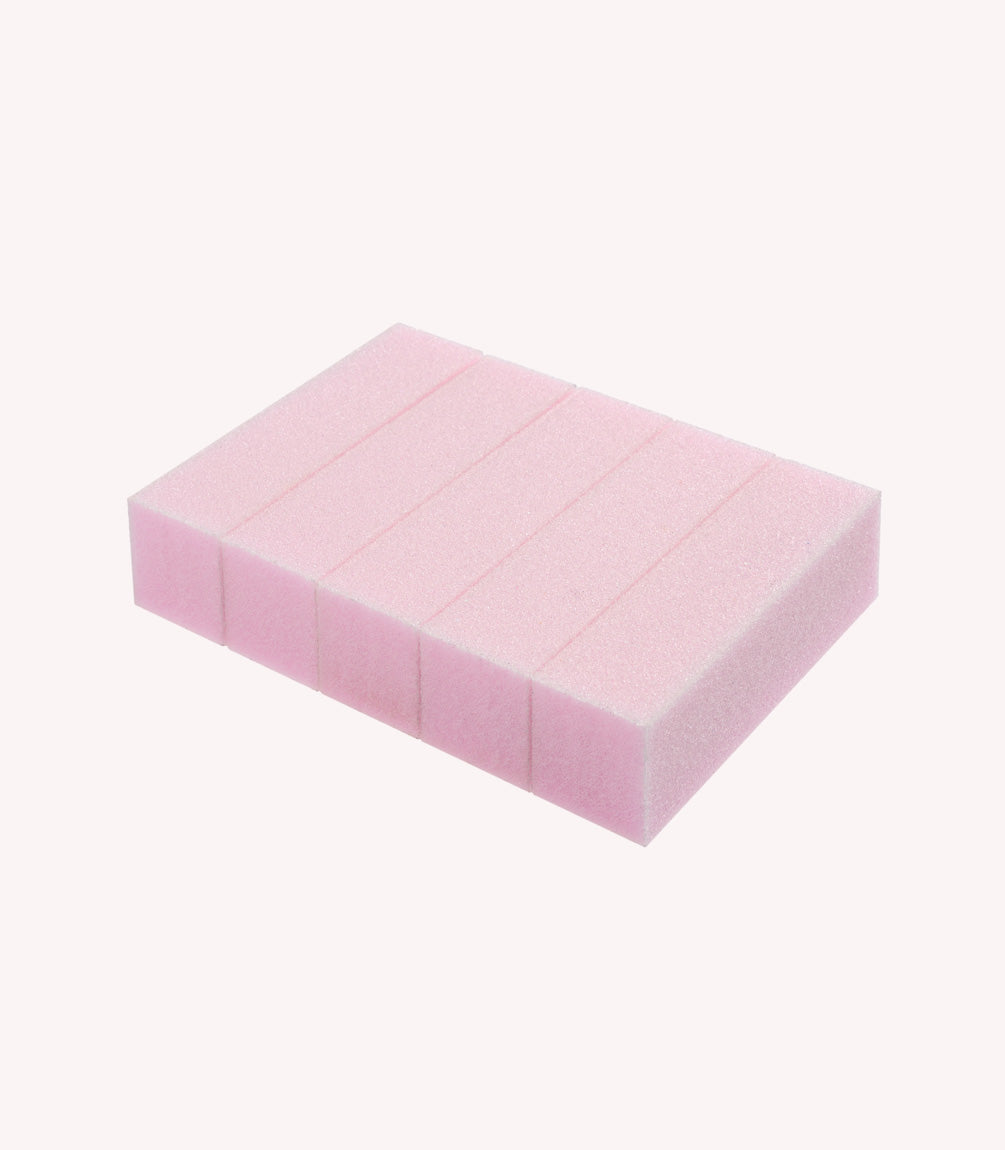
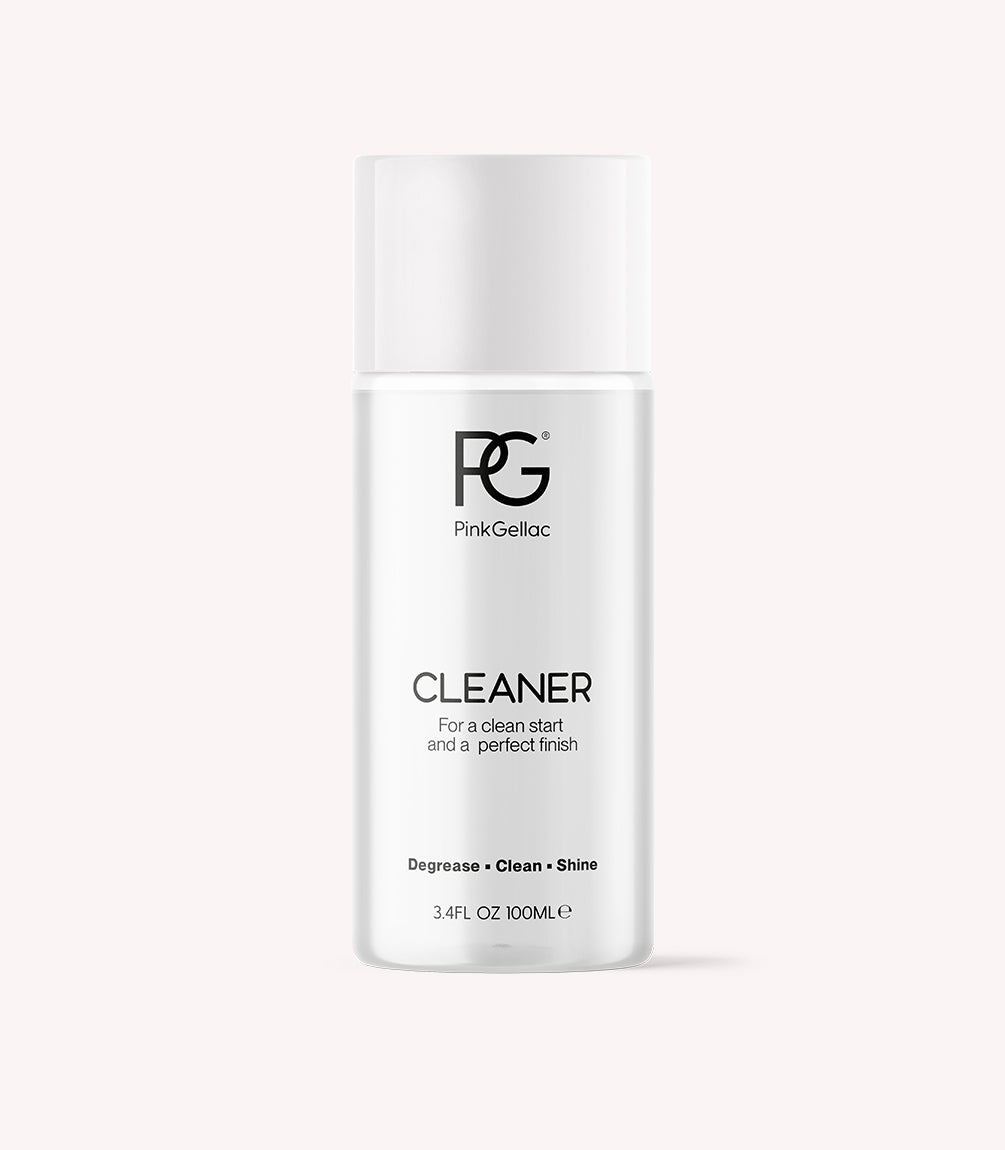
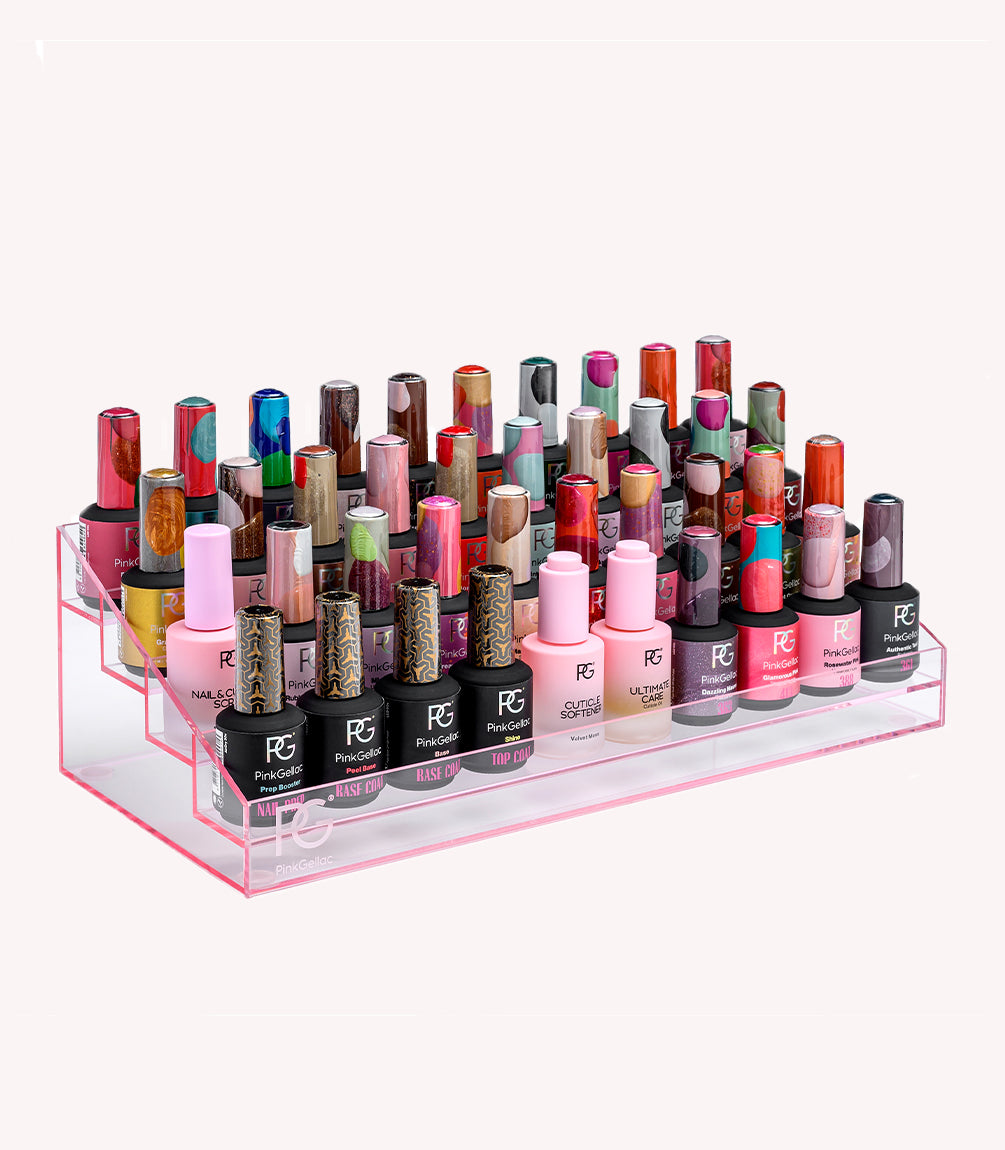
Prepare your nails by filing them into the desired shape. Remove the natural shine from your nails with the polishing block. Use the Cleaner to clean and degrease your nails. Apply the Prep Booster and let it air dry for 30 seconds.

Step 1 – Apply Base Coat
Apply the Base and let it cure for 60 seconds under the LED lamp.

Step 2 - Apply a sheer colour
Choose a gel polish colour with a sheer finish to use as a base colour. Gel polish colours with a sheer finish will not completely cover your nails, but rather leave a glow of colour. 388 Rosewater Pink and 339 Ballerina Pink are the perfect colours when you want to 'blur' the nail plate. Apply the colour to all nails and let it cure for 60 seconds under the LED lamp.

Step 3 - Apply 396 Pastel Petals
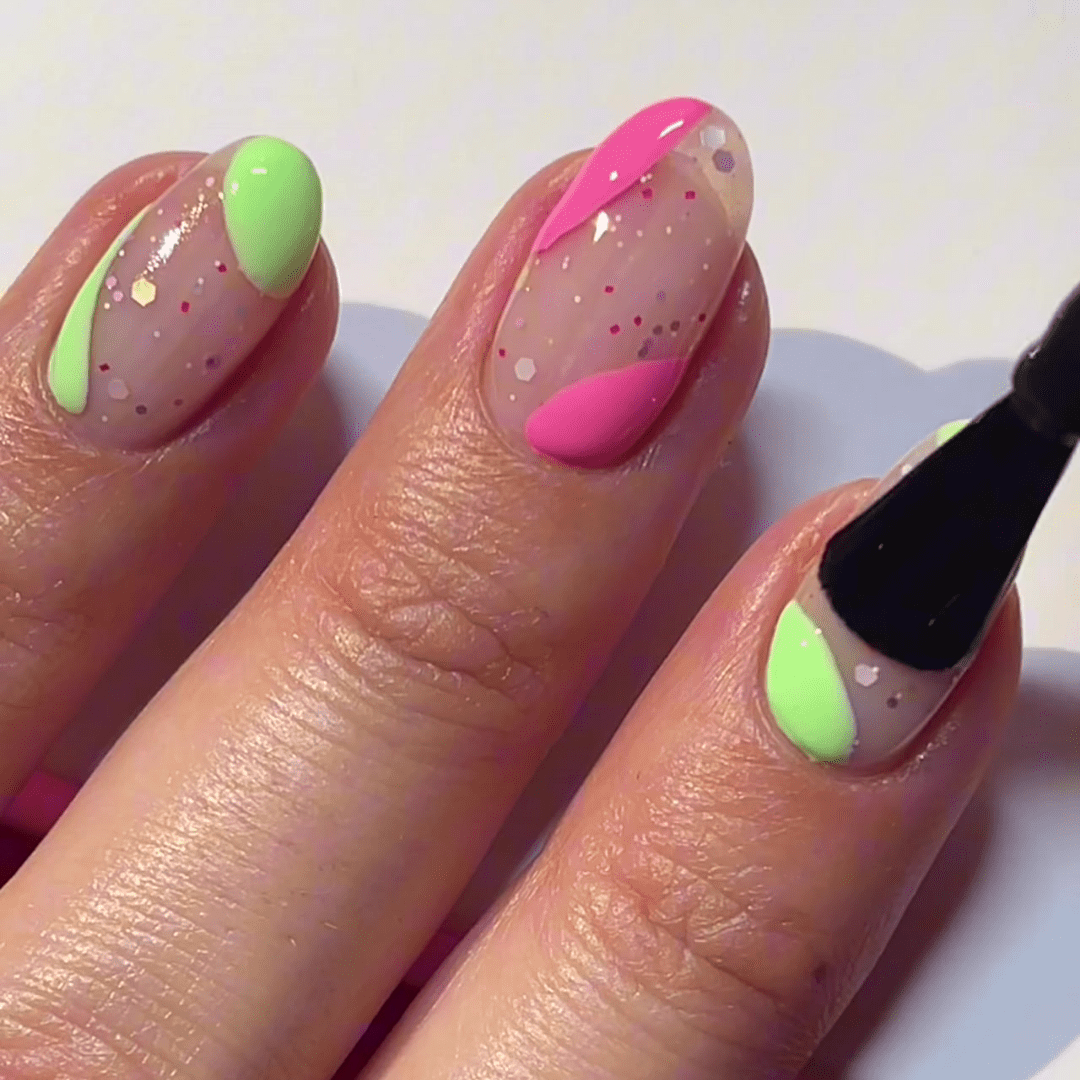
Apply a layer of 396 Pastel Petals on all nails. Spread the confetti particles on the nails as desired with a Dotting Tool and leave to cure for 60 seconds under the LED lamp.

Step 4 - Apply nail art
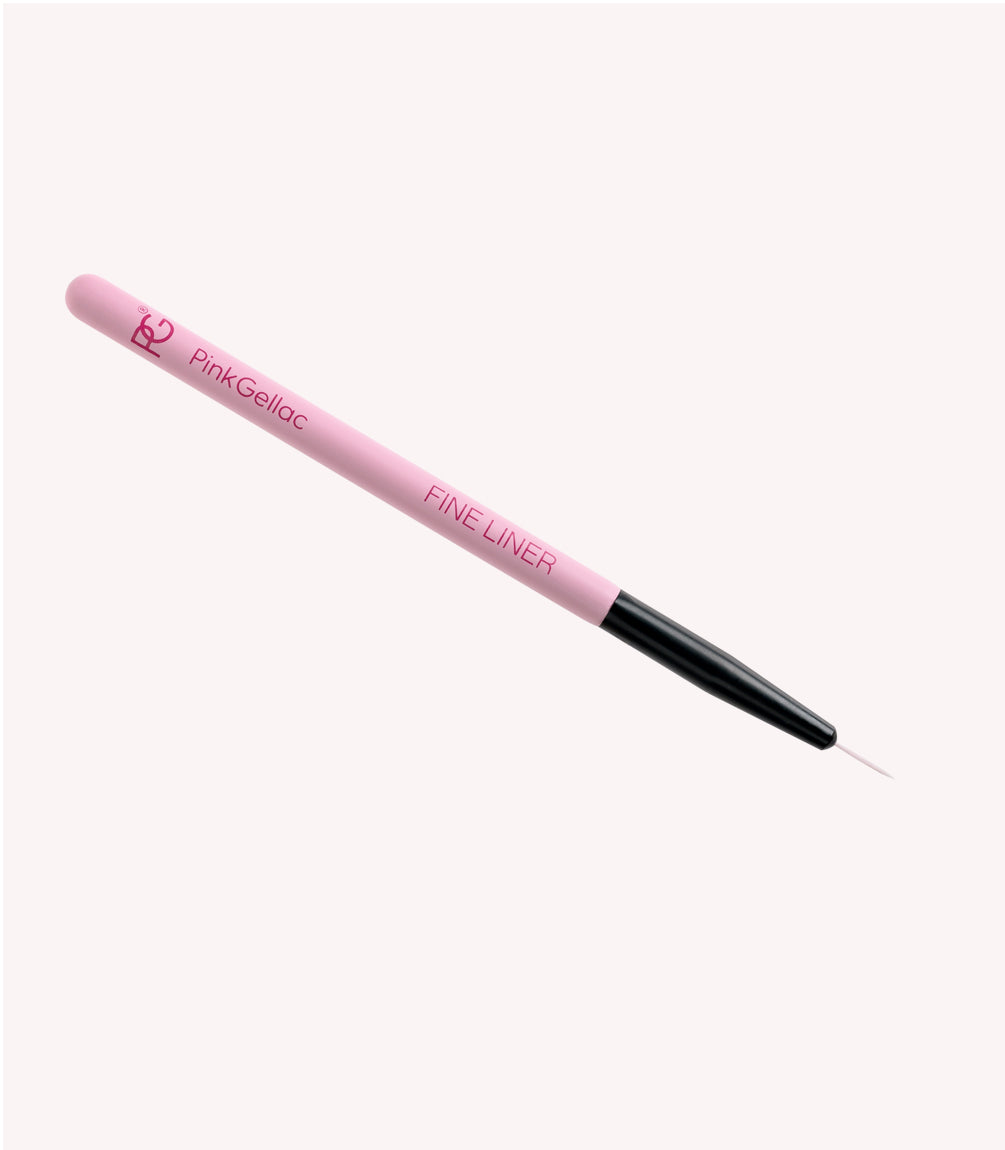
Take a little of 395 Vibrant Pink on your Fine Liner and draw a line from under the cuticle downwards.

Step 5 - Apply nail art
Again, take a small amount of polish on your brush and draw a rounded line on the other side of the nail. Fill in this line with polish and let it cure in the LED lamp for 60 seconds. Now repeat step 4 with 397 Lively Green on another nail. You can repeat this step again if you want to add the design to all nails.
Step 6 - Apply Top Coat
Apply a layer of Shine top coat and let it cure for 60 seconds under the LED lamp. After this, take off the sticky residue with a Nail Wipe with Cleaner.

With the perfect combination of these new colours, your nails will give you an instant spring sensation! Don't forget to share your creations with us on social media - we can't wait to see how you brought this design to life! Stay tuned for more tips, tricks and trends. Until next time, keep blooming and shine bright!
