

11 February 25
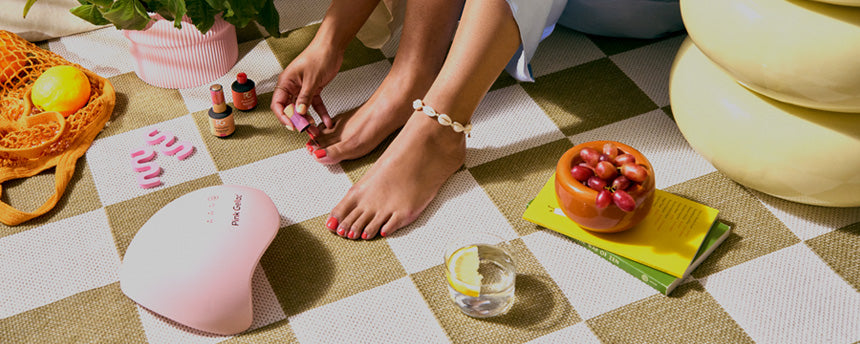
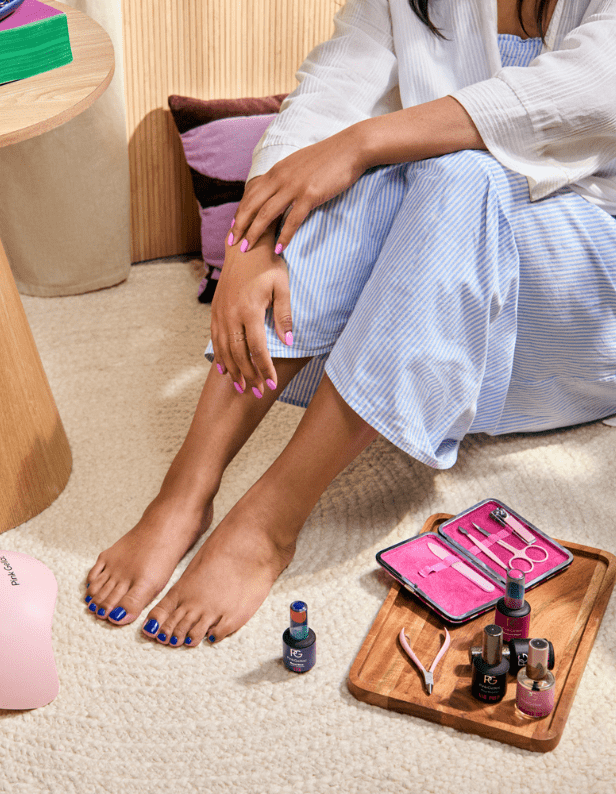
Did you know that you can use your gel polish on your toenails as well? All your Pink Gellac products are multifunctional, they can be used the same way for both feet and hands. Comparing it to a regular polish pedicure, a gel polish pedicure lasts longer without any damage and the shine will give you a premium salon look. Because the gel polish dries instantly after curing under the LED lamp, you don't have to worry about stepping straight into your shoes immediately after. We would like to tell you more about how to do a gel polish pedicure yourself from home.

Treat Yourself
Time for some self-care! Fill a foot bath with warm water and if you want to, add an oil of choice for extra soft feet. Soak your feet for 10 minutes. Then, remove them from the foot bath and pat them dry with a towel.
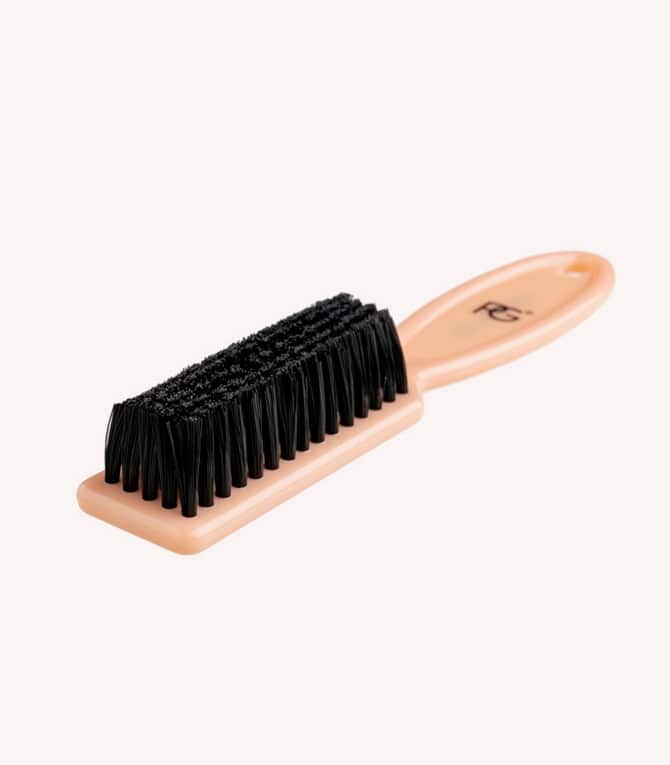
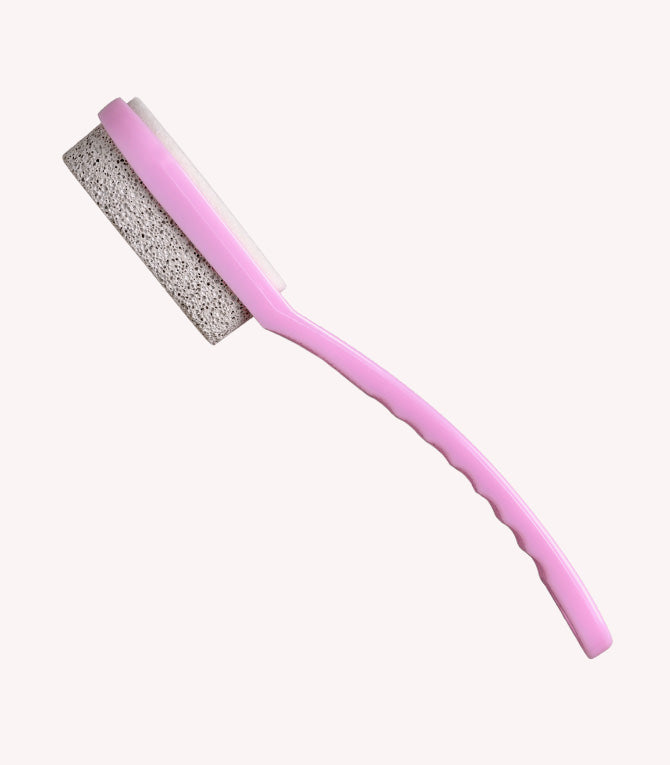
It is important to keep your feet slightly damp, whenever you are going to use the foot file. Wet the pumice stone side of the file and gently scrub away the calluses on your heels and soles in a circular motion. Treat the rough spots extra with the finer grit of the foot file. When you are done with all this, rinse your feet thoroughly and dry them well with a towel.
To finish off your home spa treatment, massage your feet with moisturising cream. Wait at least an hour before application of gel polish or do this the day before.
Applying the gel polish
Step 1: Prepare the nails
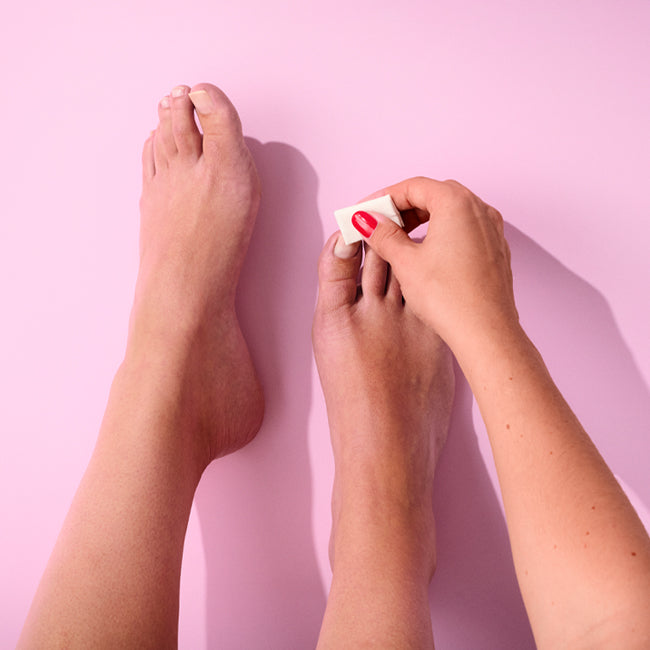
Follow the steps for perfect nail prep routine. Trim and file your toenails if necessary in preferred length. Don't forget to buff the nails and clean using the Cleaner on a lint free Nail Wipe. Use the Toe Separators to spread the toes for easy application without accidentally bumping against each other. Before you apply your gel polish, apply a thin layer of the Prep Booster to the full nail and let this air dry for 30 seconds.
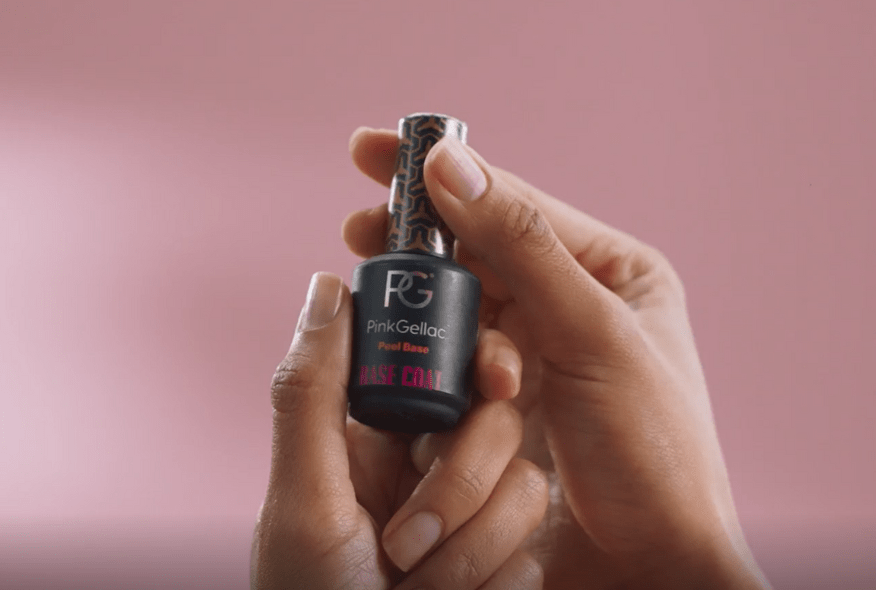
Step 2: Apply the Base Coat
Apply a layer of your favourite Base Coat and let it harden for 60 seconds under our Premium LED Lamp. Thanks to its removable bottom, it is really easy to place your foot under the lamp without bumping against the inside.
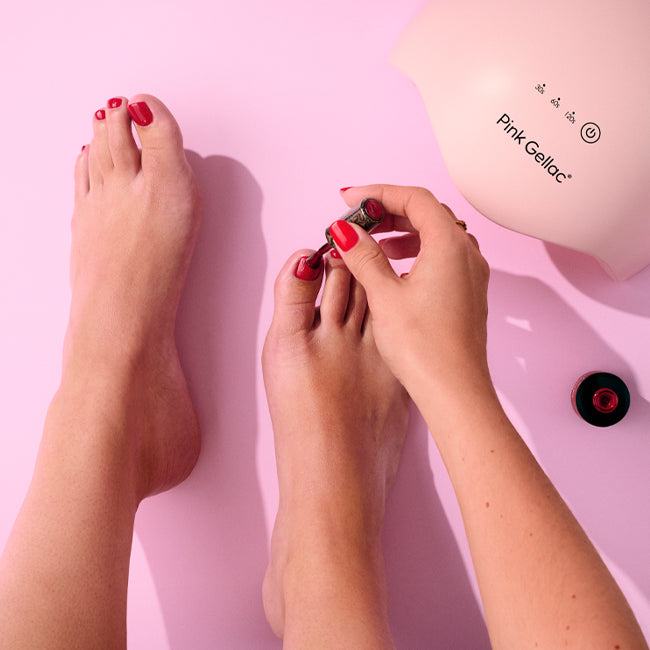
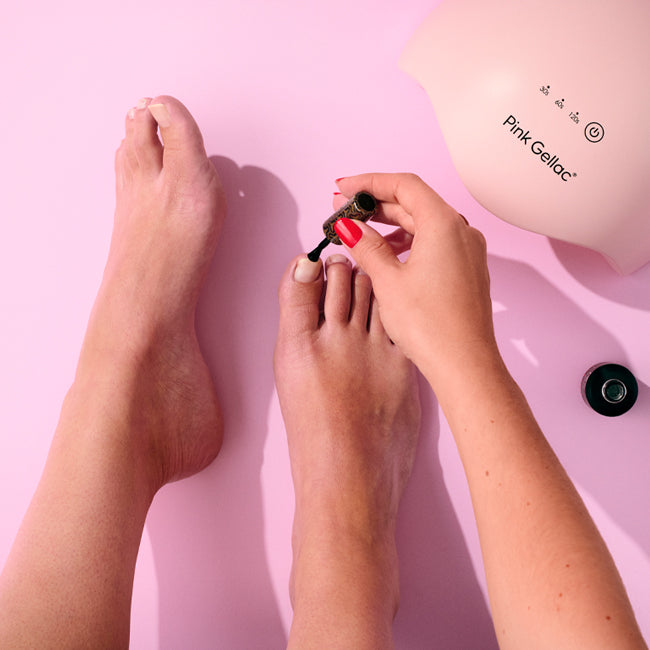
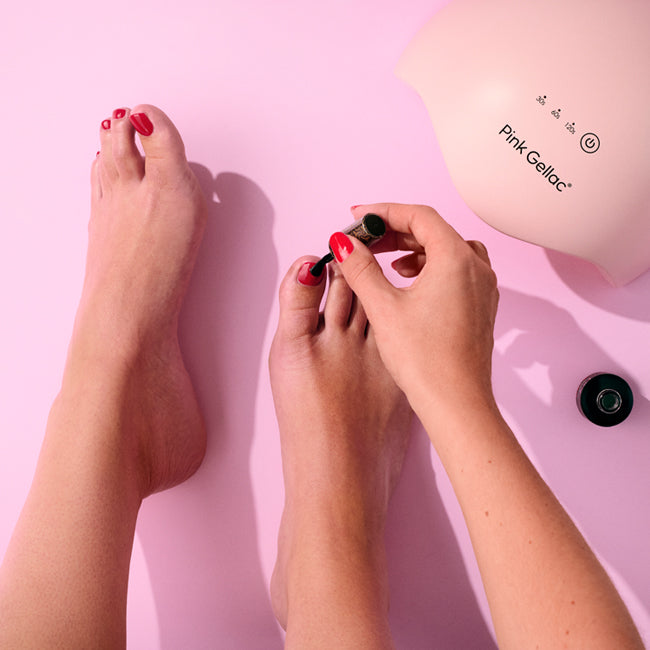
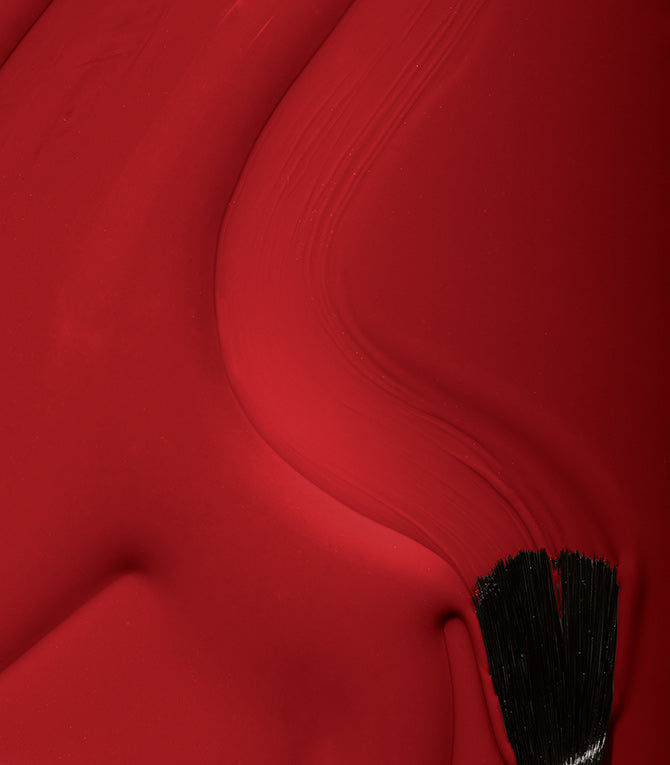
Step 3: Apply the gel polish colour
Time to shine for your favourite colour. Depending on your preferred coverage, apply 1 or 2 layers of this colour and cure each layer for 60 seconds in the LED lamp. Apply the polish in thin layers making sure to keep one millimetre distance from the cuticle. Got some on your skin? Clean it off while it is still wet using your finger or a tool (Orange Woodstick/Cuticle Pusher).
Step 4: Apply the Top Coat
Grab your favourite Top Coat and apply over the entire nail. Cure this for 60 seconds under the LED lamp. Did you happen to use the Shine Top Coat? Wait one minute and then remove the sticky layer with the Cleaner. Then, remove your Toe Separators and you can run off!
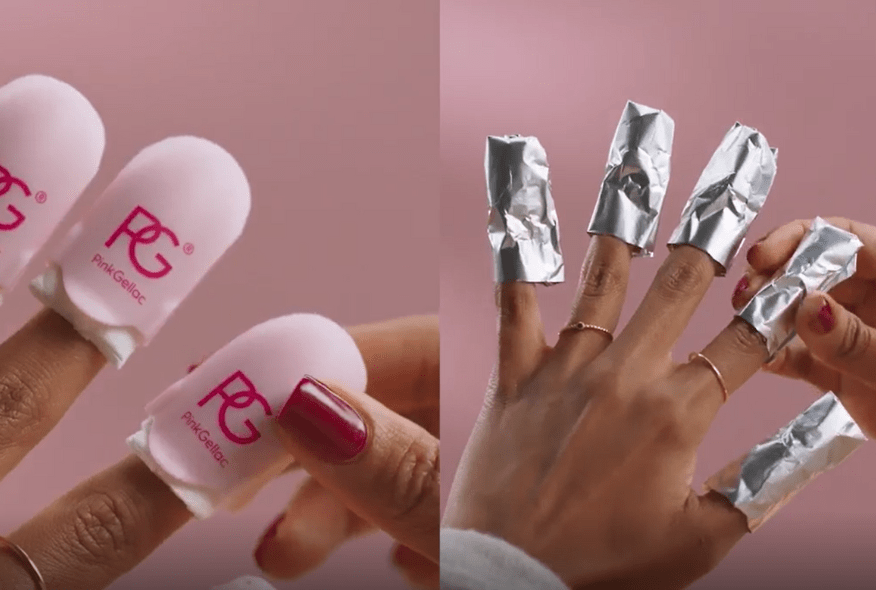
After Care
What about the maintenance of gel polish? It is important to use a Cuticle Oil regularly to keep your cuticles and nails hydrated.
Shop the essentials
View All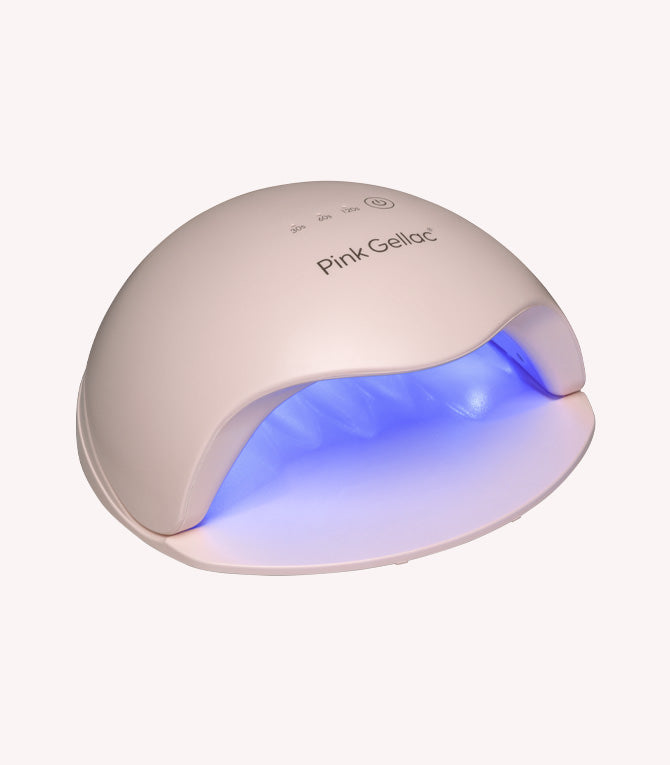
Multiple Colours Available
Ideal for hand & feet
Premium LED Lamp
59,00 €
Redeem with Pink Points
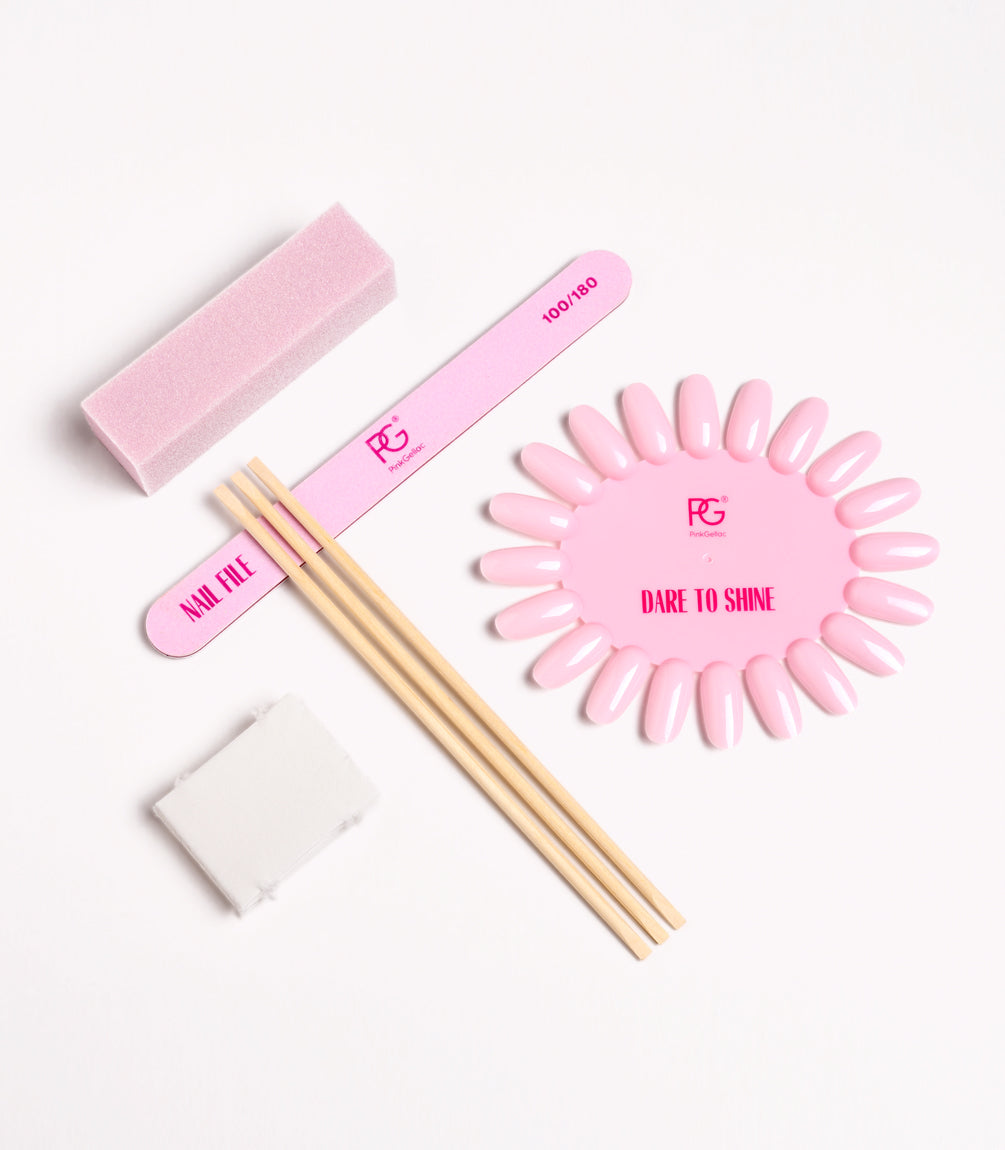
Manicure Kit
10,00 €
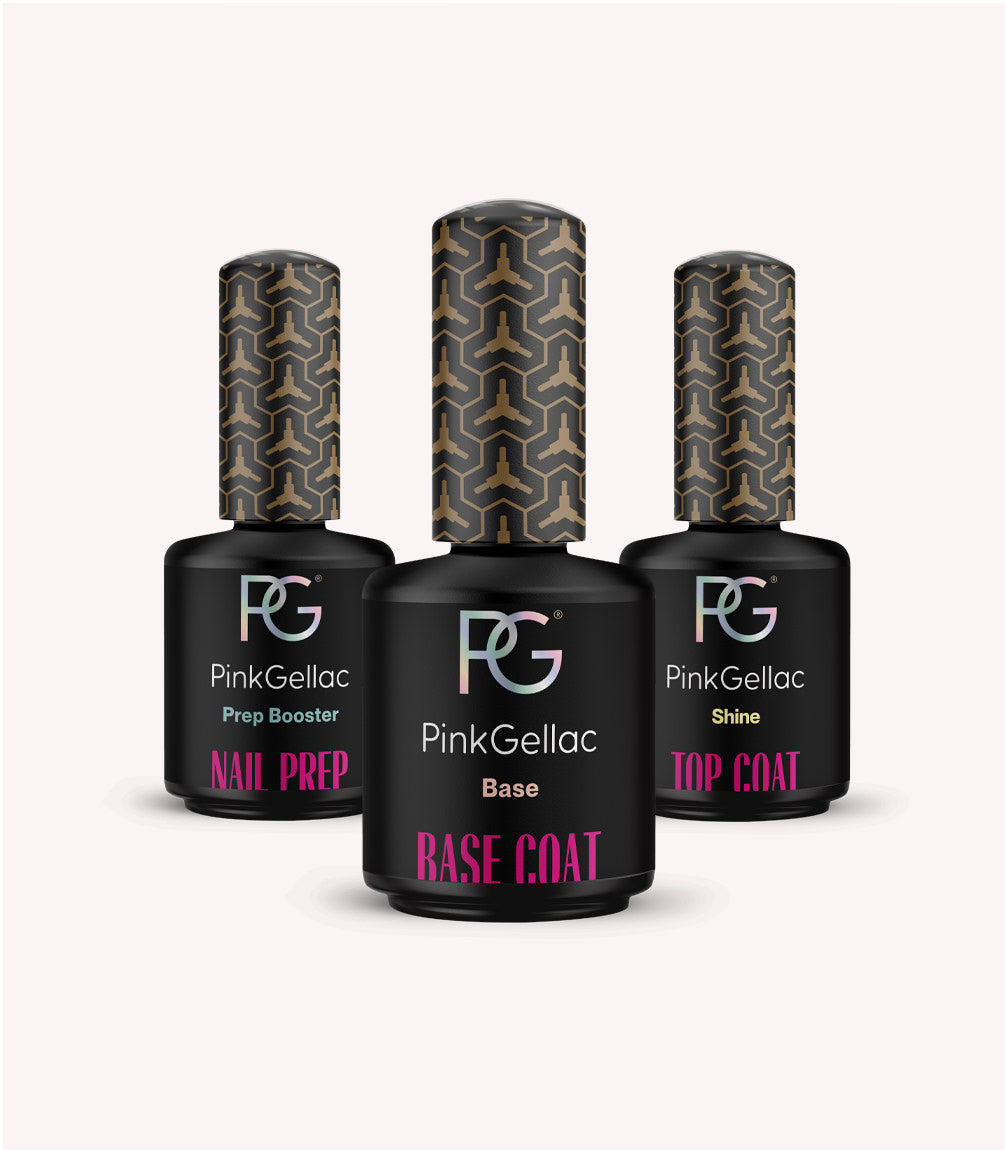
Base Essentials Set
45,00 €
Set value 51,00 €
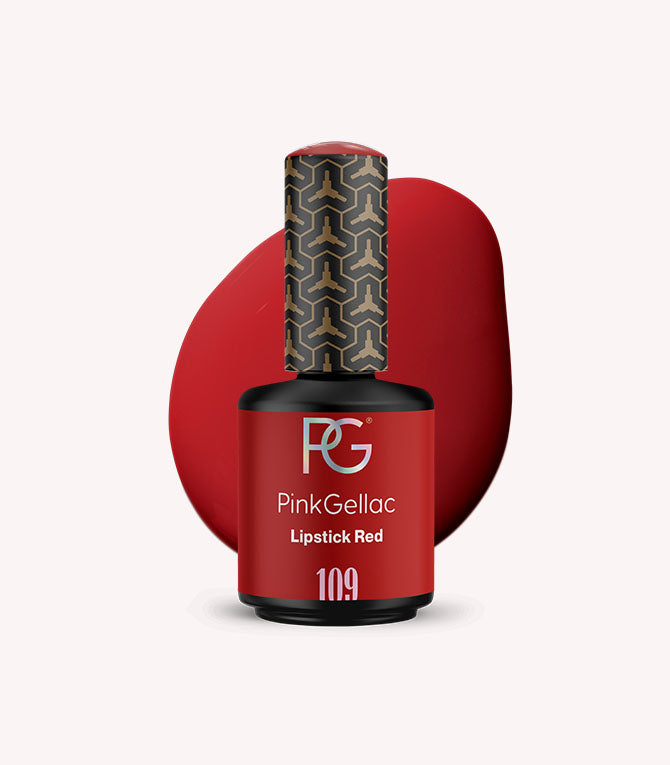
gel nail polish
109 Lipstick Red
14,00 €
Redeem with Pink Points
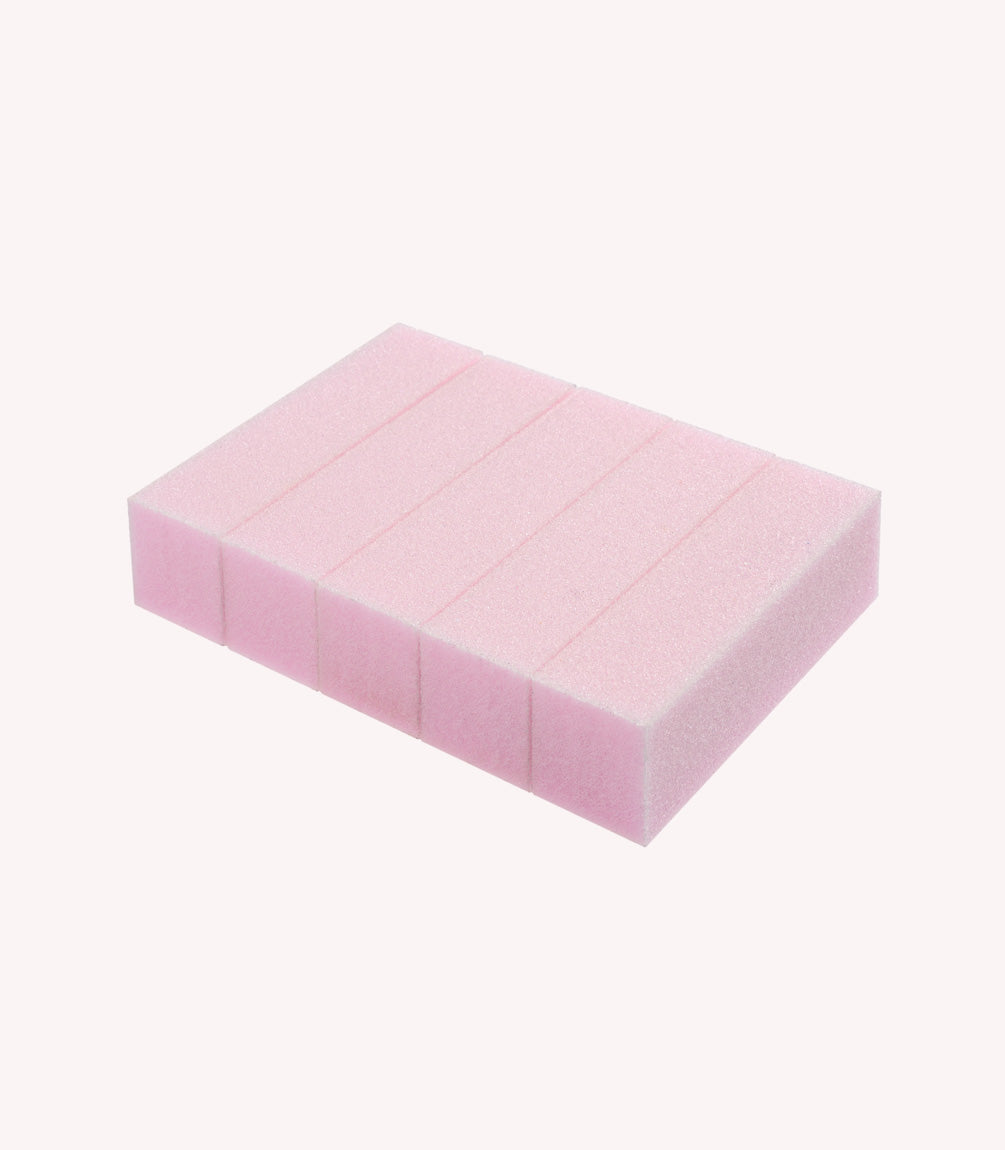
Foot File
8,00 €
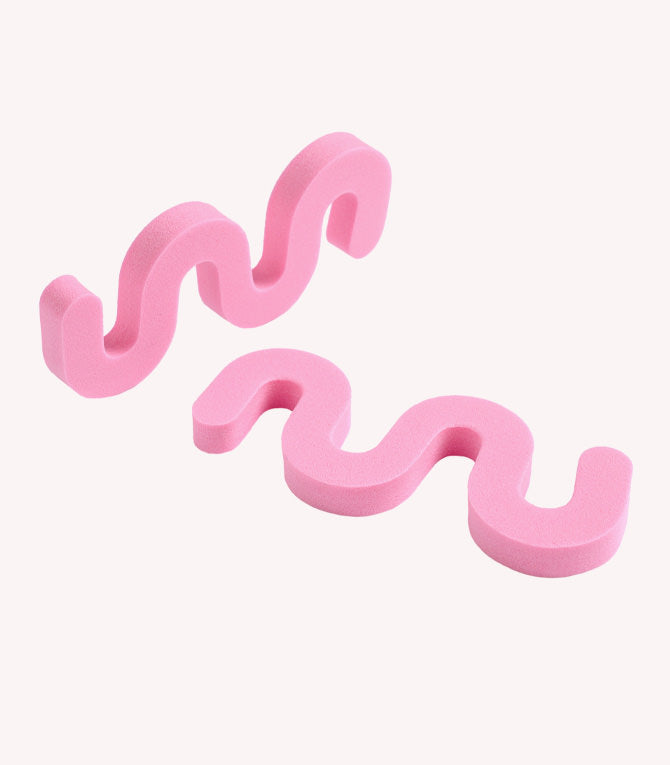
Toe separators
5,00 €