

How to use Cat Eye Gel Polish?
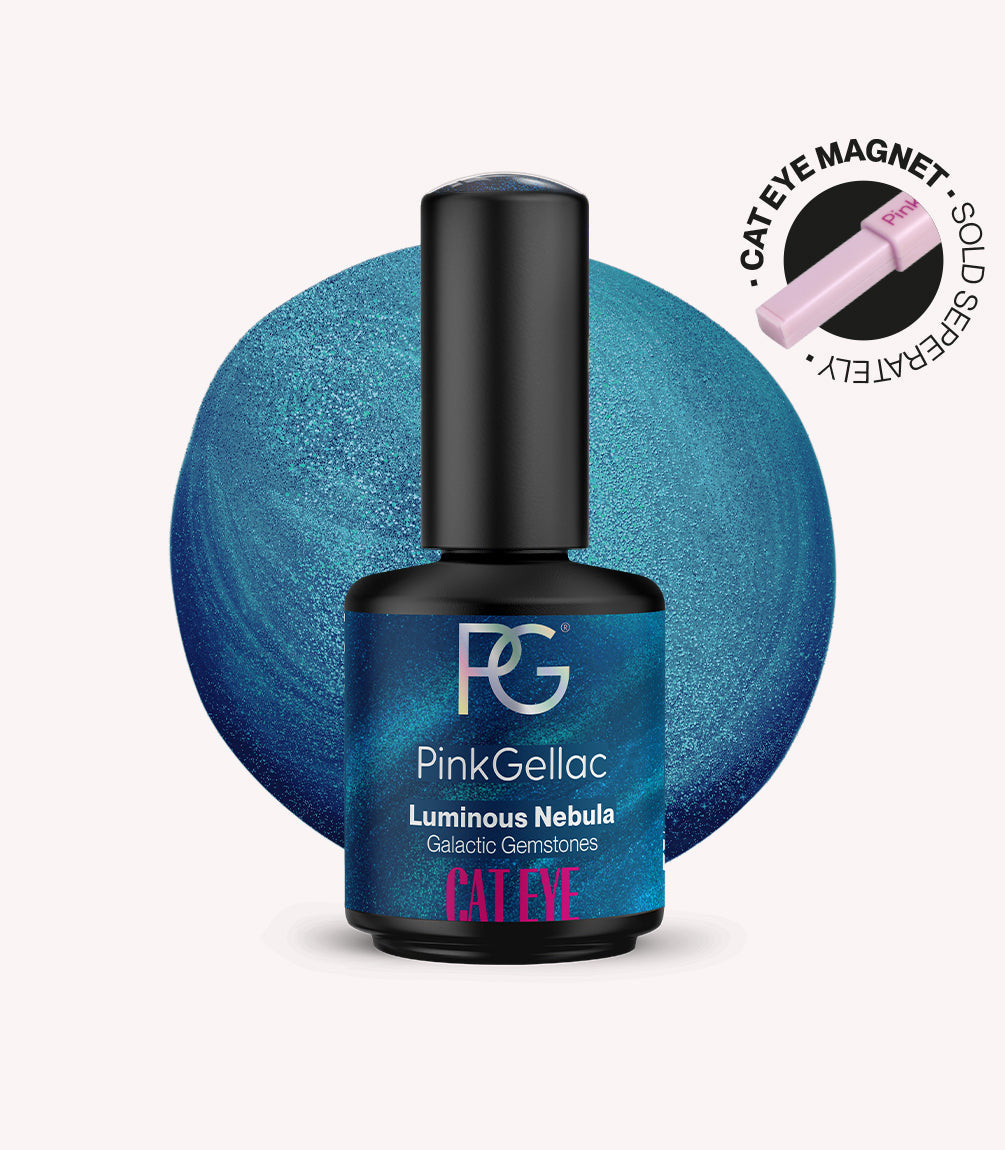
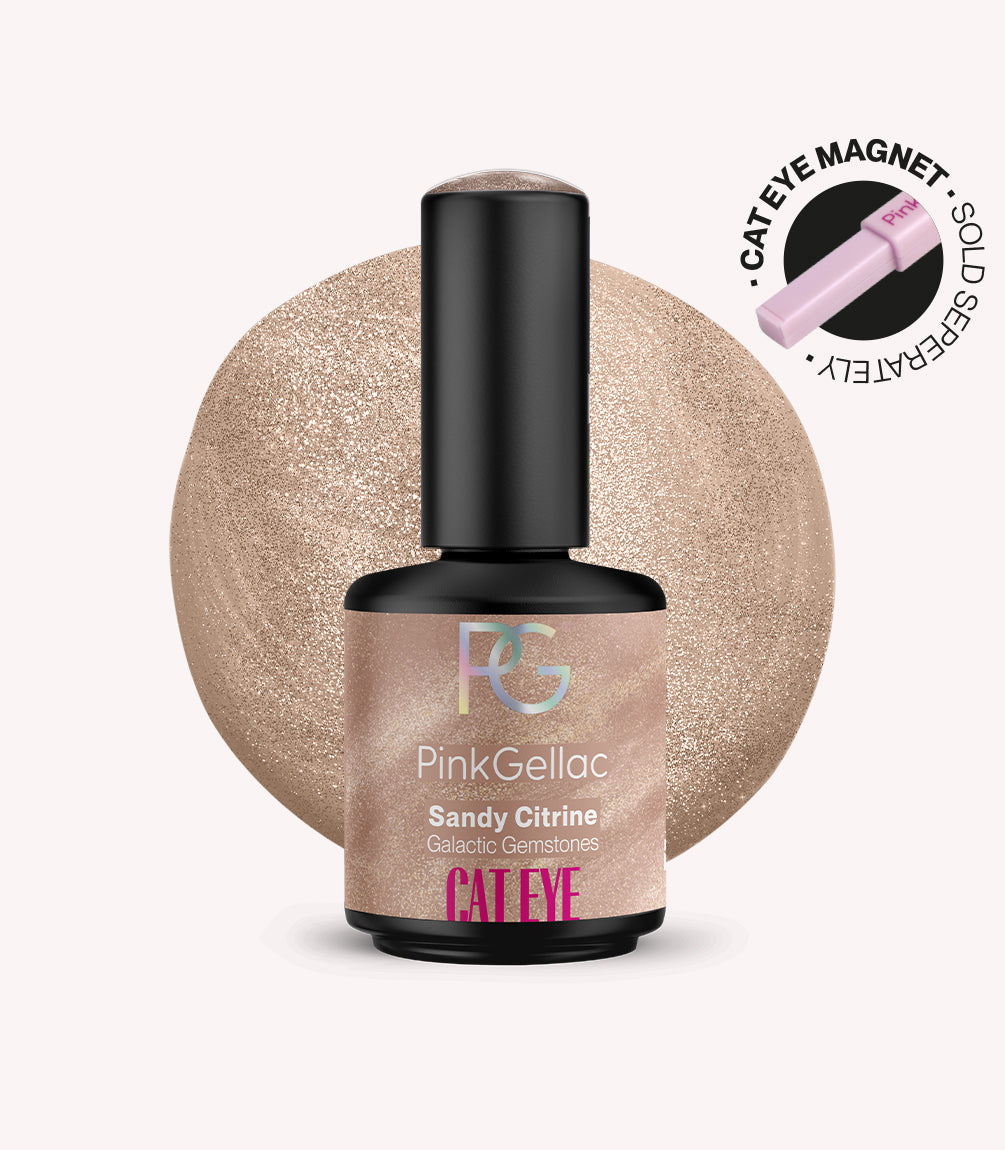
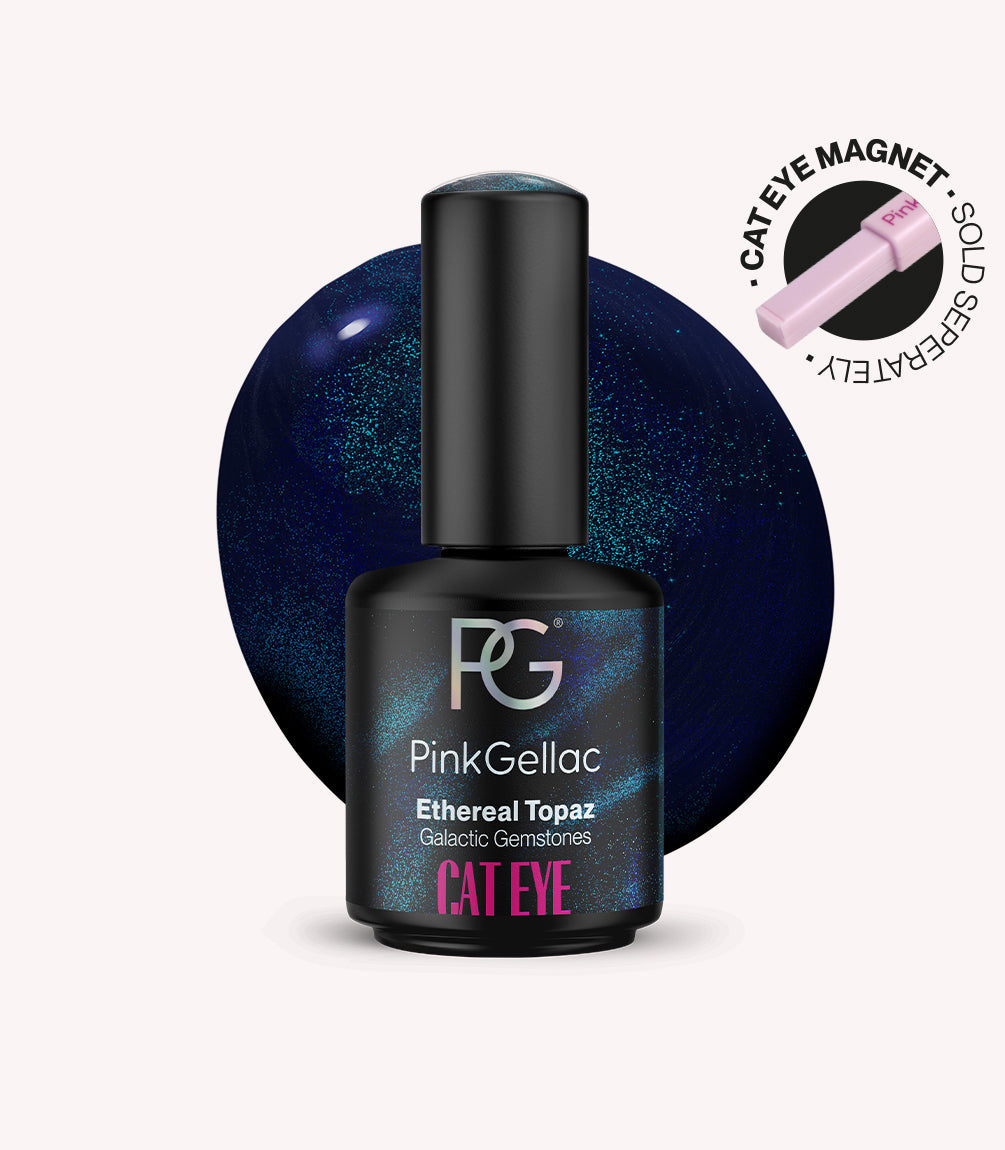
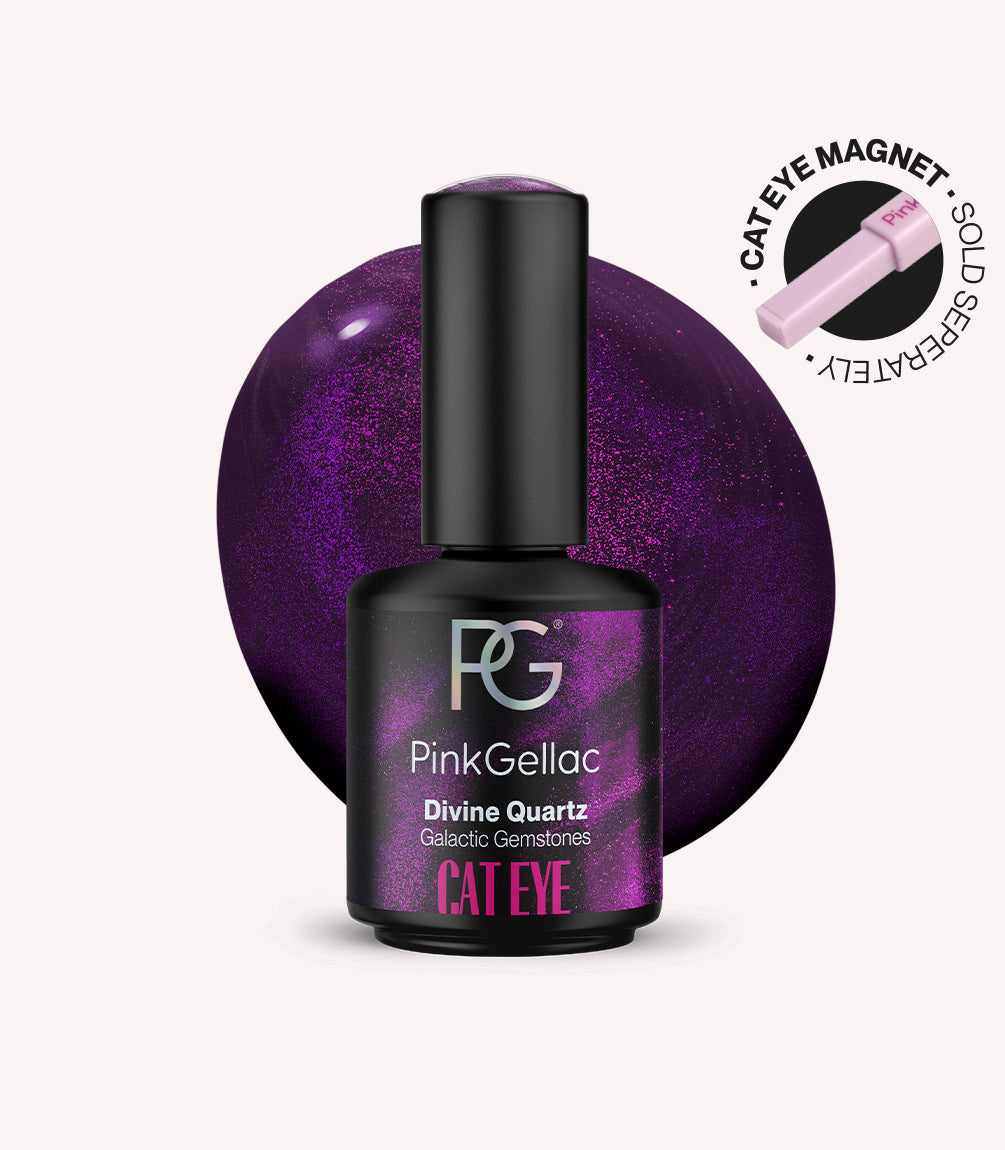
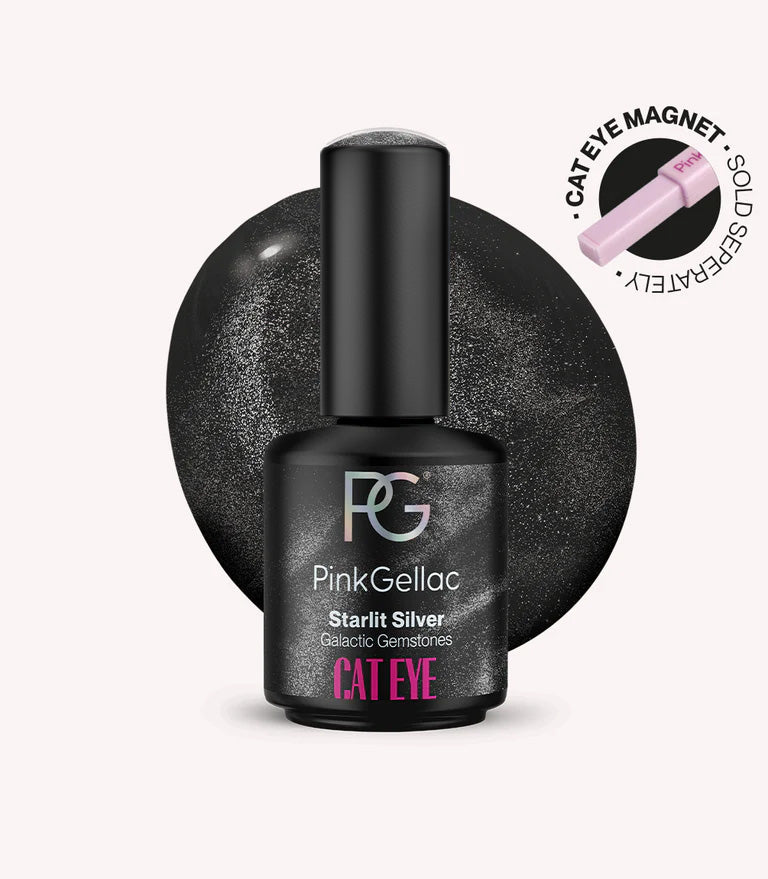
The Galactic Gemstones are a true favorite, which is why the Cat Eye collection has been expanded with three brand-new shades! Create endless possibilities using just one magnet and make your nails shine like never before. Applying Cat Eye gel polish is very similar to regular gel polish. The difference? With a Cat Eye Magnet, you can move the glitters to create a unique 3D look. We’ll walk you through the process step by step and share our tips and tricks for creating the most stunning Cat Eye nails.

Step 1
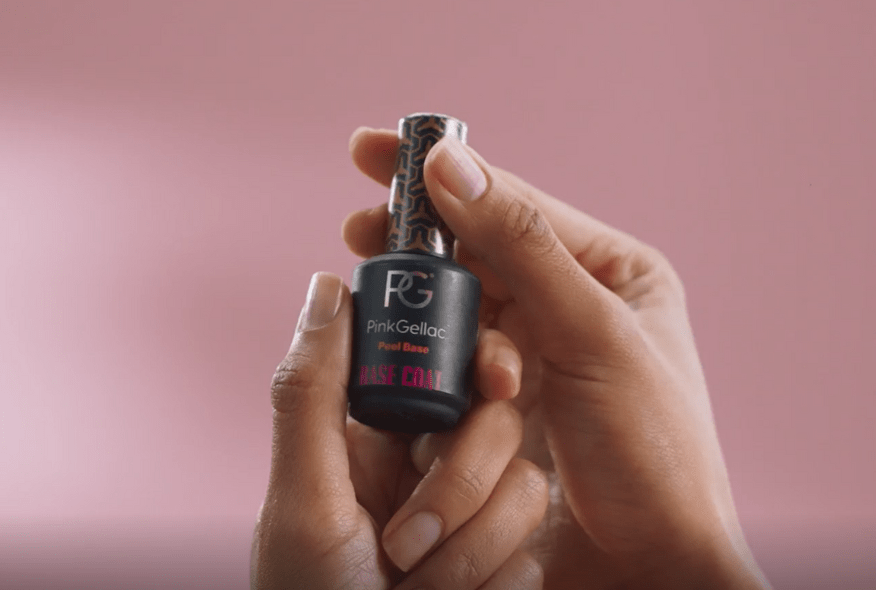
After your usual nail prep routine and applying a base colour, roll the bottle of Cat Eye gel polish between your hands to ensure all the glitters and pigments are distributed throughout the bottle. Then apply an even layer over the entire nail – but don’t cure it just yet! If you want extra coverage, you can add a second layer. In that case, cure the first layer for 60 seconds under the LED lamp.

Step 2
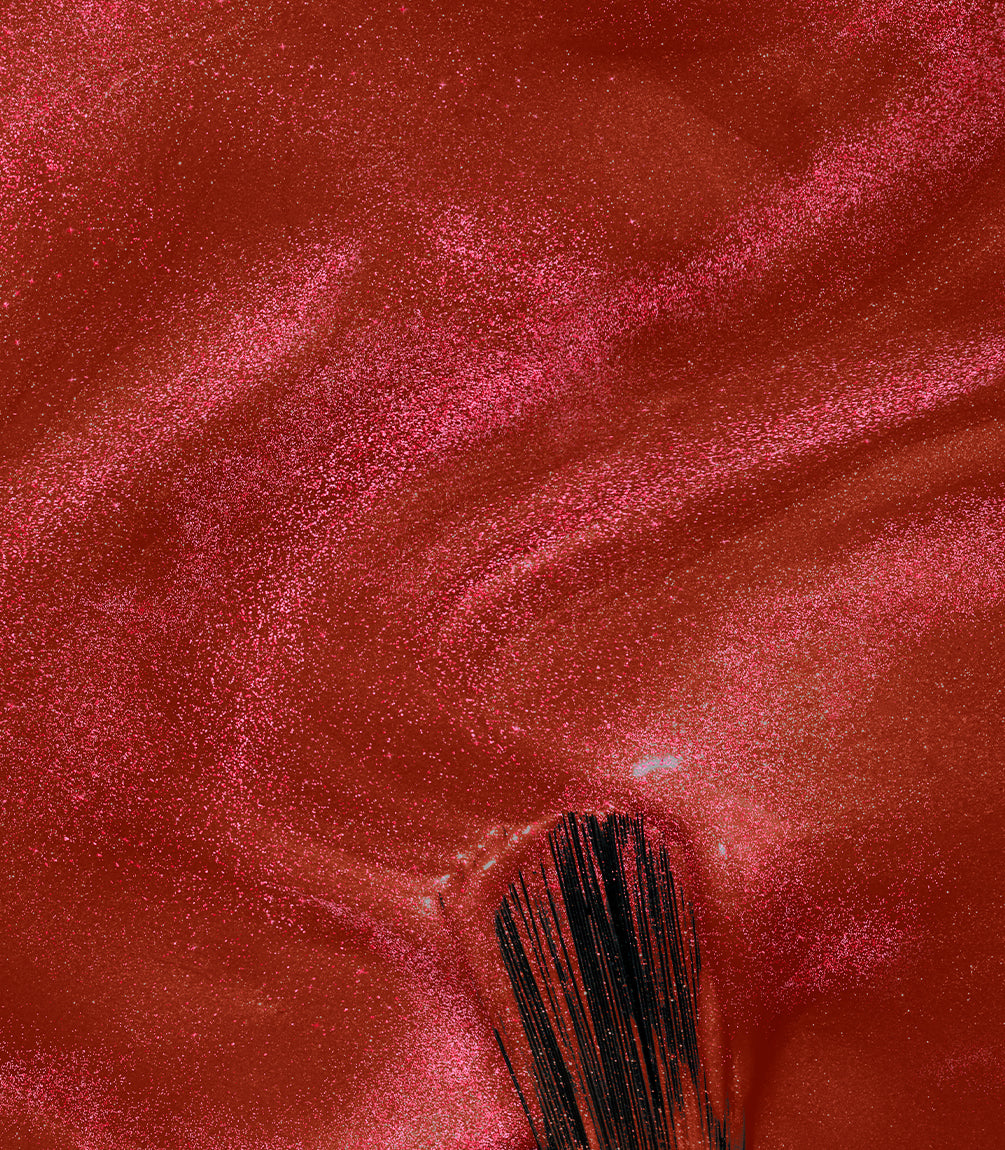
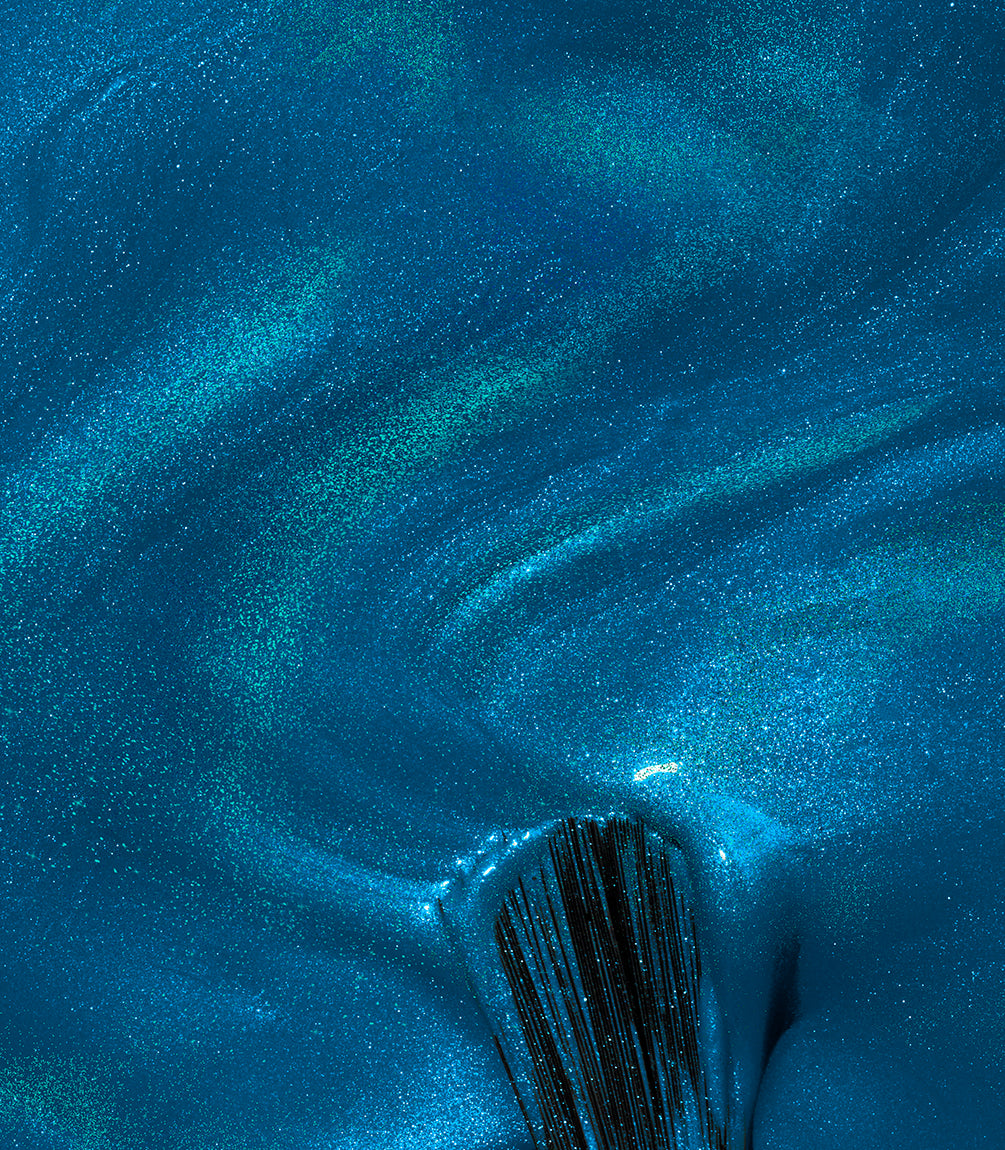
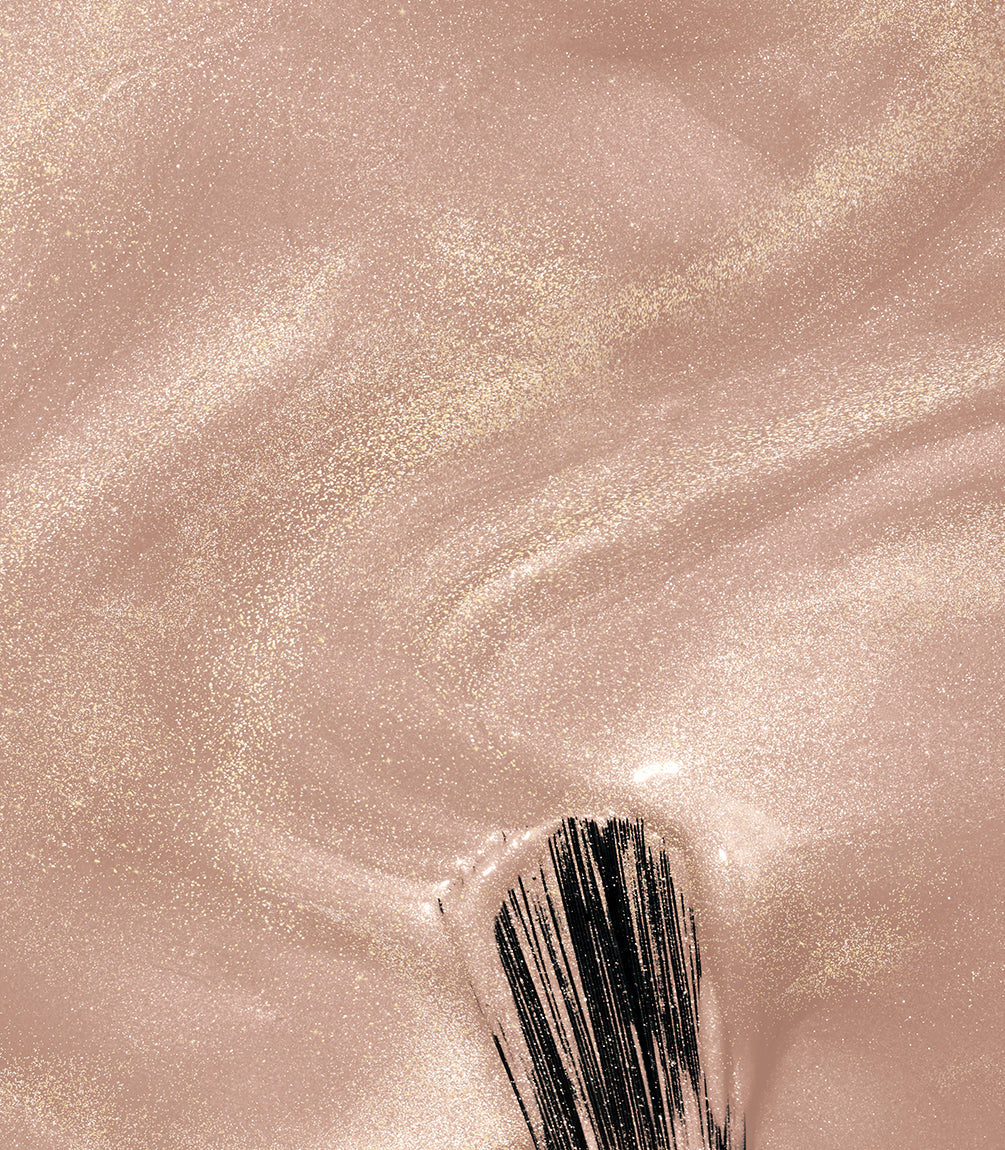
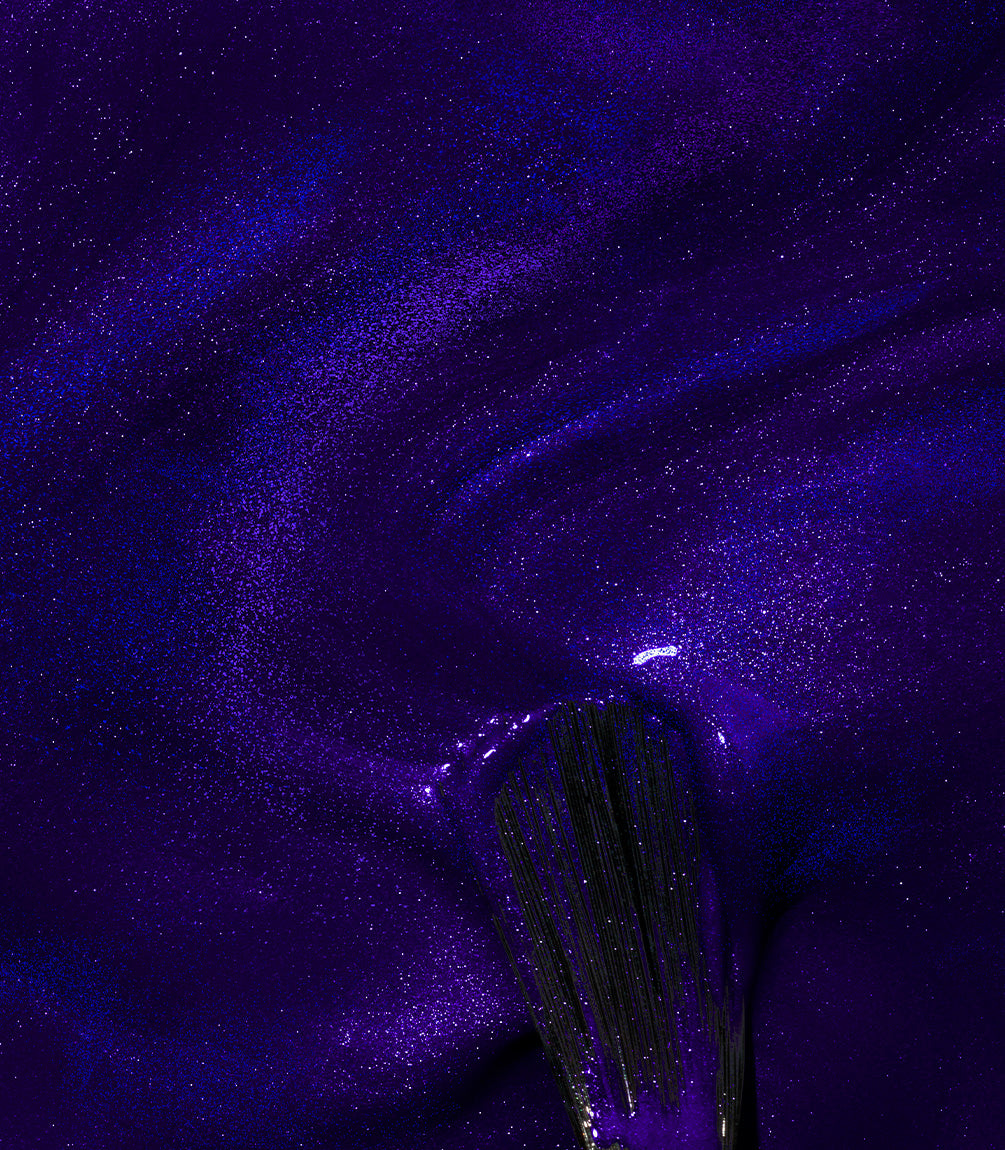
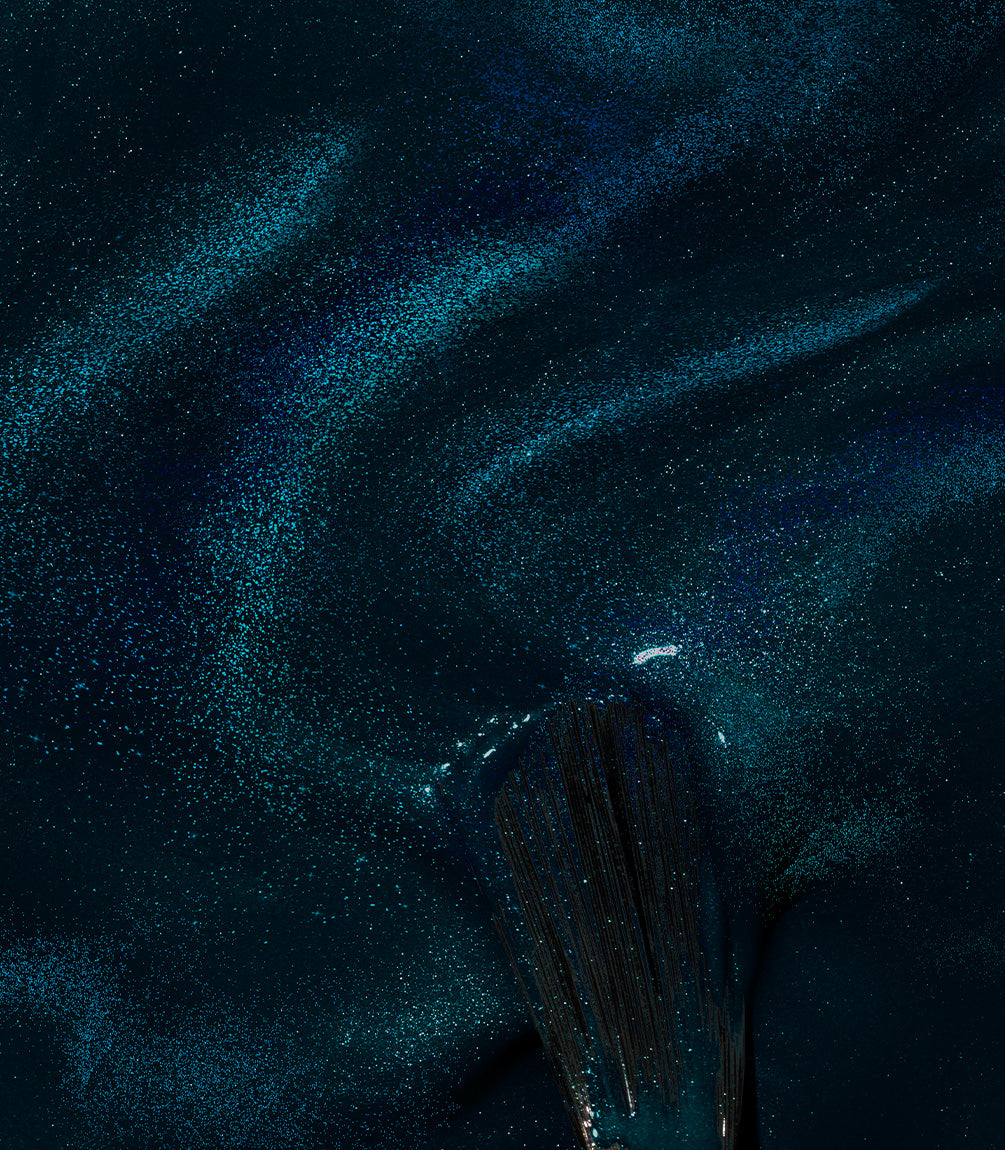
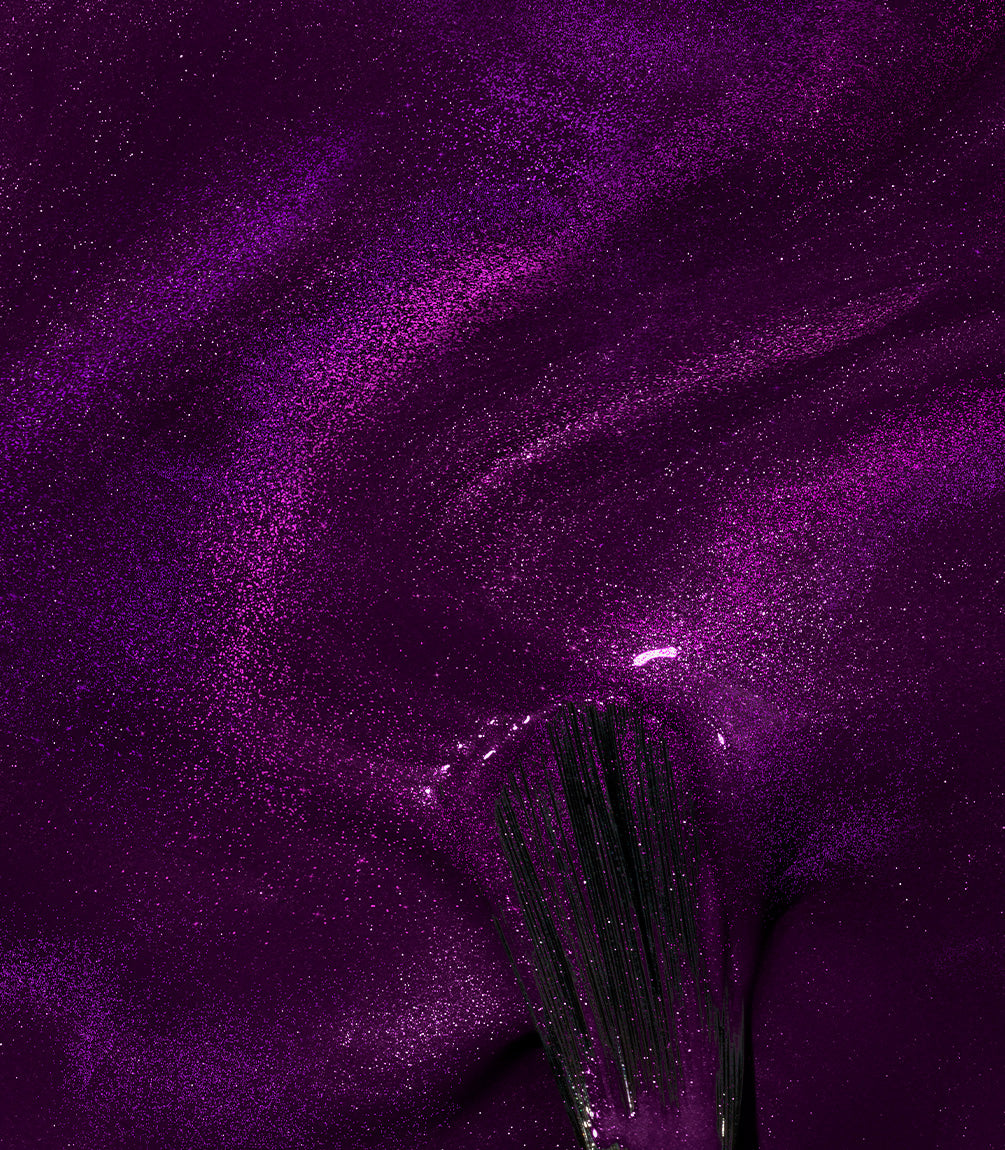
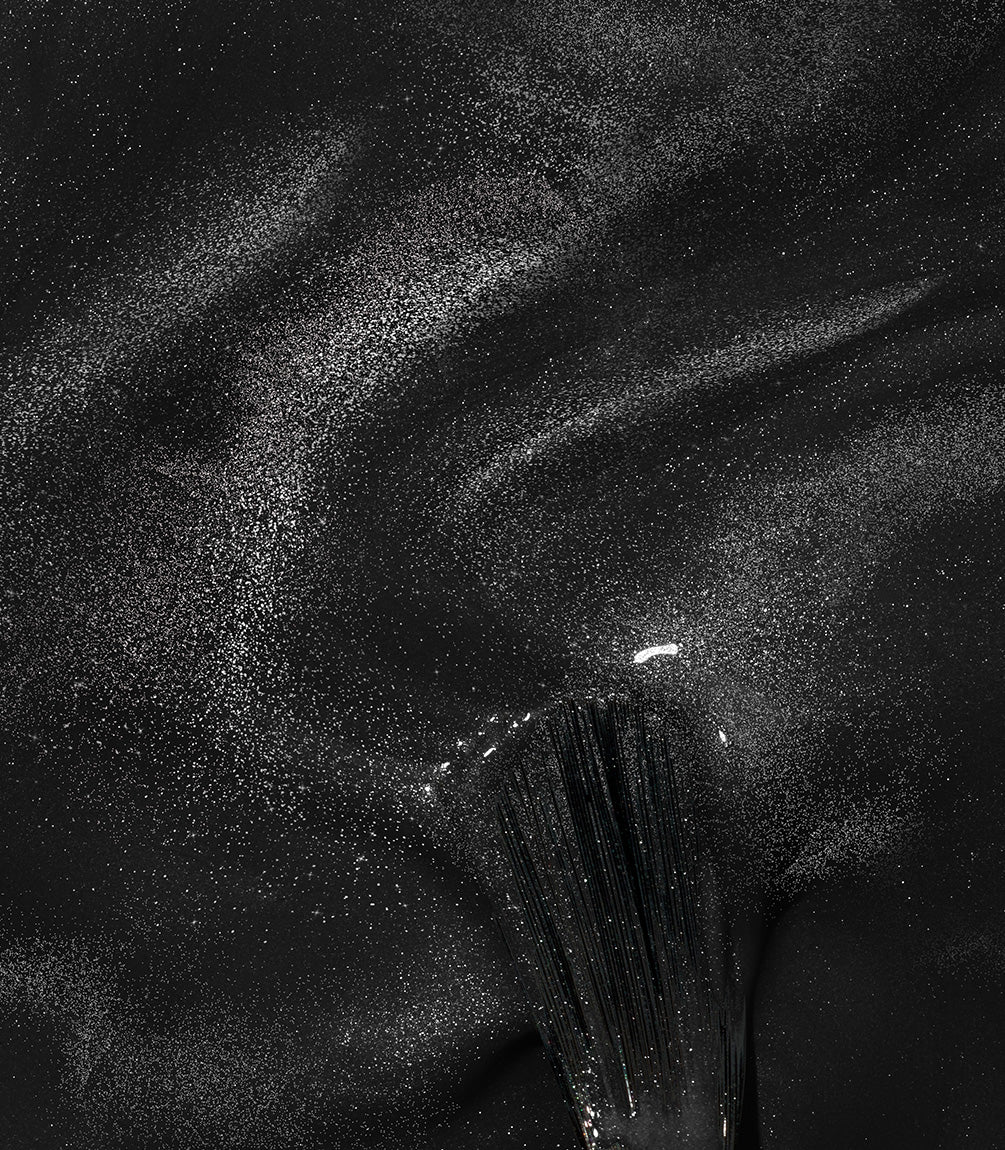
Move the Magnet Tool, while the Cat Eye polish is still wet, above, below or on the sides of the nail while keeping a 3mm distance. The Magnet Tool should not touch the nail! The magnetic particles in the polish will move with the Magnet Tool. You can experiment with different angles and movements to achieve various effects.

Step 3
Happy with the result? Let the polish cure for 60 seconds under the LED lamp.
Tip: Not satisfied with your design? Swipe the brush over the still uncured Cat Eye polish and use the Magnet Tool again.

Step 4
For the finishing touch, apply your favourite Top Coat over the entire nail and let it cure for 60 seconds under the LED lamp. If you've used the Shine Top Coat, wait two minutes and then remove the sticky layer with a Nail Wipe and Cleaner.
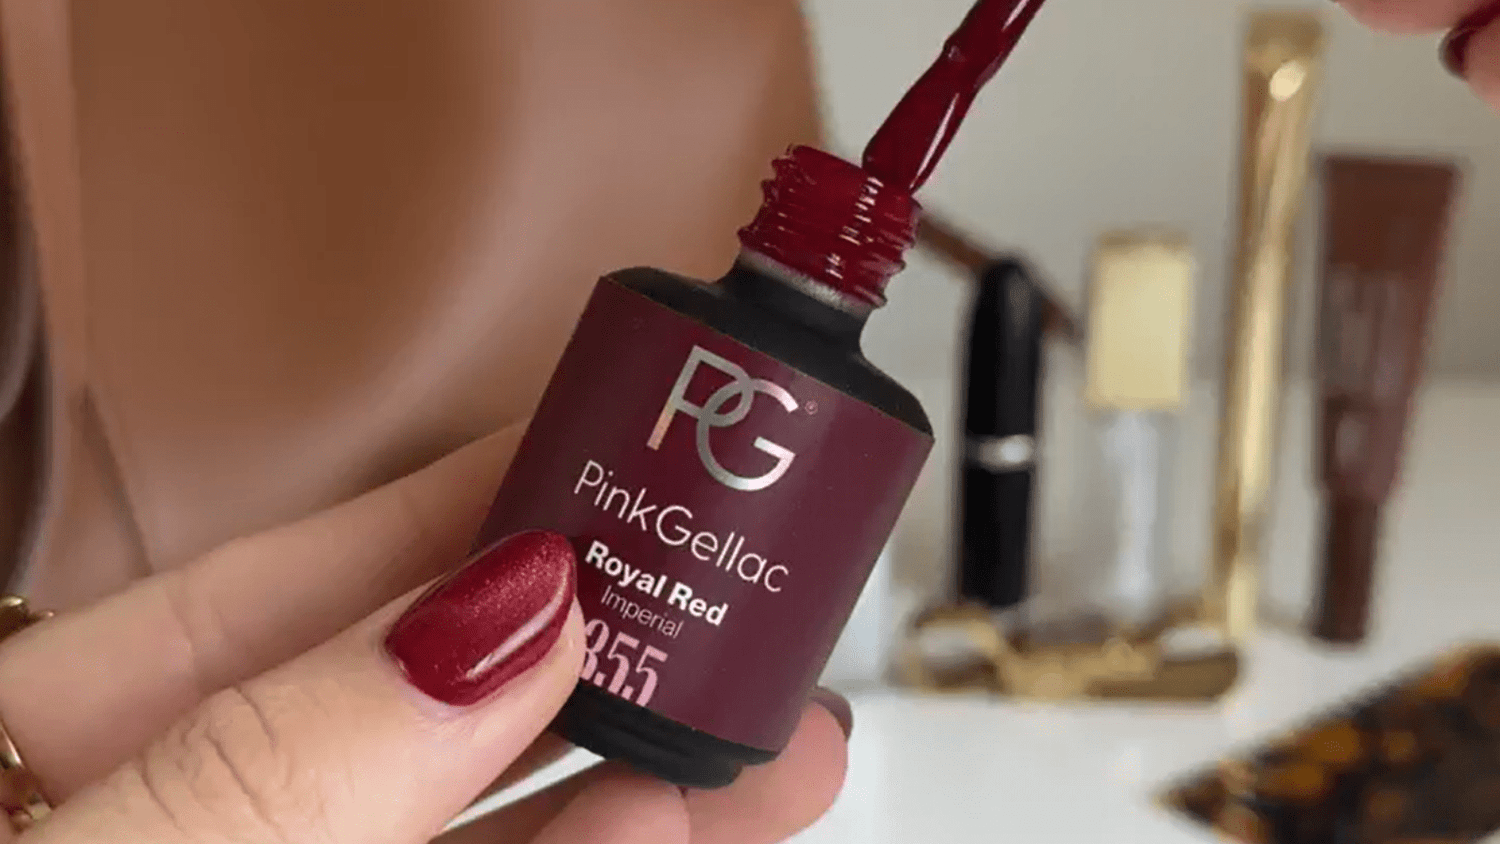
The movement of the magnetic particles in Cat Eye gel polish creates a clear space on the nail when using the magnet. Applying a base colour underneath adds depth and extra dimension. Black – like 120 Beautiful Black – is always a great choice for a bold look, while a base colour that matches your Cat Eye shade, such as 355 Royal Red with Starfire Red, creates a more harmonious result. Of course, you can also experiment – every creative combination is possible.
Apply, based on your referenced coverage, one or two thin layers of your chosen base colour and cure each layer for 60 seconds under the LED lamp. Your nail is then ready for the Cat Eye gel polish.
- After playing around with the cat eye magnet to create your desired look, you can, so called, fast cure the Cat Eye gel polish for 10 seconds to secure the glitters. This ensures optimal results for your design. Work finger by finger. When you did all nails, cure your full hand for 60 seconds like usual to lock everything in place.
- Use a proper magnet that is specifically for Cat Eye gel polish. These magnets are quite powerful so try to keep them away from electronic devices and other magnetic belongings. We recommend you to work with our Pink Gellac Cat Eye Magnet to be assured of optimal results.
- Practice makes perfect. A perfect cat eye manicure requires a little practice. If it didn’t work out the first try, don´t worry! Remove the Cat Eye polish (while it is still wet) and try again.
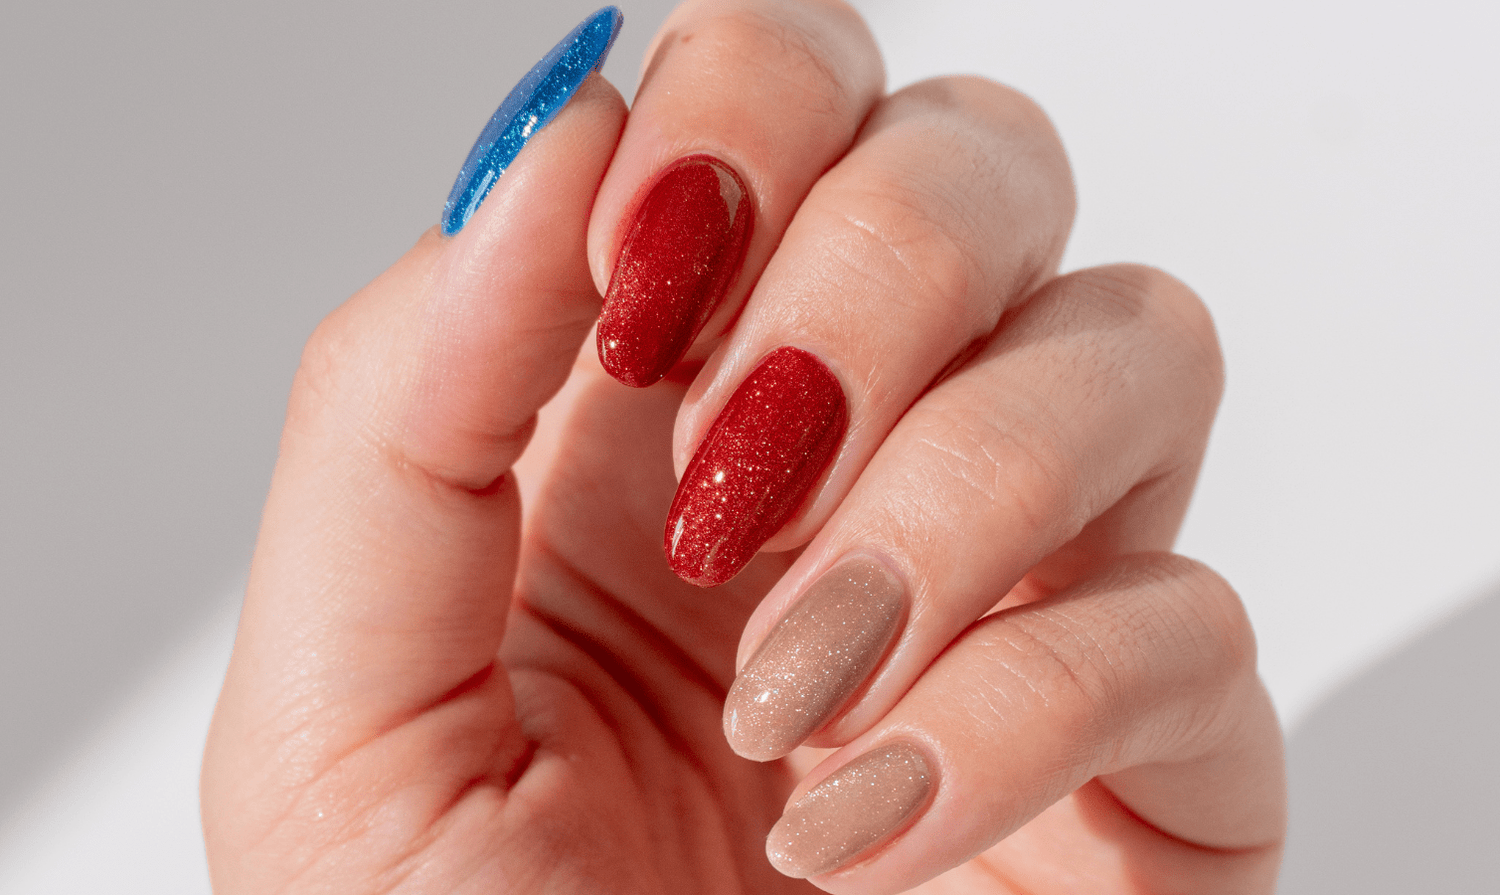
- Play around with the endless looks you can create. You can make 12 different designs with only one magnet. Hold the magnet in a 45 degree angle to move the little speck around more easily. Play around with the magnet, use it upside down, from the side of the middle of the nail. It is also possible to use two magnets for your design. Place them on either side of the nail and the magnetic shavings will be pushed together to make a galaxy nail design.
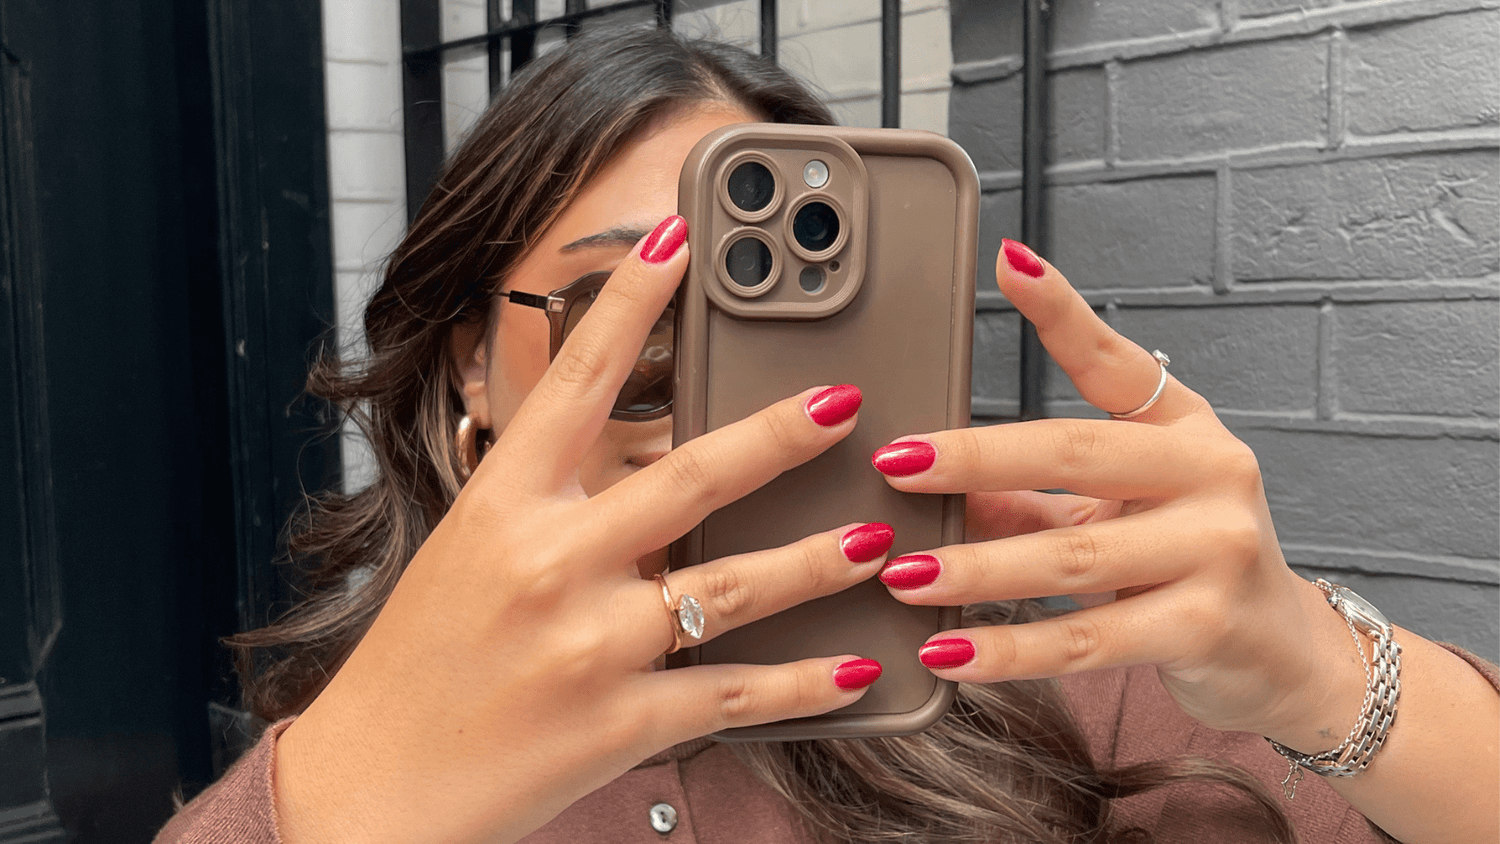
Are you going to create Cat Eye nails? Share your creation and tag us! Use @pinkgellac or #pinkgellac so we don't miss out!
Discover the cat eye collection
View All

gel nail polish
gel nail polish

gel nail polish
gel nail polish
gel nail polish
gel nail polish