



Ordered before 23:30, shipped today
Secured delivery with GLS
Buy now, pay later with Klarna
14 days salon quality nails
100% vegan & free of HEMA & TPO
Easy to remove
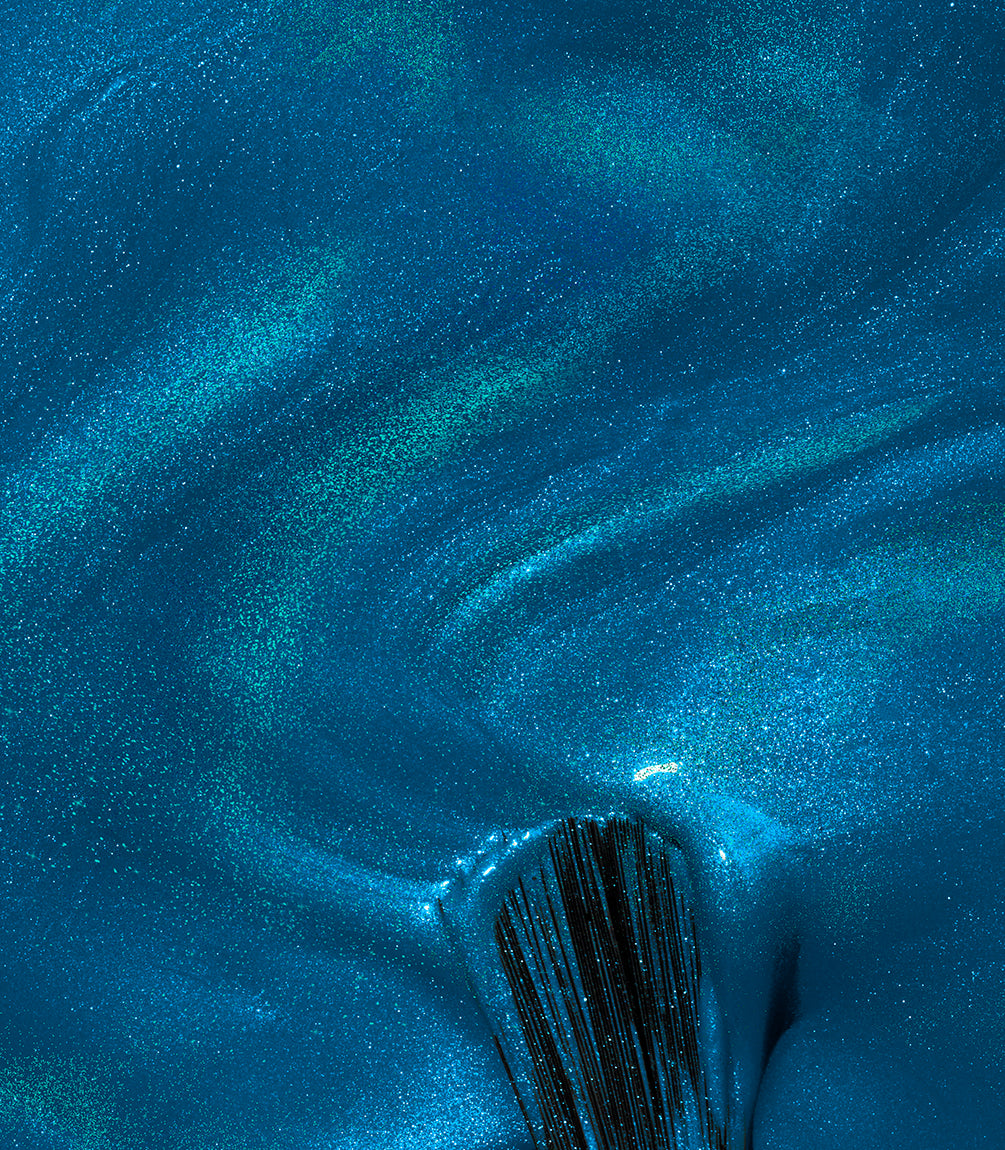
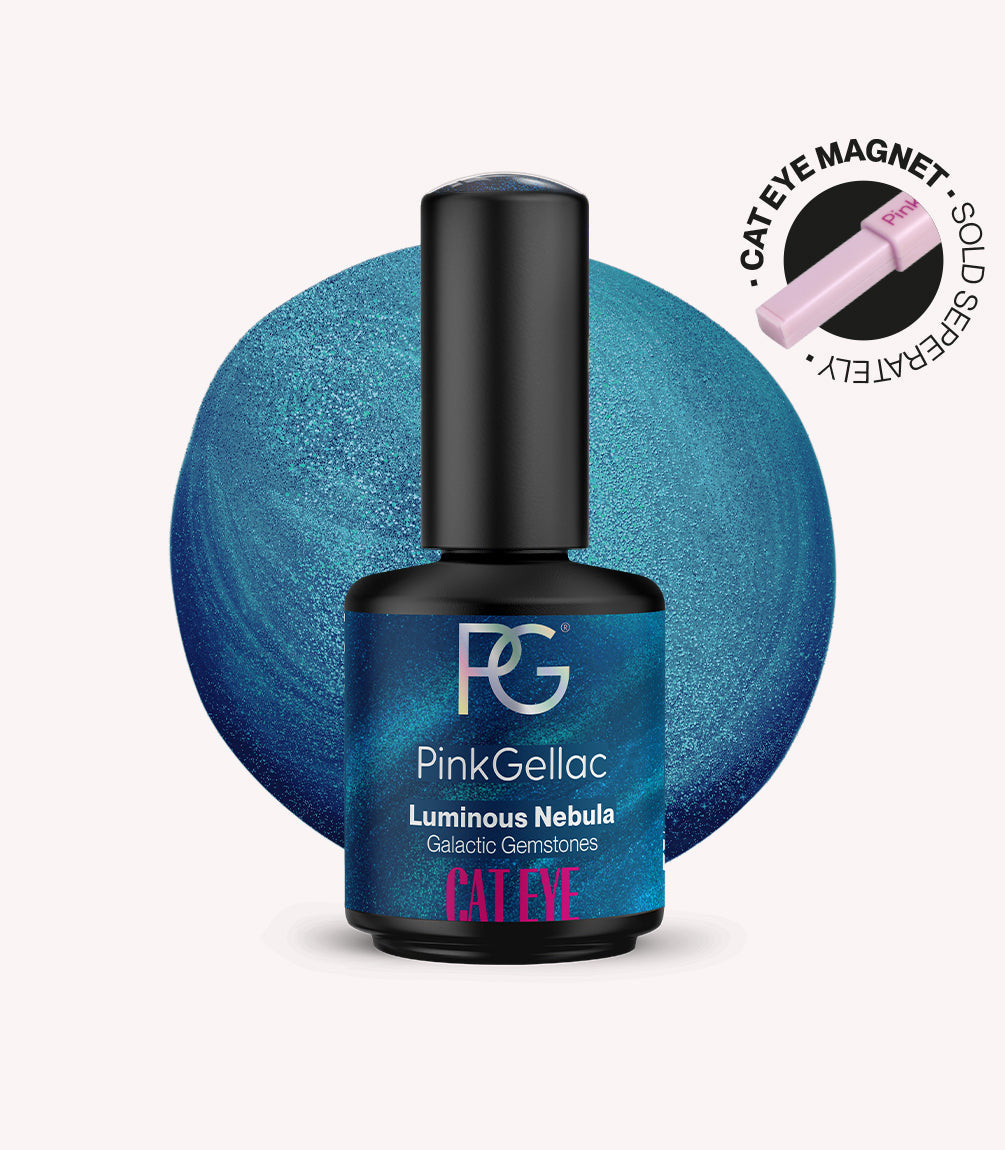
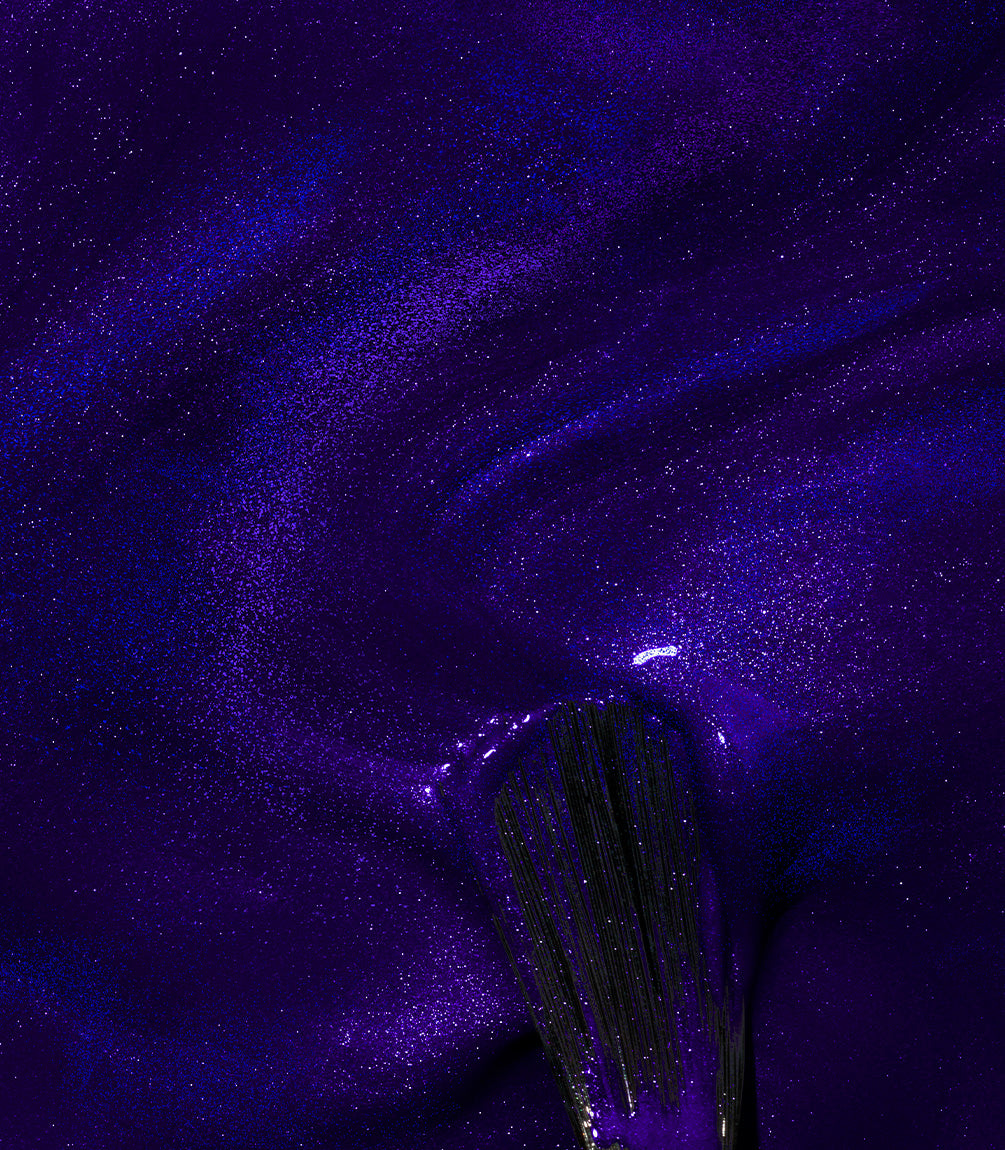
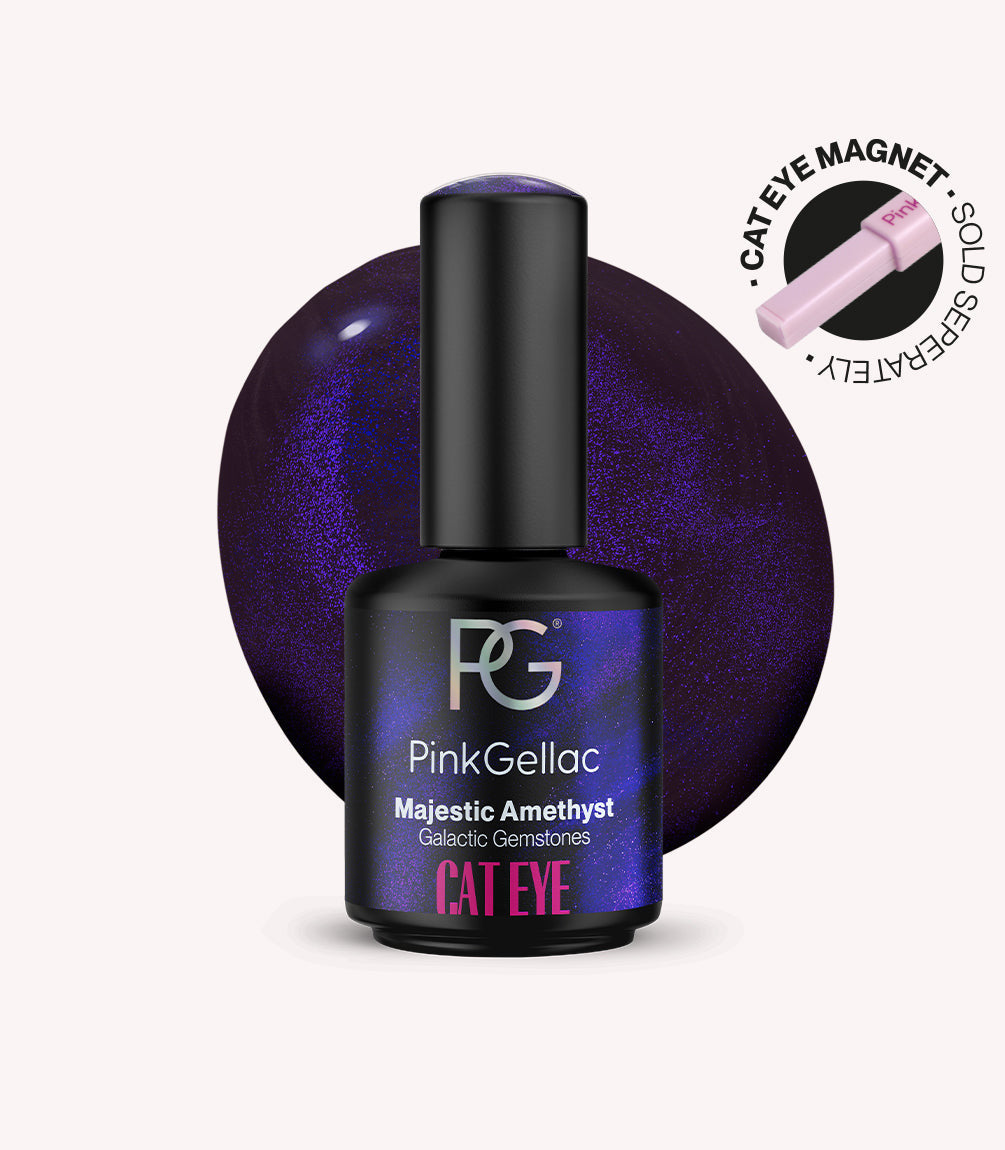
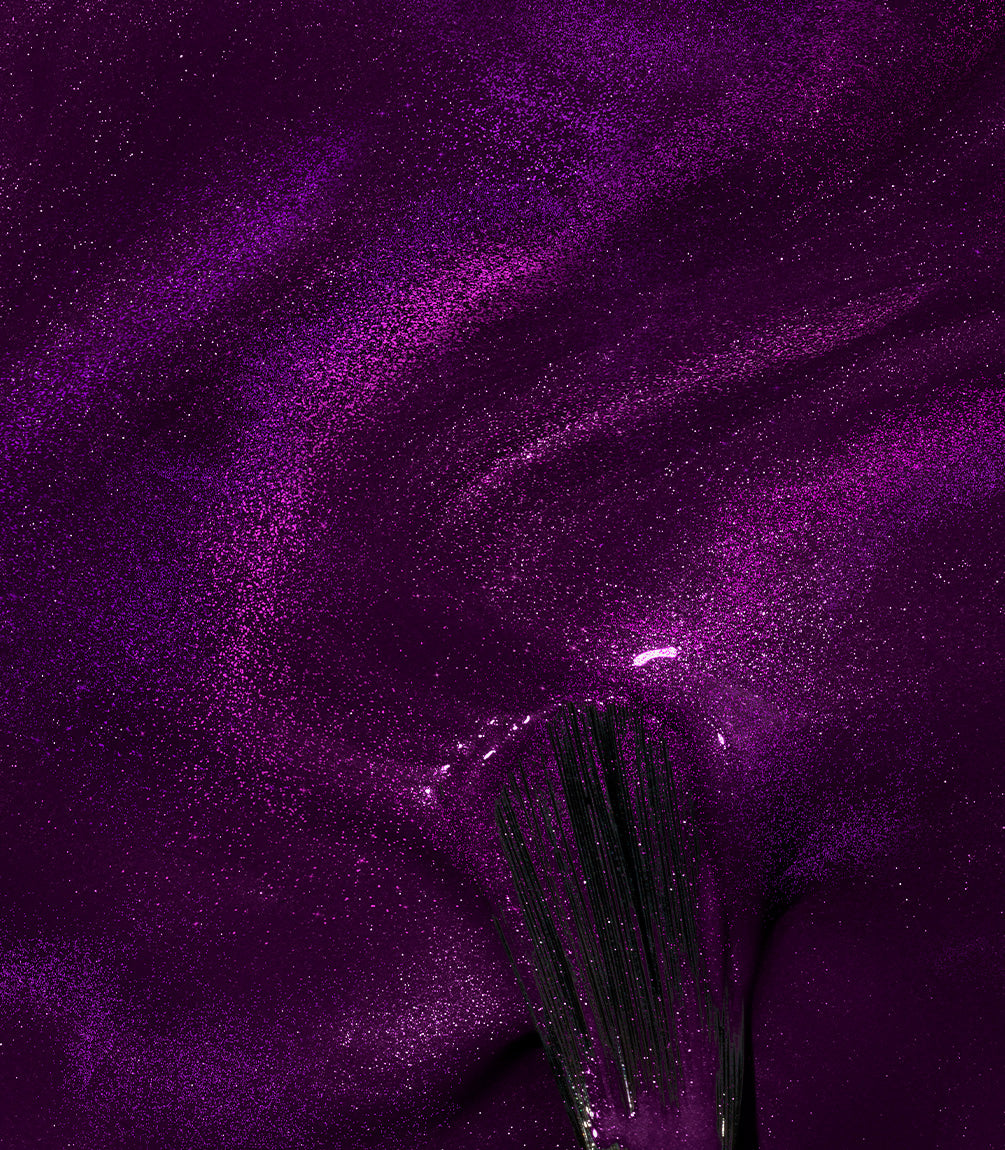
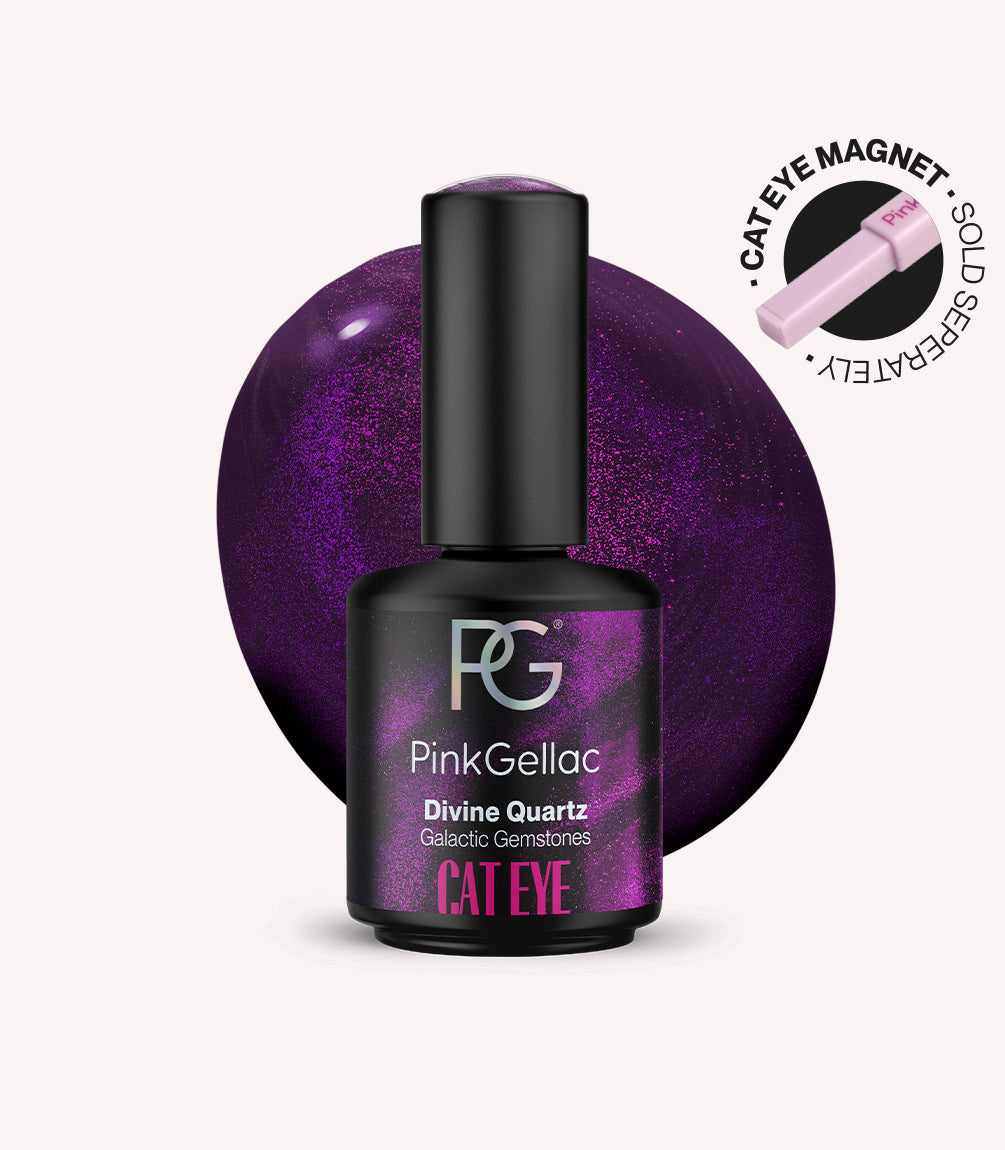
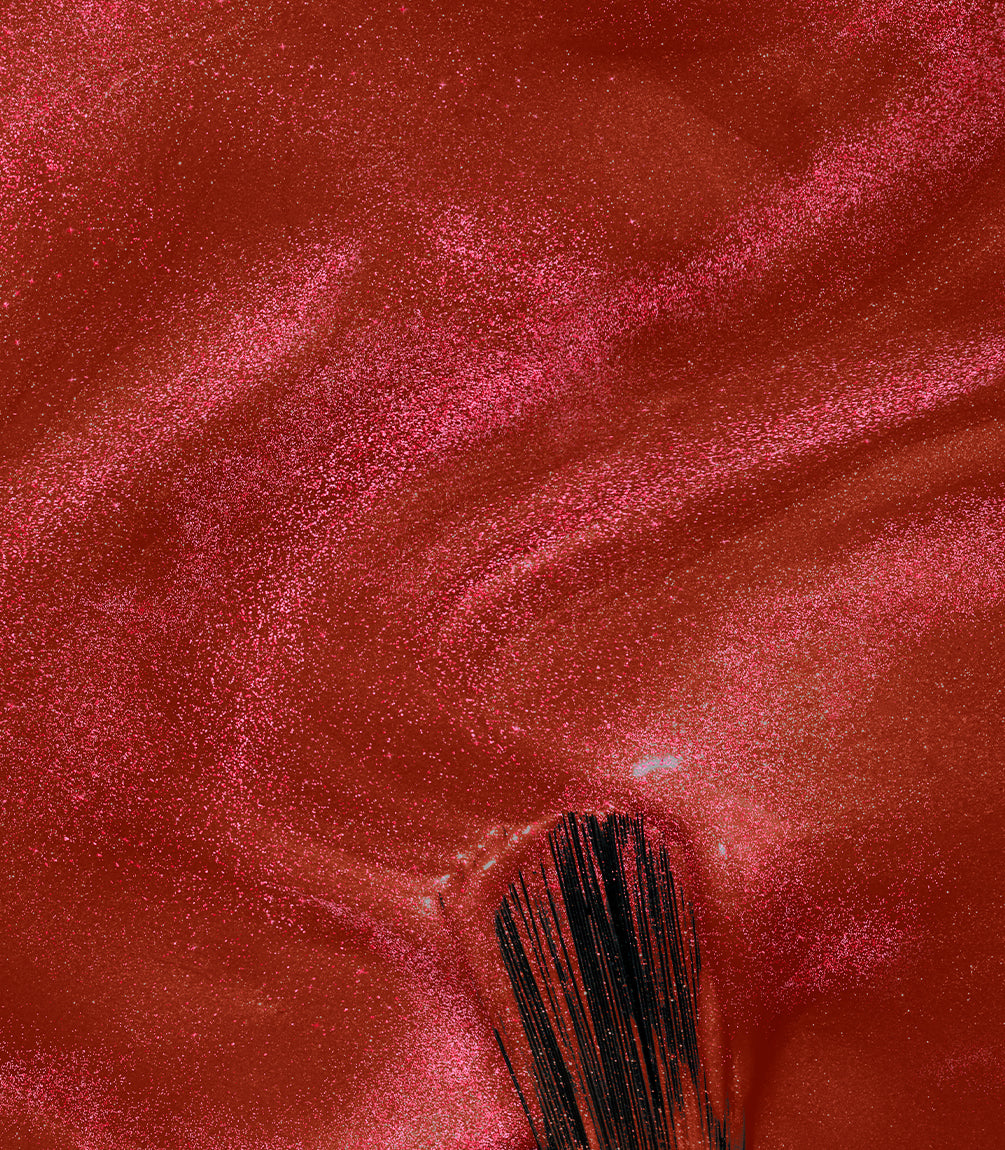
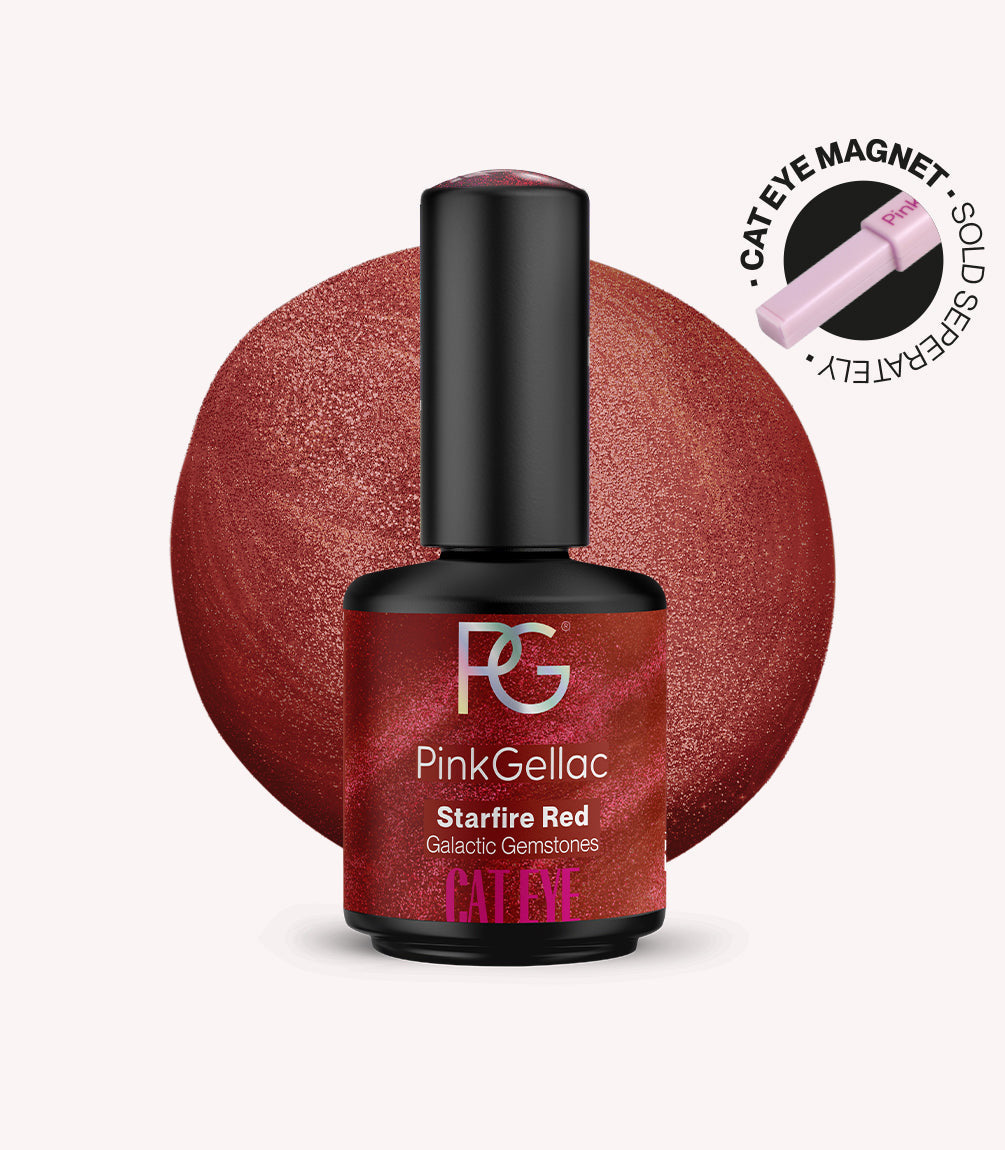
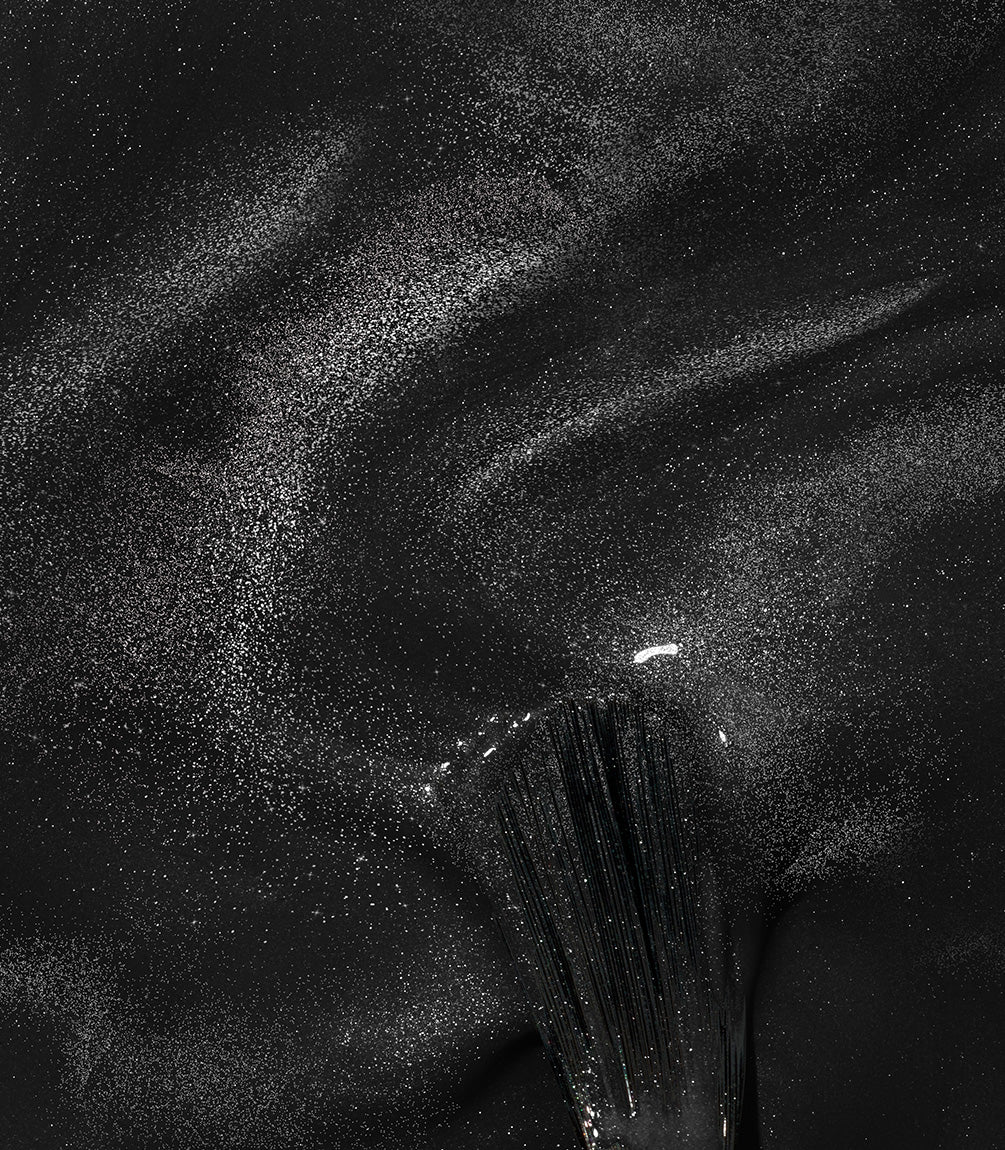
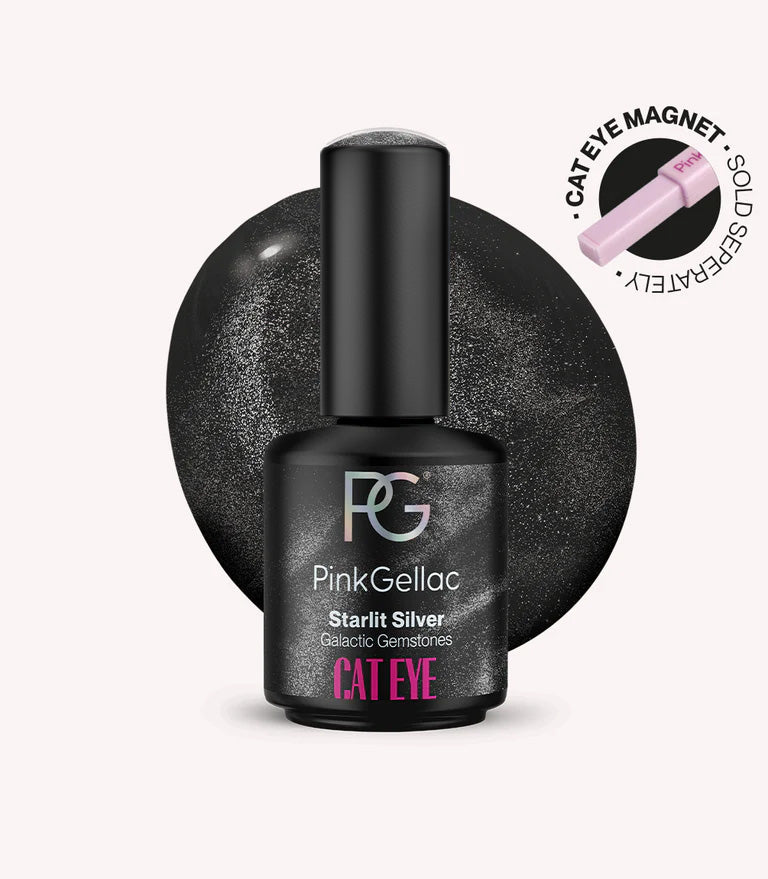
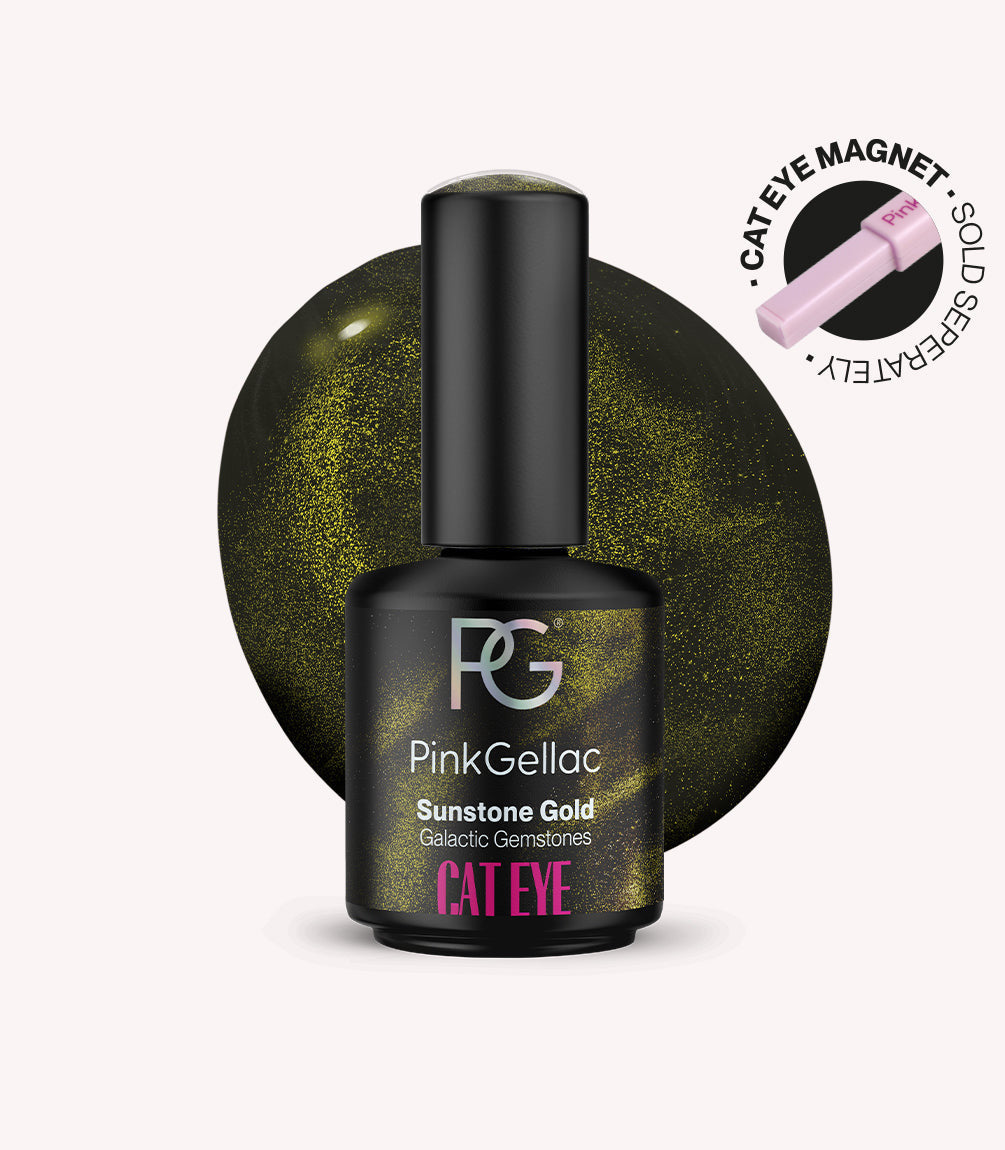
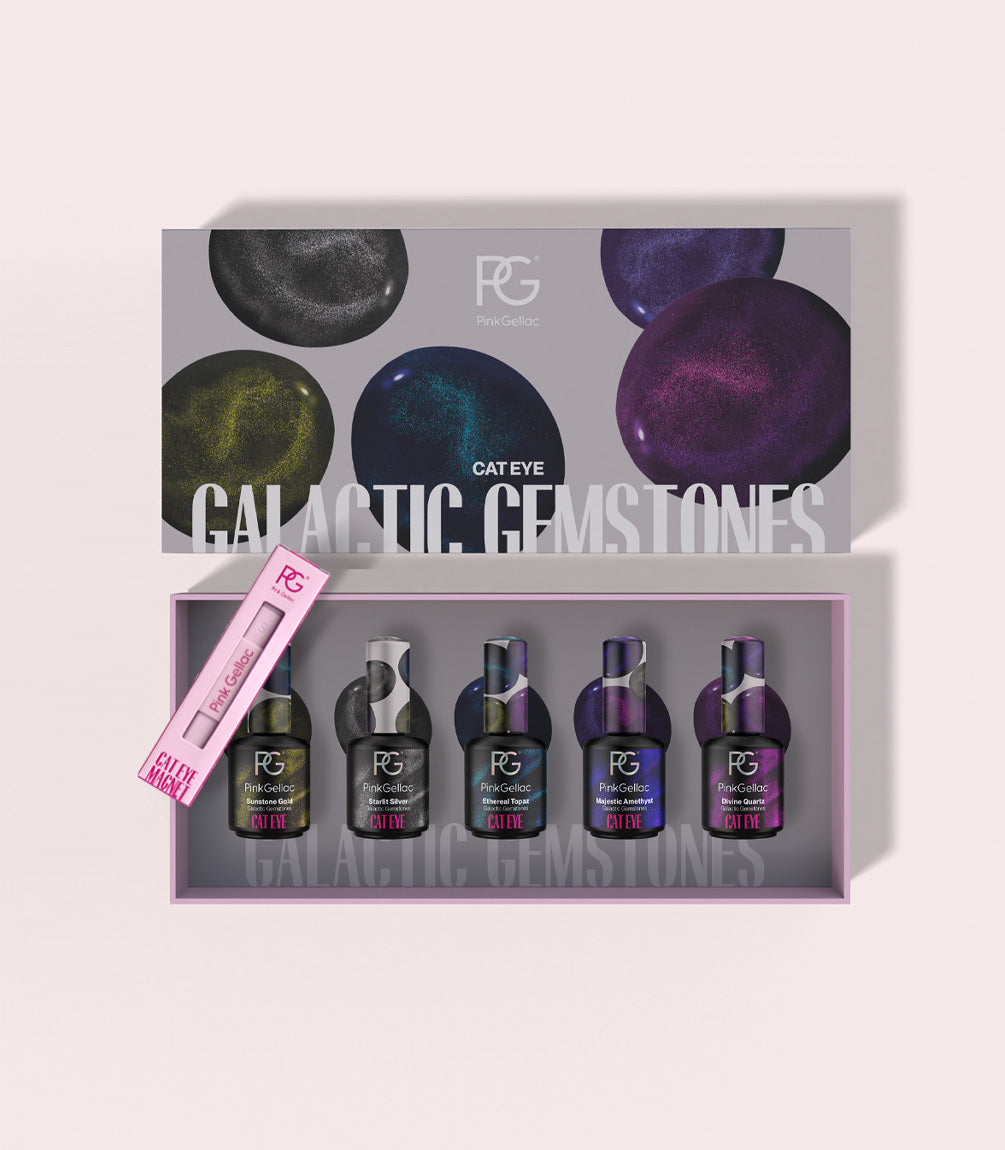
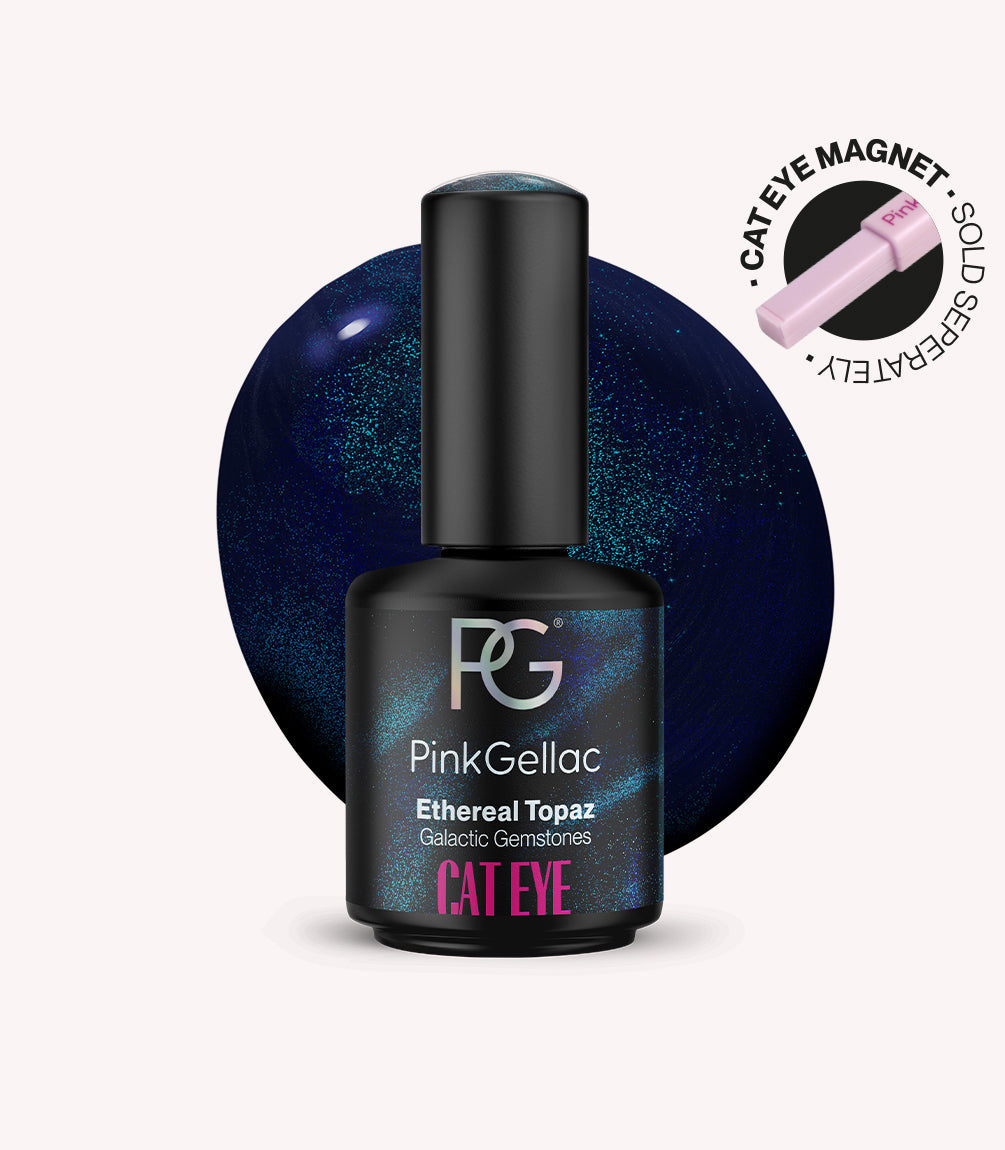
An enchanting ode to the magic of the universe and the beauty of gemstones - This unique collection includes a series of sparkling 3D Cat Eye colours inspired by the mysterious charm of the starry sky and the glittering splendour of precious minerals. From the deepest indigos to radiant gold tones, each colour reflects the versatility and beauty of the galactic world around us.
Safe usage
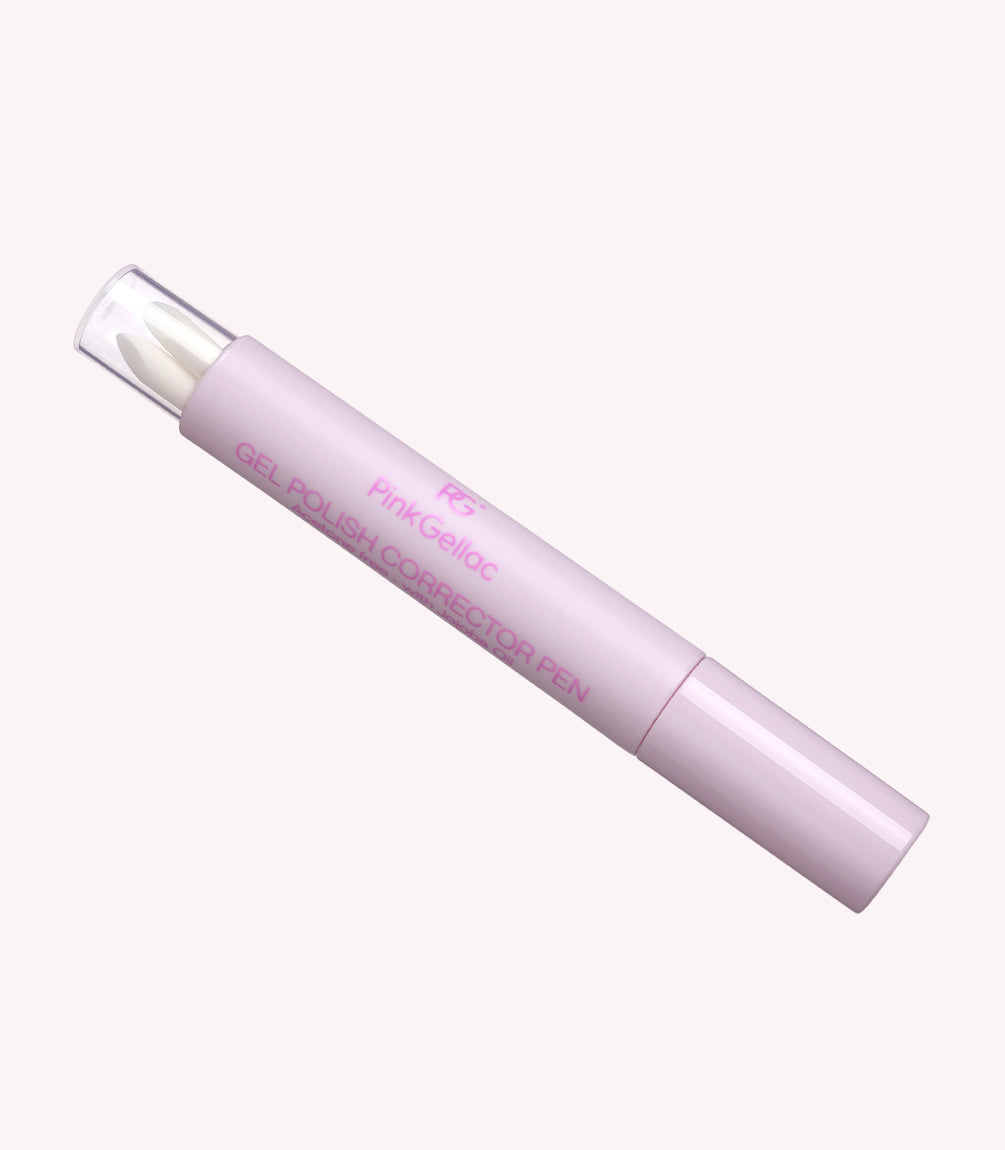
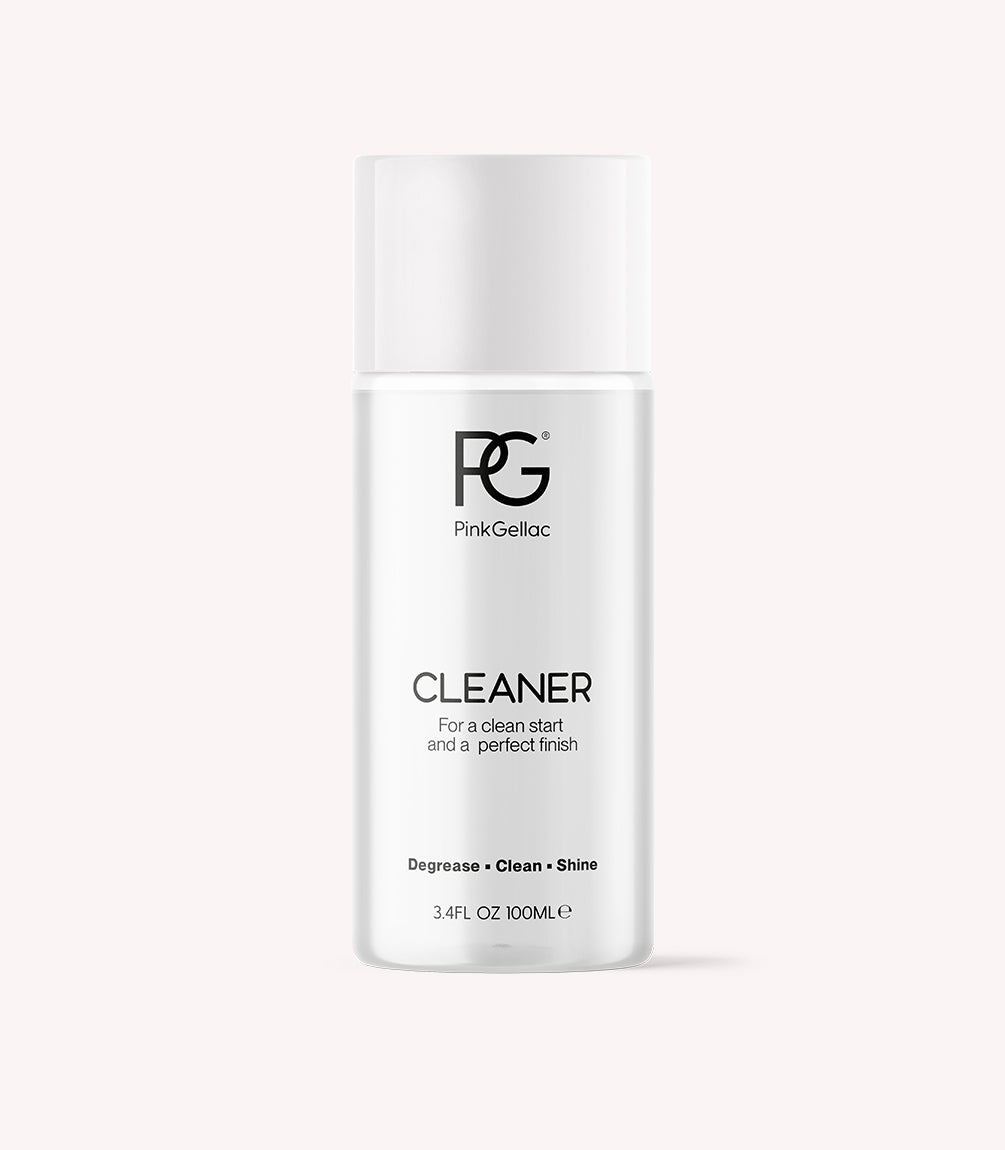
Prevent the gel polish from coming into contact with the skin and cuticles to minimise the risk of a possible acrylate allergy. If any gel polish touches the skin, remove it immediately with a woodstick, corrector pen, or a wipe with cleaner before curing under the lamp.
Preparation
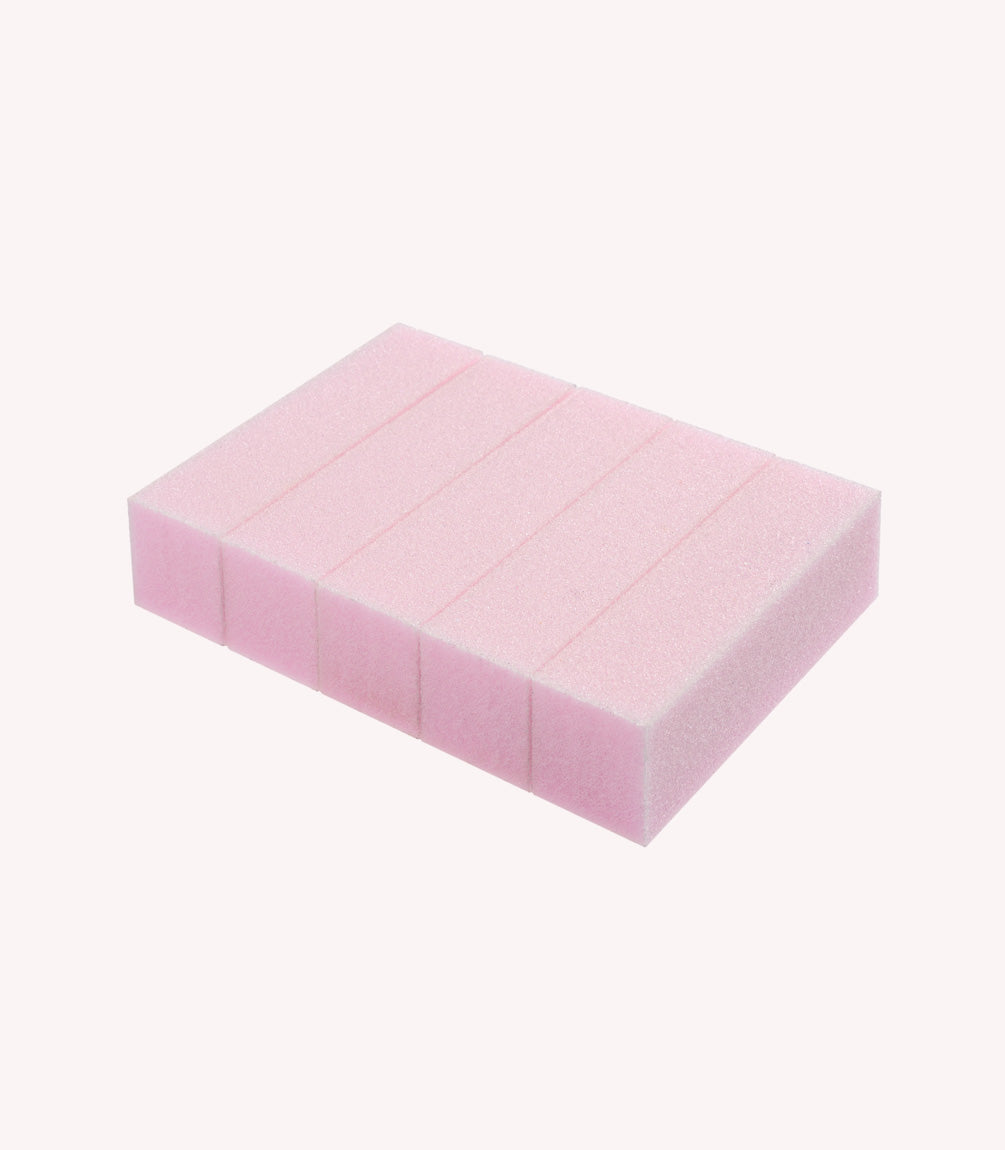
File the nails with the nail file and buff the nail plate with a polishing block. Then degrease the nails with a nail wipe with some cleaner. Finish your preparation by applying the Prep Booster all over the nail plate and letting it air dry for 30 seconds.
How to use Cat Eye polish
Step 1. Apply Base Coat: Apply a thin layer of Base Coat and cure it for 60 seconds under the LED lamp.
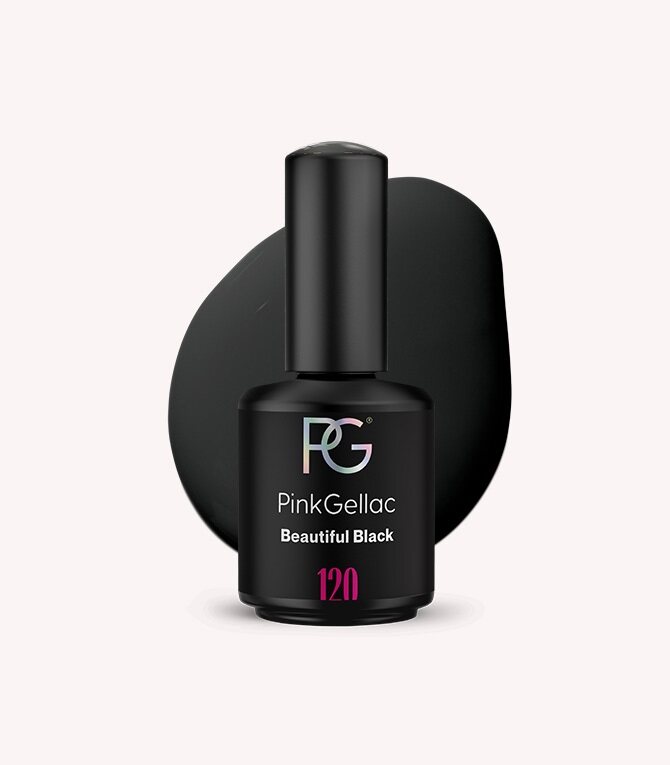
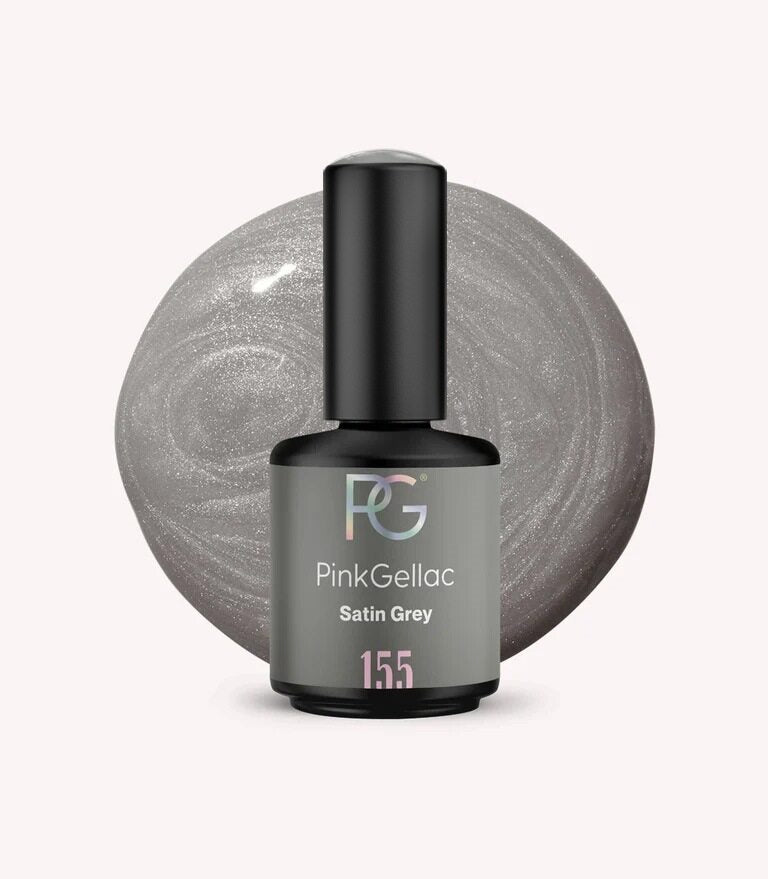
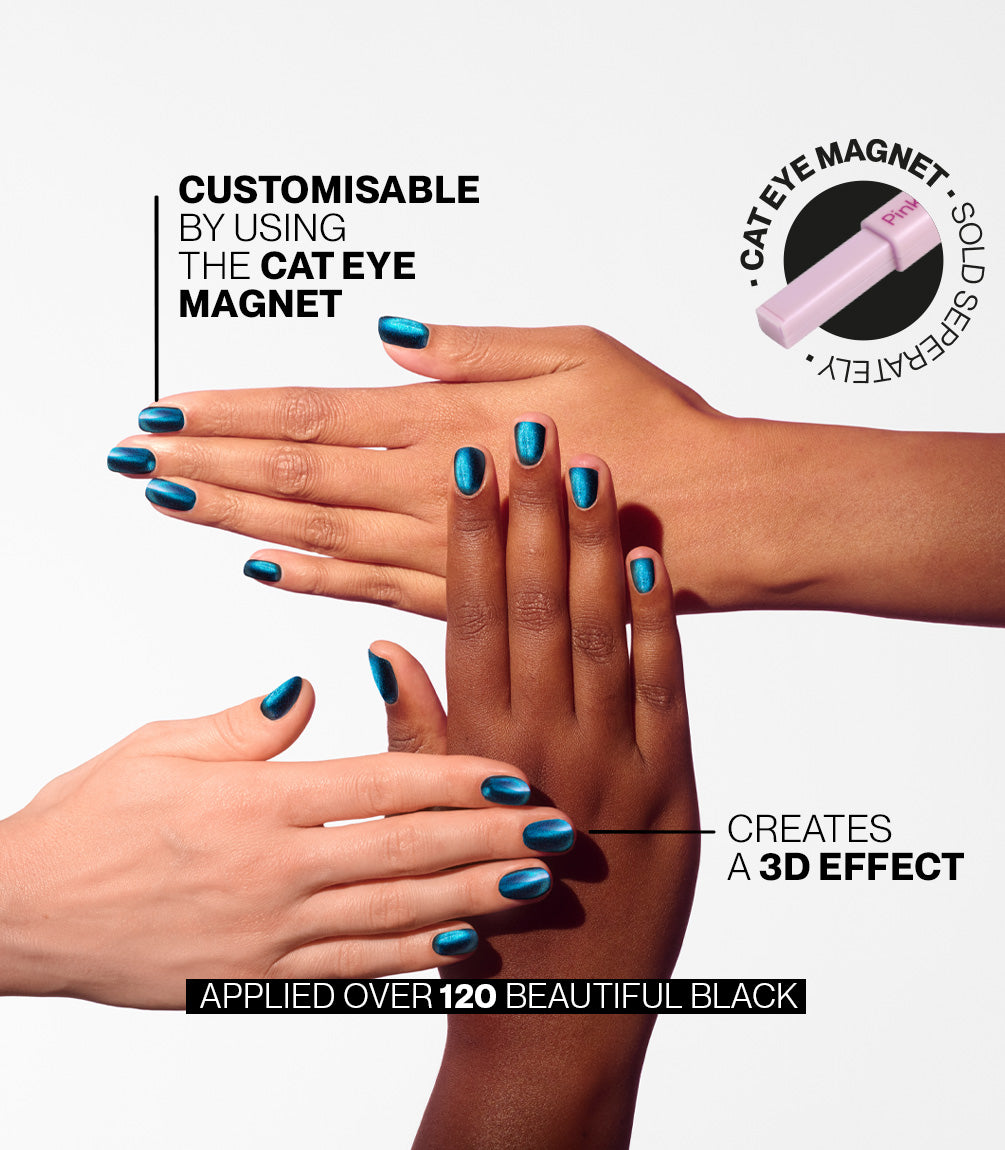
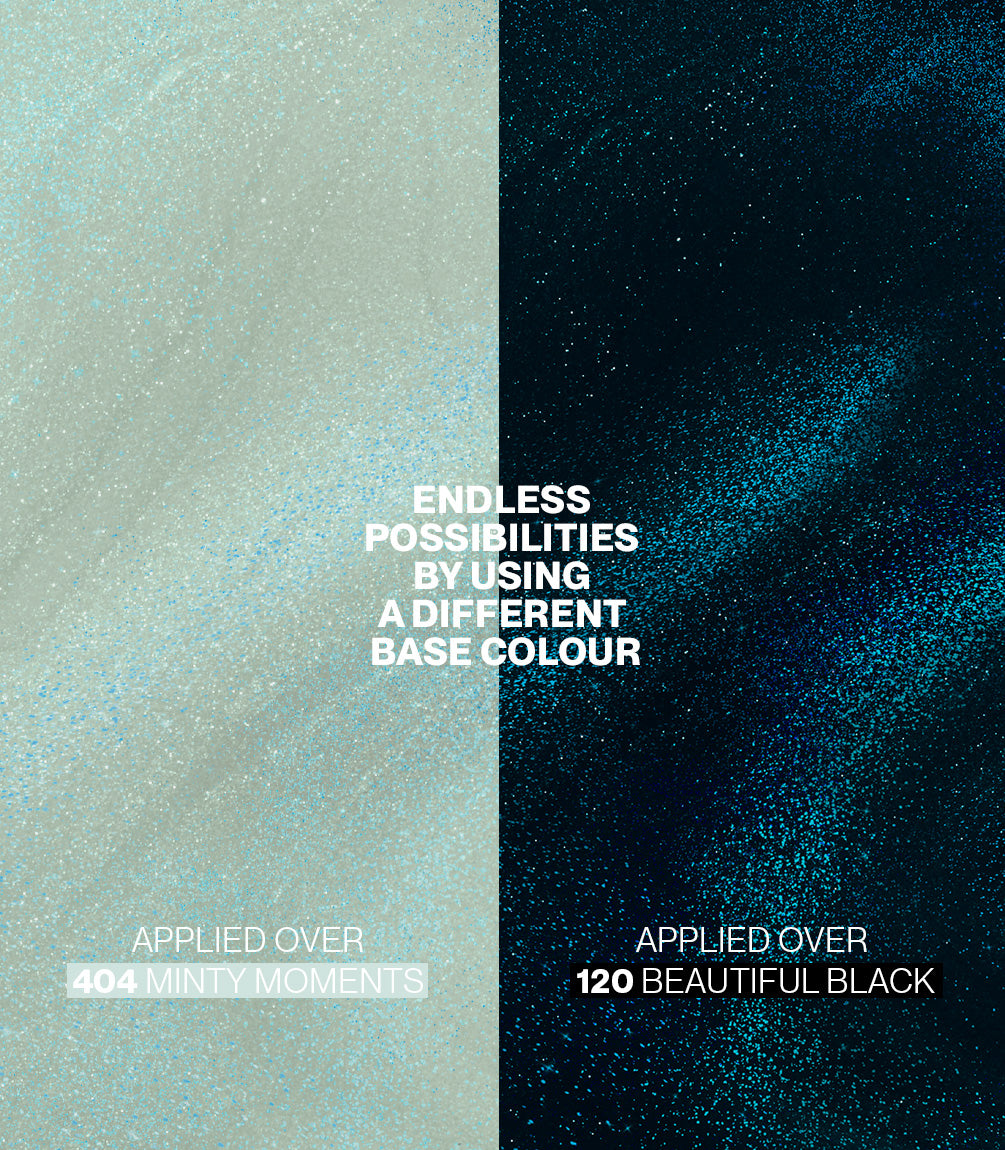
Step 2. Apply Base Colour: Apply 1 or 2 coats of a colour that suits your desired Cat Eye effect. For a deep look, choose a dark shade like 120 Beautiful Black. For a soft look, go for a lighter colour like 264 Lady Grey. Cure each layer for 60 seconds.
Step 3. Apply Cat Eye Polish: Apply a layer of Cat Eye polish, but do not cure it yet. Work on one nail at the time. Move the Magnet Tool above, underneath, or next to the nail, keeping a 3 mm distance — each movement creates a different Cat Eye effect. Do not let the magnet touch the polish. Cure each nail for 10 seconds under the LED lamp straight after using the Magnet Tool, to lock the effect in place. After you've finished all nails, cure the entire hand under the LED lamp for 60 seconds to fully cure the gel polish.
Step 4. Apply Top Coat: Apply a thin layer of Top Coat and cure it for 60 seconds under the LED lamp. Wait 2 minutes, then remove the sticky layer with a nail wipe and some cleaner.
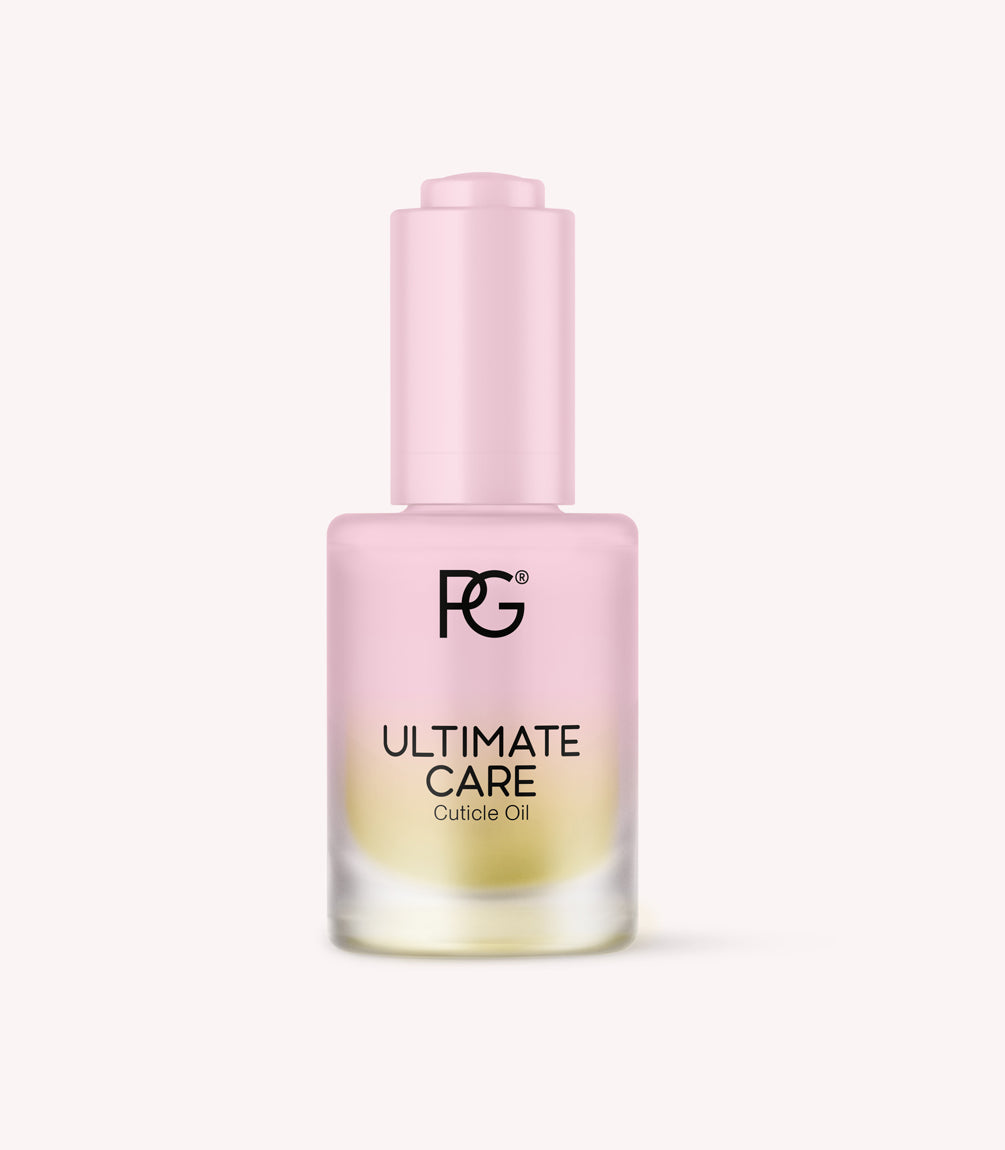
Extra care: Wait 1 minute after removing the sticky layer with cleaner, then apply Cuticle Oil to your cuticles and massage gently.
How to remove
Curious how to easily remove your gel manicure? Follow our step-by-step tutorial on how to remove your gel polish.
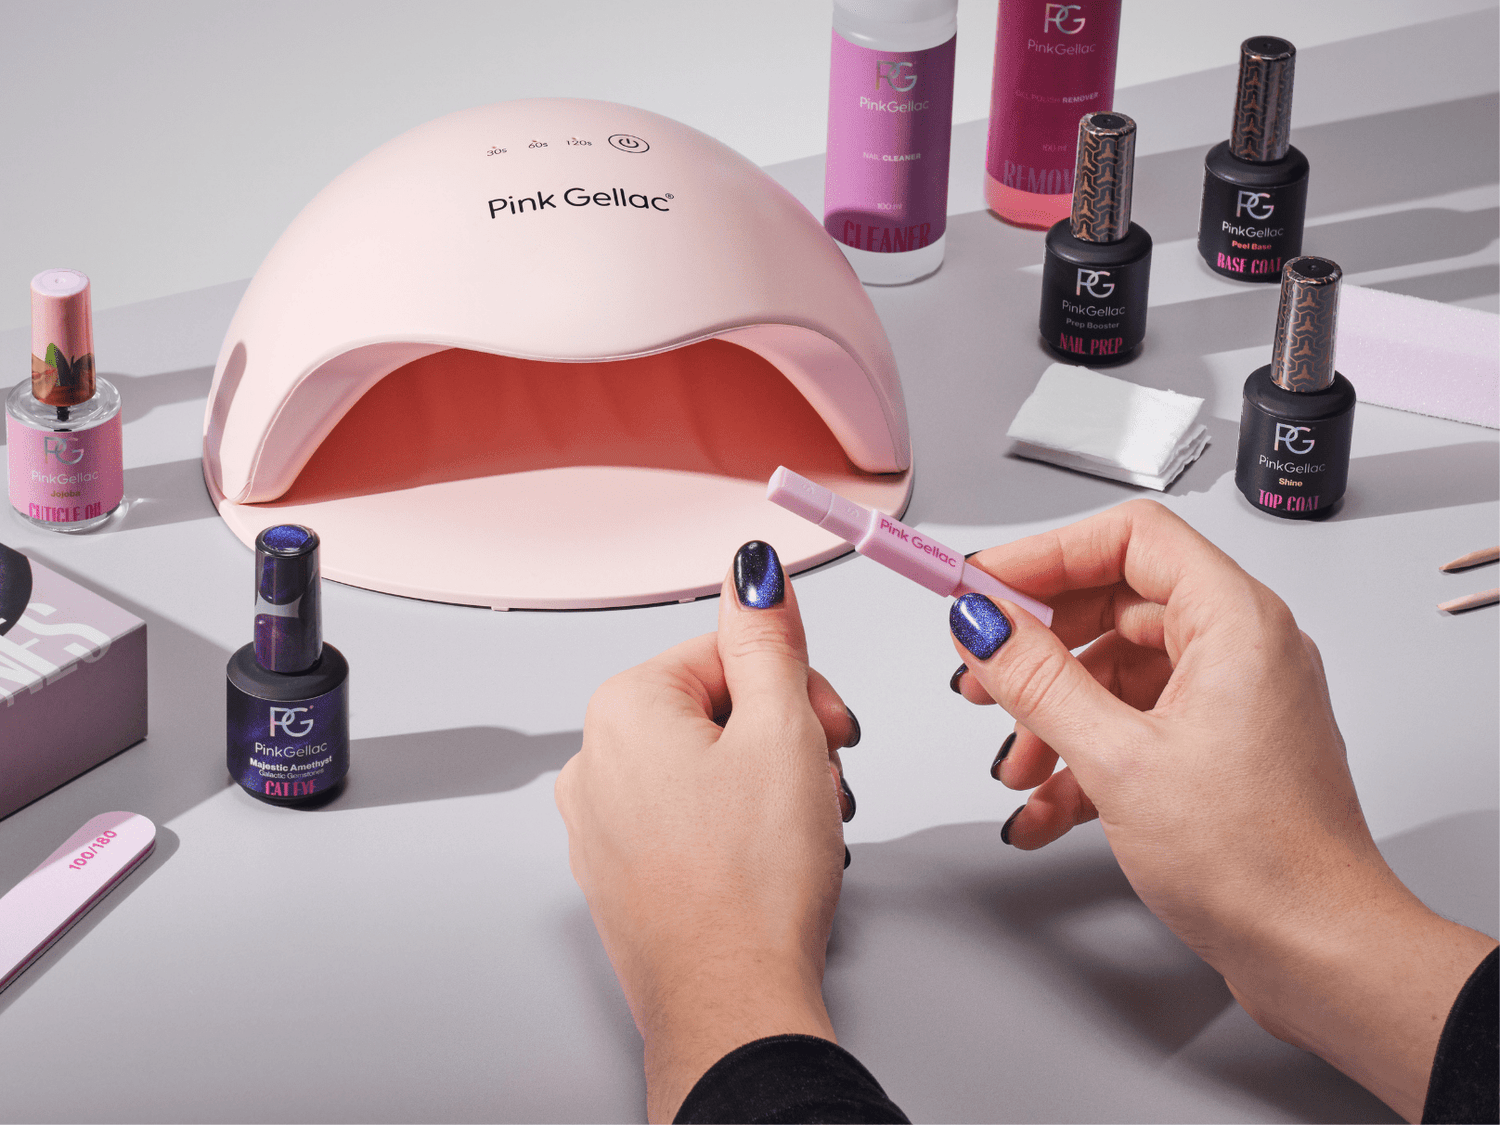
Discover how to use the Cat Eye gel polish as it is more than a normal gel polish. Use the cat eye magnet to move the glitter and create a 3D effect. Watch now and try it yourself!
Loved by 1.2M+ Customers
Join the love — tag @pinkgellac or use #pinkgellac to get featured!
Fine product
Caroline Kasten-Stolk | 30 days ago
Nice color
mevrouw De Beer | 31 days ago
Super pretty, you can't see the background color on the site as they put it on black but it's a fairly light brown even on a transparent base it's super beautiful! Easy to use, I think it responds well to the magnet!
Marie | 55 days ago
Very nice with a dark background.
Cindy | 55 days ago
Beautiful color
klant | 58 days ago
Super nice color ❤️
Marjolijn Verhoeven | 73 days ago
Fijn product
Caroline Kasten-Stolk | 30 days ago
Leuke kleur
mevrouw De Beer | 31 days ago
Super joli, on ne voit pas la couleur du fond sur le site vu qu’ils le mettent sur du noir mais c’est un marron assez léger même sur base transparent c’est hyper beau ! Facile à utiliser il répond bien à l’aimant je trouve !
Marie | 55 days ago
Heel mooi met een donkere ondergrond.
Cindy | 55 days ago
Mooi van kleur
klant | 58 days ago
Super mooie kleur ❤️
Marjolijn Verhoeven | 73 days ago
Mooie kleur en cat eye lukt goed.
Christine | 137 days ago
Nog wat oefenen op de cat eye look, wel fan van het kleur en effect 🥰
Lien Debusschere | 235 days ago
Ik heb m nog niet gebruikt, maar in de winkel geprobeerd en zag er super gaaf uit!
klant | 282 days ago
Zag er geweldig uit
Taylor Broekhuis | 283 days ago
Beautiful colors
DS | 323 days ago
Heel mooi maar wel prijzig
Ilse Hagenaar | 325 days ago
Très joli rendu quand on s'entraîne un peu quand c'est une première ce qui est mon cas. Le prix est tout de même un peu élevé.
Nathalie | 333 days ago
