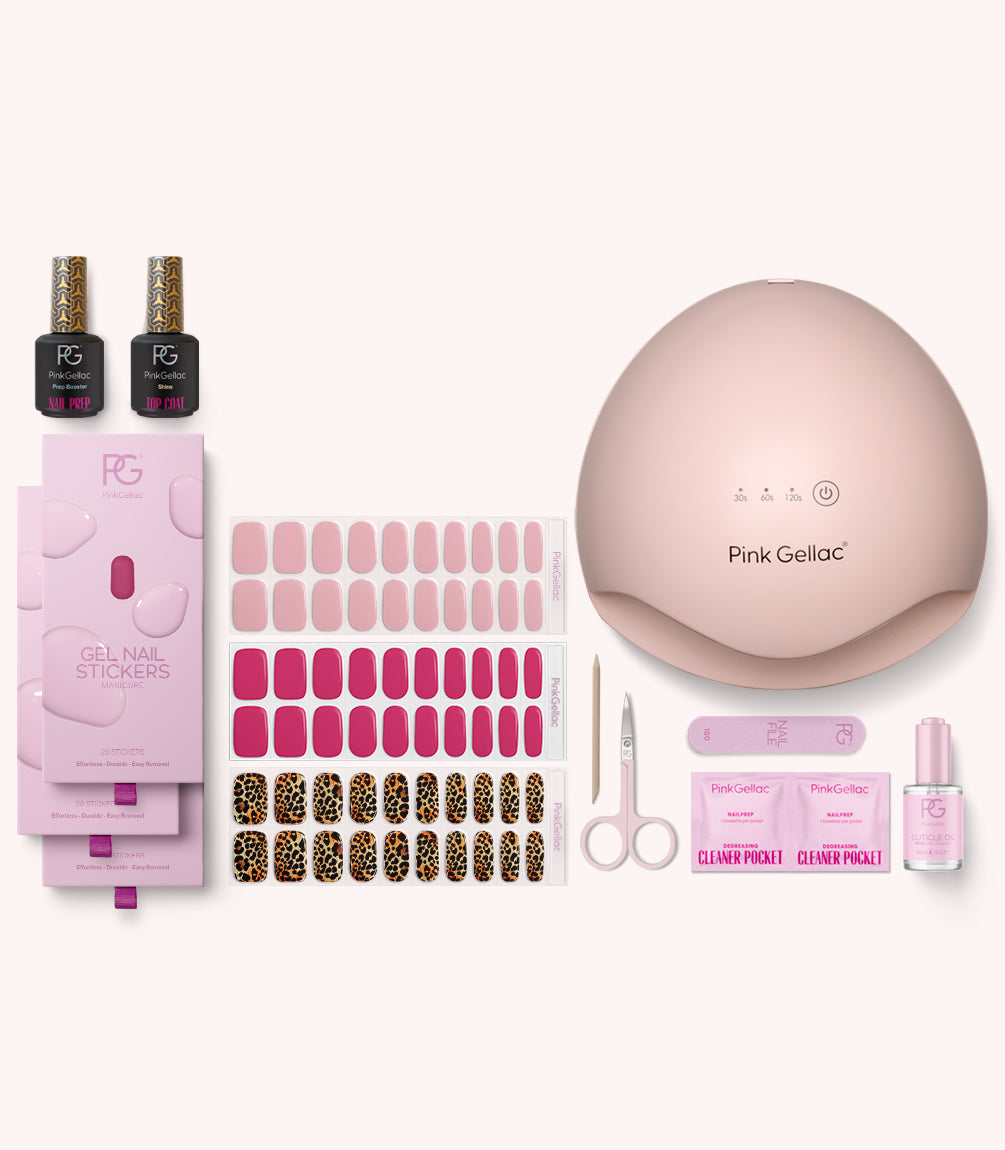
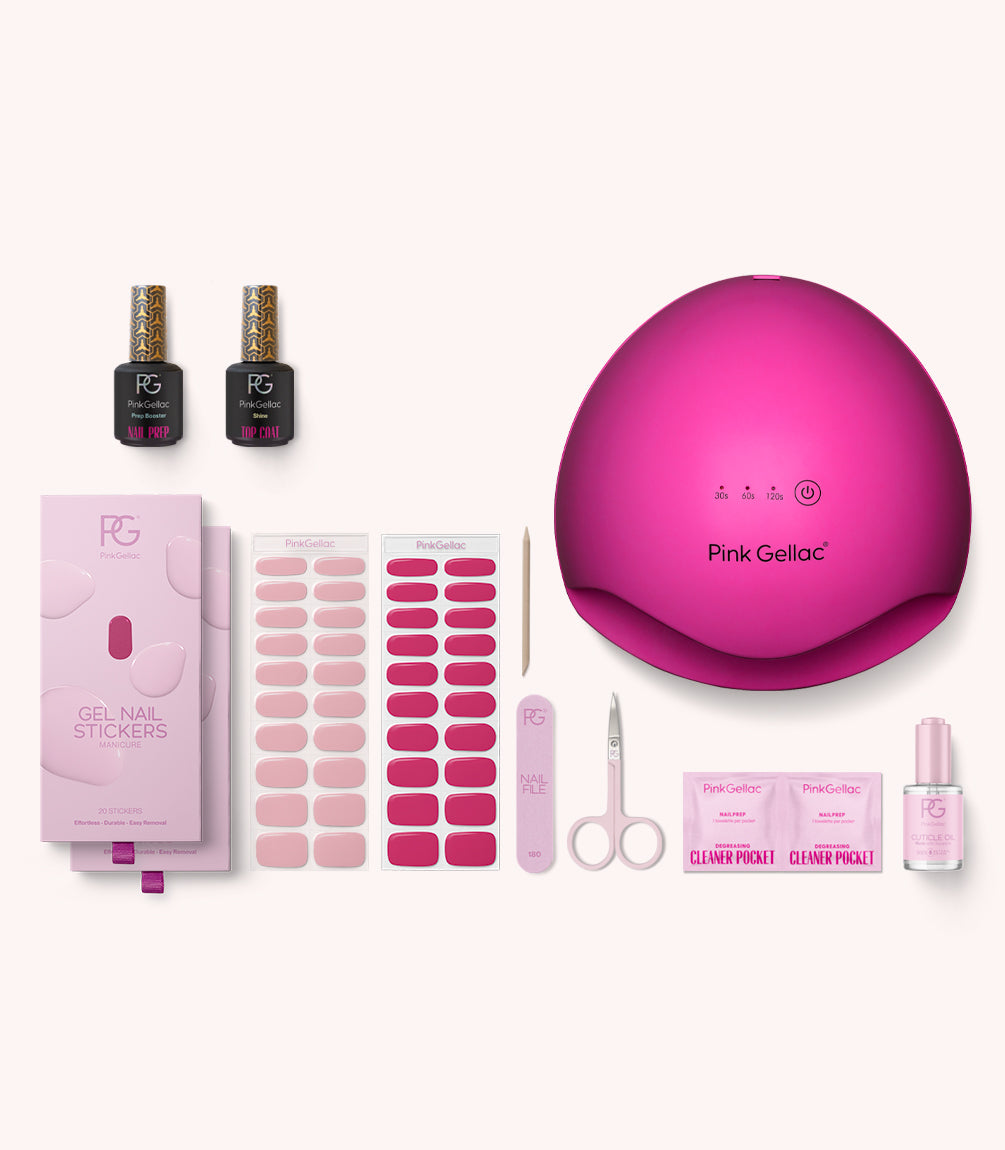
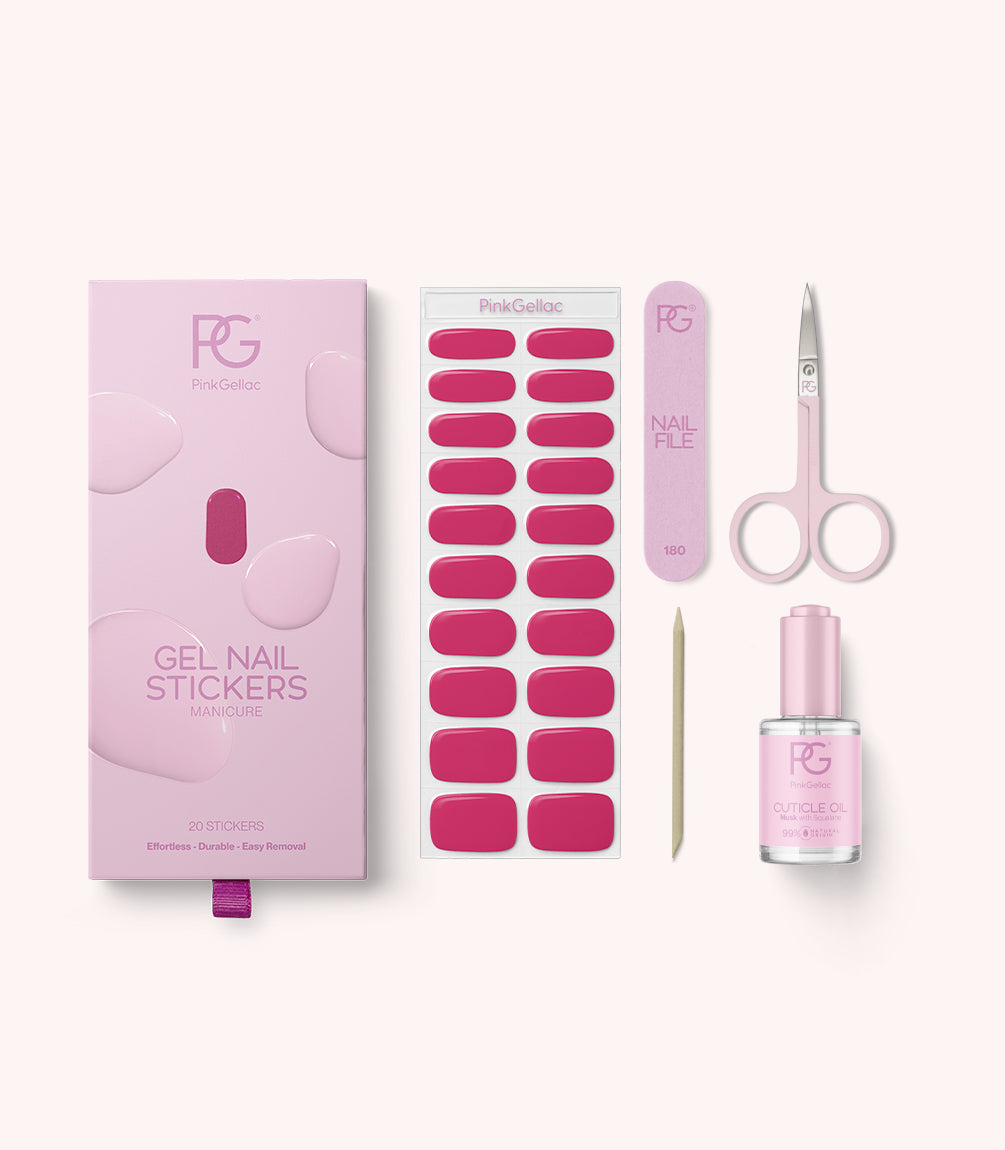
Creating the perfect manicure has never been easier. Gel Nail Stickers are the ultimate solution for anyone wanting a professional, long-lasting look without spending too much time on their nails. Before applying your gel stickers, make sure your nails are properly prepped. Discover the perfect prep routine for the gel nail stickers.

Watch the video or follow our step-by-step tutorial below.
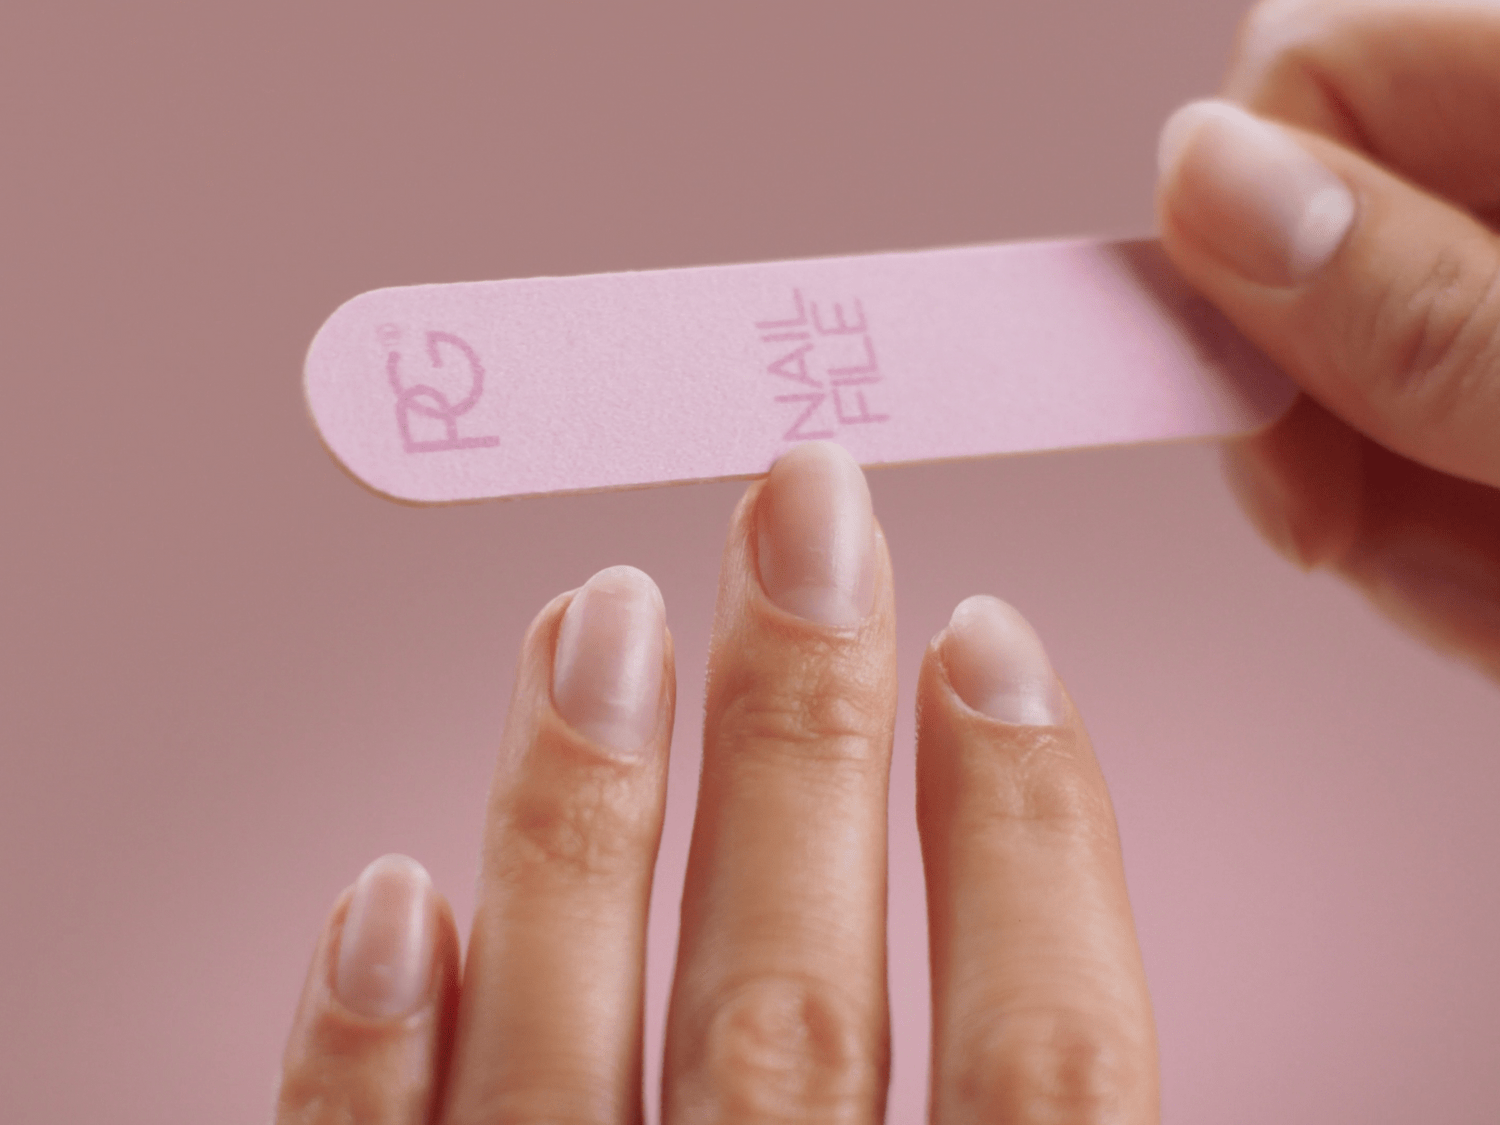
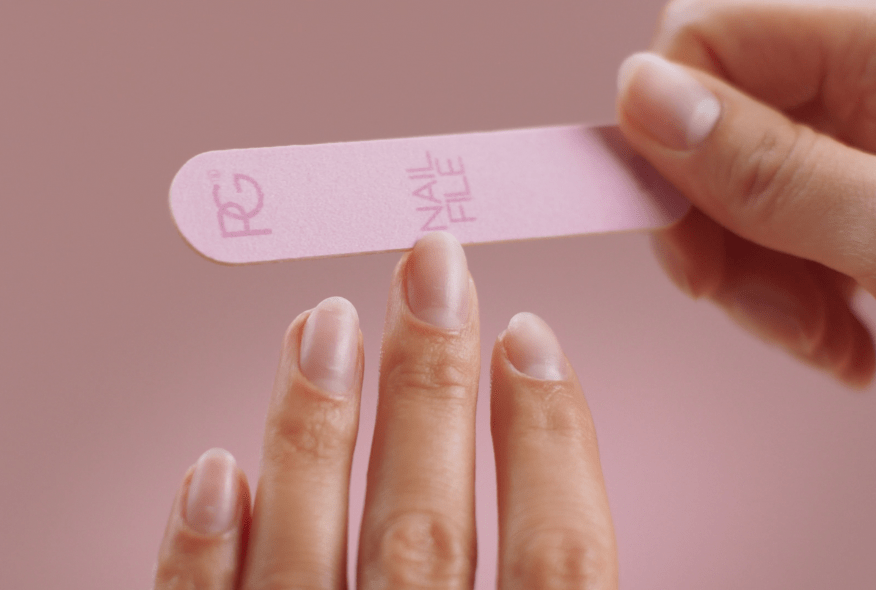
- File your nails: file your nails into the desired shape with the nail file.
- Degrease the nails: clean your nails with a Cleaner Pocket or Nail Wipe with Cleaner to degrease the nails.
- Apply Prep Booster: apply the Prep Booster over your entire nail and let it air dry for 30 seconds.
Apply the Gel Nail Stickers
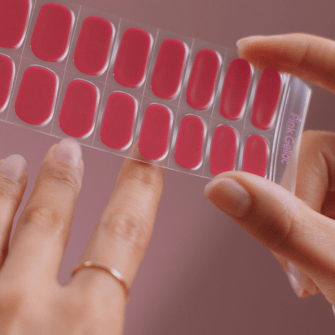
Step 1: Choose the Gel Nail Sticker in your size
Hold the sticker sheet above each nail to see which gel nail sticker fits best on the nail. Make sure the Pink Gellac logo is on the right side, so the gel nail sticker is not applied upside down.
Choose the right size and remove the protective film. For the best hold, choose a gel nail sticker that is slightly narrower than your nail width.
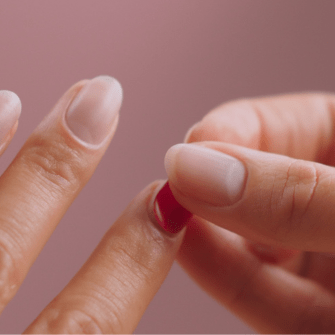
Step 2: Apply the Gel Nail Sticker on the nail
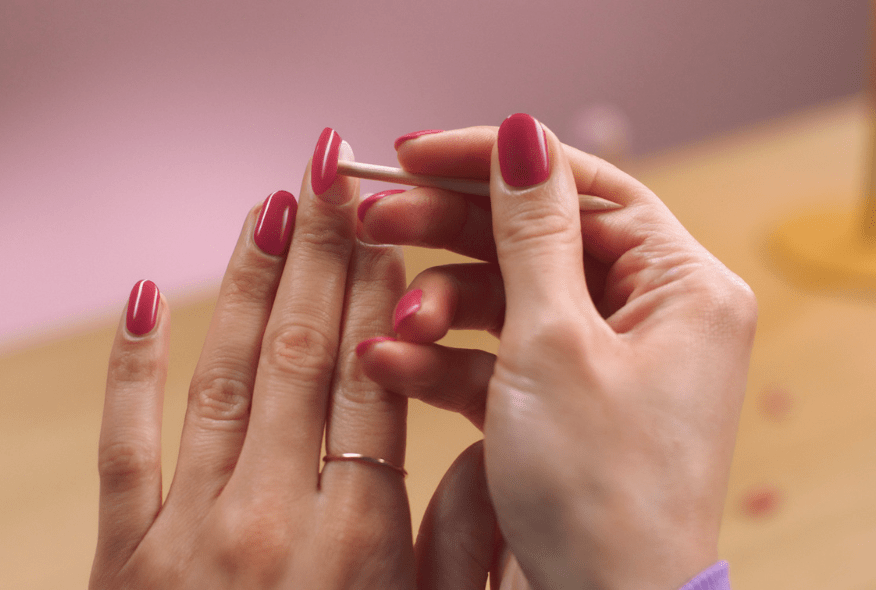
Carefully take the gel nail sticker from the sheet and apply it to your nail. Press the gel nail sticker firmly and smooth the edges with the flat side of the woodstick. Important: Leave a small space (1 mm) between the gel nail stickers and your cuticles to prevent the gel nail stickers from coming off prematurely.
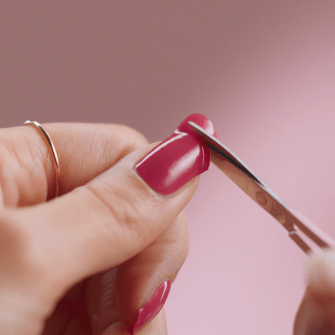
Step 3: Cut the Gel Nail Stickers
Use the manicure scissors to cut the gel nail stickers to the length of your natural nails. When doing this, leave a small edge for step 6.
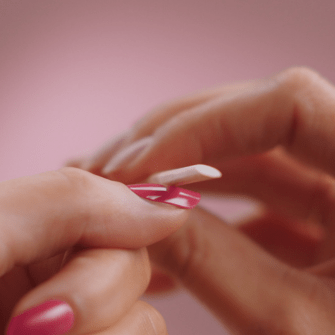
Step 4: Roll the Woodstick over the Gel Nail Sticker
Roll the woodstick over the applied gel nail sticker. Repeat these steps for all nails.
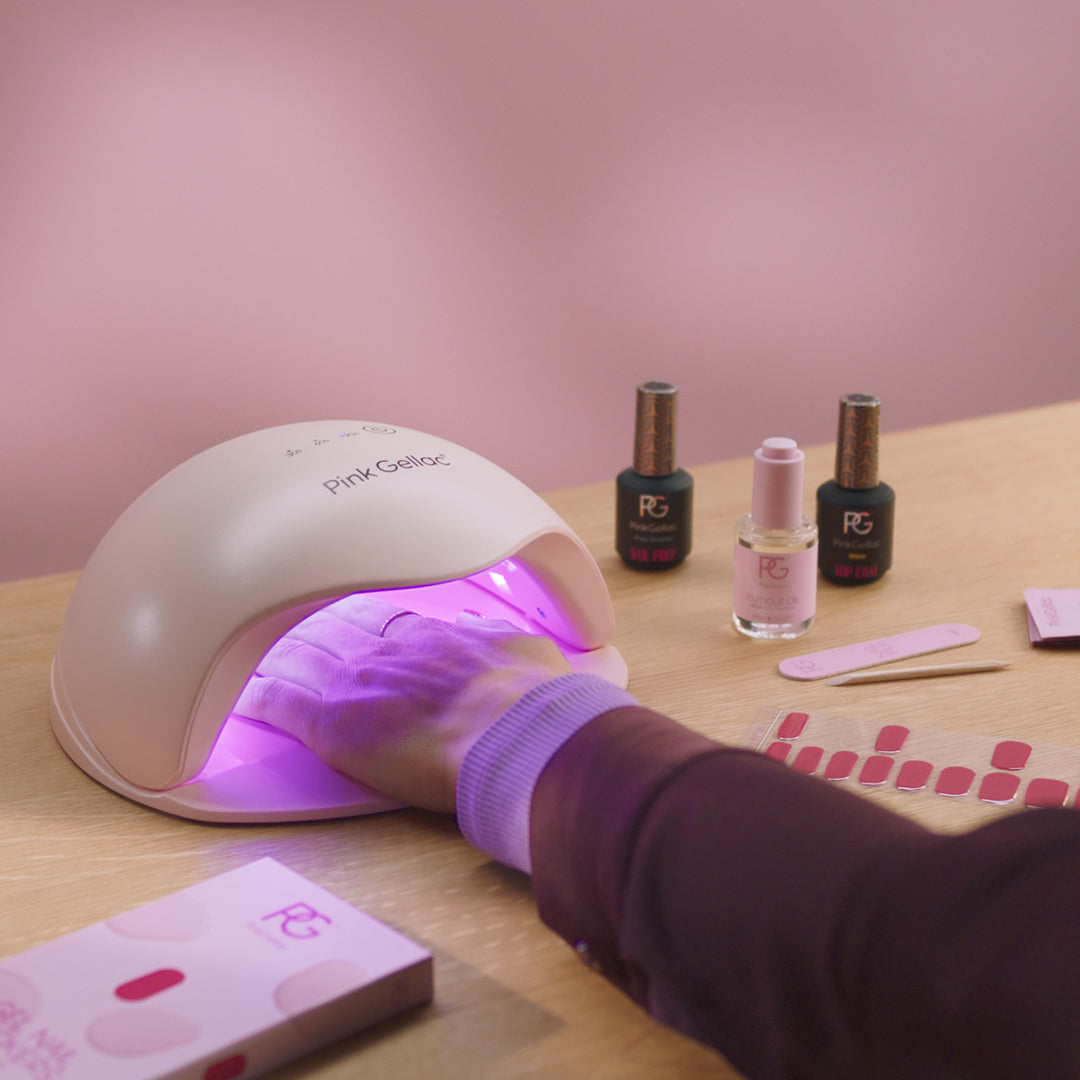
Step 5: Cure the Gel Nail Stickers
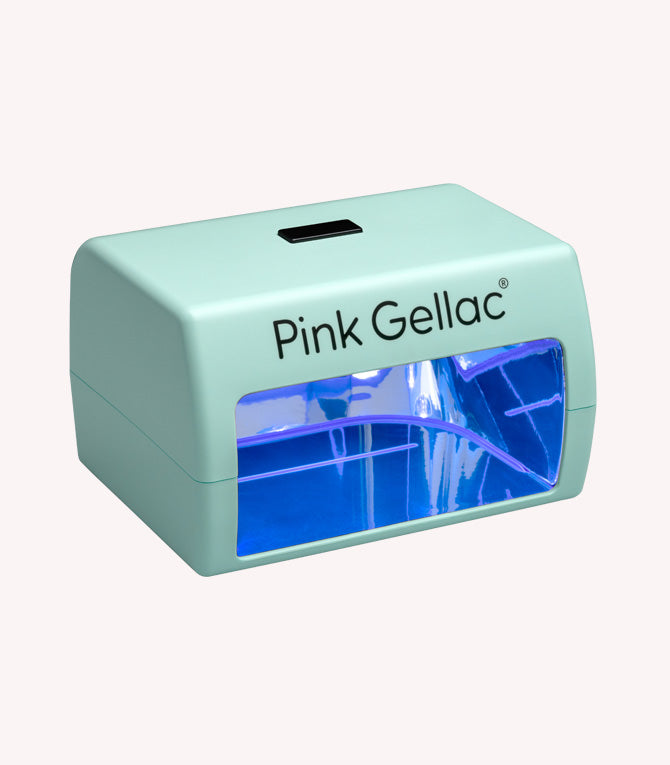
If you've applied the Gel Nail Stickers on all fingers, cure them for 120 seconds under the LED lamp.
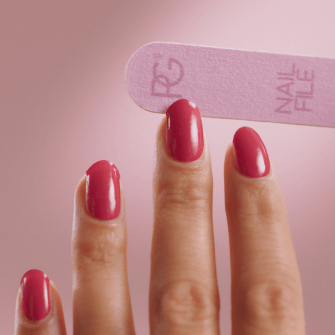
Step 6: File the Gel Nail Stickers
File the cured gel nail stickers to the exact length and shape of your natural nails. Smooth the edges by filing in one direction with the nail file.
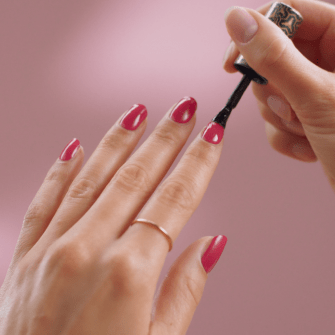
Step 7 (optional): Apply Top Coat
For extra strength and extra shine, you can apply a thin layer of Shine Top Coat. Try to avoid frequent skin contact with the Top Coat. If some Top Coat does get on your cuticles or skin, remove it immediately and before curing with the Gel Polish Corrector Pen, a woodstick, a Cleaner Pocket or a Nail Wipe with Cleaner. Let the Top Coat cure for 60 seconds under the LED lamp. Wait two minutes and then remove the sticky layer with a Cleaner Pocket or a Nail Wipe with Cleaner.
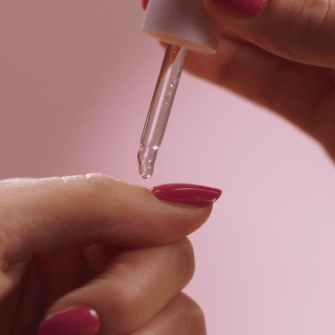
Step 8: Extra care
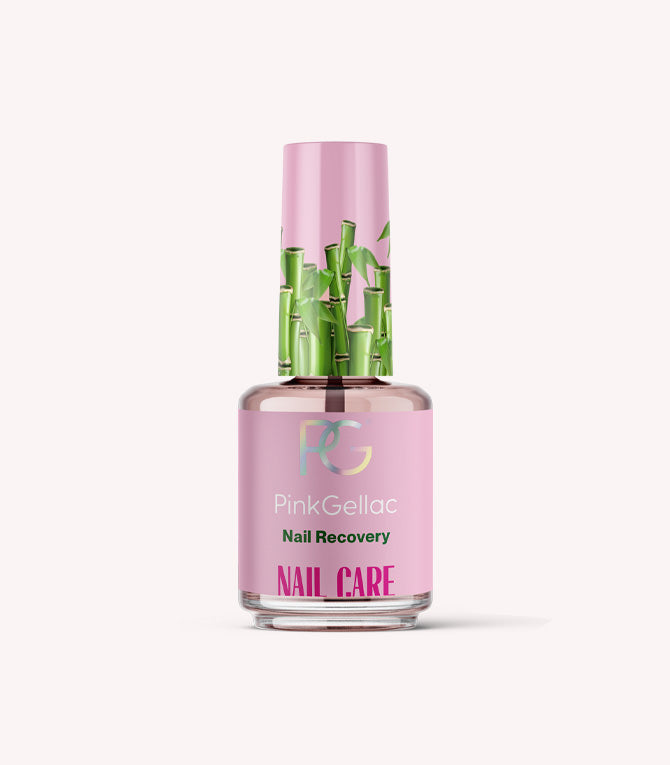
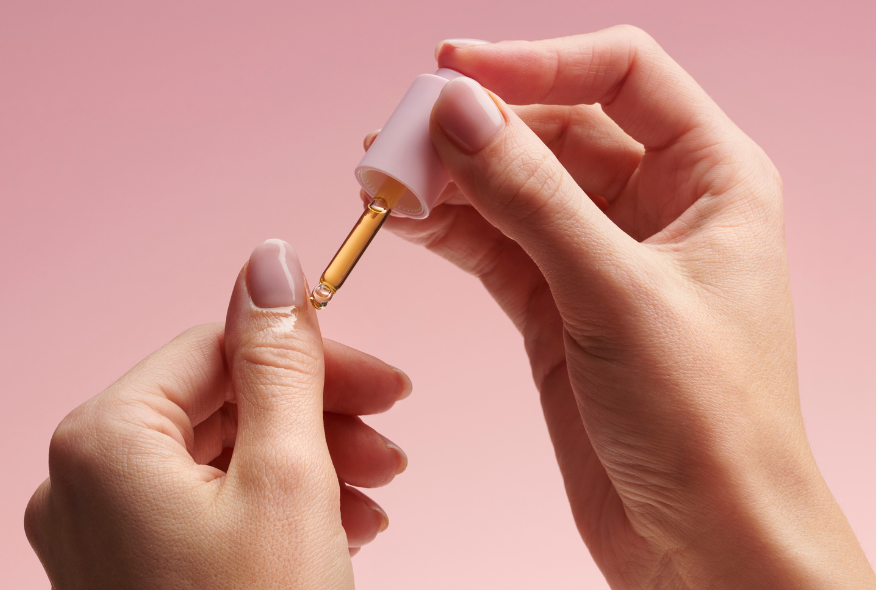
Want to give your nails and cuticles some extra care? Then wait 1 minute and then apply the caring Cuticle Oil. Massage it in to your nails and cuticles.
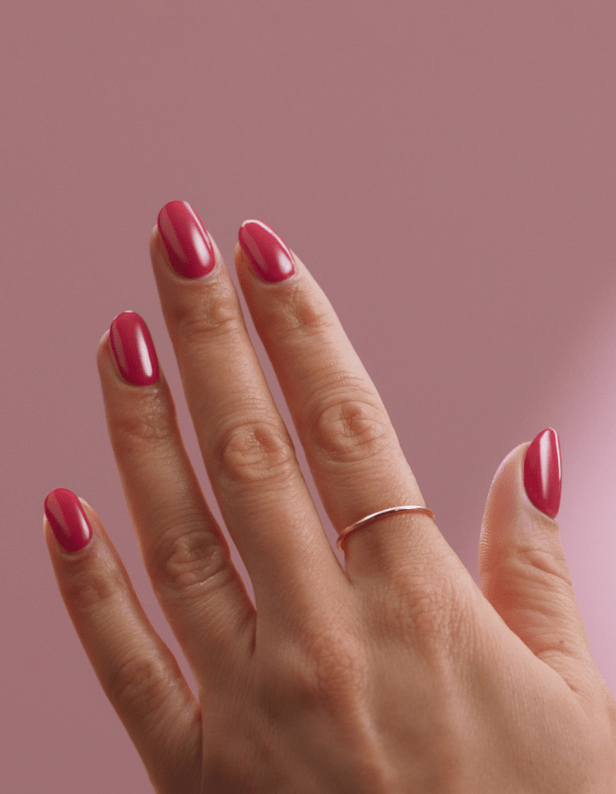
Thanks to their multi-layered structure, Gel Nail Stickers stay flawless for up to 14 days. For even longer wear, apply a gel polish Top Coat to seal and protect the stickers. This helps extend their longevity and keeps them looking perfect.
Ready for a new look? Discover how to easily remove your Gel Nail Stickers.
