February 11, 2025
The perfect nail prep routine for gel polish in 4 steps
A good nail prep is half the battle, so take your time with it. Pink Gellac products are well-matched and form one system but it is important to know how to prepare your nails before applying the gel polish. This will give you the optimal results of a Pink Gellac manicure.
Do you experience early peeling or chipping? This is not supposed to happen. Maybe it is because of an incomplete prep routine. Walk through these steps and we guarantee you success. Followed all the steps perfectly and your gel polish is still chipping quickly? You can read about the other reasons your gel polish may be peeling off.
We recommend you avoiding direct contact with water for at least an hour before (and after) application. Moisture in the nail makes the Base Coat adhere less well.
Watch the video or follow our step-by-step tutorial below.

File your nails into desired shape with a 100/180 grit Nail File.

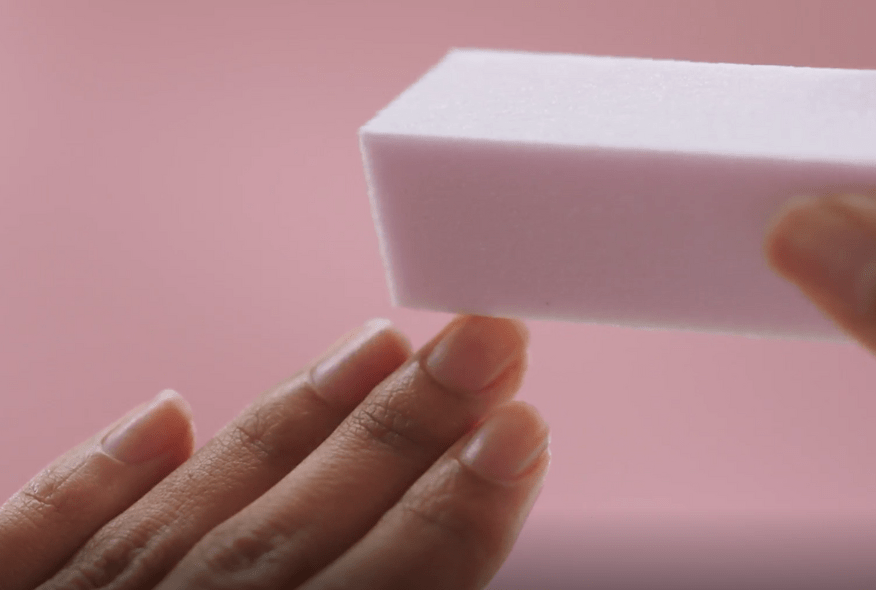
Whenever you're happy with the length and shape, buff the nail beds with a Polishing Block. This will remove dead skin cells and leftover grease, what will help making the gel polish last longer. Make sure you buff the full nail.

After buffing, it is time to remove the dust from your nails. You can use the Manicure Brush for this. The firm bristles can easily remove the biggest chunk of the dust along the nail and cuticles. Please clean your work surface as well to prevent dust, fluff and small hairs going in your products.
Degreasing the nails is an important step if you want the manicure to stick properly. It also gets rid of the last bit of dust after filing. Apply some Cleaner on a lint free Nail Wipes and degrease the nails.

Last step of them all is applying the primer. The Prep Booster makes sure your manicure adheres much better. It draws the last remnants of superfluous fat and moisture from your nails. Apply the liquid to the entire nail and let it air dry for 30 seconds. This will create the best base for the Base Coat and rest of your manicure.

And that's it: Now your nails are ready for a pop of colour! Now you can start with applying your gel polish manicure at home.
