How to create these trendy red bow nails?
Would you like to transform your nails into romantic masterpieces, perfect for Valentine’s Day? With our "Red Bow Nails" tutorial, you can create a refined and playful look that exudes love and elegance!
Drag the eyedropper over the colour section
Colour search results
No results found
Please try another search
Would you like to transform your nails into romantic masterpieces, perfect for Valentine’s Day? With our "Red Bow Nails" tutorial, you can create a refined and playful look that exudes love and elegance!
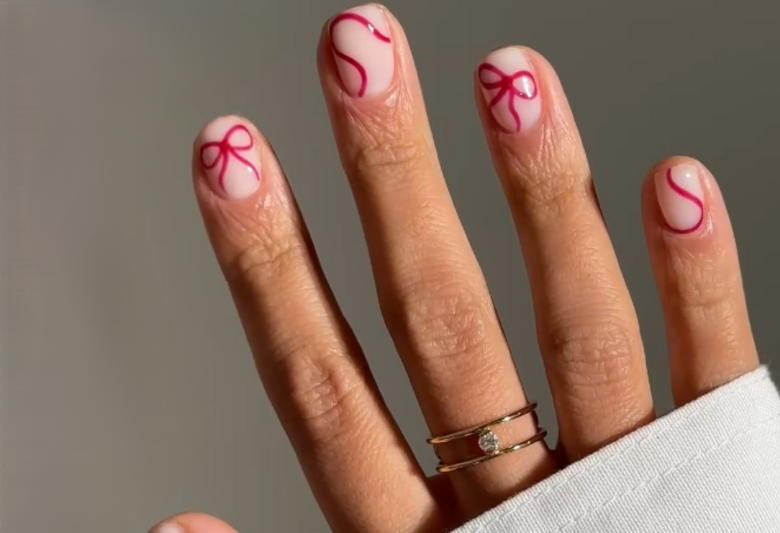
For this design, we’ve used two stunning red shades from the Red Renaissance Collection: 439 Berry Sheen and 438 Sparkling Rouge, paired with the delicate 383 Icy White.
Prepare your nails by filing them into your desired shape and removing the natural shine with a buffing block. Clean and degrease your nails with the Cleaner, then apply the Prep Booster. Allow this to air dry for 30 seconds.
Next, apply your favourite Base Coat and follow our easy step-by-step guide to recreate this charming bow design. Let your nails make a statement with timeless elegance this Valentine’s Day!

After prepping the nail, apply 1 or 2 coats 383 Icy White. Cure for 60 seconds under the LED lamp.
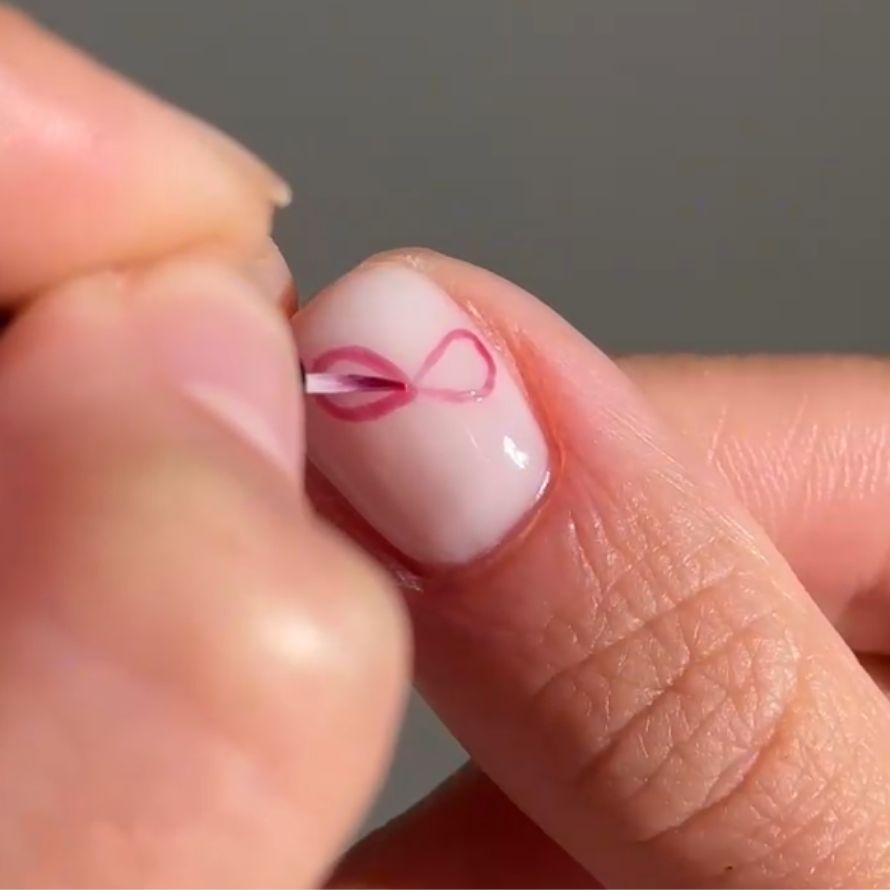
With a Fine Liner and 439 Berry Sheen, delicately draw the outline of a bow. Begin by creating smooth teardrop shapes for the loops, ensuring precision for an elegant finish. Take your time to perfect the details, then cure the design for 60 seconds.
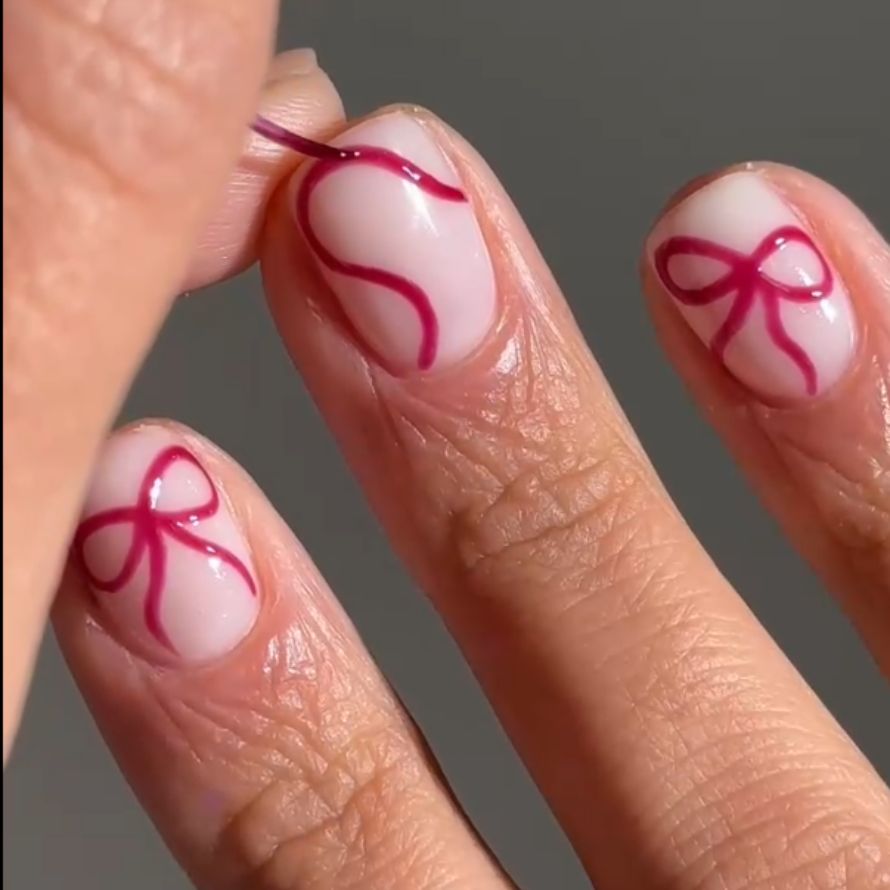
Start at the edge of the bow and extend the swirl outward, letting it flow naturally to create a seamless transition. Feel free to customise the swirl's shape and length to suit your style. Once you’re satisfied, cure under the LED lamp for 60 seconds to set the details in place.
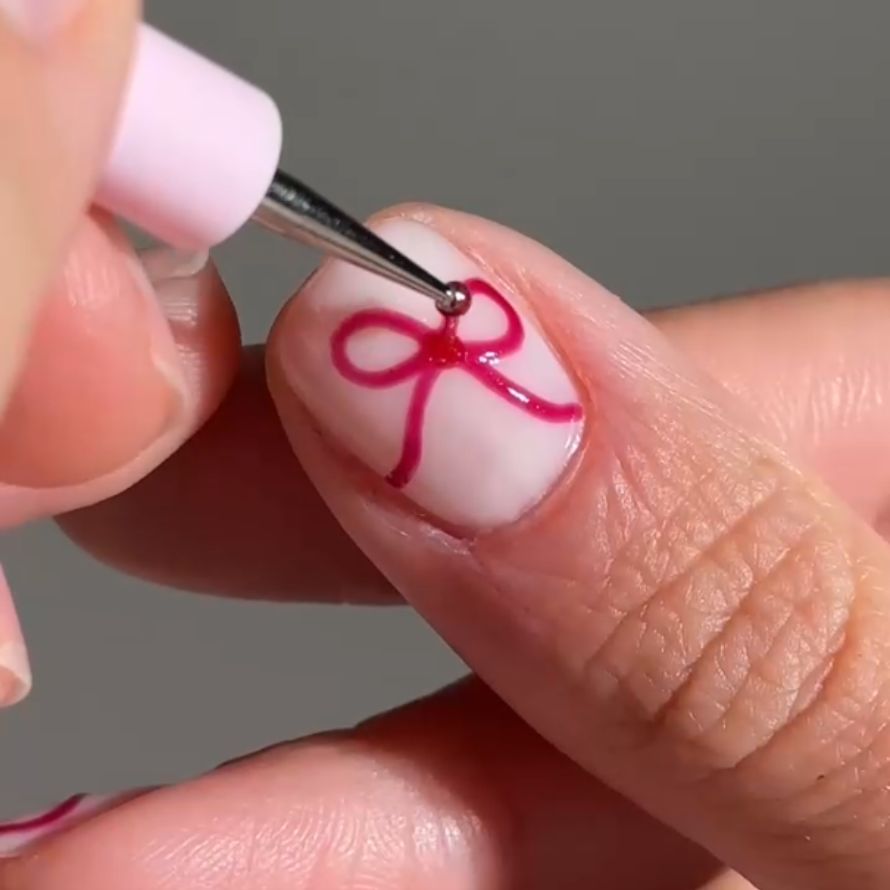
Complete the design by adding a small, precise dot in the centre of the bow with 438 Sparkling Rouge. This will give the bow a glittering, eye-catching touch. Ensure the dot is centred. Once applied, cure under the LED lamp for 60 seconds to lock in the sparkling detail.
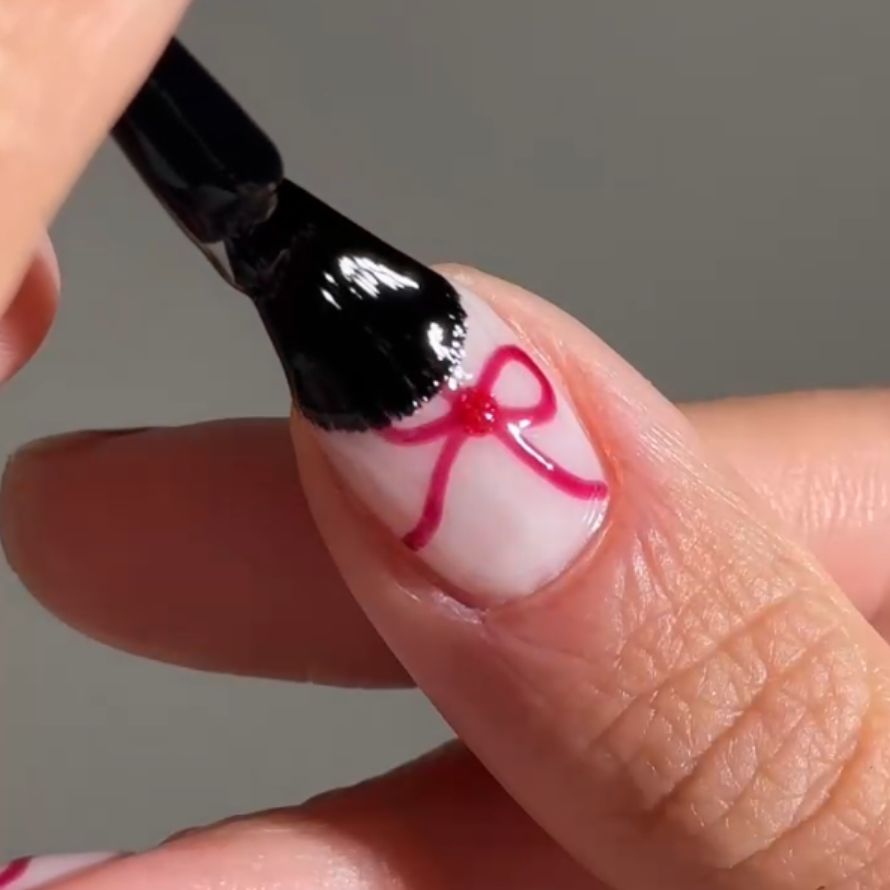
Seal your design with a layer of your favourite Top Coat to ensure a long-lasting, glossy finish. This step will protect your artwork and give your nails a professional shine. Apply the top coat evenly and cure under the LED lamp for 60 seconds.
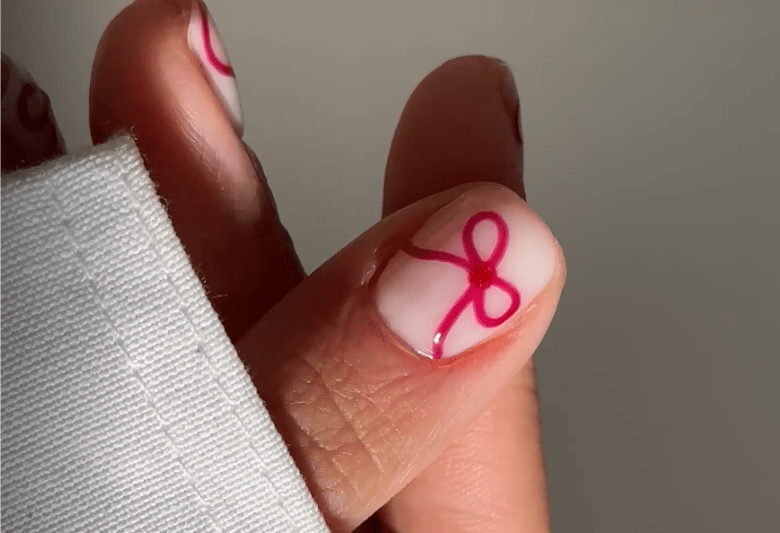
Are you going to recreate the Red Bow Nails? Share your creation and tag us! Use @pinkgellac or #pinkgellac so we don't miss out!