

Tips to polish like a professional
At Pink Gellac, we believe that everyone deserves salon-worthy nails from the comfort of their own home. That's why we're eager to share our top insider tips with you, so you can apply your gel polish like a true professional. Whether you're a novice enthusiast or looking to elevate your skills, these tips will help you create flawless nails time and time again.
The Basics
The secret lies in mastering the correct technique—the foundation of perfectly polished nails. Here are some fundamental steps to get you started:
- Application Technique: Gently stroke the brush from your cuticle to the tip of your nail. Let the brush do the work; thanks to the rounded end of Pink Gellac's fine brush, you can easily and neatly apply polish along the cuticle. Avoid the skin around the nail to prevent premature lifting.
- Flat Position: Keep your hand/nails as flat as possible to avoid leaking. For example, laying your hand flat on a table gives you more control. If a flat position is difficult, angle the tip of the nail downwards.
- Thin Layers: For an even finish, it's important to apply the gel polish in thin layers. Opt for multiple thin layers over one thick layer. This prevents the polish from wrinkling and reduces the likelihood of it leaking onto the skin.
- Preventing Air Bubbles: Do not shake the gel polish bottle. This can create air bubbles, making even application more challenging. Instead, roll the bottle between your hands to mix the polish.
Advanced Techniques
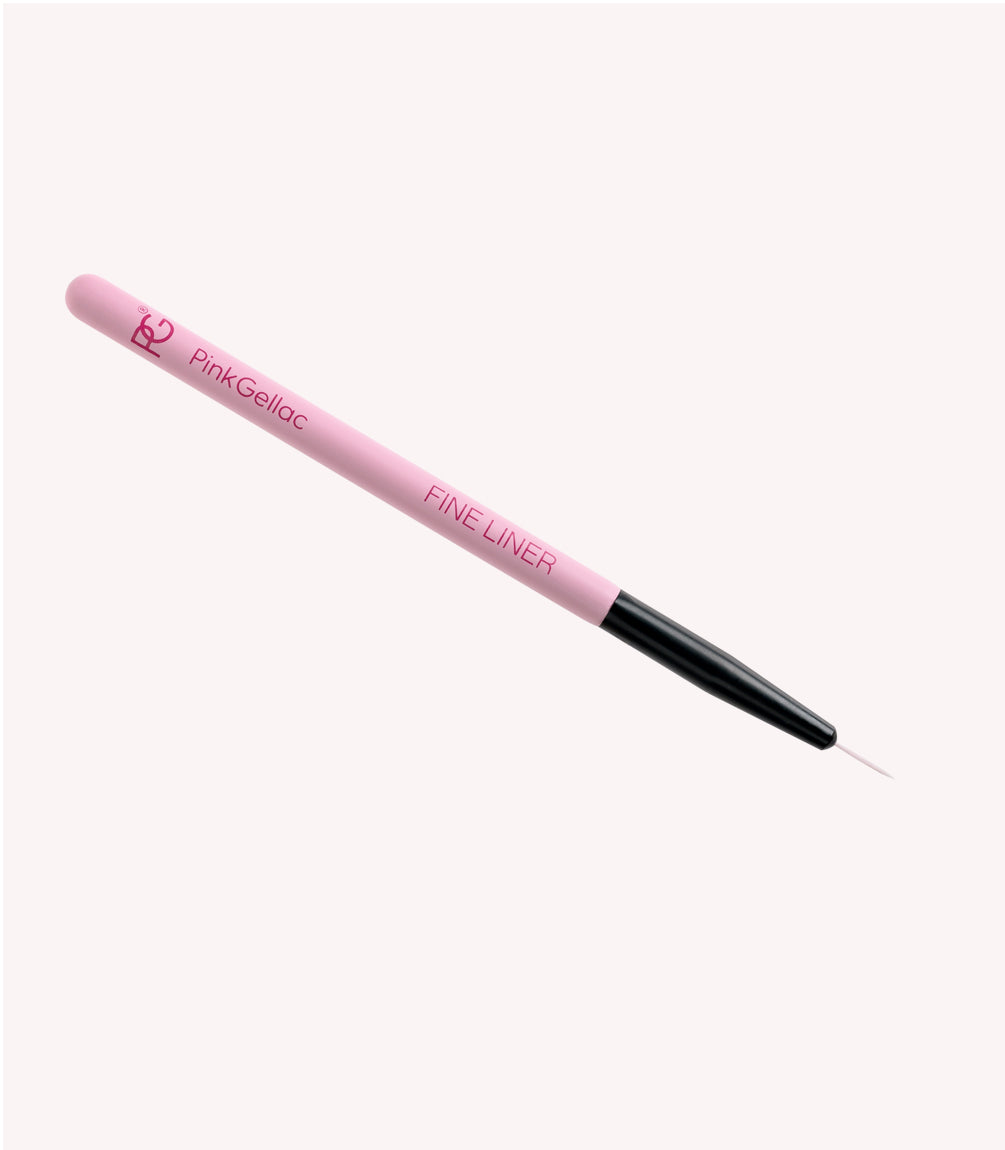
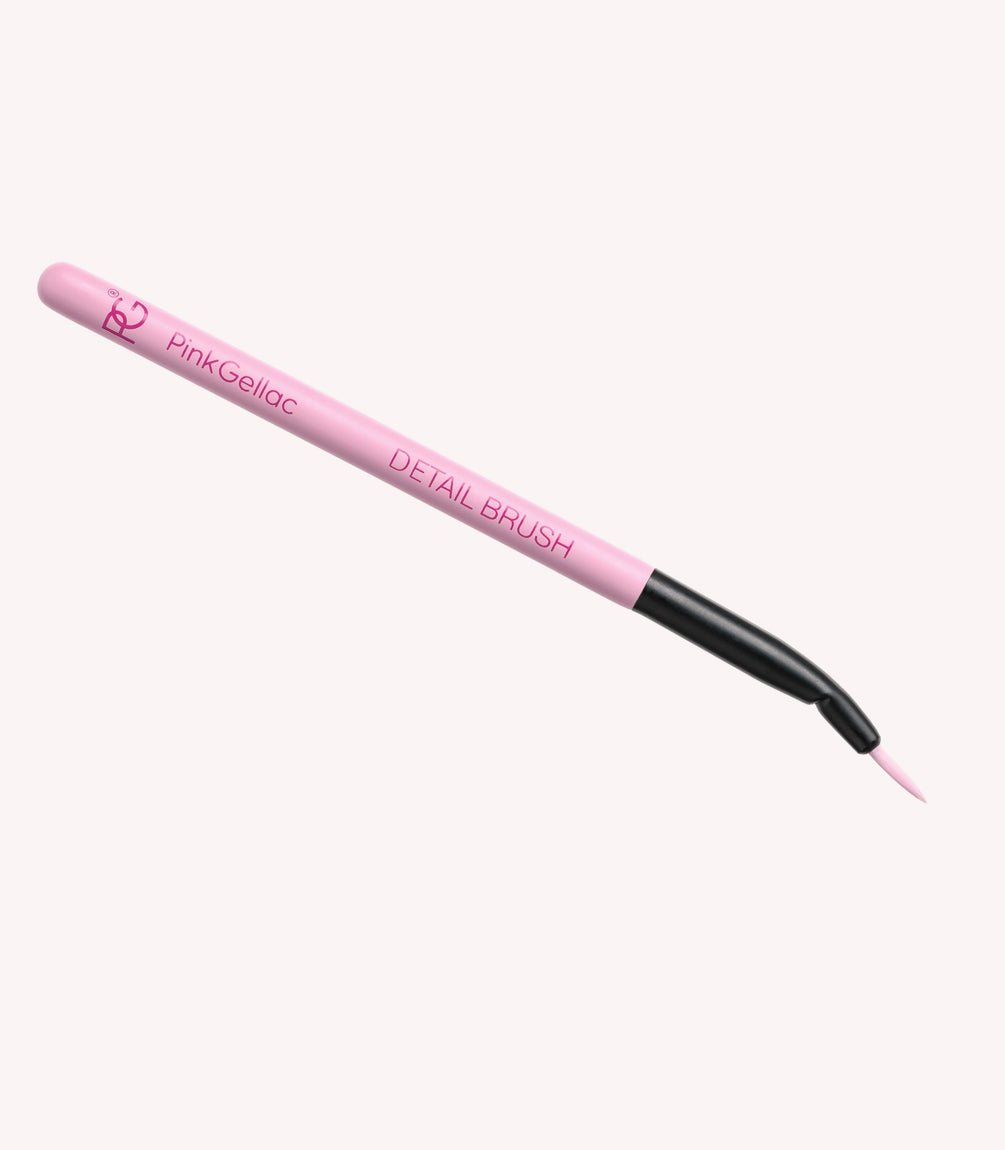
- Use a Fine Liner or Detail Brush: For an extra precise application along the cuticle, use a Fine Liner or Detail Brush. This allows you to get even closer to the cuticle without slipping.
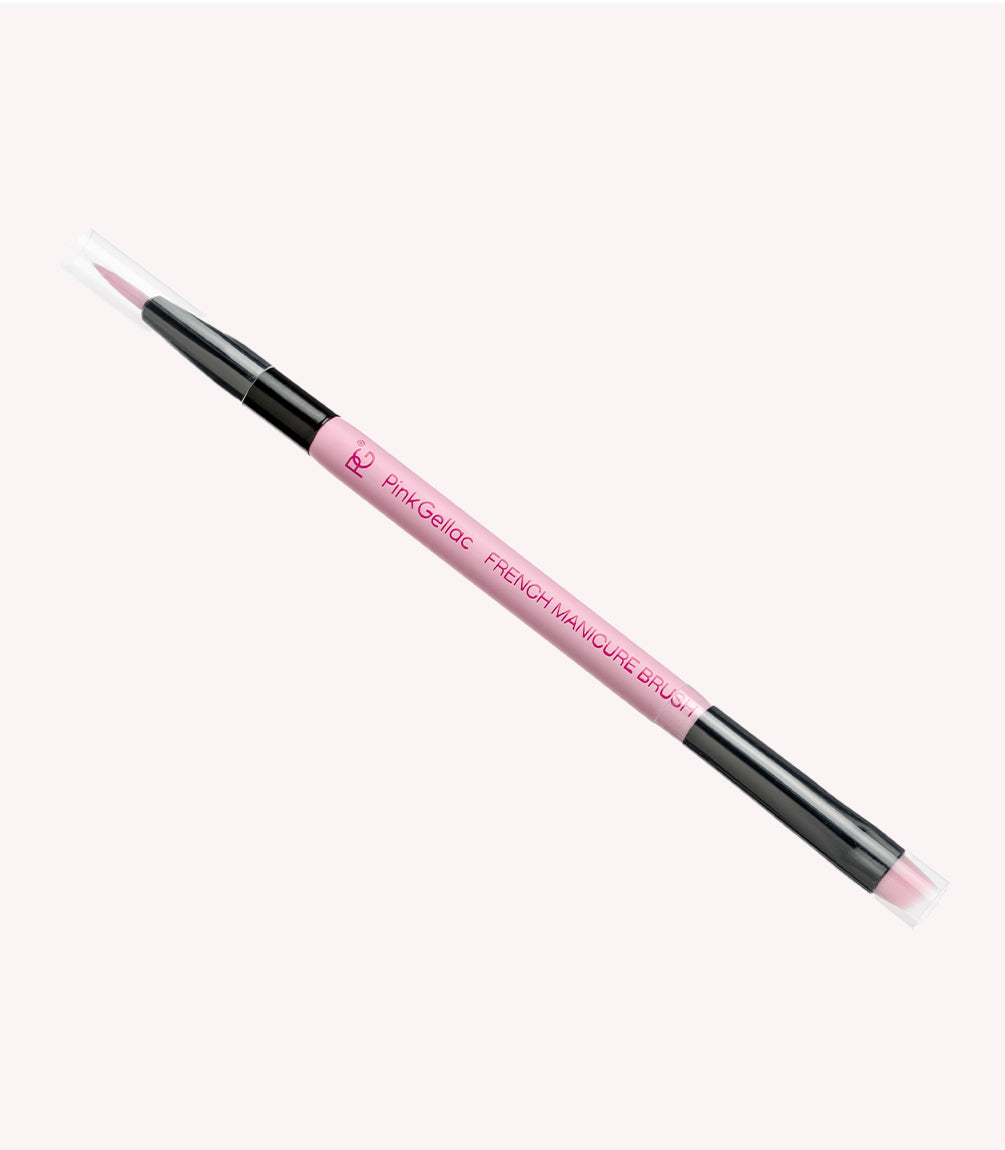
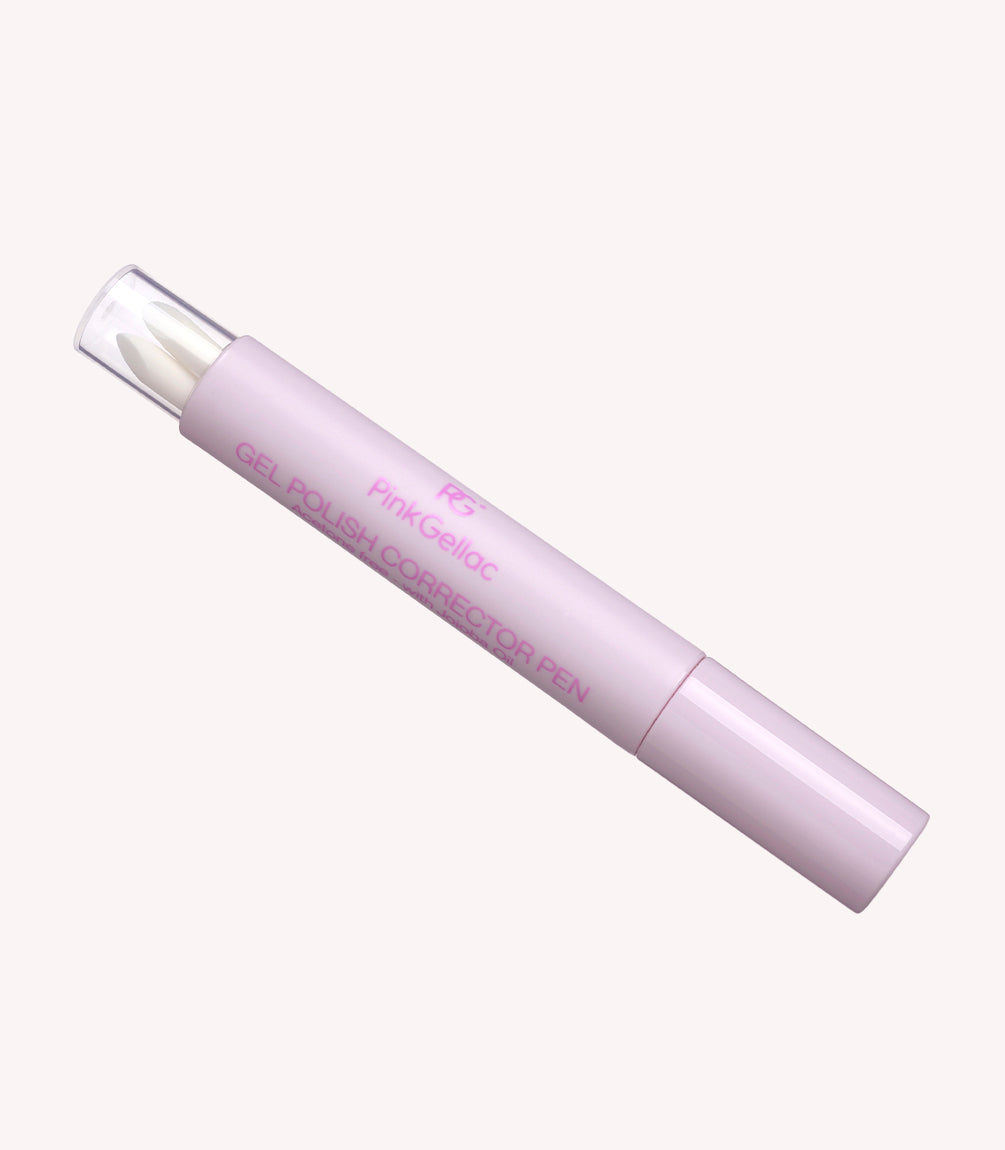
- Corrections: If you accidentally make a mistake, don't worry. With some cleaner on the angled side of a French Manicure Brush, you can easily correct mistakes. Do this before curing the gel polish under the lamp.
- Seal the Free Edge: Don't forget to polish the tip of your nail. This 'seals' the gel polish, making it less likely to chip.
Maintenance & Storage
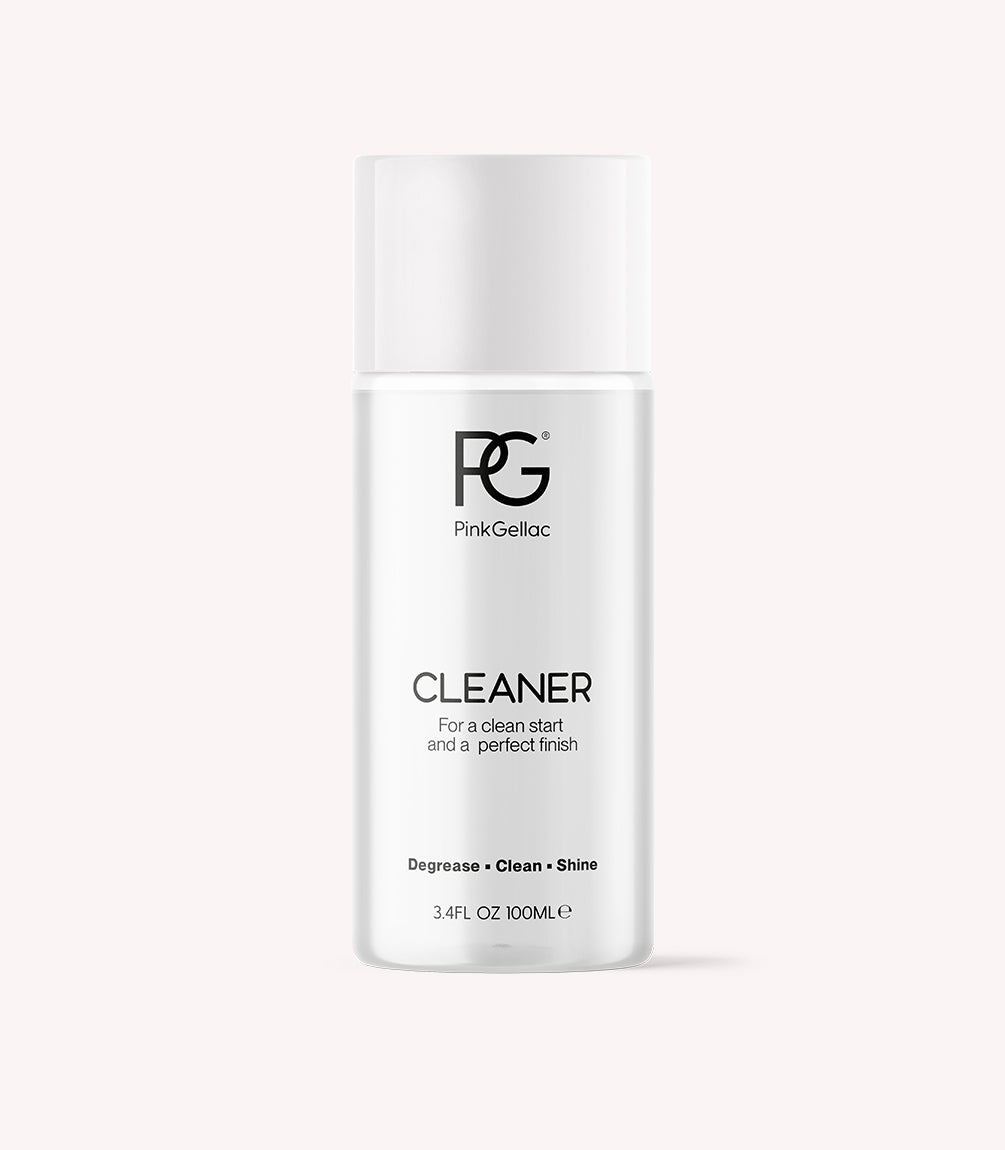
- Keep Your Tools and Area Clean while lacquering: Carefully pull the brush out of the bottle, especially when opening a brand-new bottle. As you remove the brush, it's wise to simultaneously wipe the stem to avoid drips. Moreover, wipe one side of the brush itself and take an amount sufficient for 1 to 2 nails on the other side. Also, keep your surroundings as clean as possible to prevent lint from getting into the gel polish, which can make even application challenging.
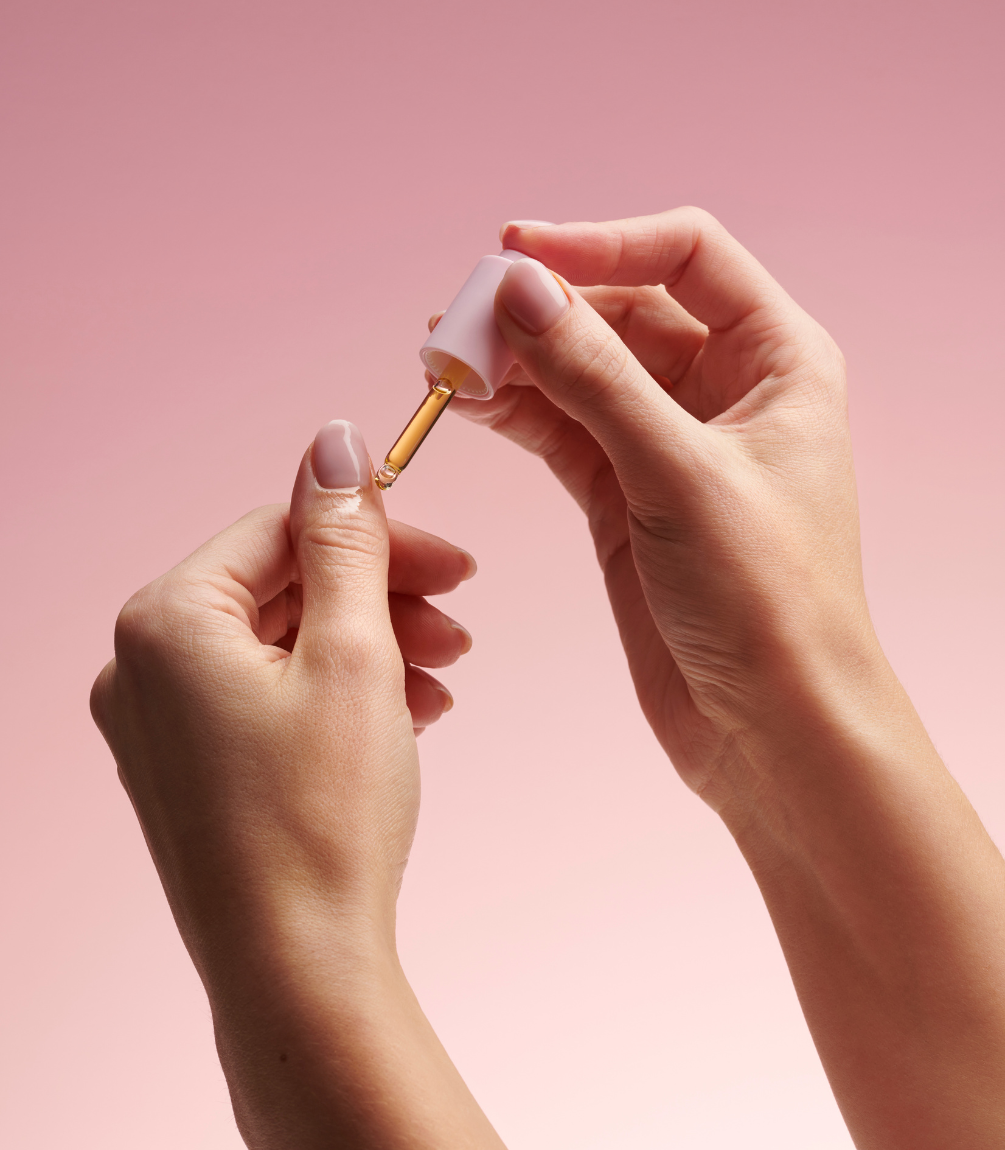
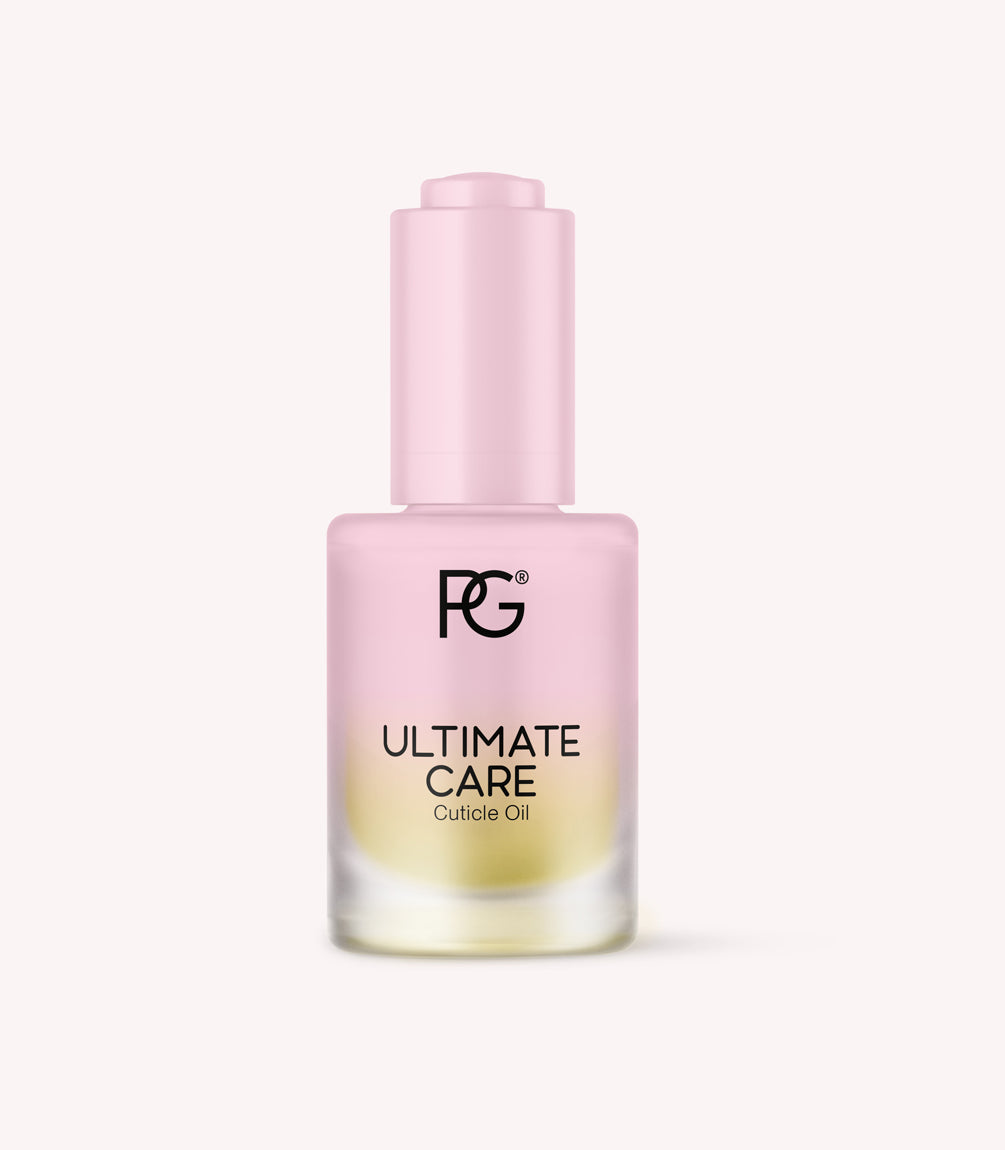
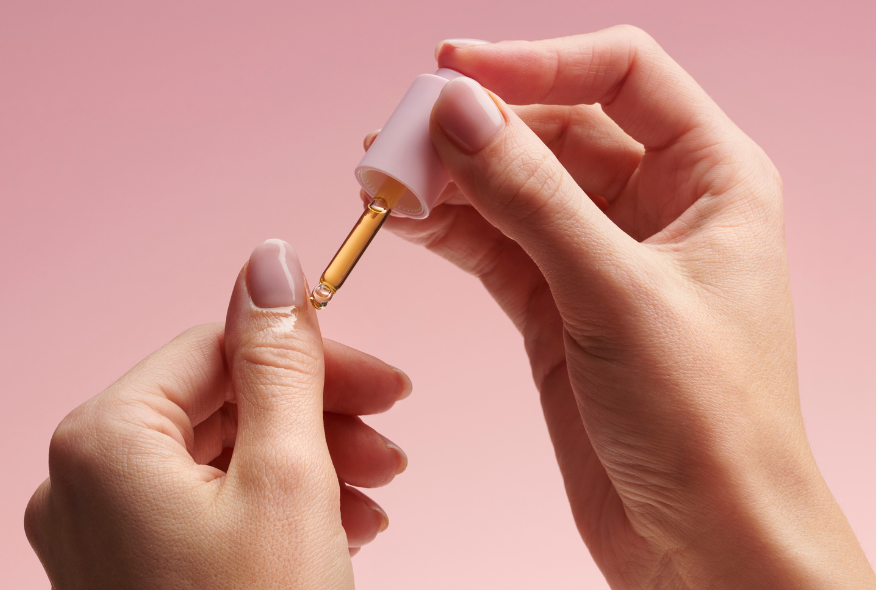
- Care is Key: Well-maintained nails provide the best foundation for gel polish. Healthy nails keep the polish looking beautiful for longer. Apply Cuticle Oil regularly.
- Storage: Store your gel polish away from direct sunlight and moist areas like the bathroom. This keeps your gel polish in optimal condition.
With these tips and tricks, you're well on your way to applying your gel polish like a pro. Remember, practice makes perfect. The more you practice, the more skilled you'll become at creating that perfect, salon-worthy manicure at home. At Pink Gellac, we're here to support you every step of your nail care journey. Discover your favourite colours and products and start lacquering like a pro today!