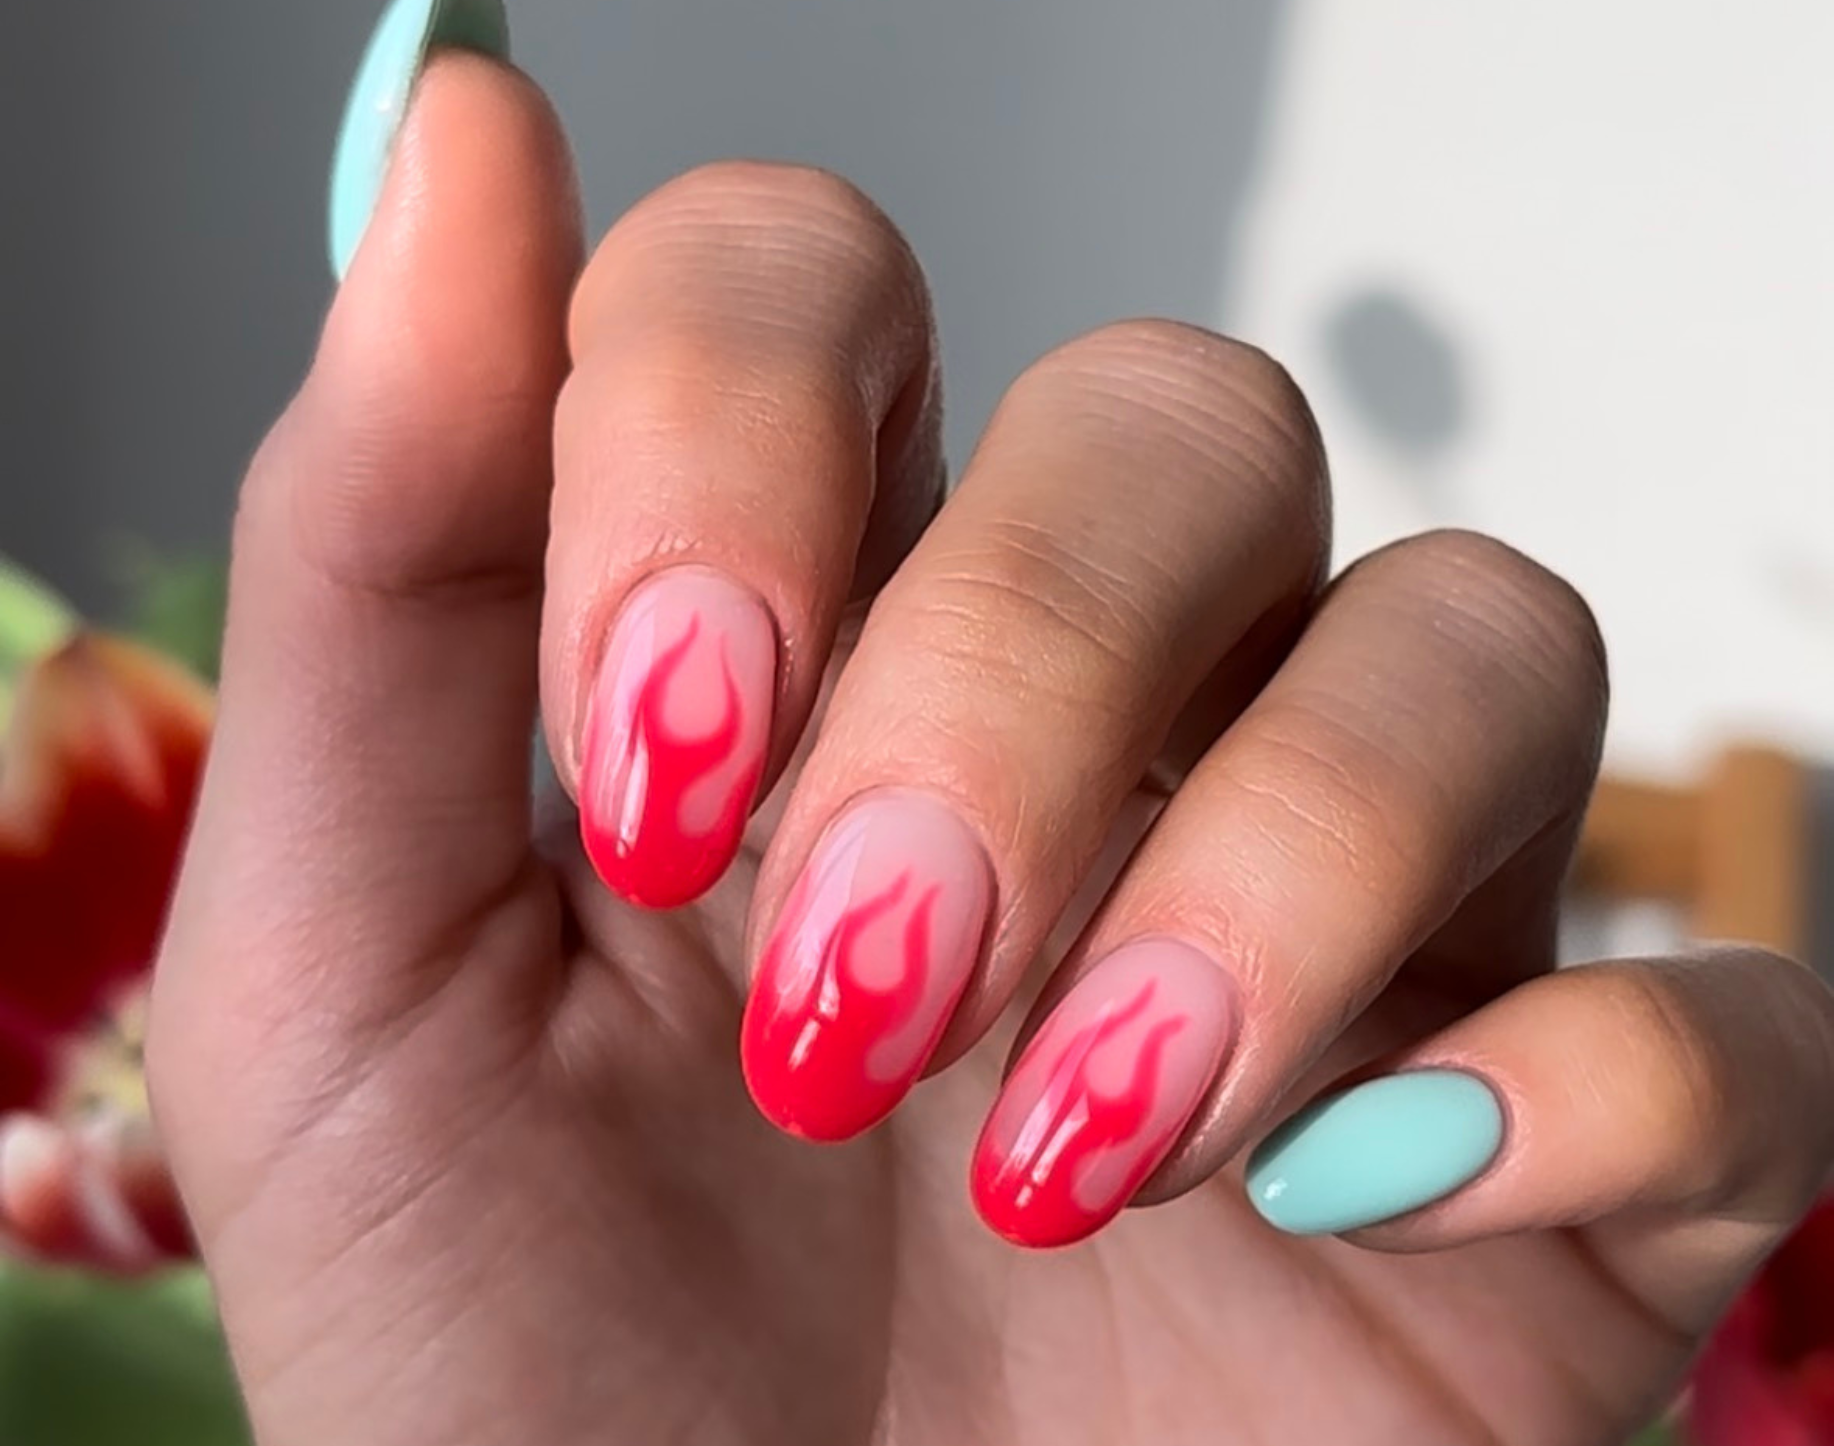
How to Make Flame Nail Art?

Step by step

Step 1:
Draw a line in the middle of the nail. Extend the line to about the middle of the nail bed. Don’t go much further than the middle to leave room for the flame in step 2.

Step 2:
Create a narrow half-moon shape on top of the line.

Step 3:
Draw another half-moon shape lower down the line, similar to how you would create a French Manicure on your nail.

Step 4:
Begin to fill in the design and add some thickness to the lower part. Draw another half-moon shape, a bit wider than de middle flame to leave room for step 5. This will form the tip of the right flame.

Step 5:
Thicken the middle flame at the base, keeping the top as thin as possible.

Step 6:
Fill in the design.

Step 7:
Perfect the outer tip.
Repeat steps 3-7 on the other side of the flame.

Step 8:
Refine the middle flame if necessary.
And that’s it! Don’t forget to share your beautiful creations with us on social media using #pinkgellac and stay tuned for more inspiration, tips, and trends.