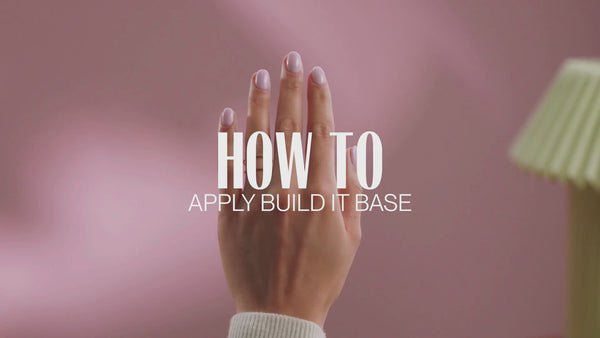
10 March 25

How to do Build it Base nails at home

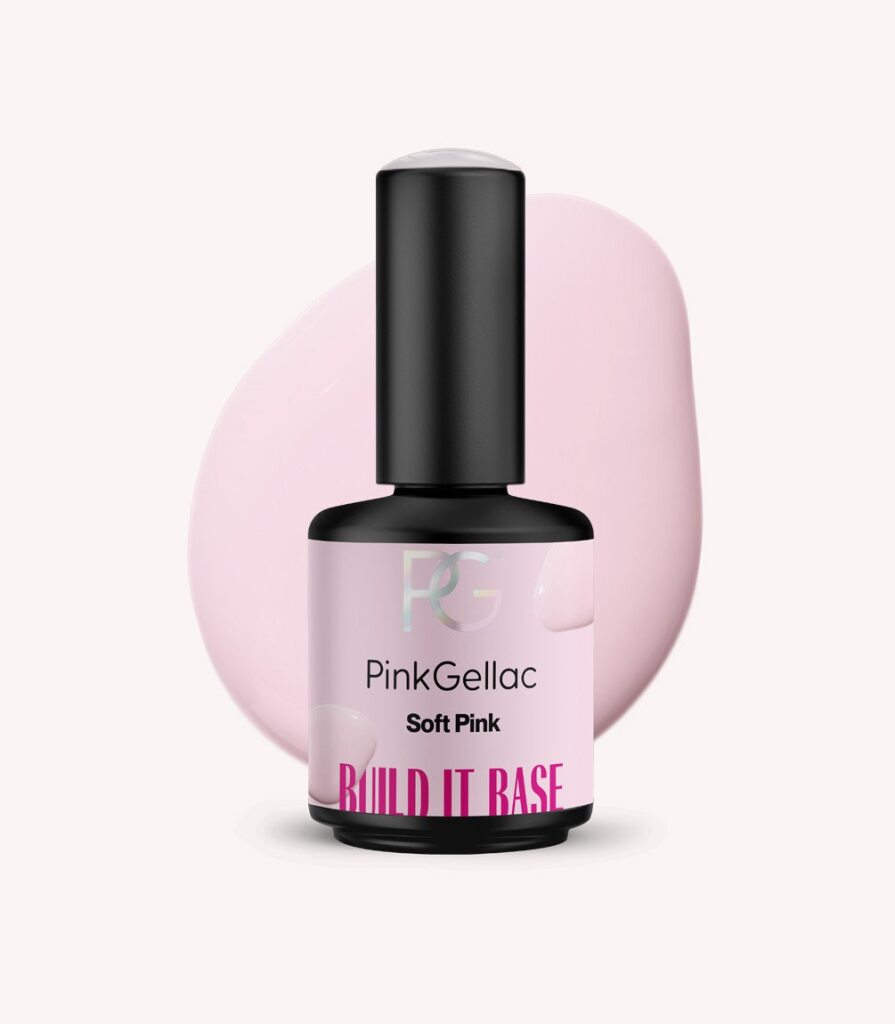
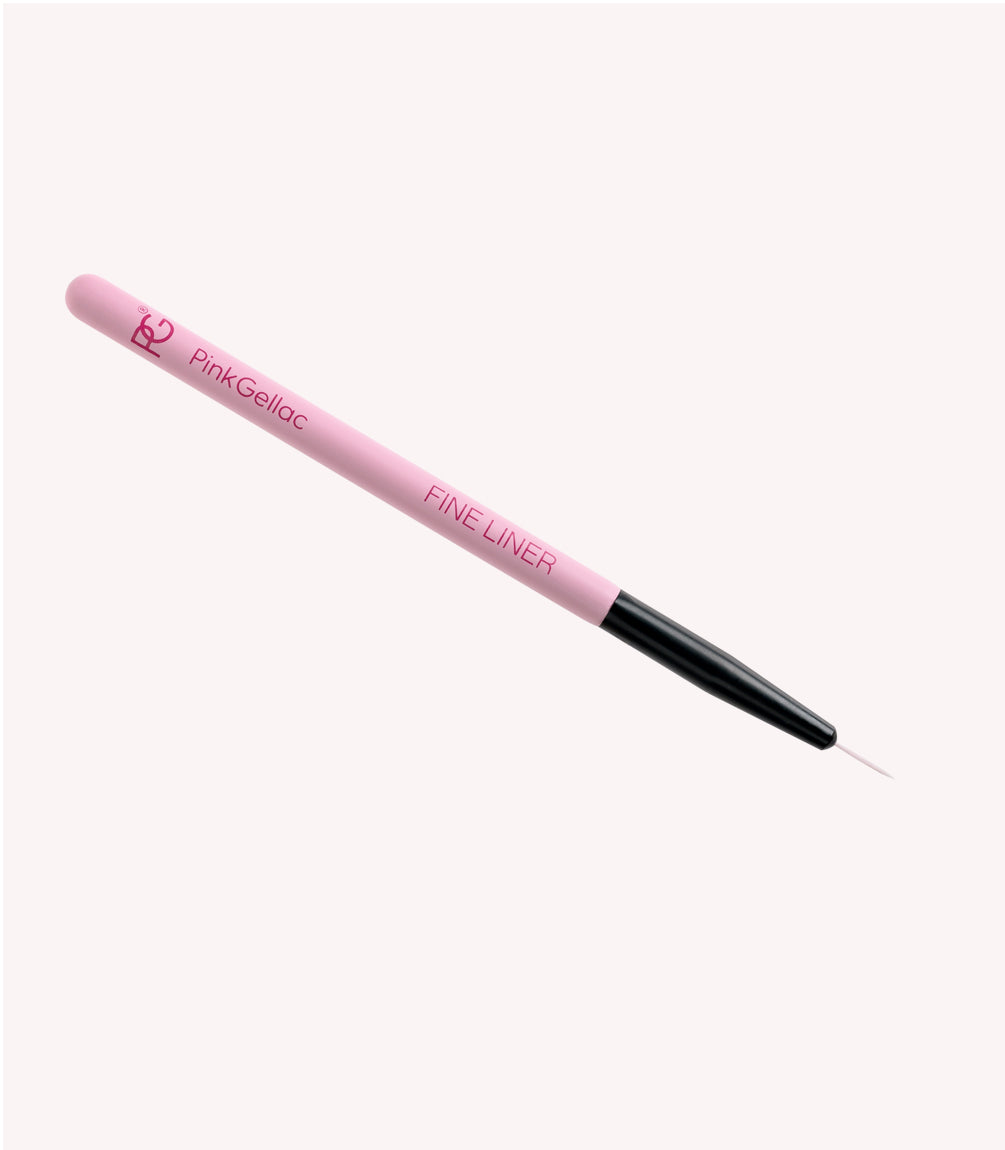
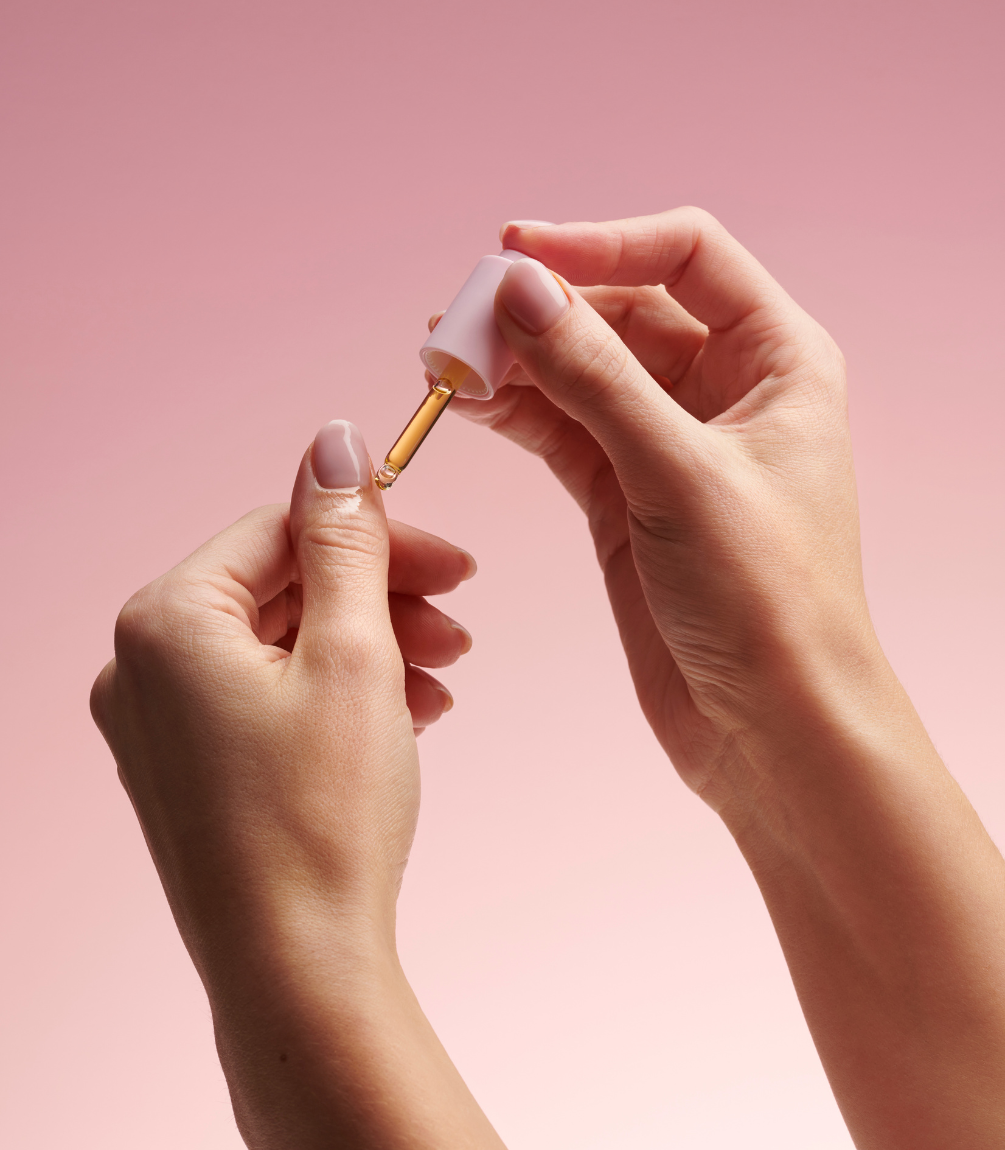
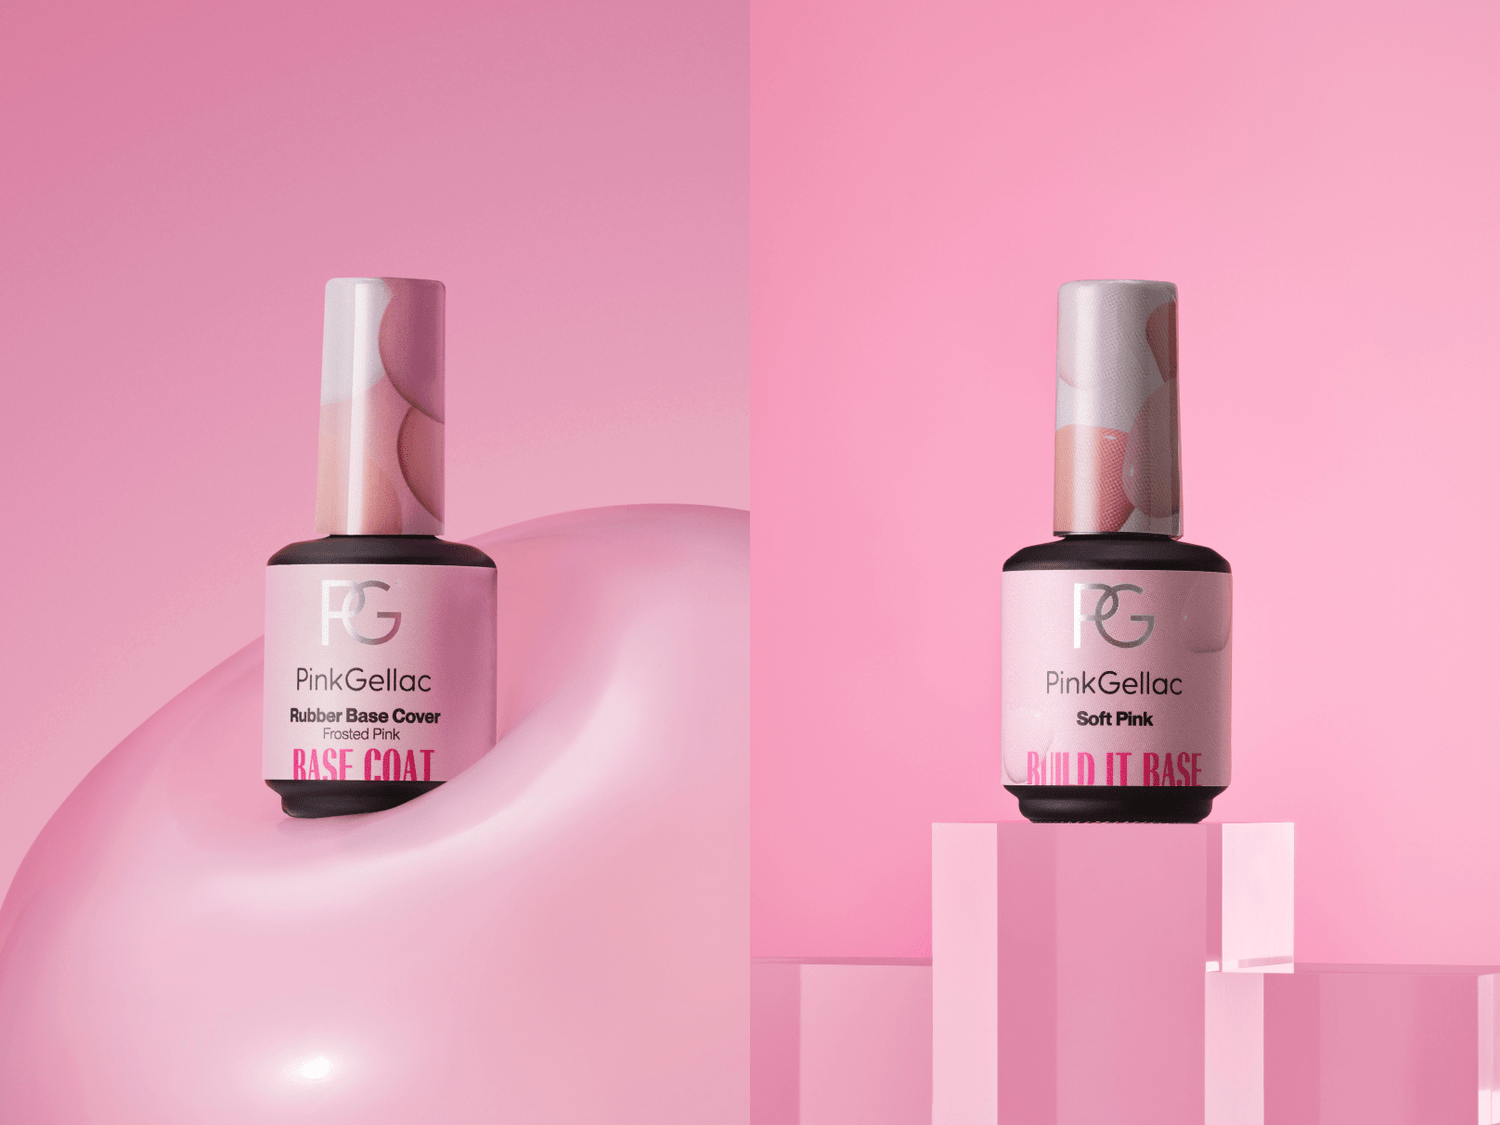
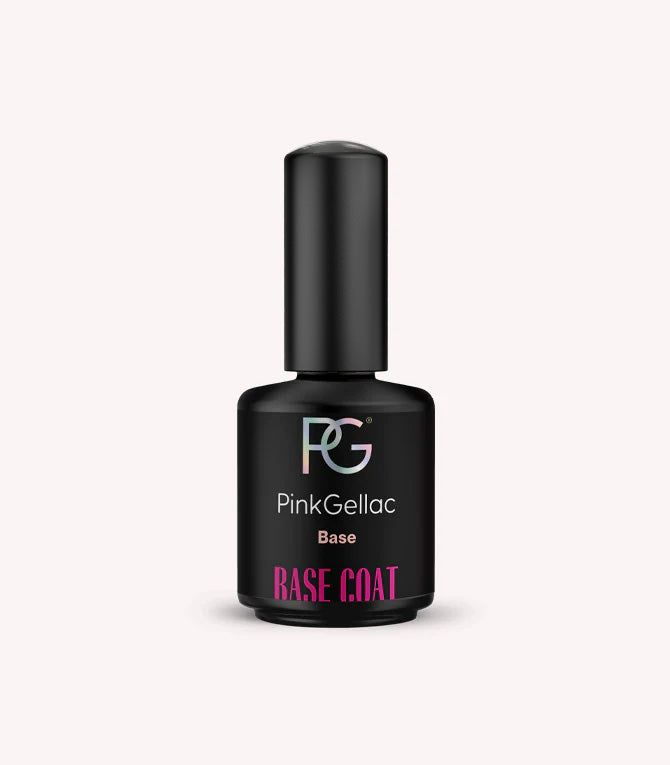
Build it Base is a thicker base coat, which means the application process differs from that of the regular Base Coat. To ensure maximum control and precision, the brush has been designed smaller, making it easier to work with. Here, we’ll walk you through the application process and share our best tips to help you achieve a perfect Build it Base application every time!

Pink Gellac
Prepare your nails

Start by filing your nails into the desired shape using a 100/180 grit nail file. Then, use a block file to remove the shine layer from the nail. Clean your nails of dust and grease with Cleaner and a Nail Wipe. Ensure the environment is dust-free before proceeding with the application. Finally, apply the Prep Booster to the entire nail and let it air-dry for 30 seconds. This is the same prep routine for regular gel polish.

Pink Gellac

Step 1 - Apply a slip layer

Brush on a thin slip layer, keeping 1 mm from the cuticle, and cure for 120 seconds under the LED lamp. This layer improves adhesion for the next coat.

Pink Gellac

Step 2 - Apply Build it Base

Take a good amount of gel and apply it near the nail base.

Pink Gellac

Step 3 - Spread it out

Then gently spread it towards the sides and the tip using the brush.

Pink Gellac

Step 4 - Use the Fine Liner

For extra precision, use a Fine Liner brush to get closer to the sides and refine the shape even further.

Pink Gellac

If any gel touches the skin, remove it before curing using a Gel Polish Corrector Pen, Woodstick, or a Wipe with Cleaner. Make sure to do this before curing, frequent contact with the skin may cause irritation.

Pink Gellac

Step 5 - Turn your hand upside down

Want to enhance the apex? Before curing, turn your hand upside down for a few seconds to let the gel settle naturally. Once you're happy with the result, cure it under the LED lamp for 120 seconds.

Pink Gellac

Step 6 - Apply Top Coat

Apply a thin layer of Top Coat and cure under the LED lamp for 60 seconds. Let the nails cool for two minutes after curing, then remove the sticky layer with Cleaner on a nail wipe.

Pink Gellac

Step 7 - Finish with nail care

Gently massage cuticle oil onto your nails in circular motions to hydrate and nourish your nails.

Pink Gellac

We hope this has made everything clear and helped you get started with Build it Base for strong, natural-looking nails. With the right technique, you’ll achieve a long-lasting, flexible manicure that reinforces your nails without feeling heavy. If you're ready for a change, check out our How to Remove Build it Base blog for a safe and easy removal process. Want to know more about Build it Base? Read our What is Build it Base blog to discover all the benefits of this strengthening base.